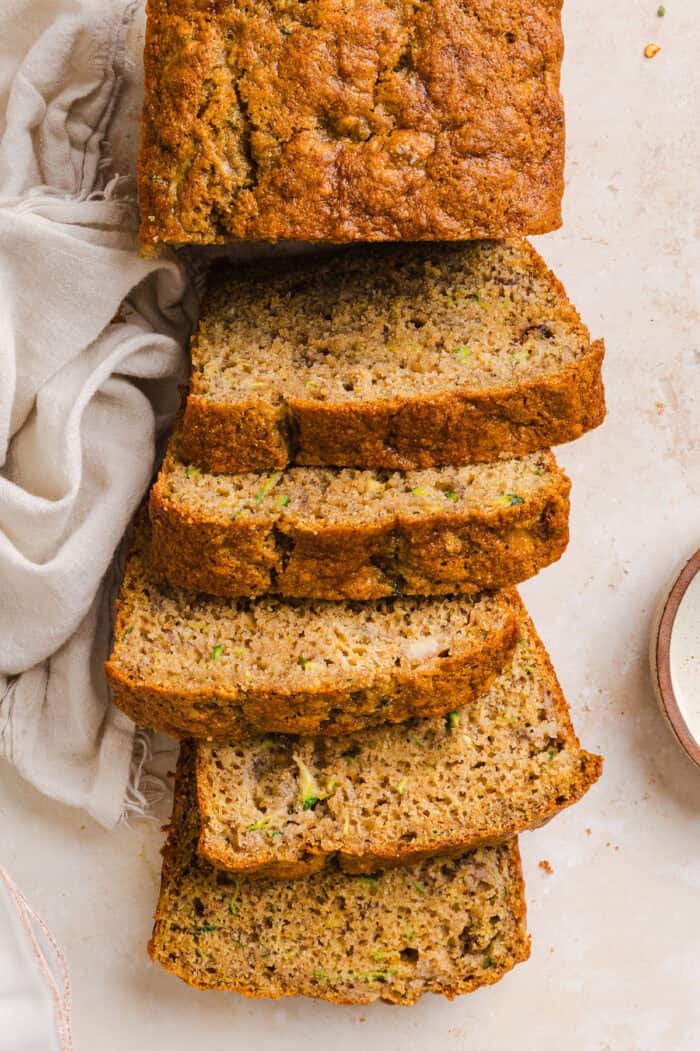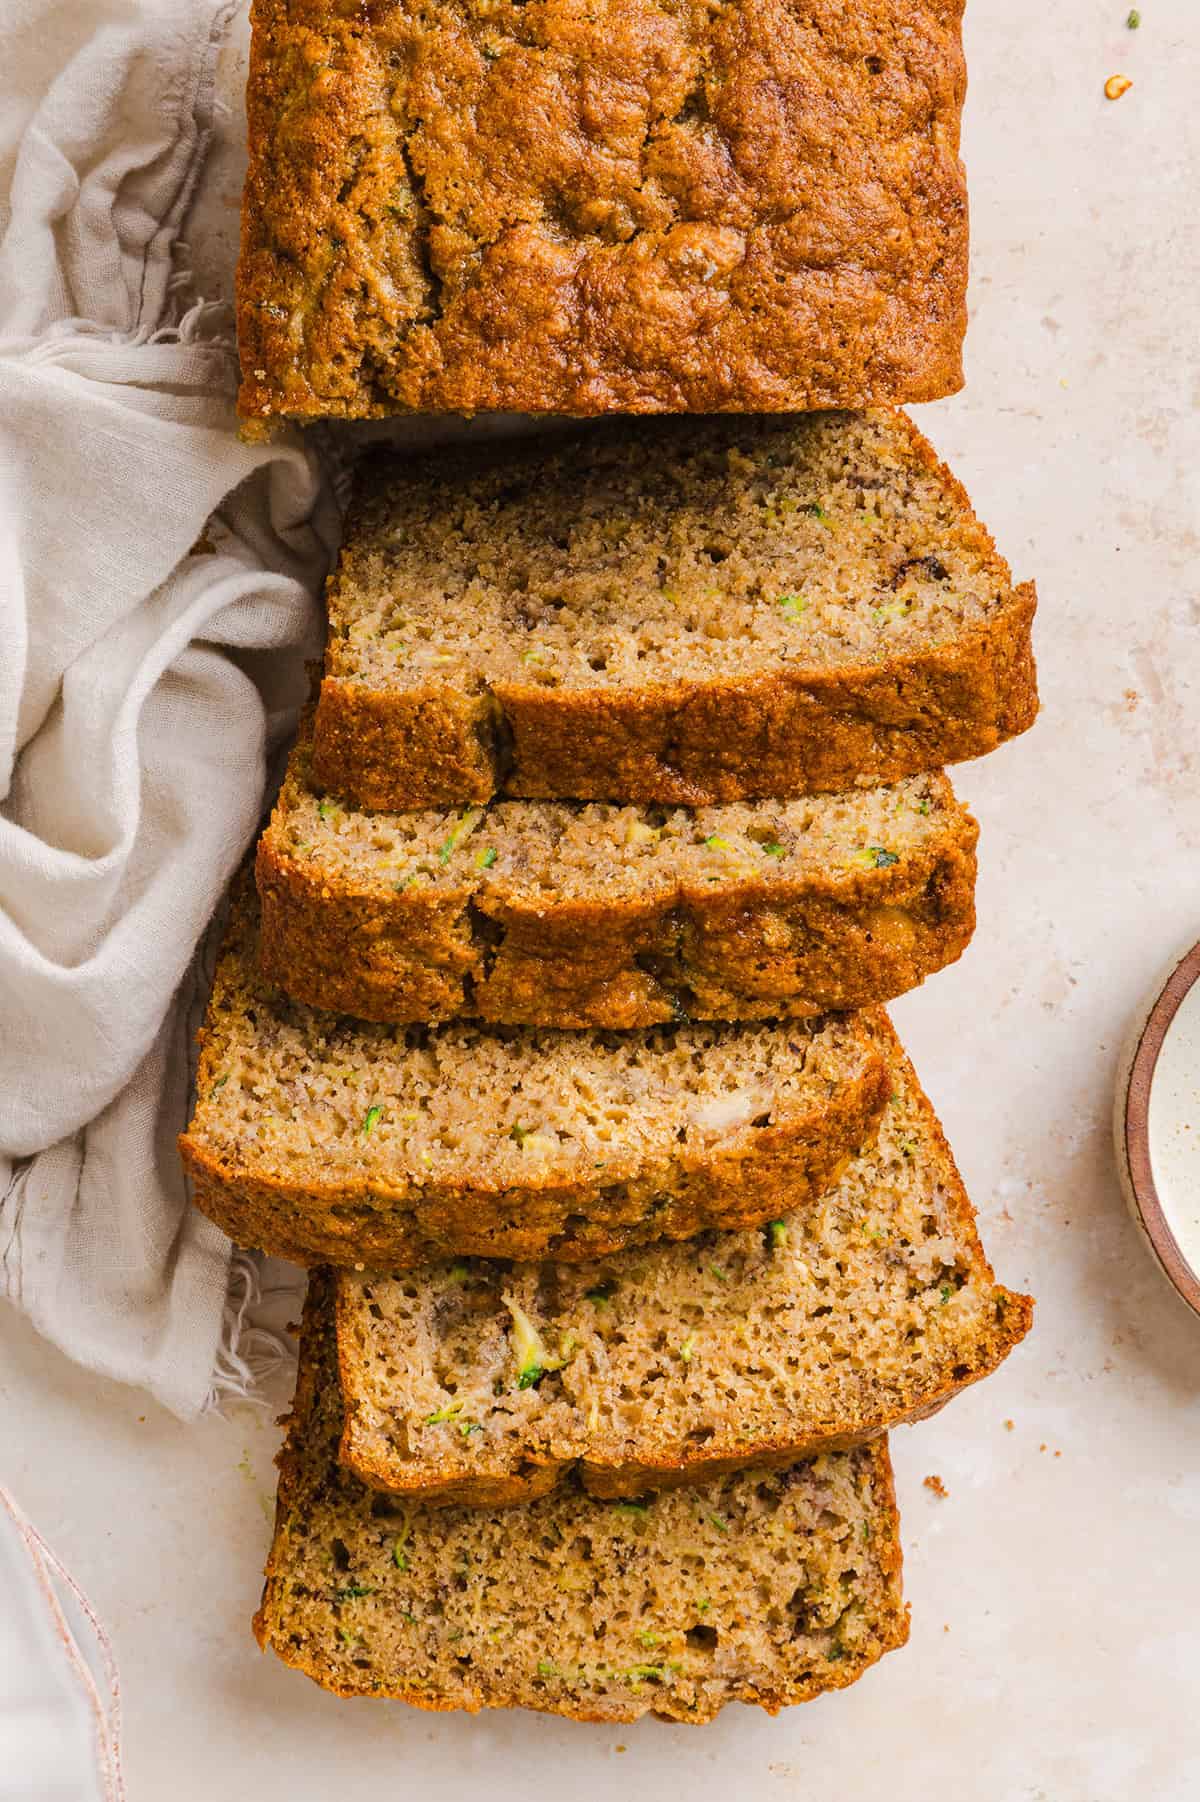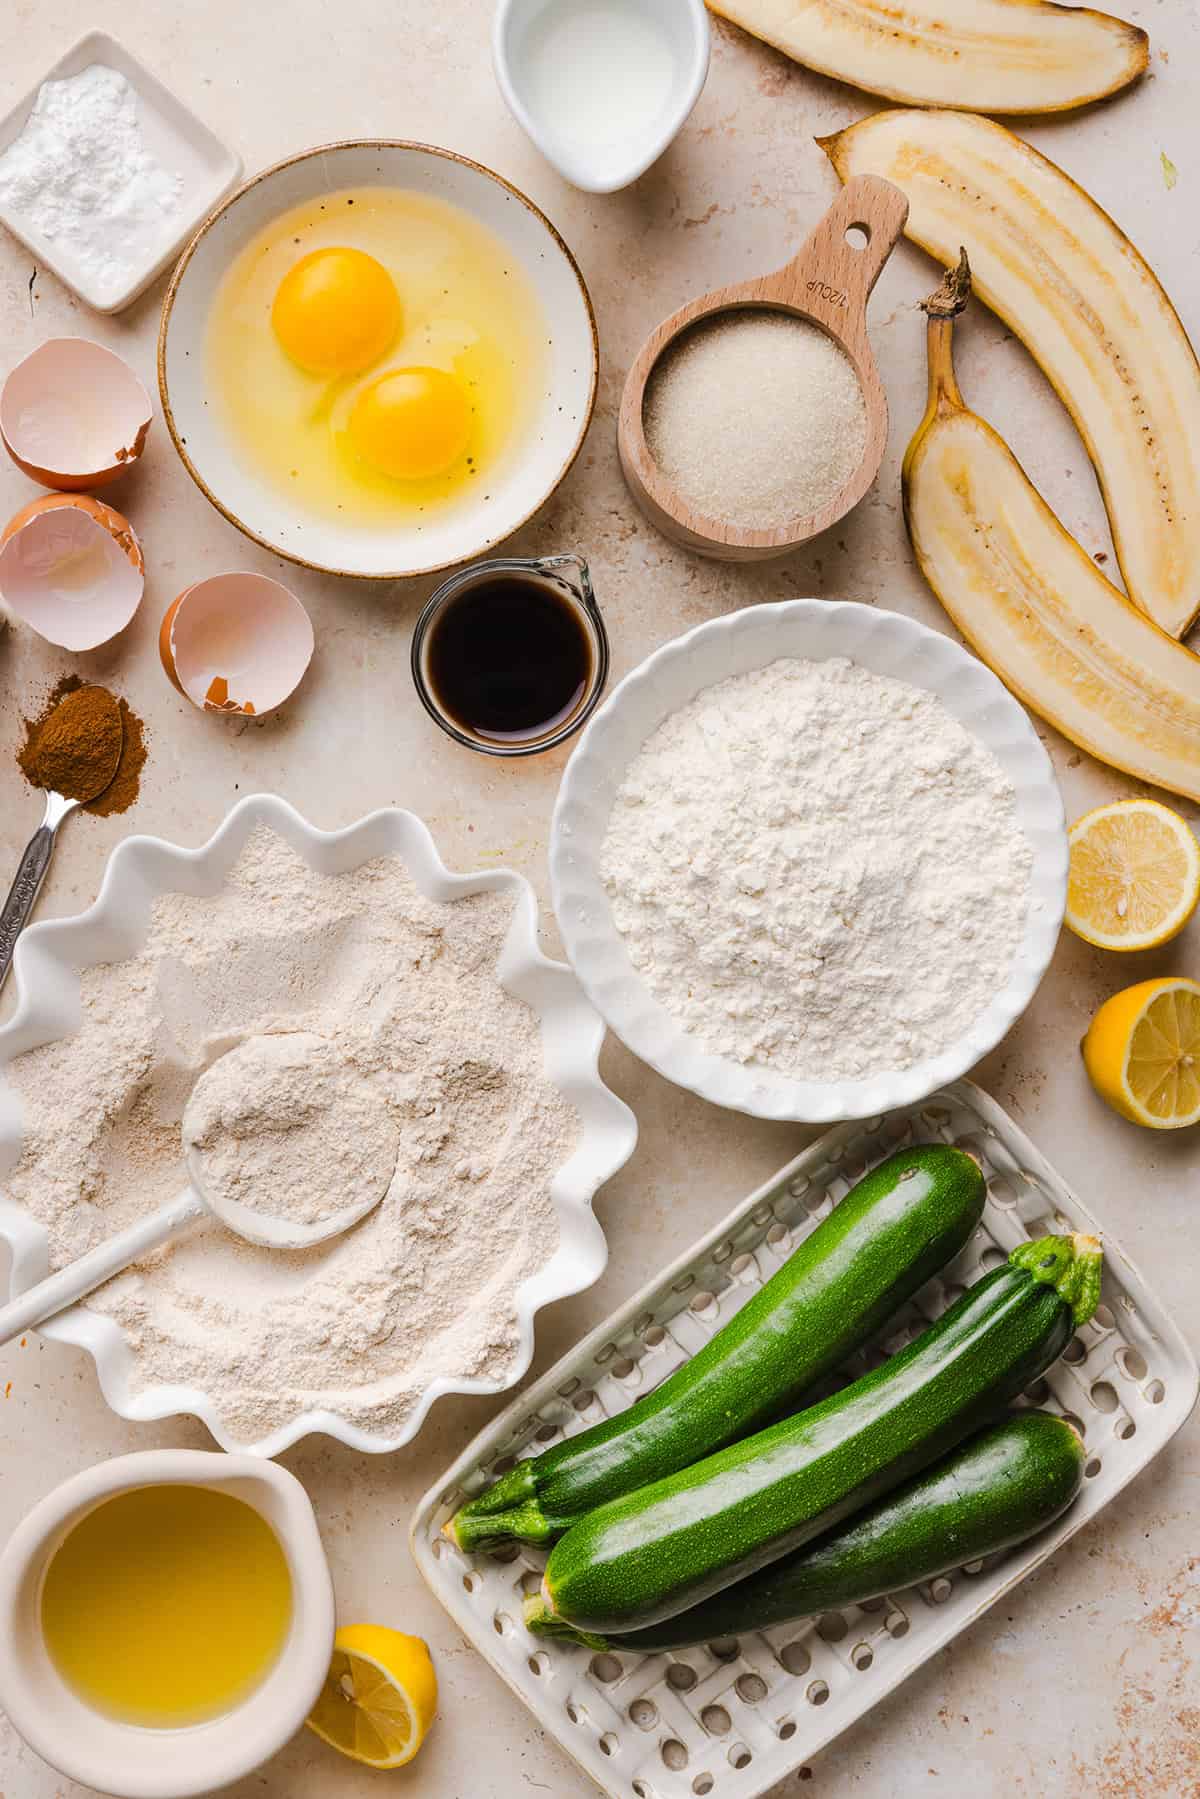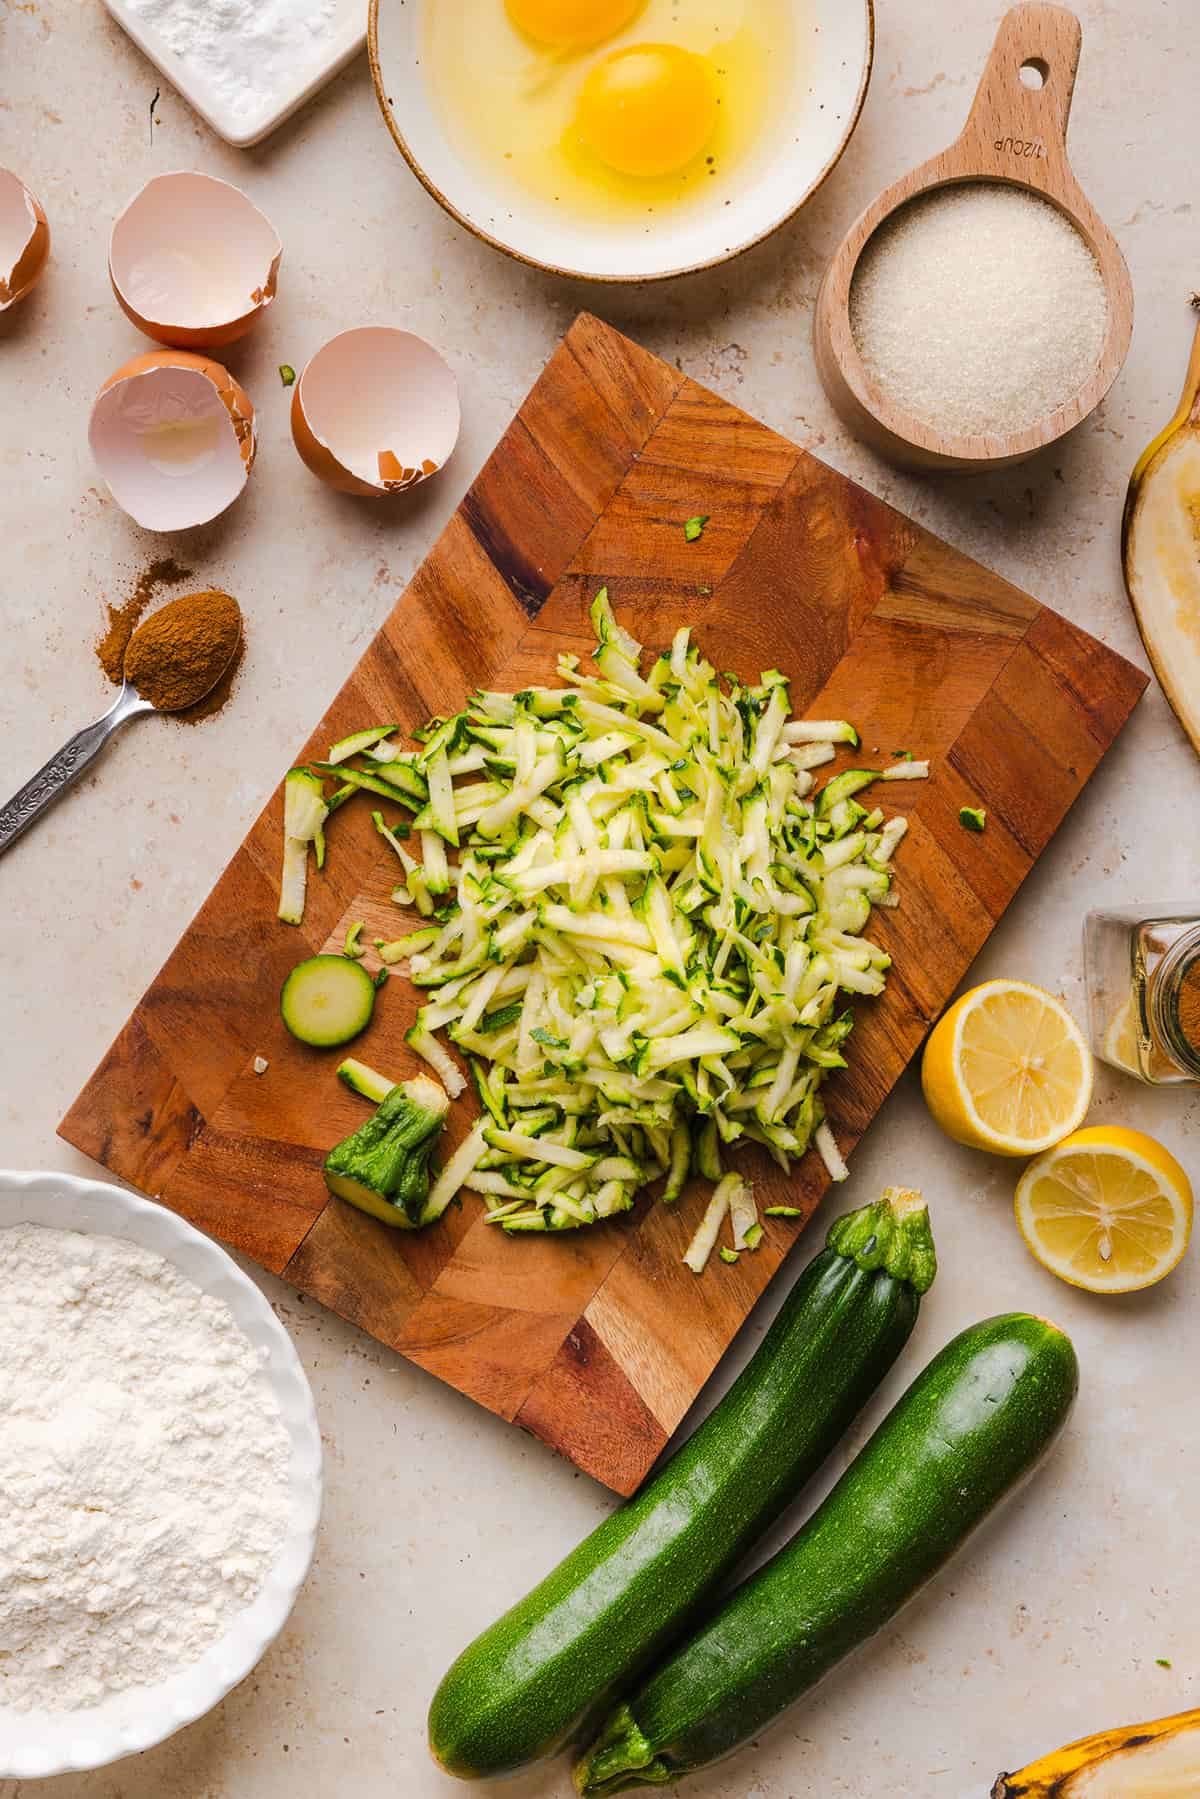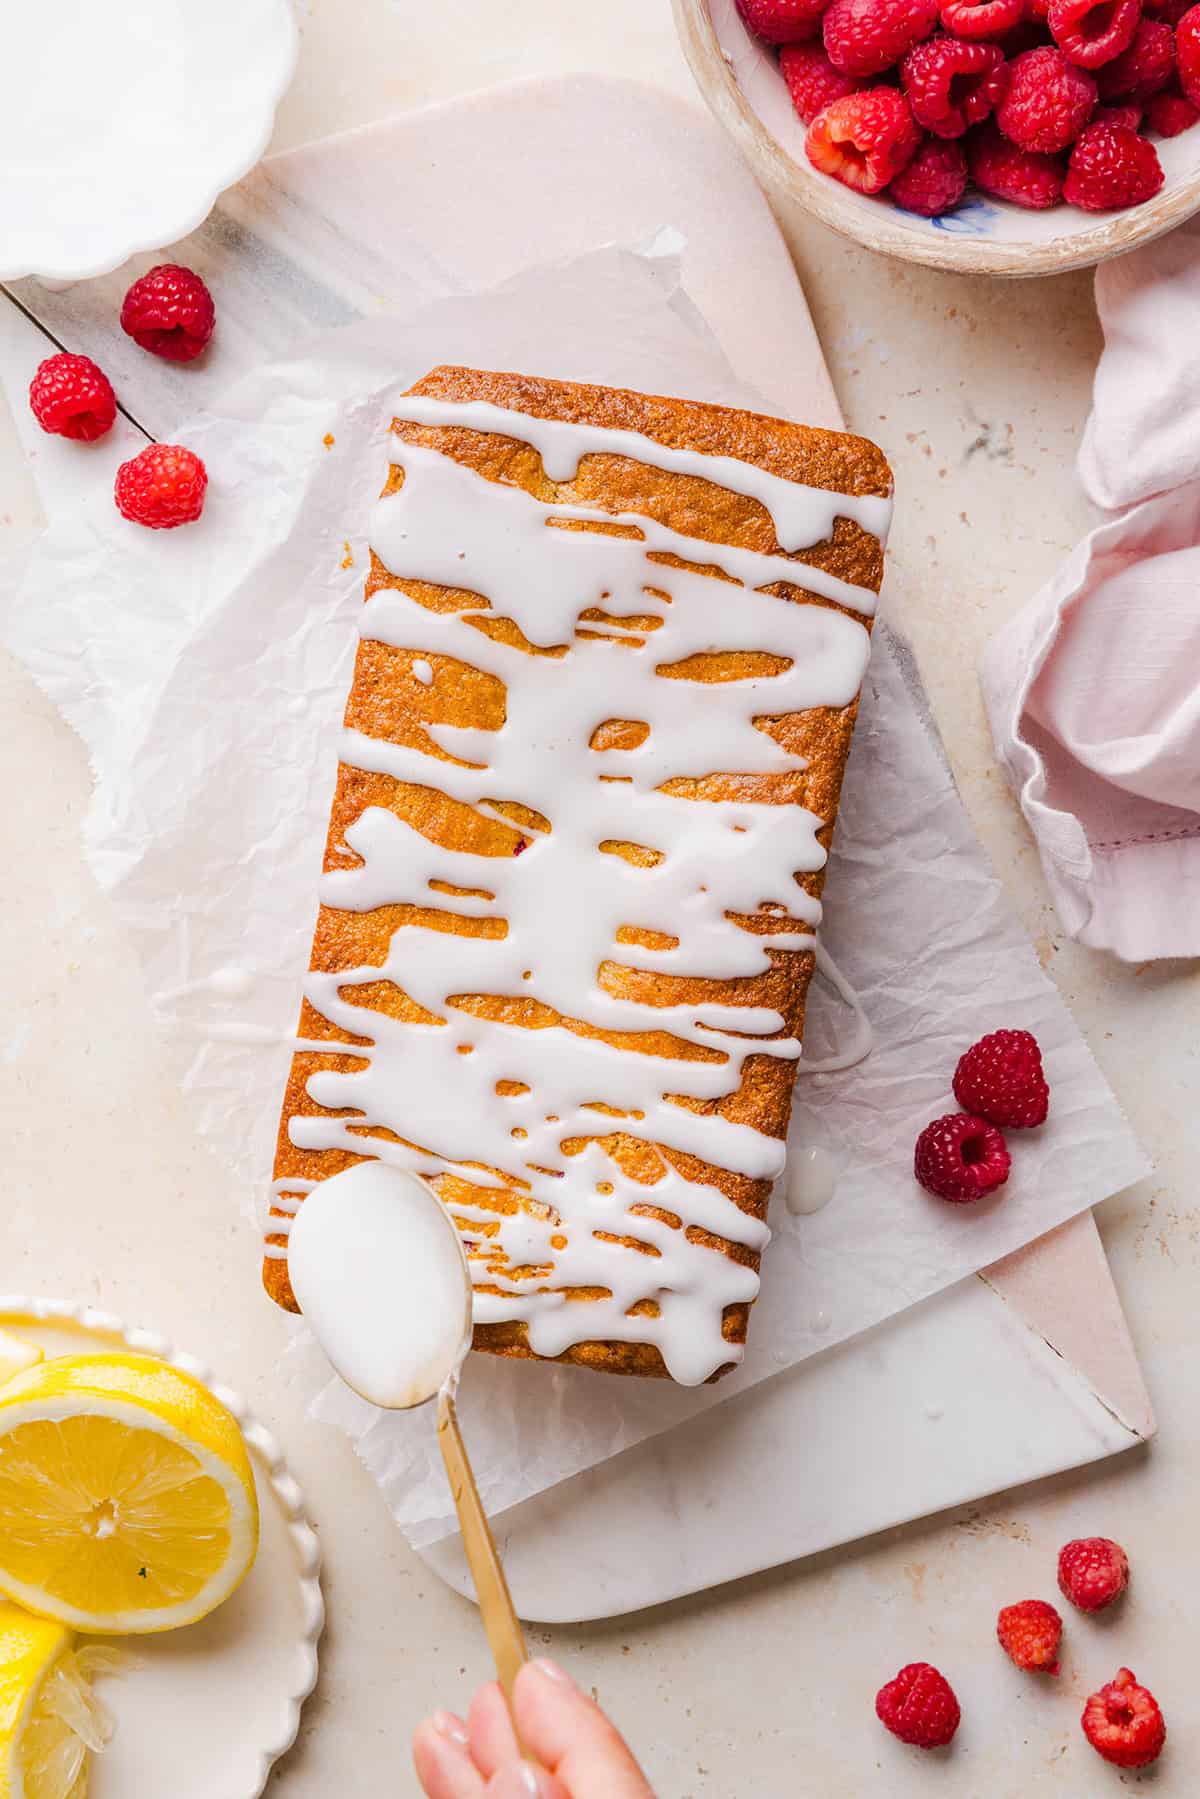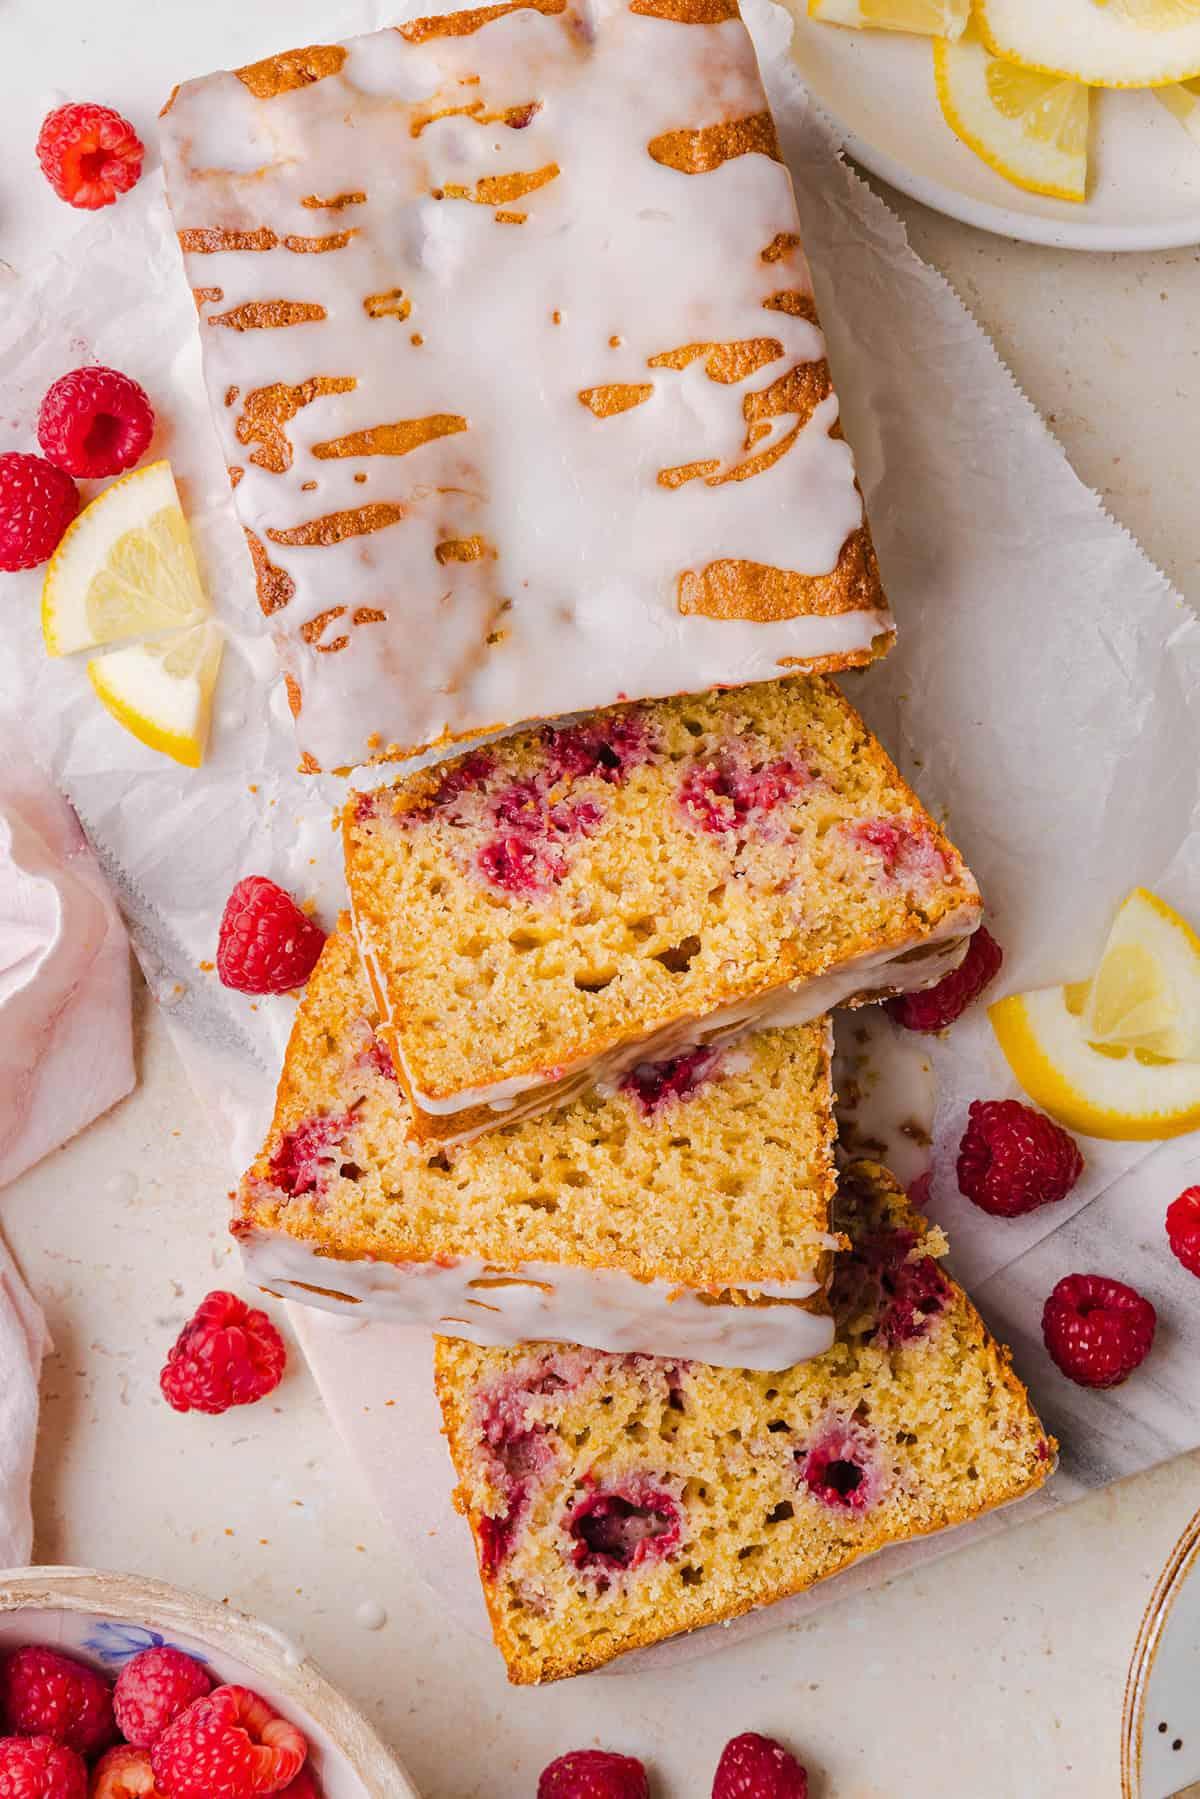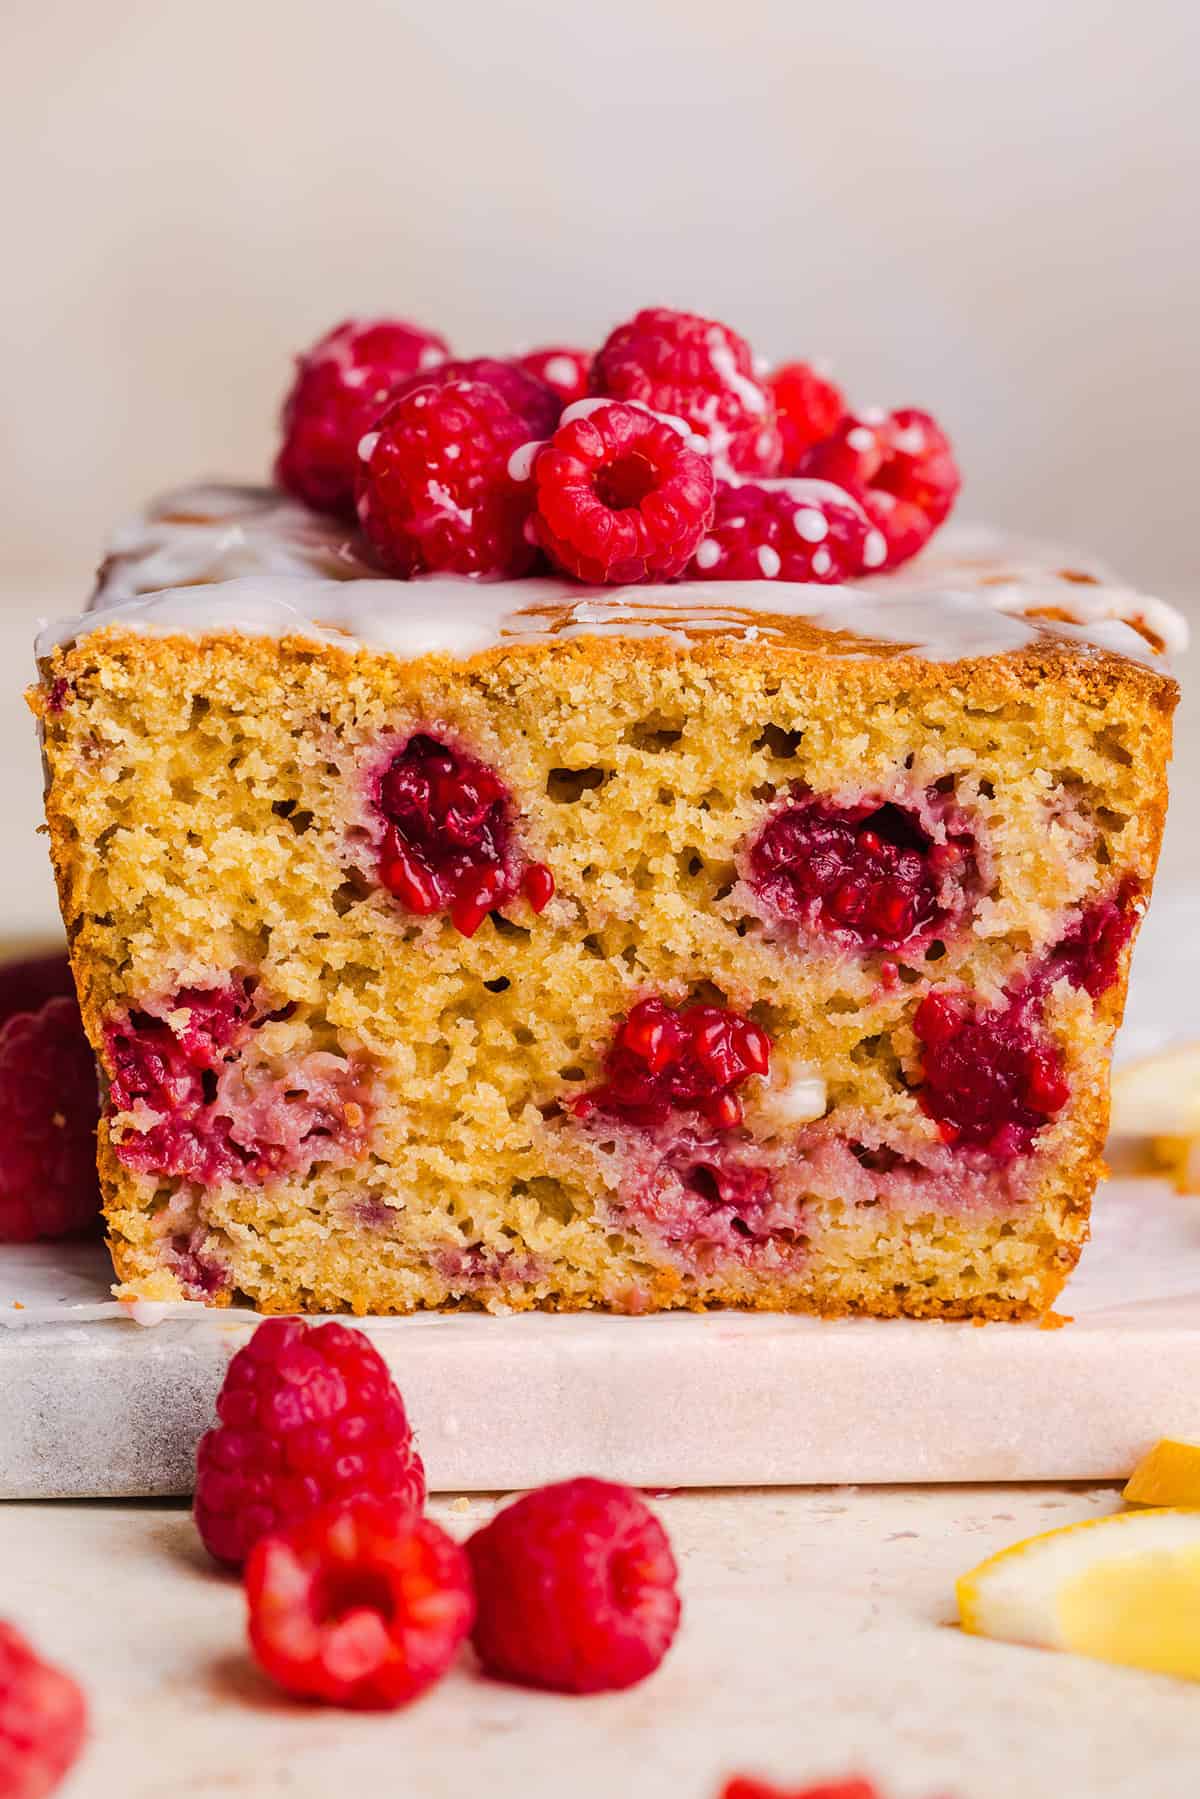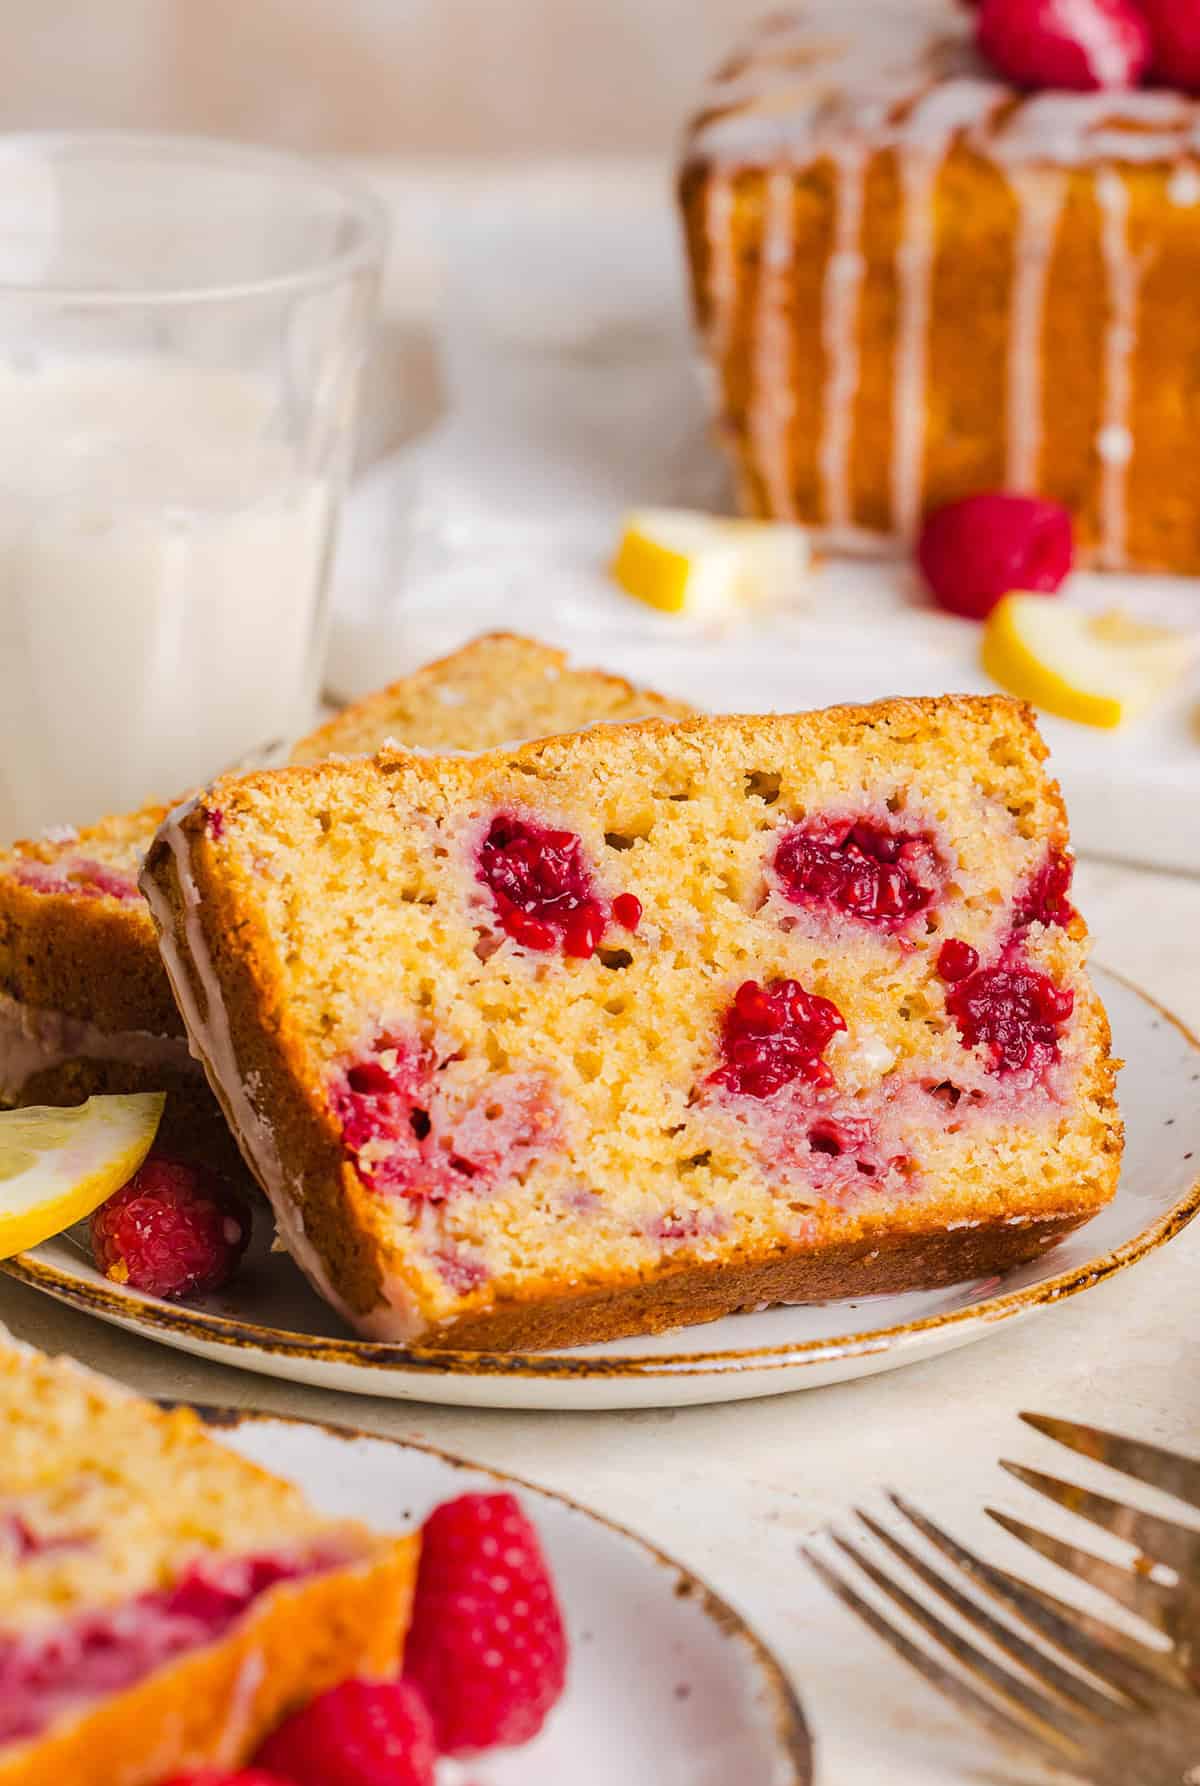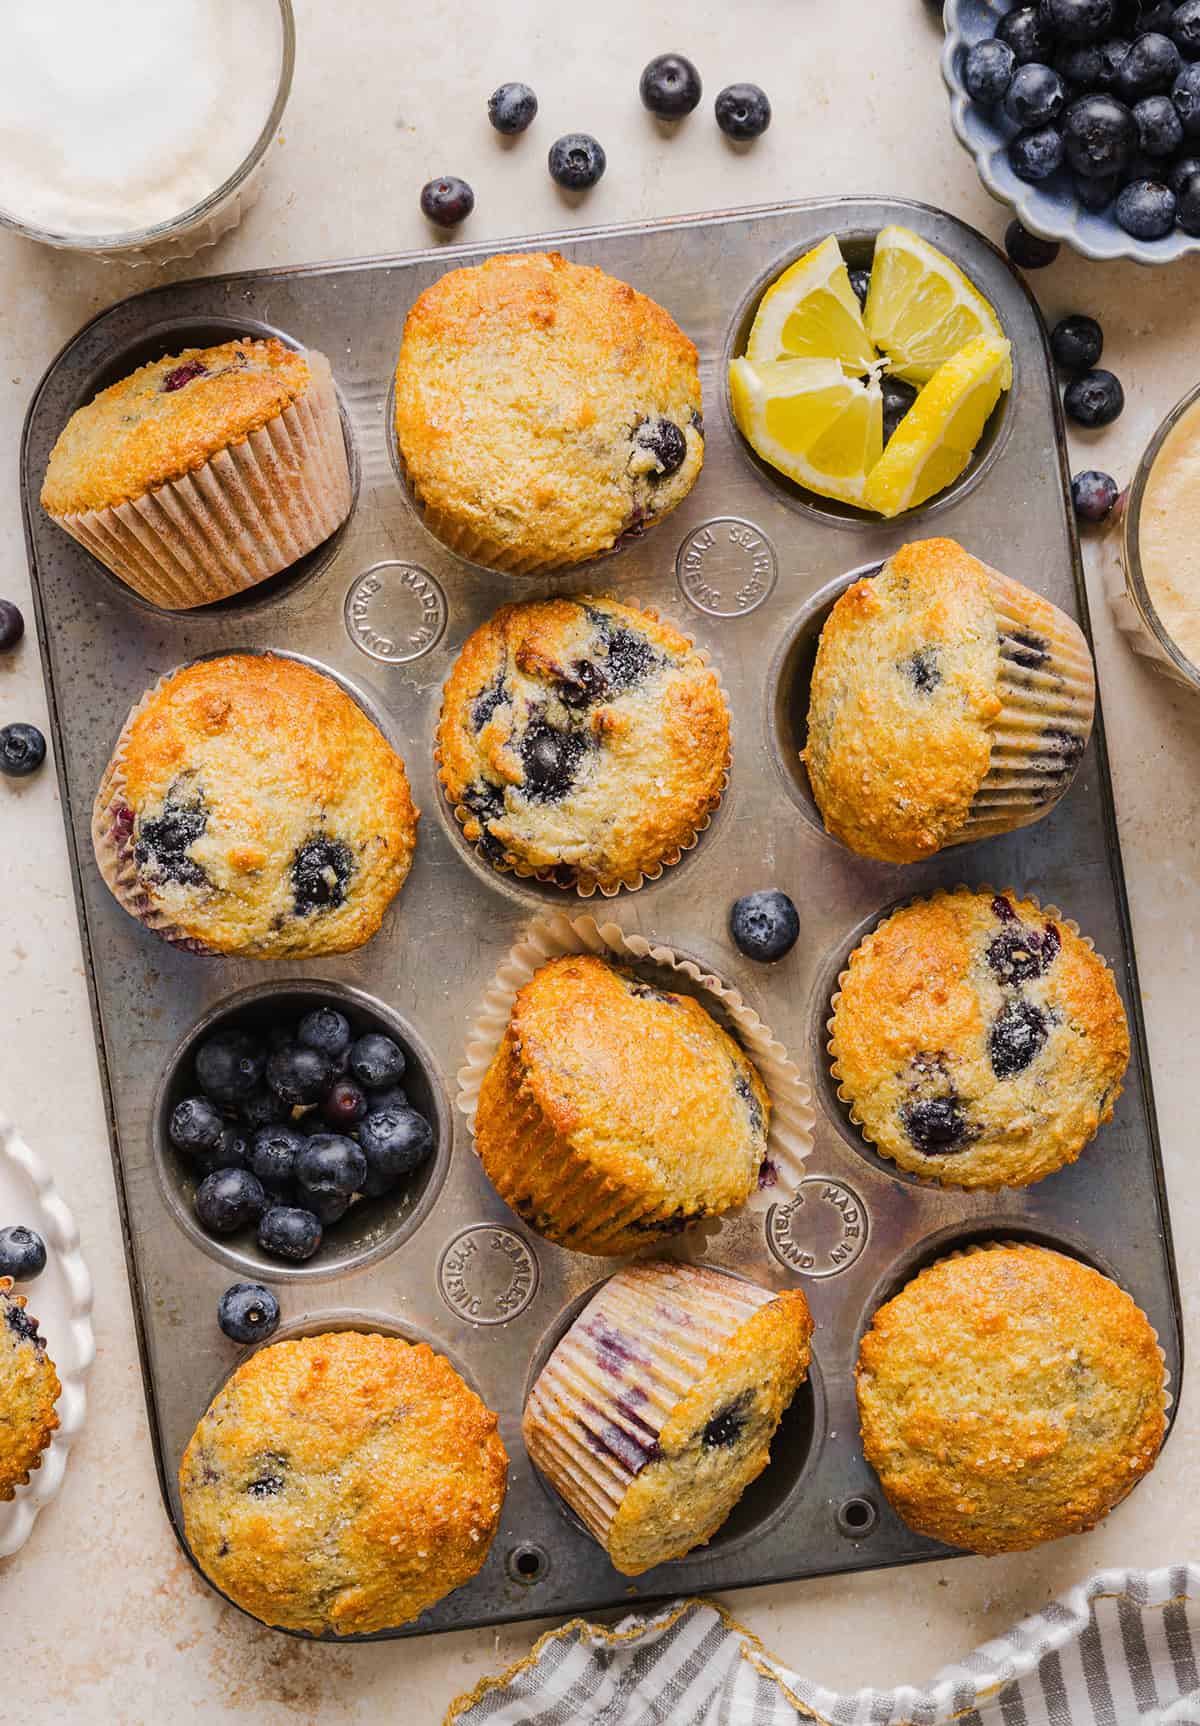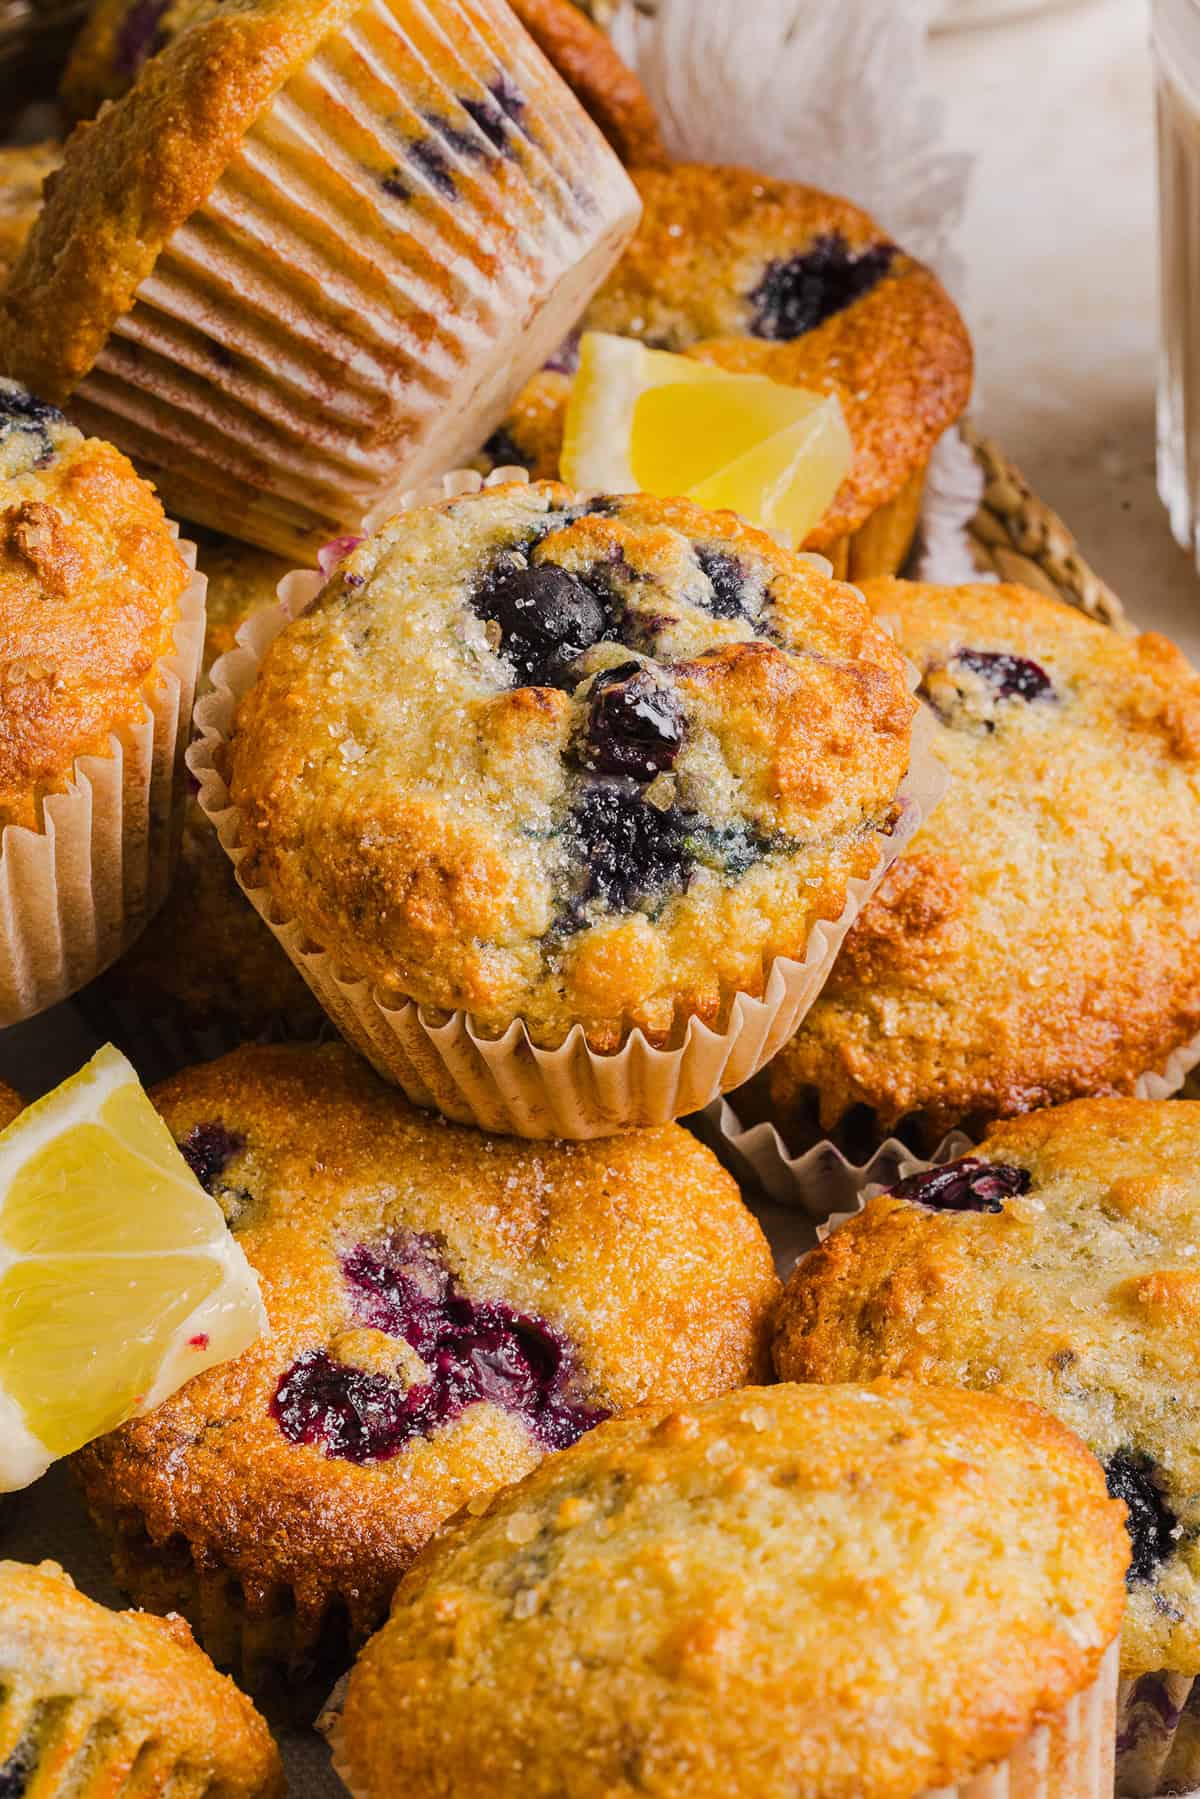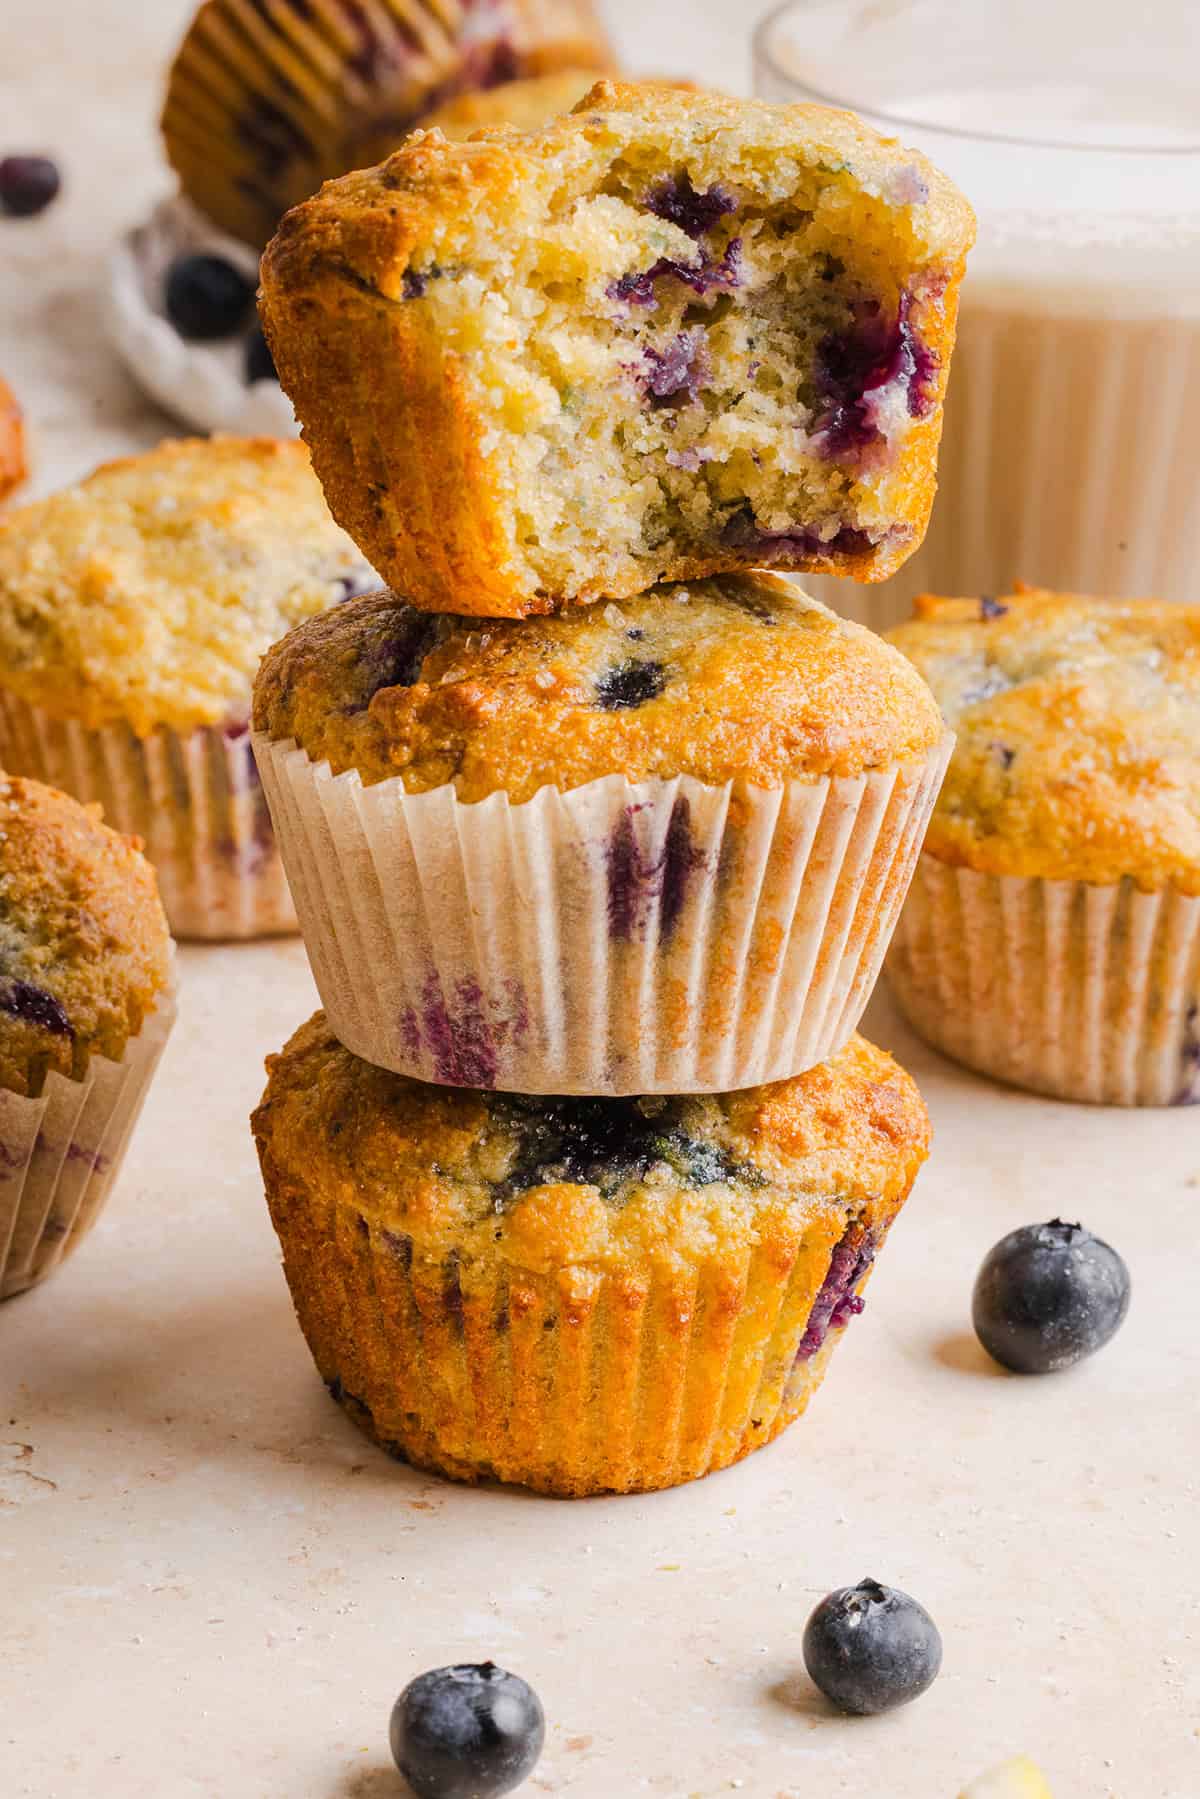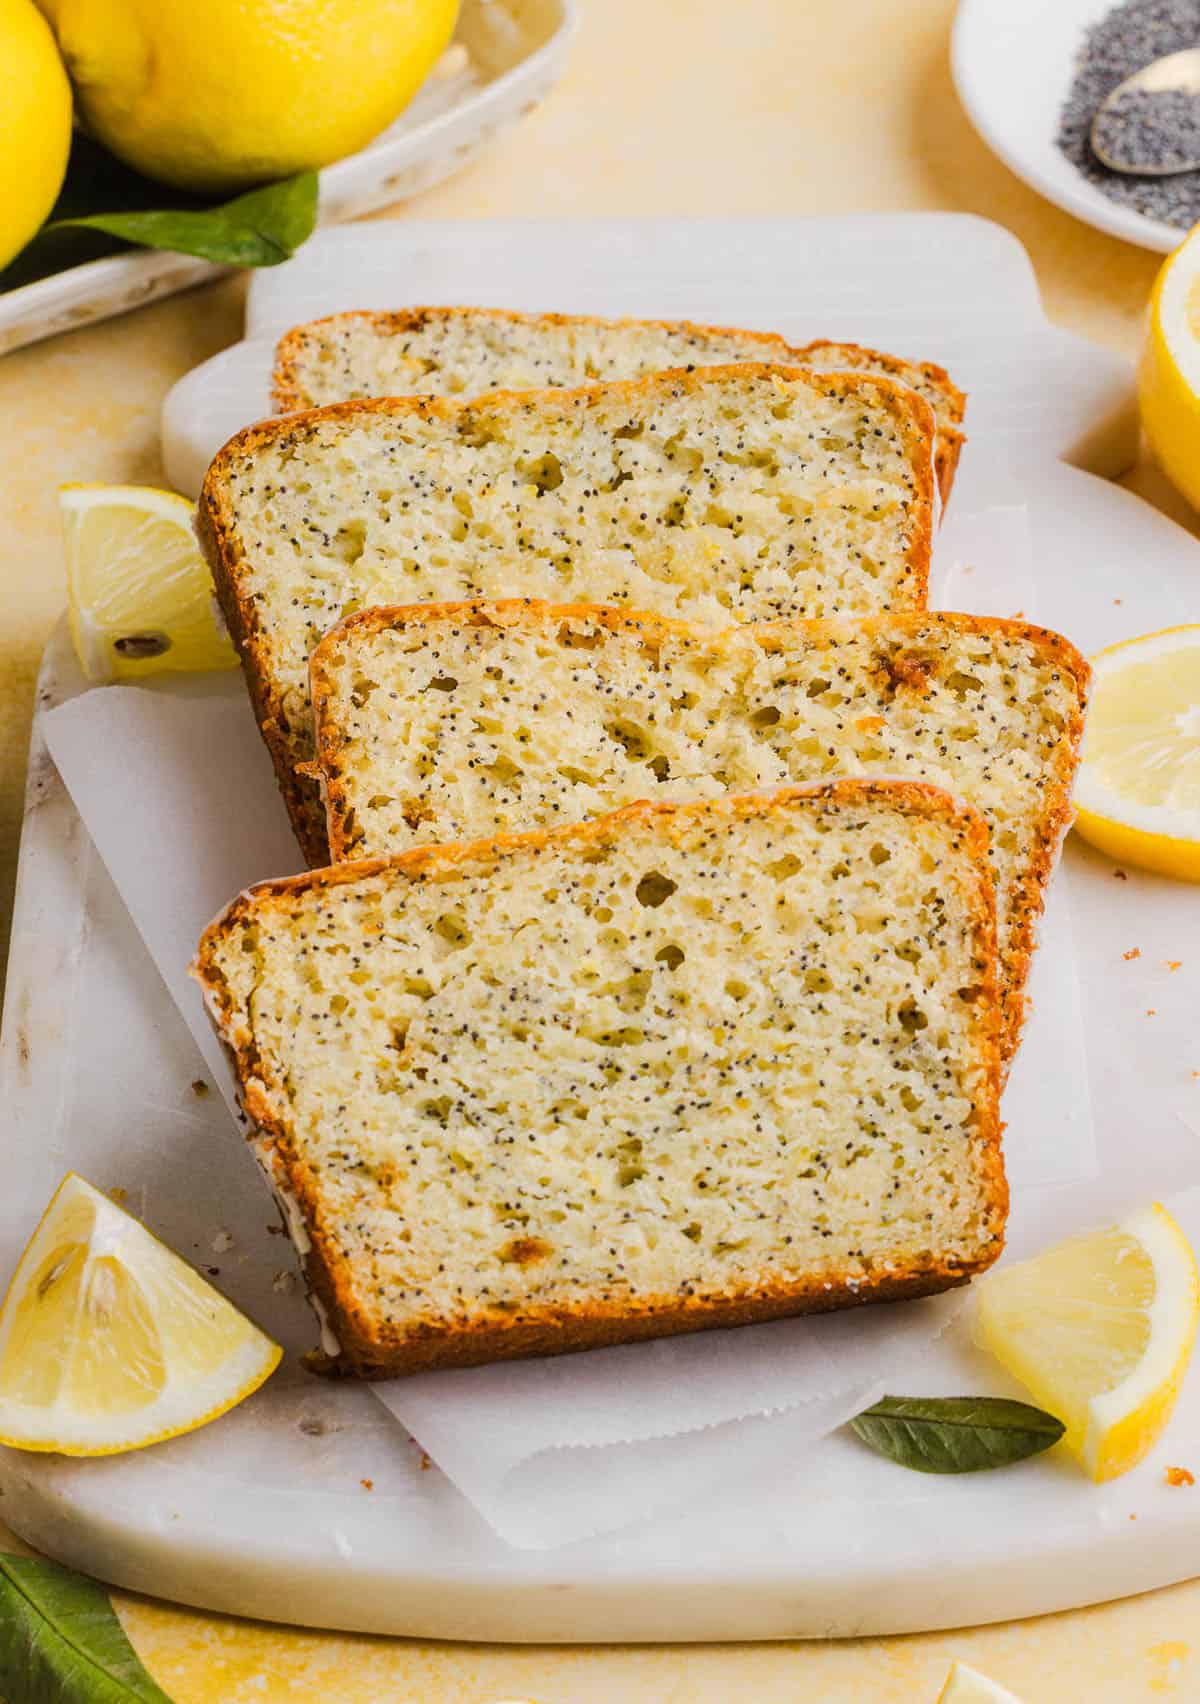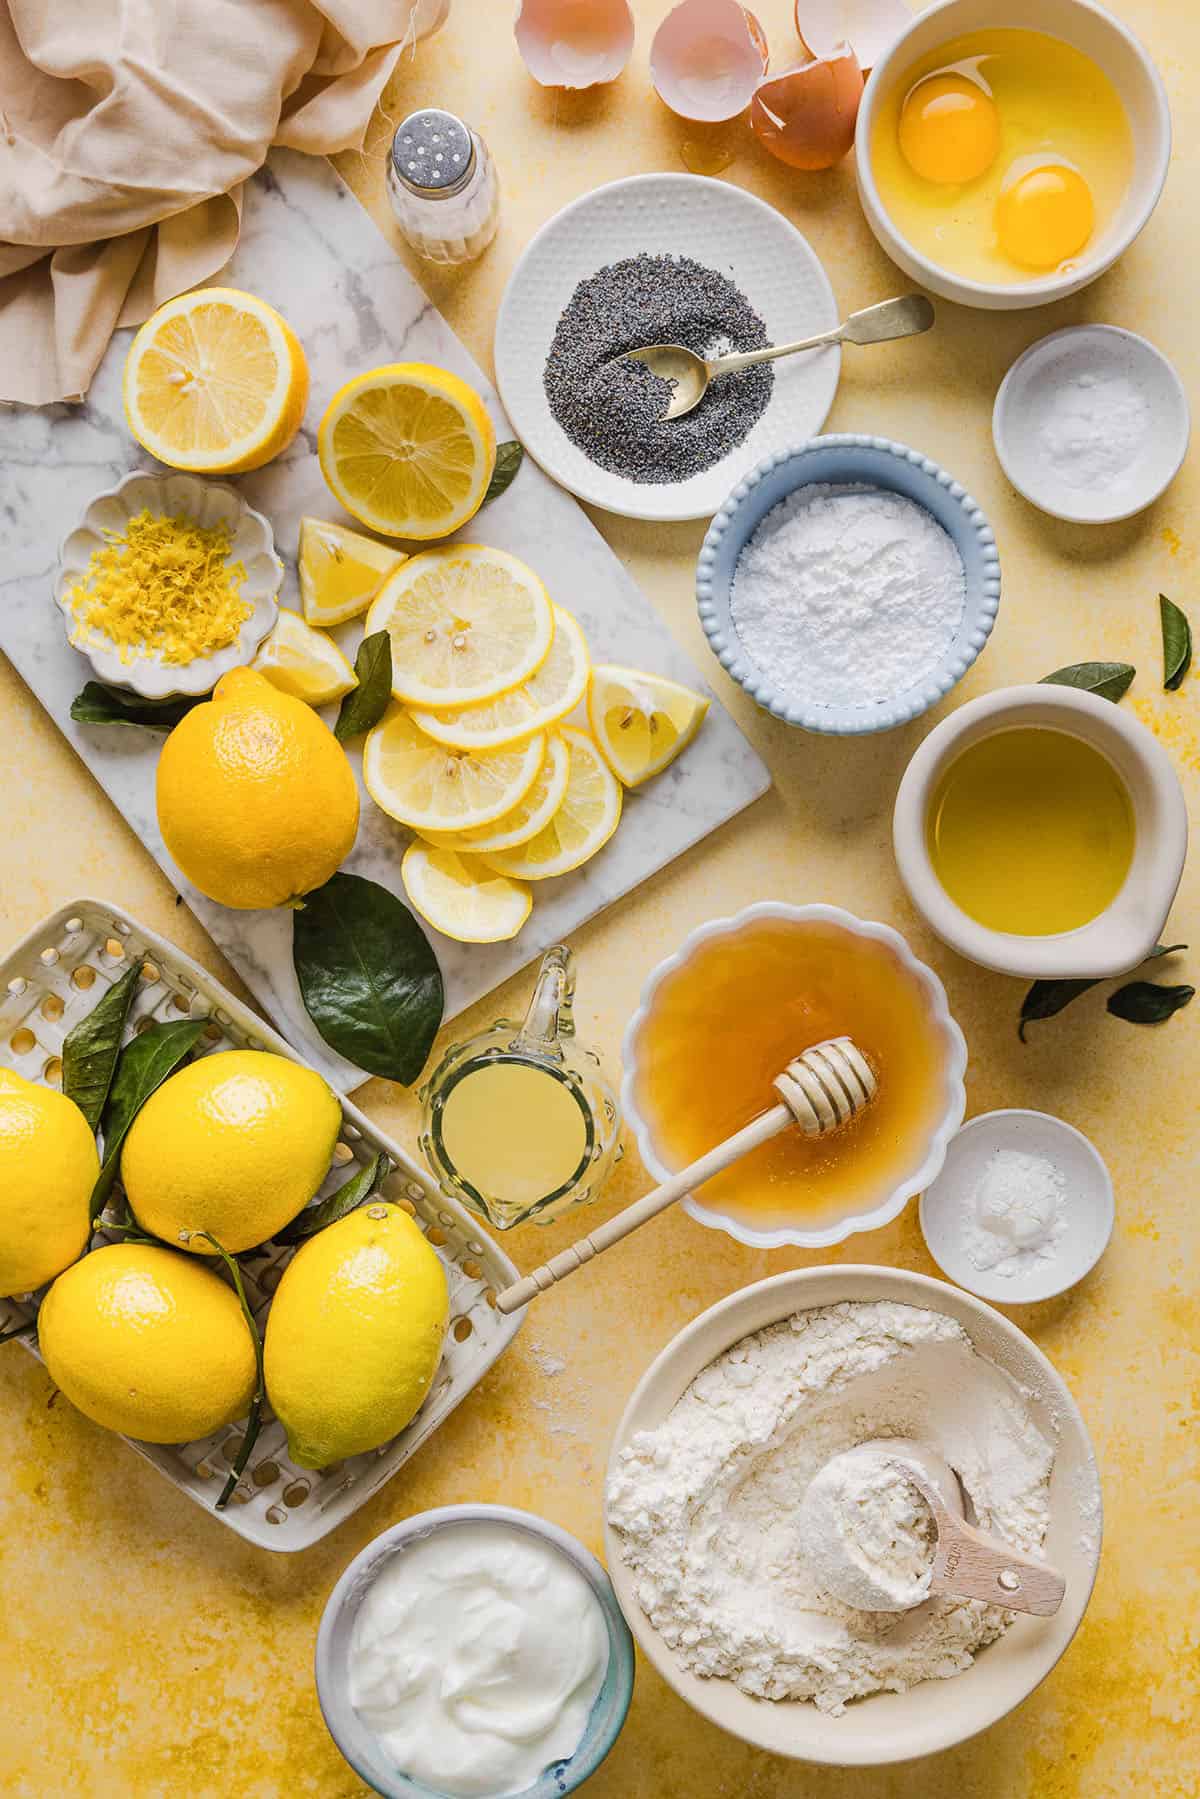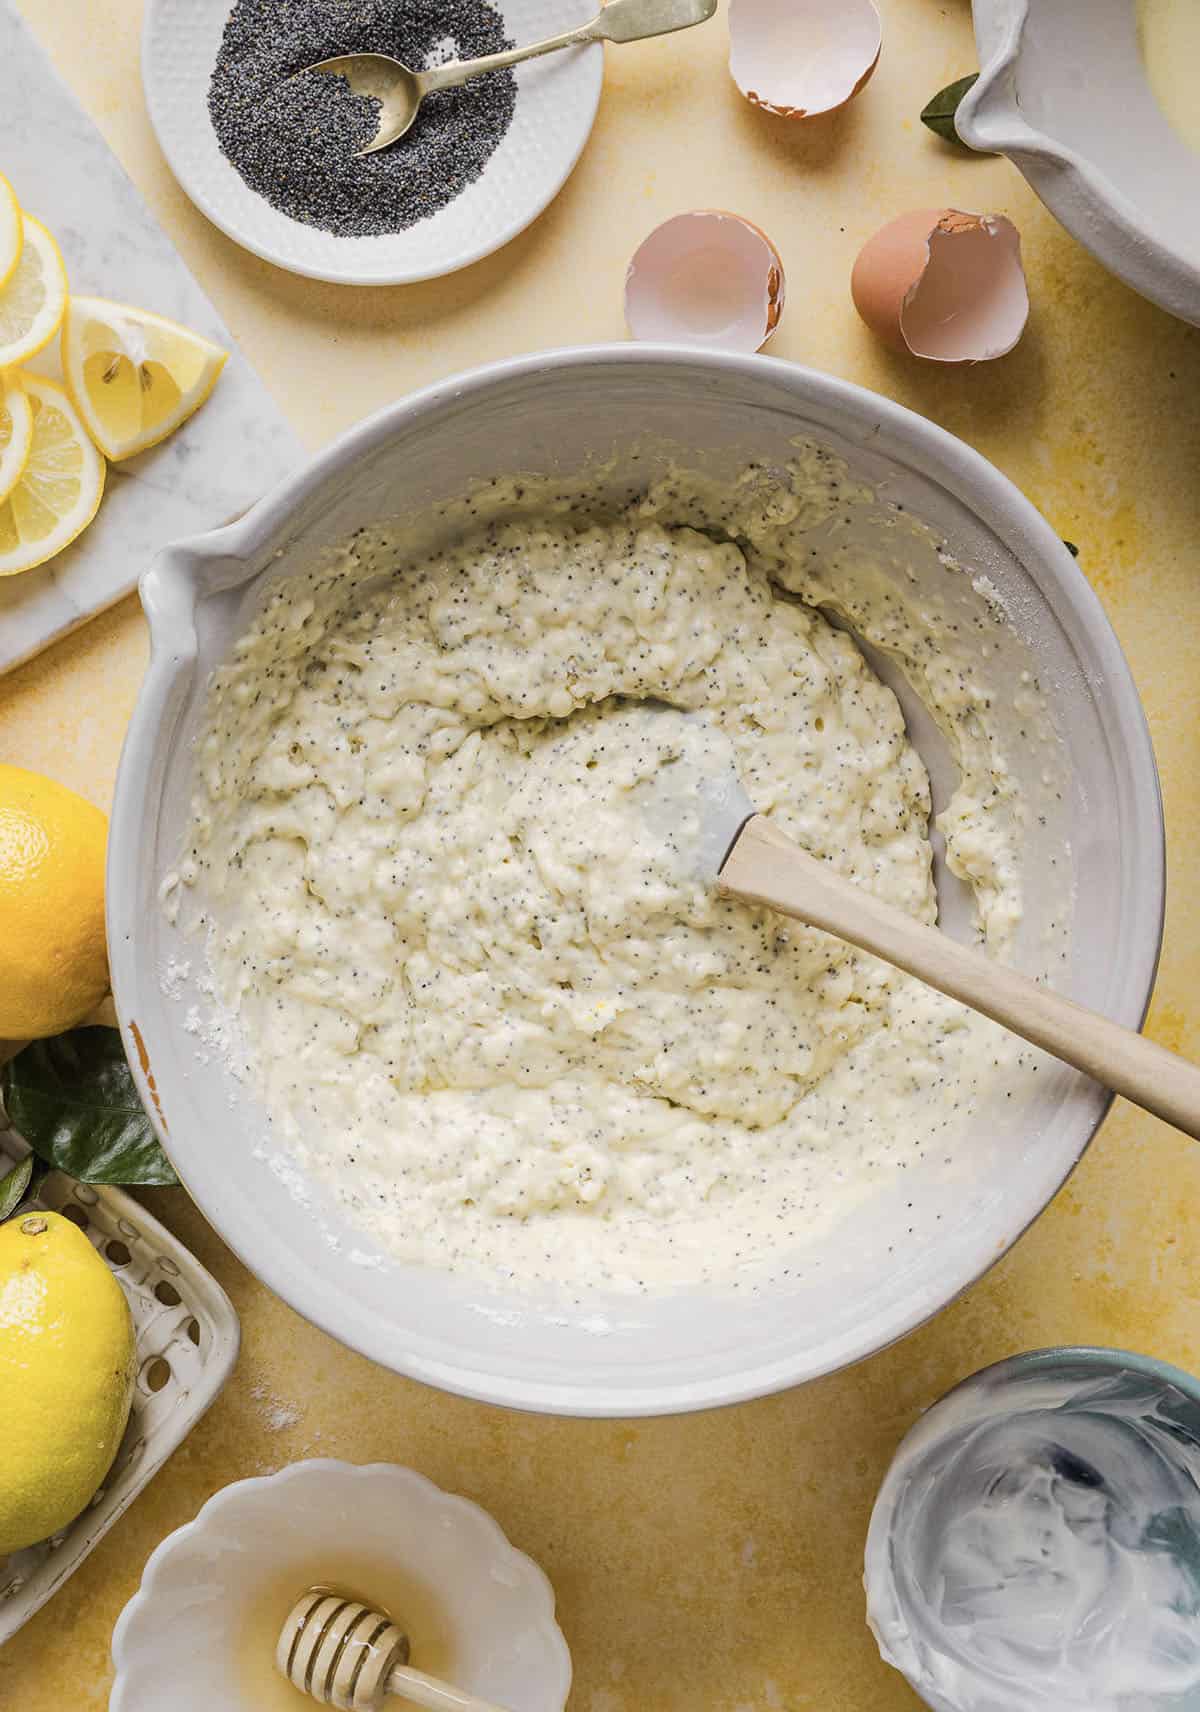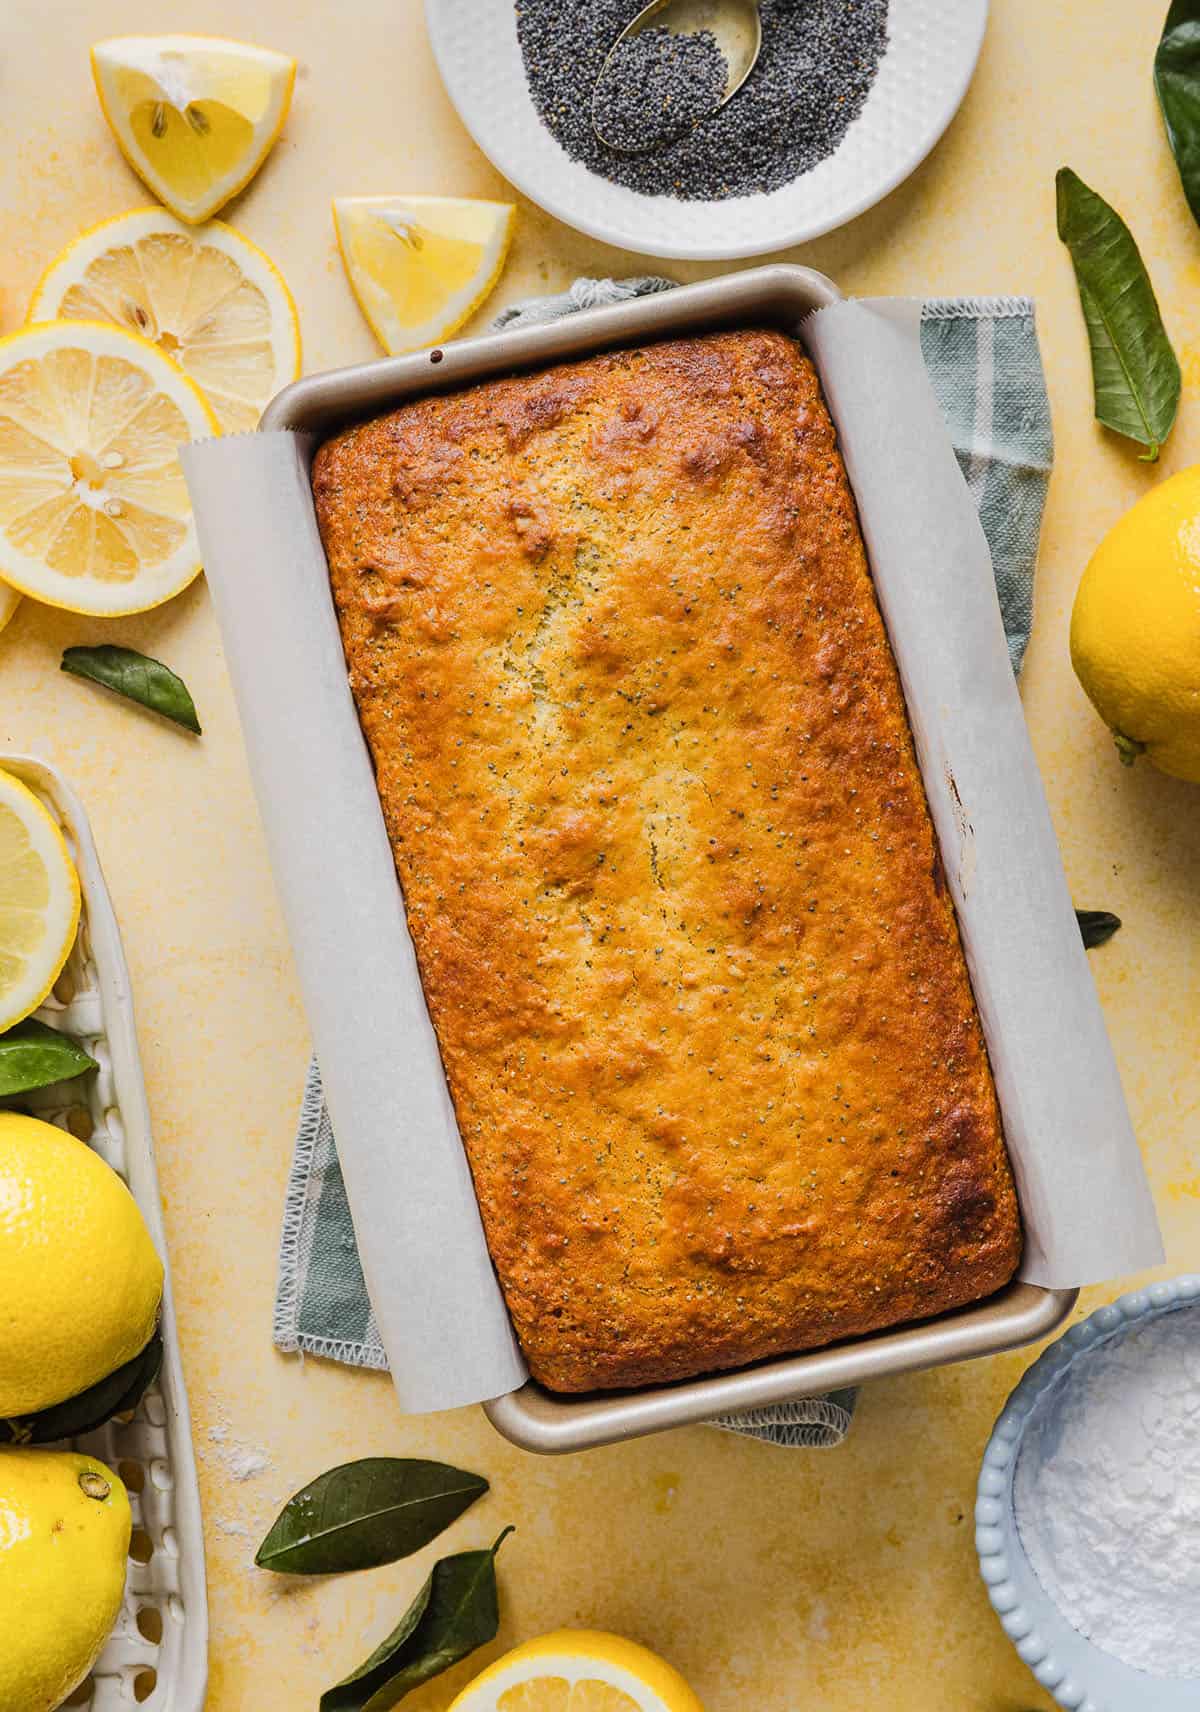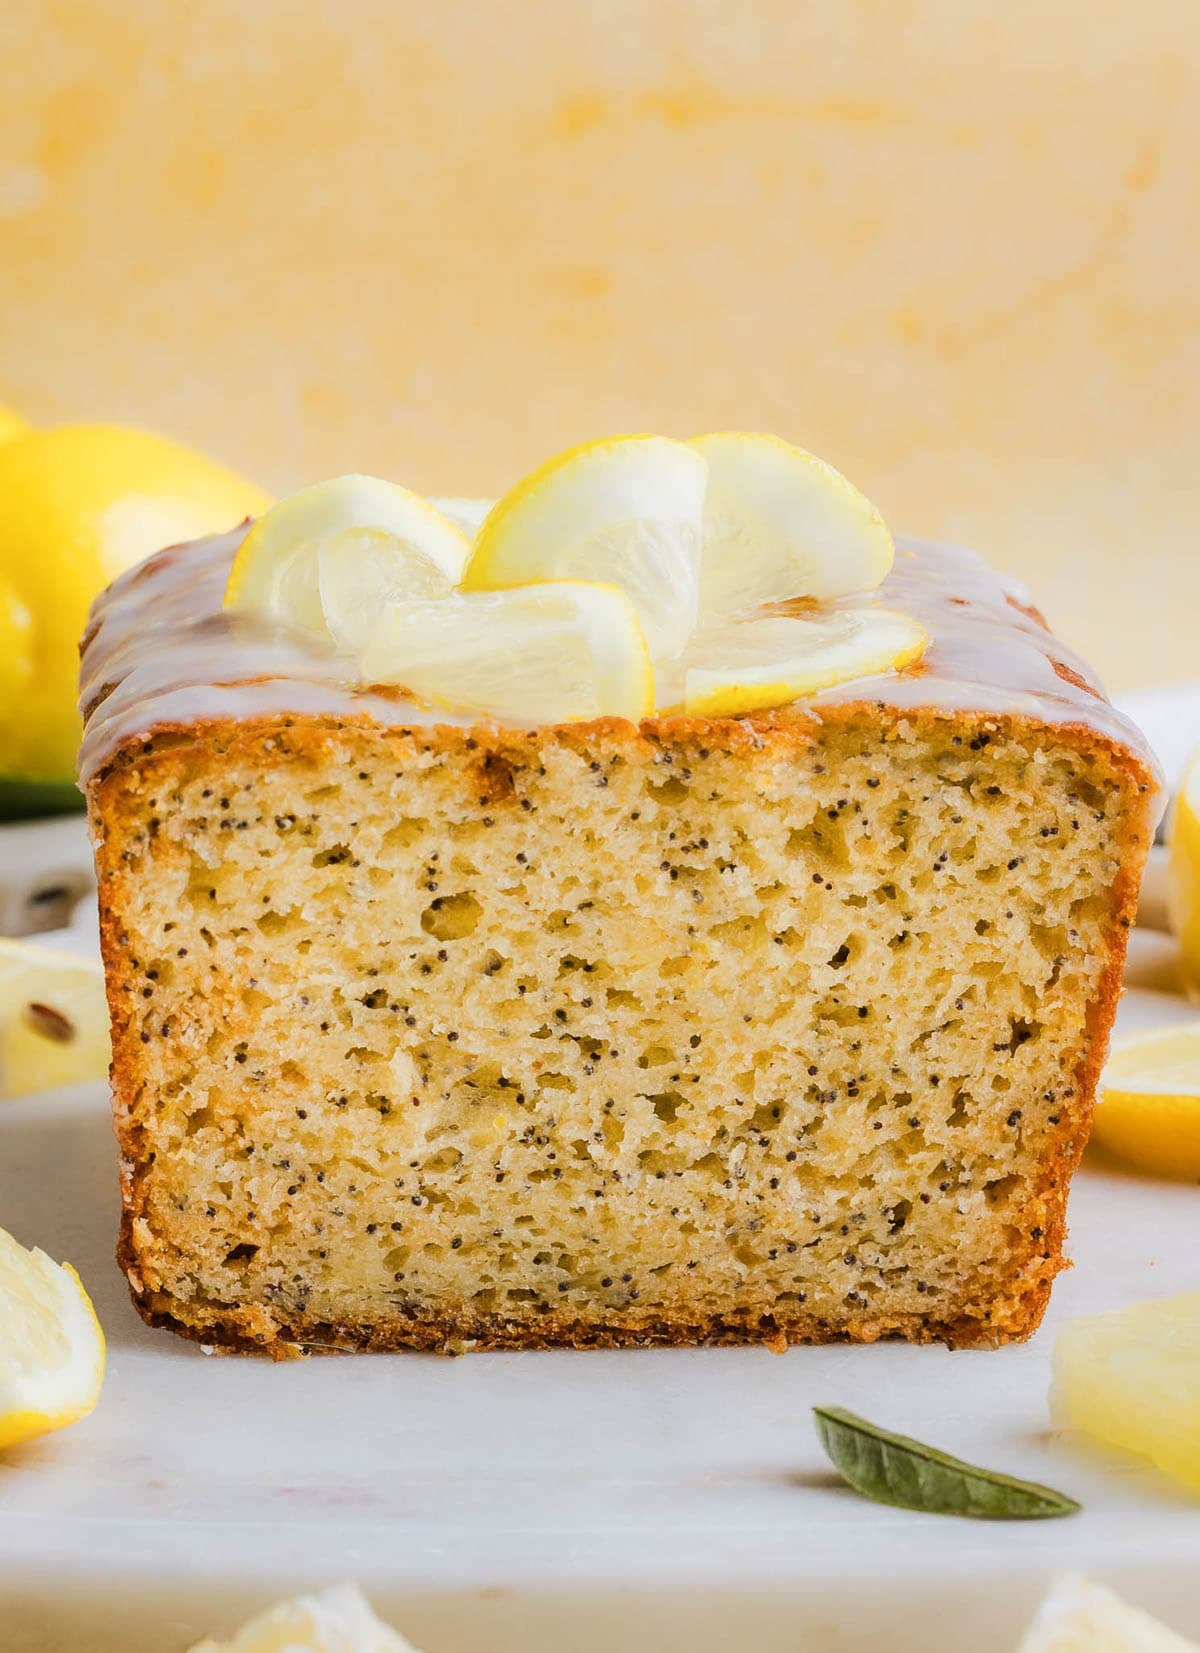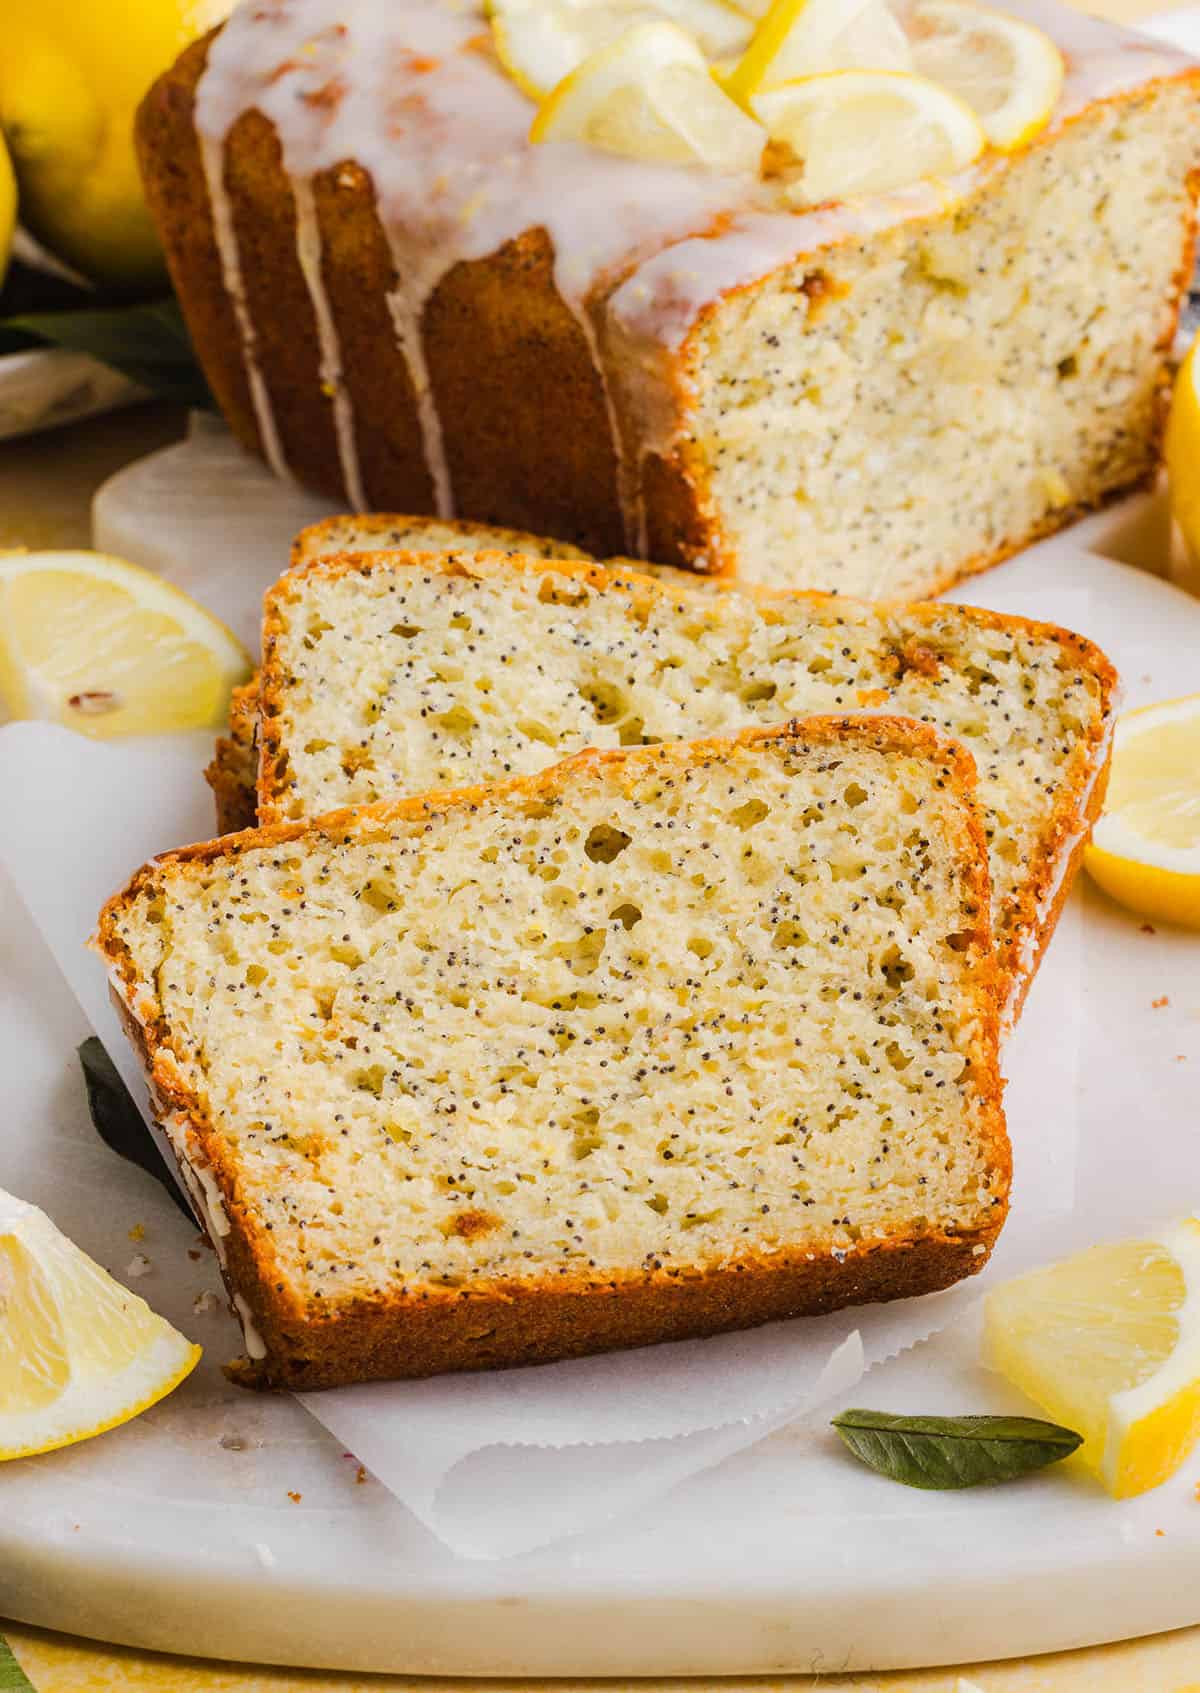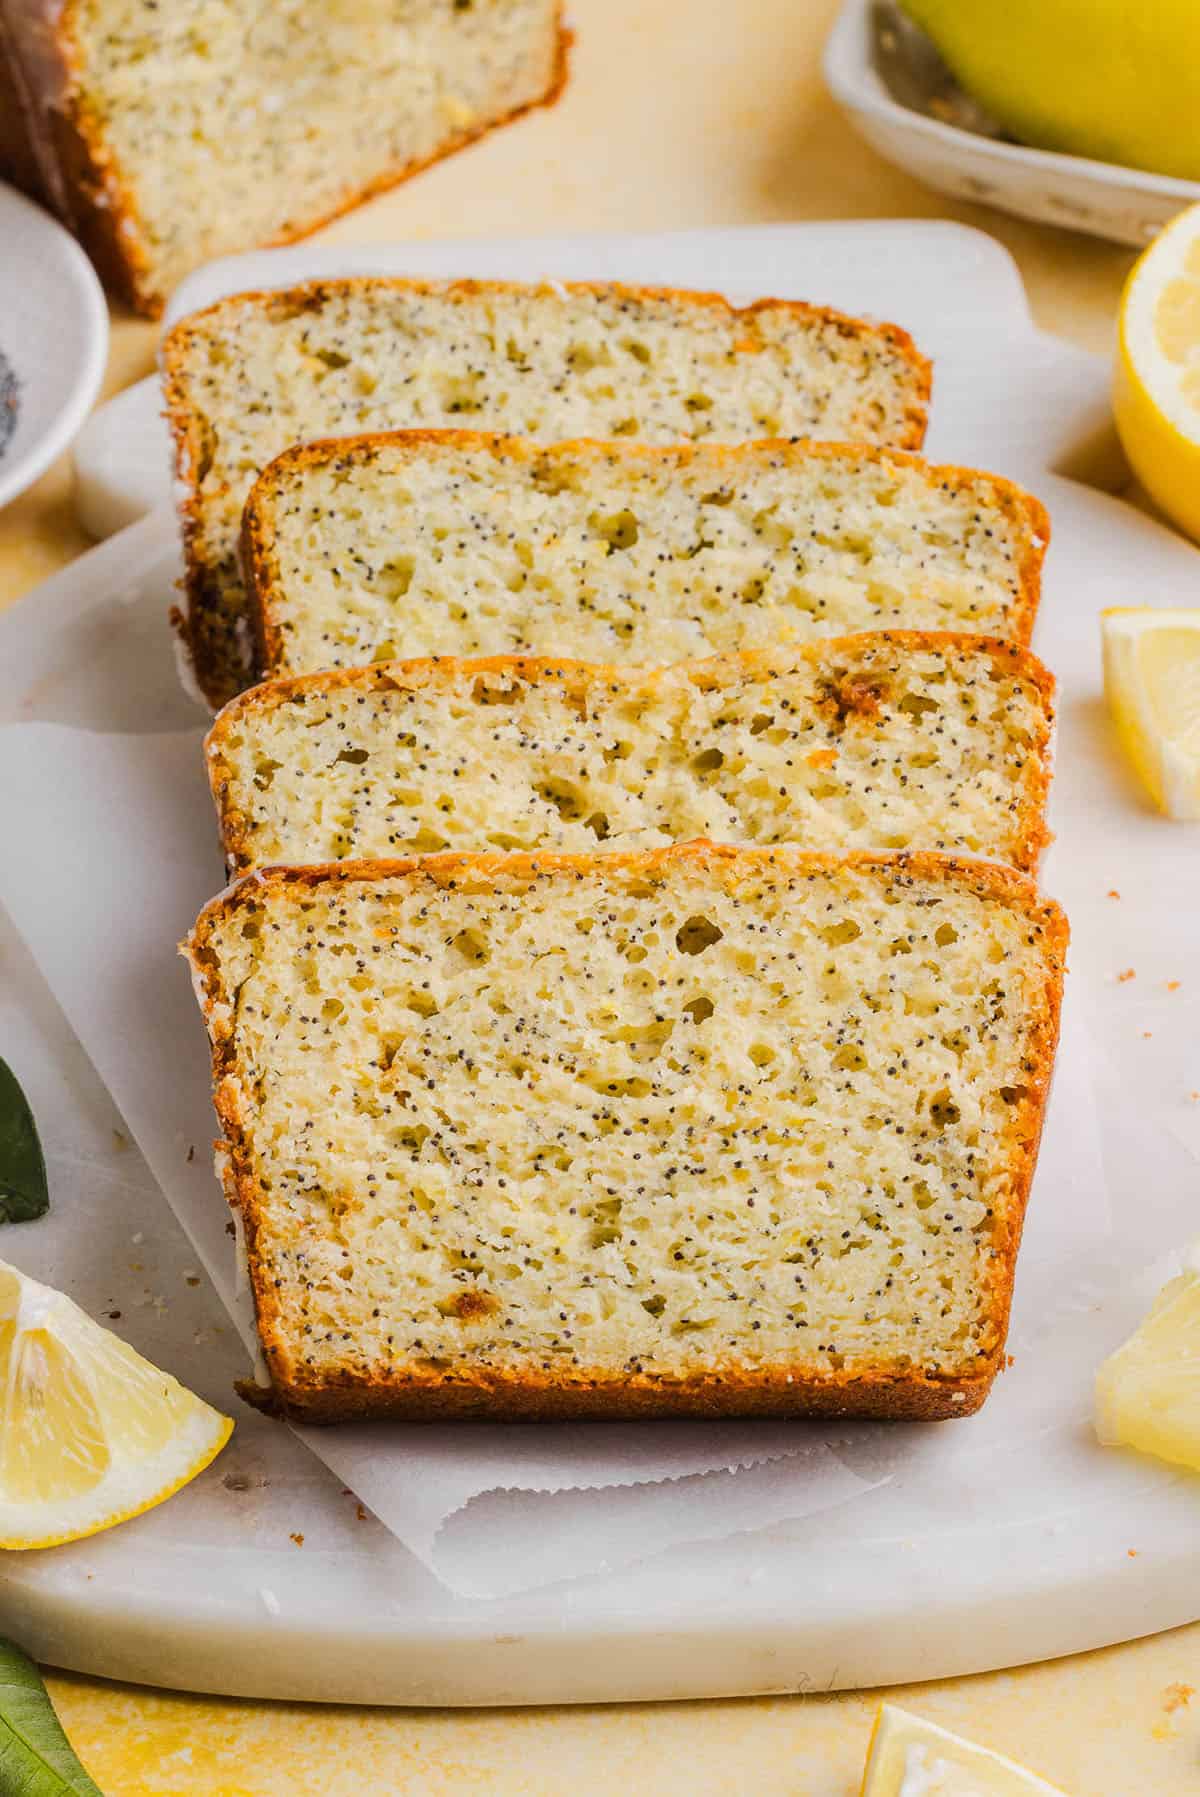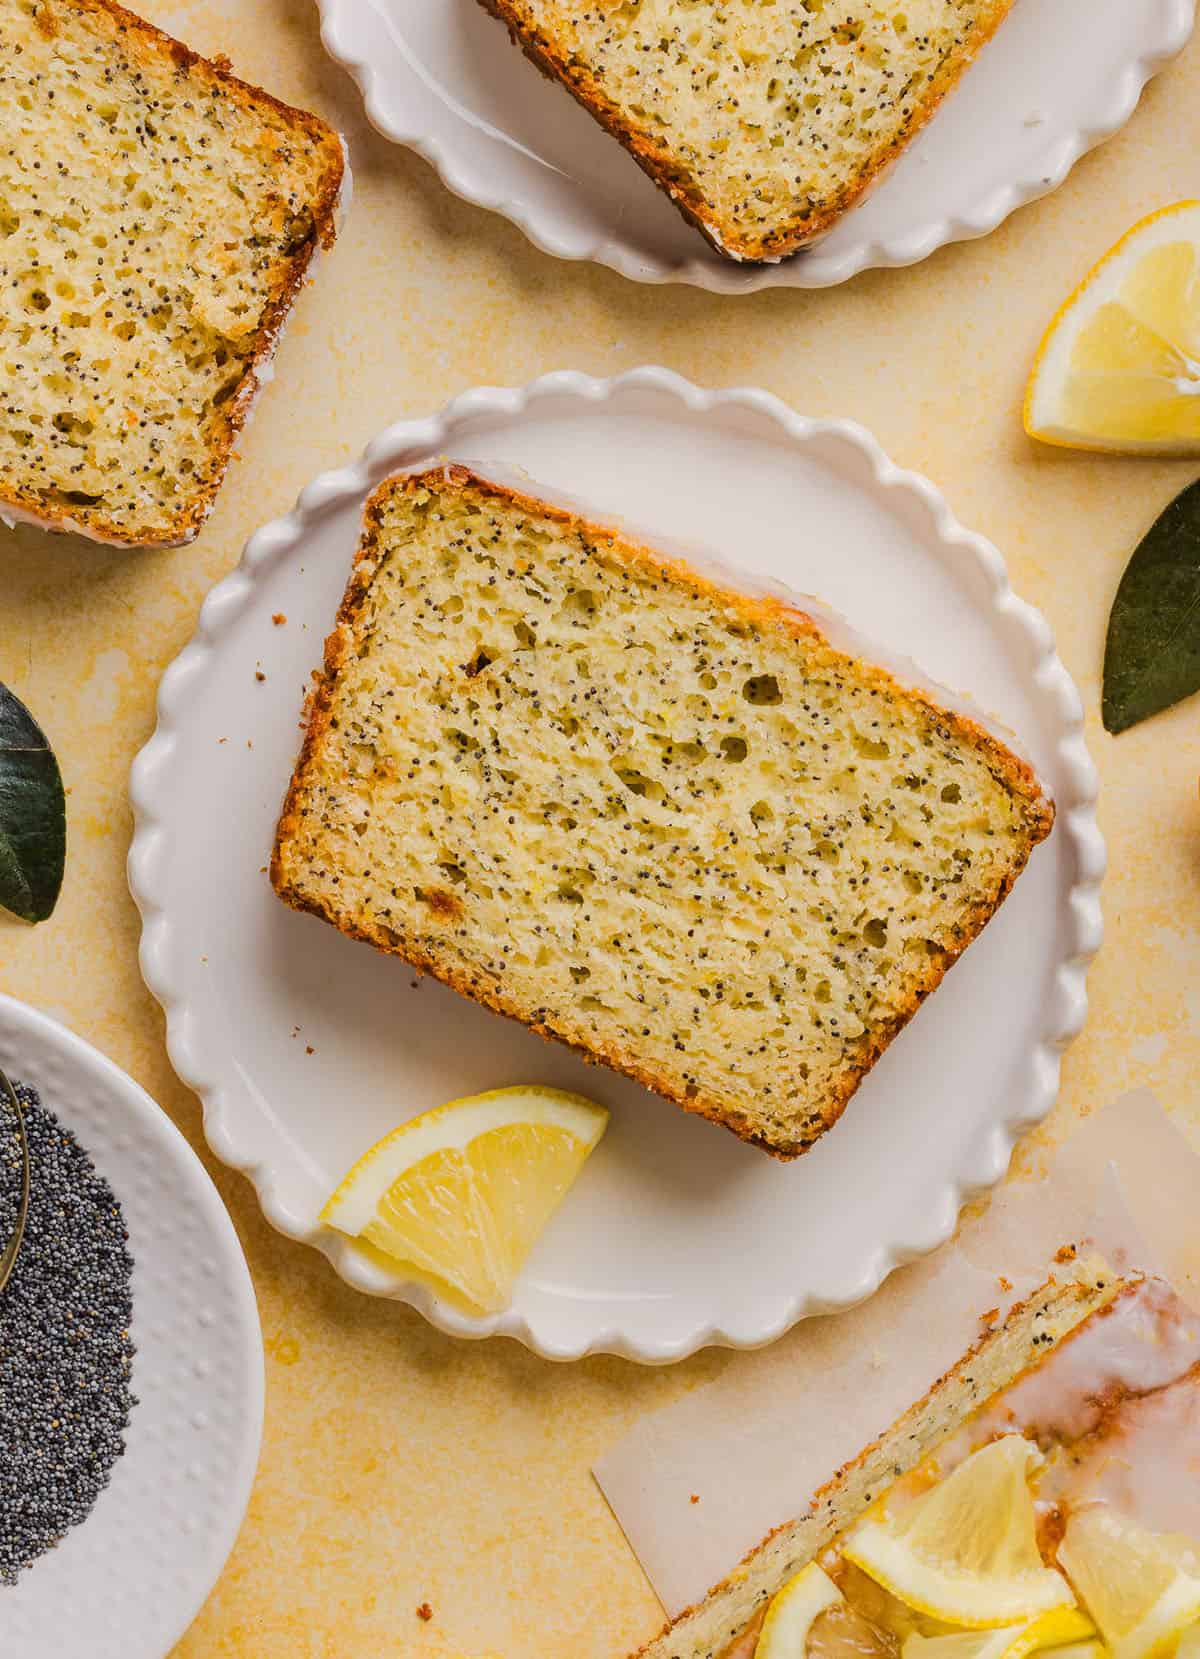
raspberry-lemon-bread-8-700x1049.jpg

Raspberry Lemon Yogurt Bread

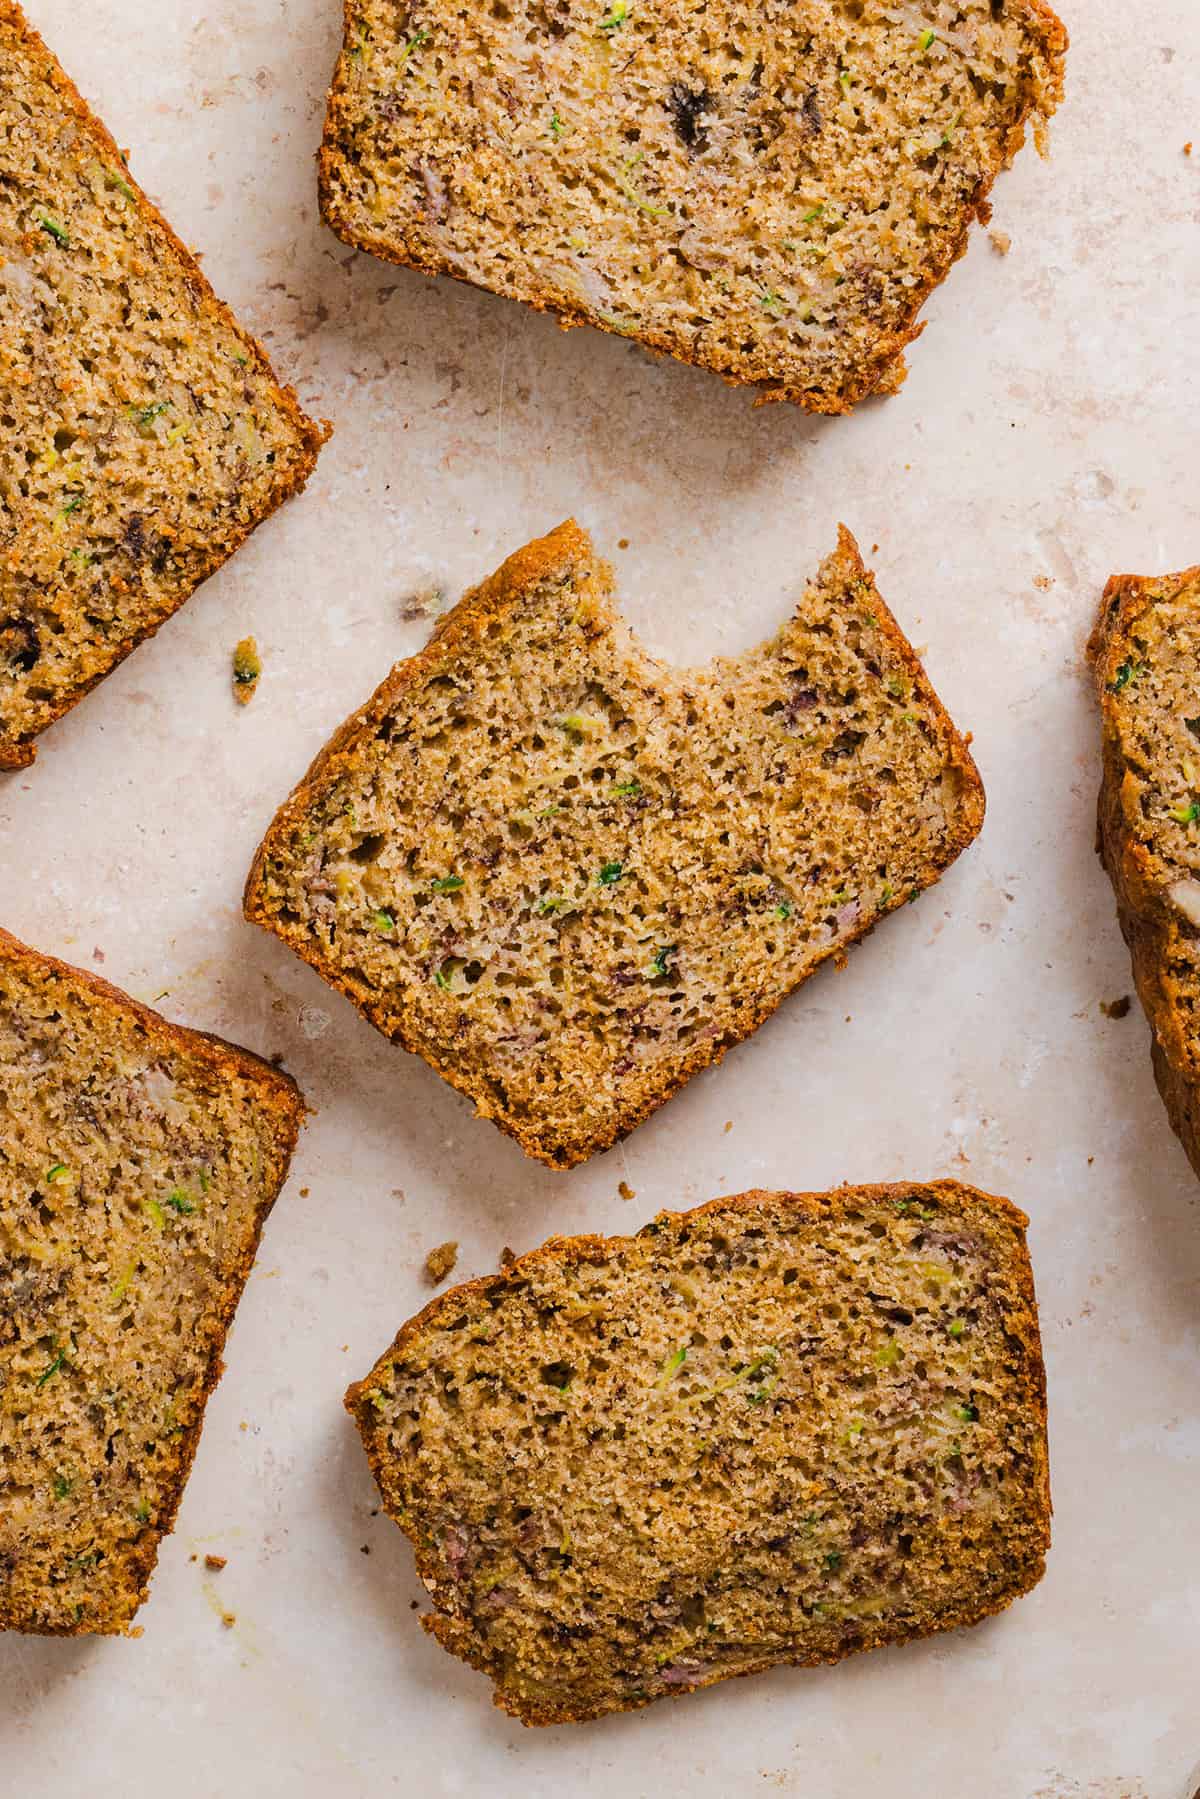
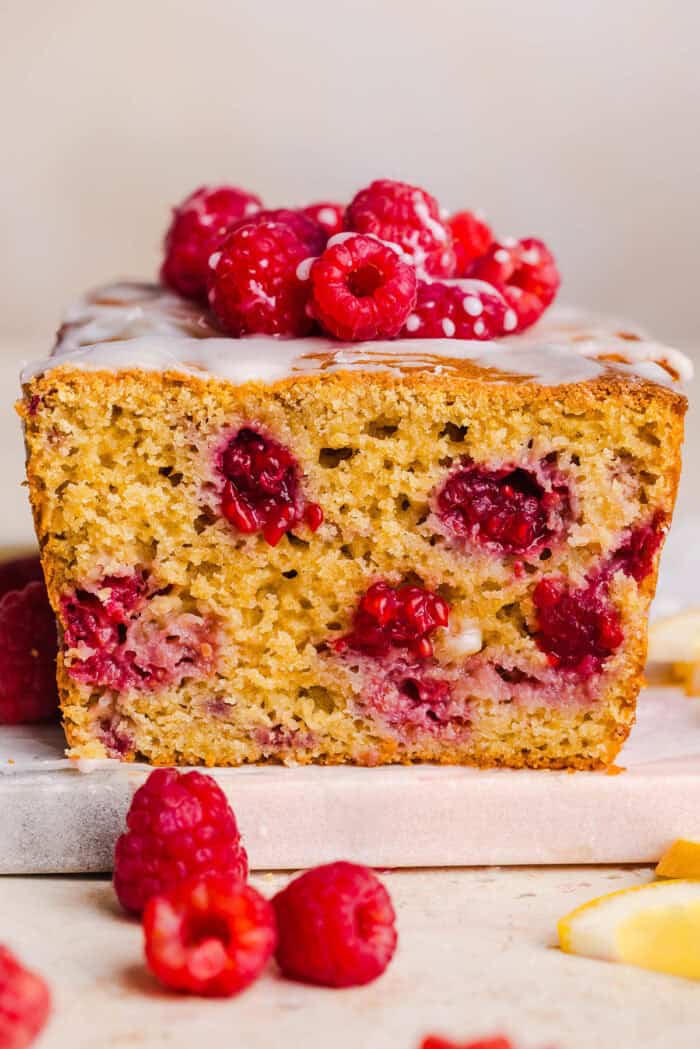
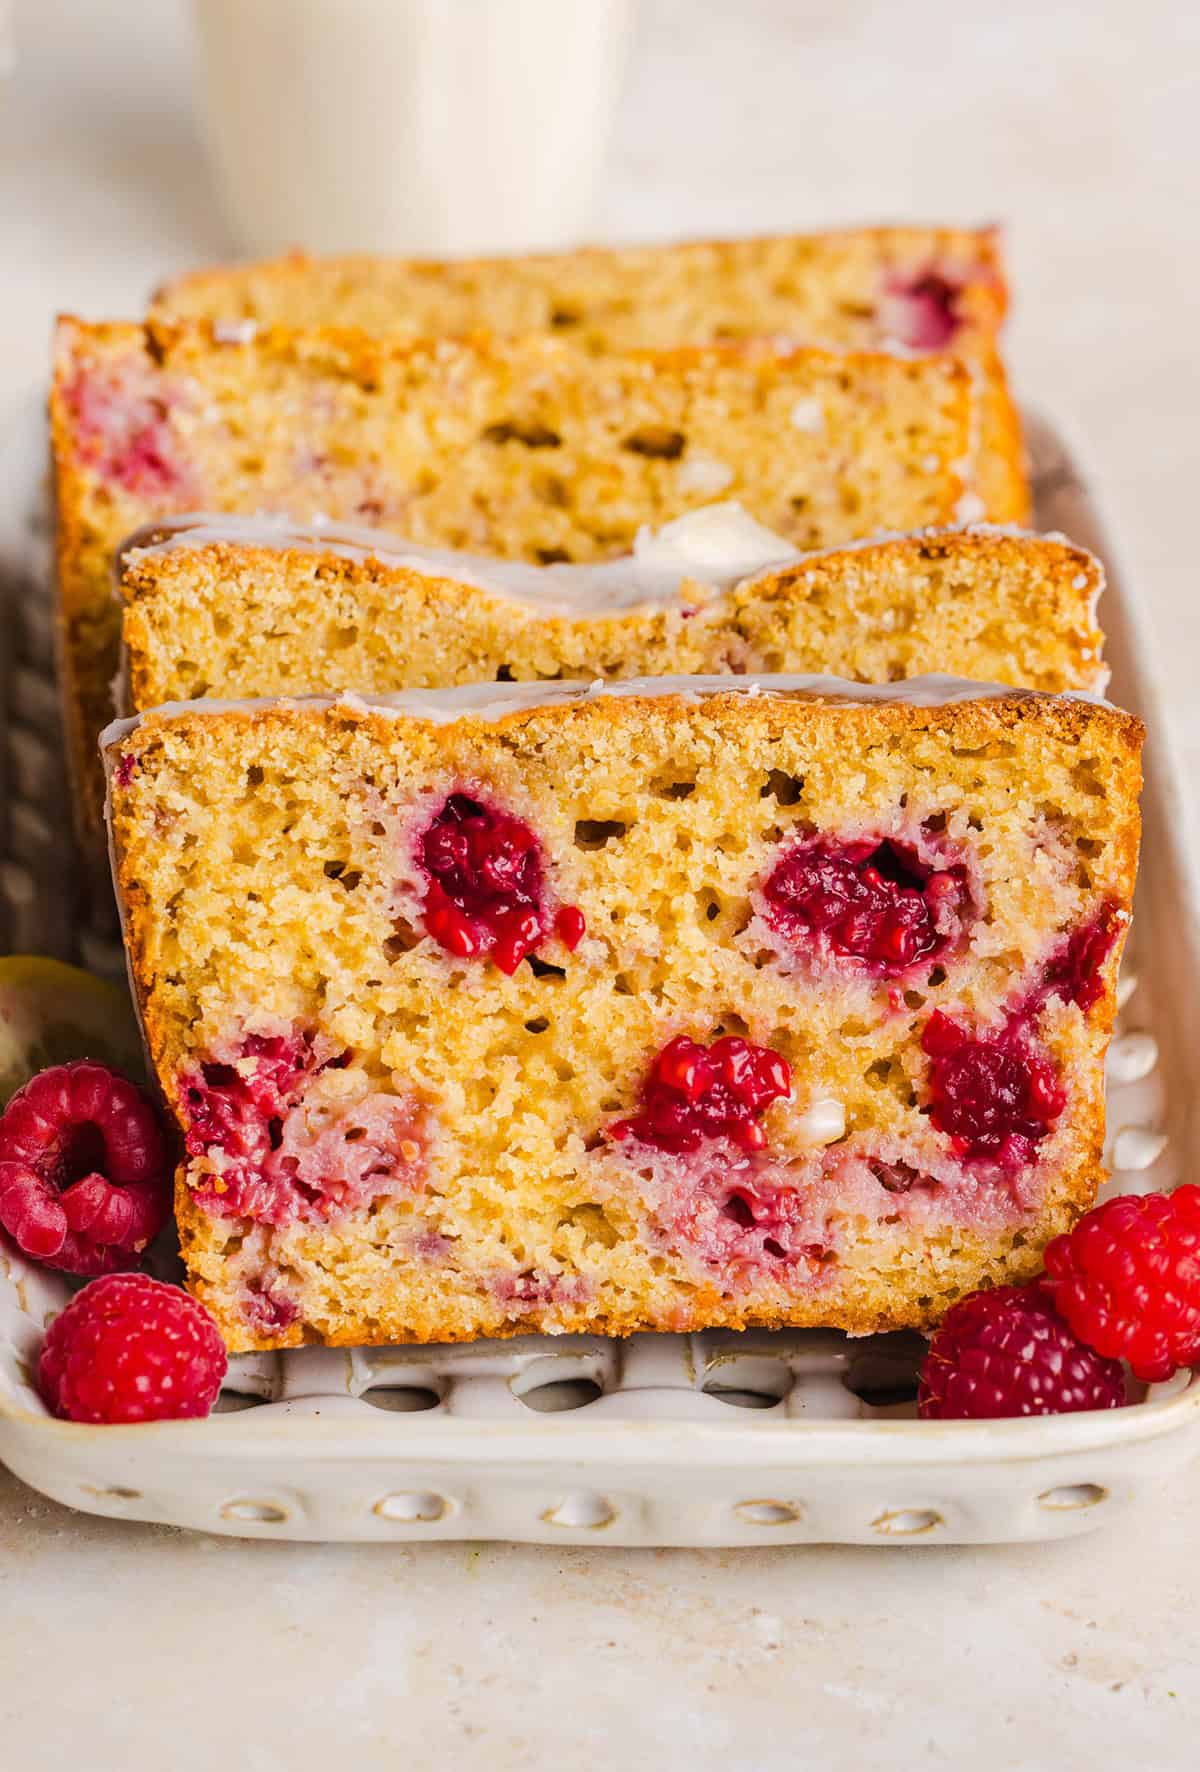
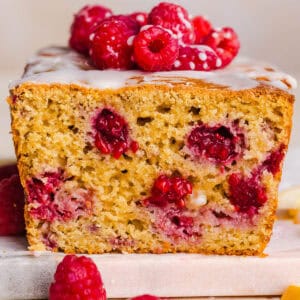
Make the BEST Raspberry Lemon Yogurt Bread with fresh raspberries, protein-packed Greek yogurt, and bright lemon flavor. This moist, wholesome quick bread is perfect for breakfast, brunch or dessert!

Make the BEST Raspberry Lemon Yogurt Bread with fresh raspberries, protein-packed Greek yogurt, and bright lemon flavor. This moist, wholesome quick bread is perfect for breakfast, brunch or dessert!

Make the BEST Raspberry Lemon Yogurt Bread with fresh raspberries, protein-packed Greek yogurt, and bright lemon flavor. This moist, wholesome quick bread is perfect for breakfast, brunch or dessert!
Want to save this recipe?
Just enter your email and get it sent to your inbox! Plus you’ll get new recipes from us every week!

Please enable JavaScript in your browser to complete this form.

Please enable JavaScript in your browser to complete this form.

Loading

There’s nothing better than a slice of homemade bread bursting with fresh berries and bright citrus flavor! This Raspberry Lemon Yogurt Bread is soft, incredibly moist, and packed with juicy raspberries, fresh lemon zest, and creamy Greek yogurt in every bite. The yogurt keeps the loaf tender while adding a little extra protein, and the simple lemon glaze finishes everything off with the perfect balance of sweetness and tang. Whether serving this for breakfast with your morning coffee, enjoying a slice as an afternoon snack, or bringing to brunch, this is one recipe you’ll find yourself making all spring and summer long!

Why You’ll Love This

  • Perfectly moist – protein-packed Greek yogurt keeps every slice soft without needing a lot of butter or oil.
  • Bursting with flavor – sweet raspberries pair beautifully with bright lemon juice and fresh lemon zest for the perfect combo that tastes amazing.
  • Easy to make – this quick raspberry lemon loaf couldn’t be easier to make. Just mix the ingredients, pour into the pan and bake!
  • Freezer-friendly – make a loaf ahead of time and freeze slices for an easy grab-and-go breakfast or snack.
Make the BEST Raspberry Lemon Yogurt Bread with fresh raspberries, protein-packed Greek yogurt, and bright lemon flavor. This moist, wholesome quick bread is perfect for breakfast, brunch or dessert!

Ingredients You’ll Need

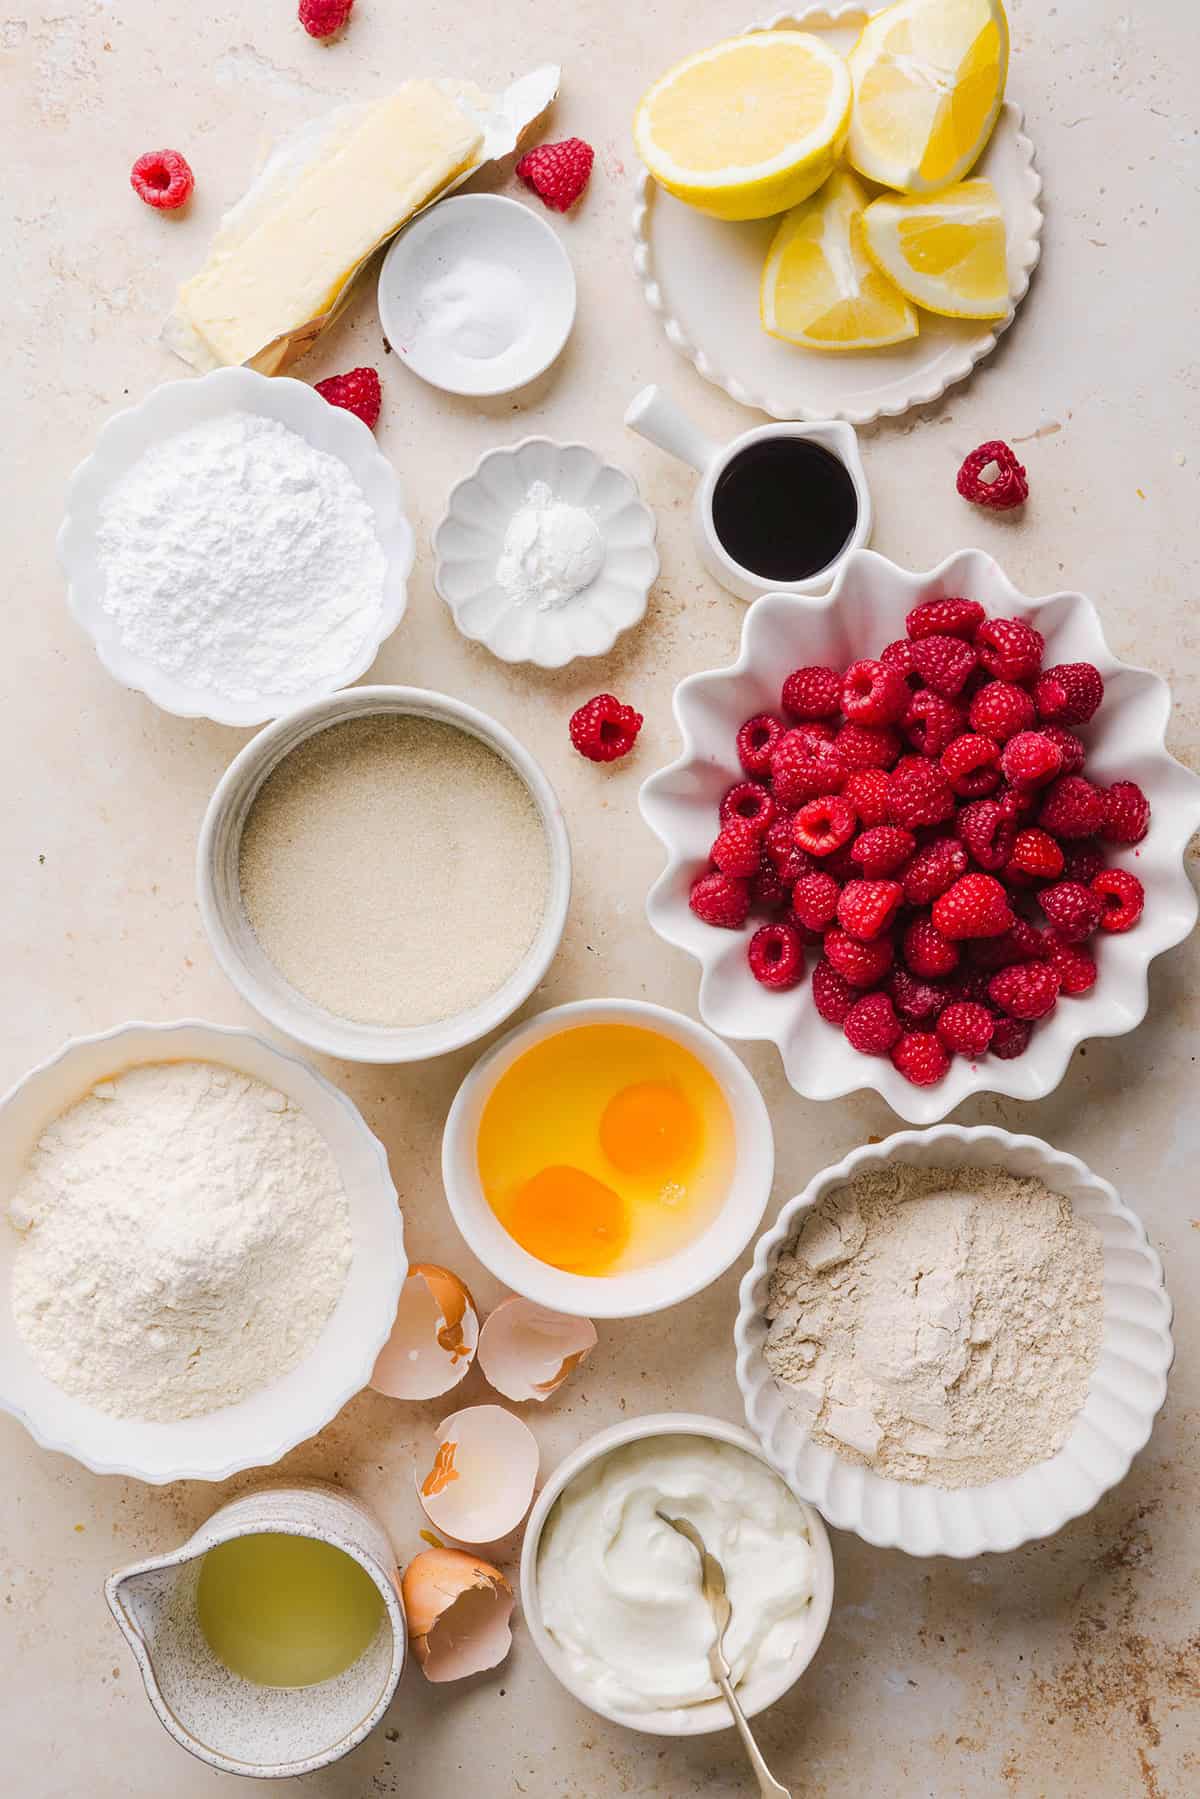
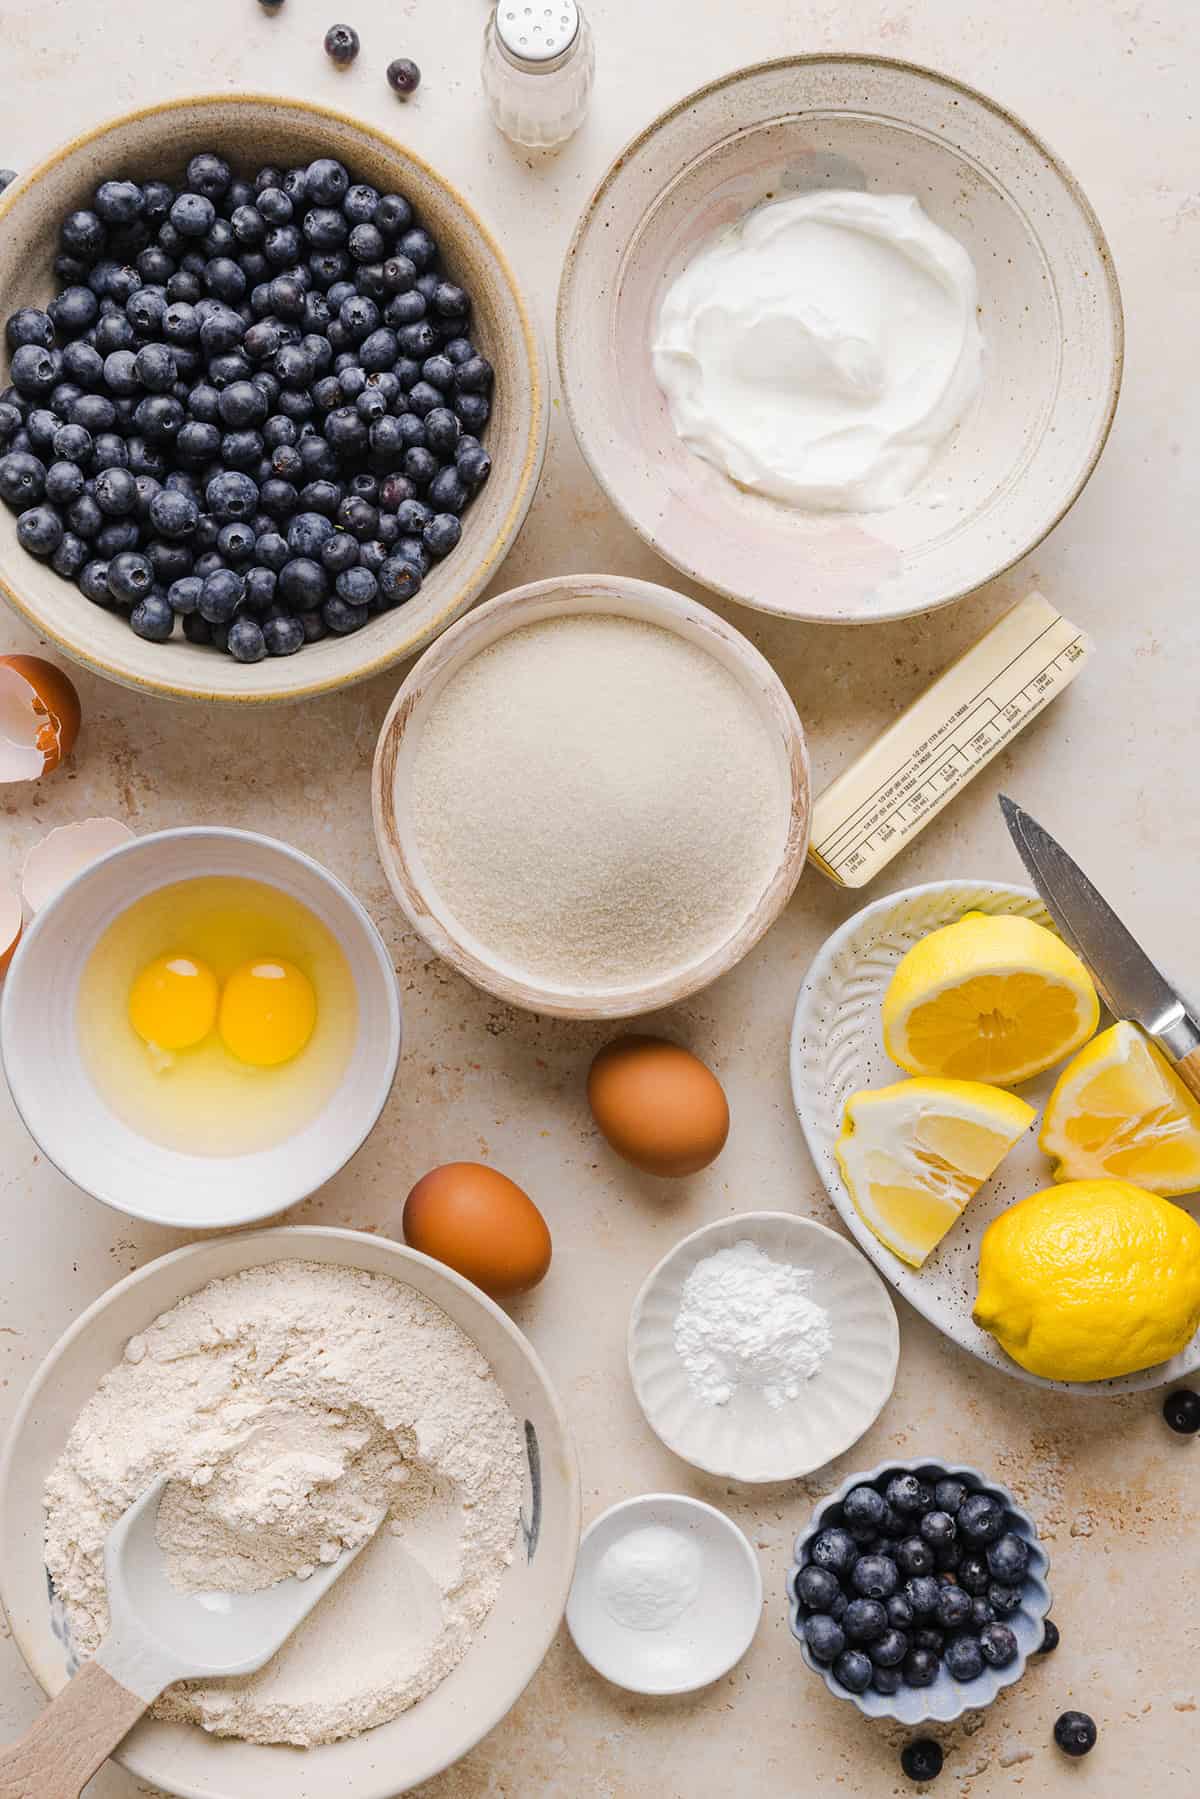
  • flours – combining all-purpose flour with whole wheat pastry flour gives you the perfect balance between wholesome and fluffy.
  • baking powder + baking soda – these act as leavening agents to help the bread rise and keep it soft and fluffy.
  • Greek yogurt – keeps the bread moist and adds a boost of protein. You could also use sour cream or even applesauce.
  • eggs – helps bind the loaf and gives this bread its structure and height.
  • butter – a small amount of melted butter adds rich flavor while keeping this recipe lighter than traditional quick breads. You could also use melted coconut oil.
  • cane sugarcane sugar lightly sweetens the bread without overpowering the fresh fruit and citrus.
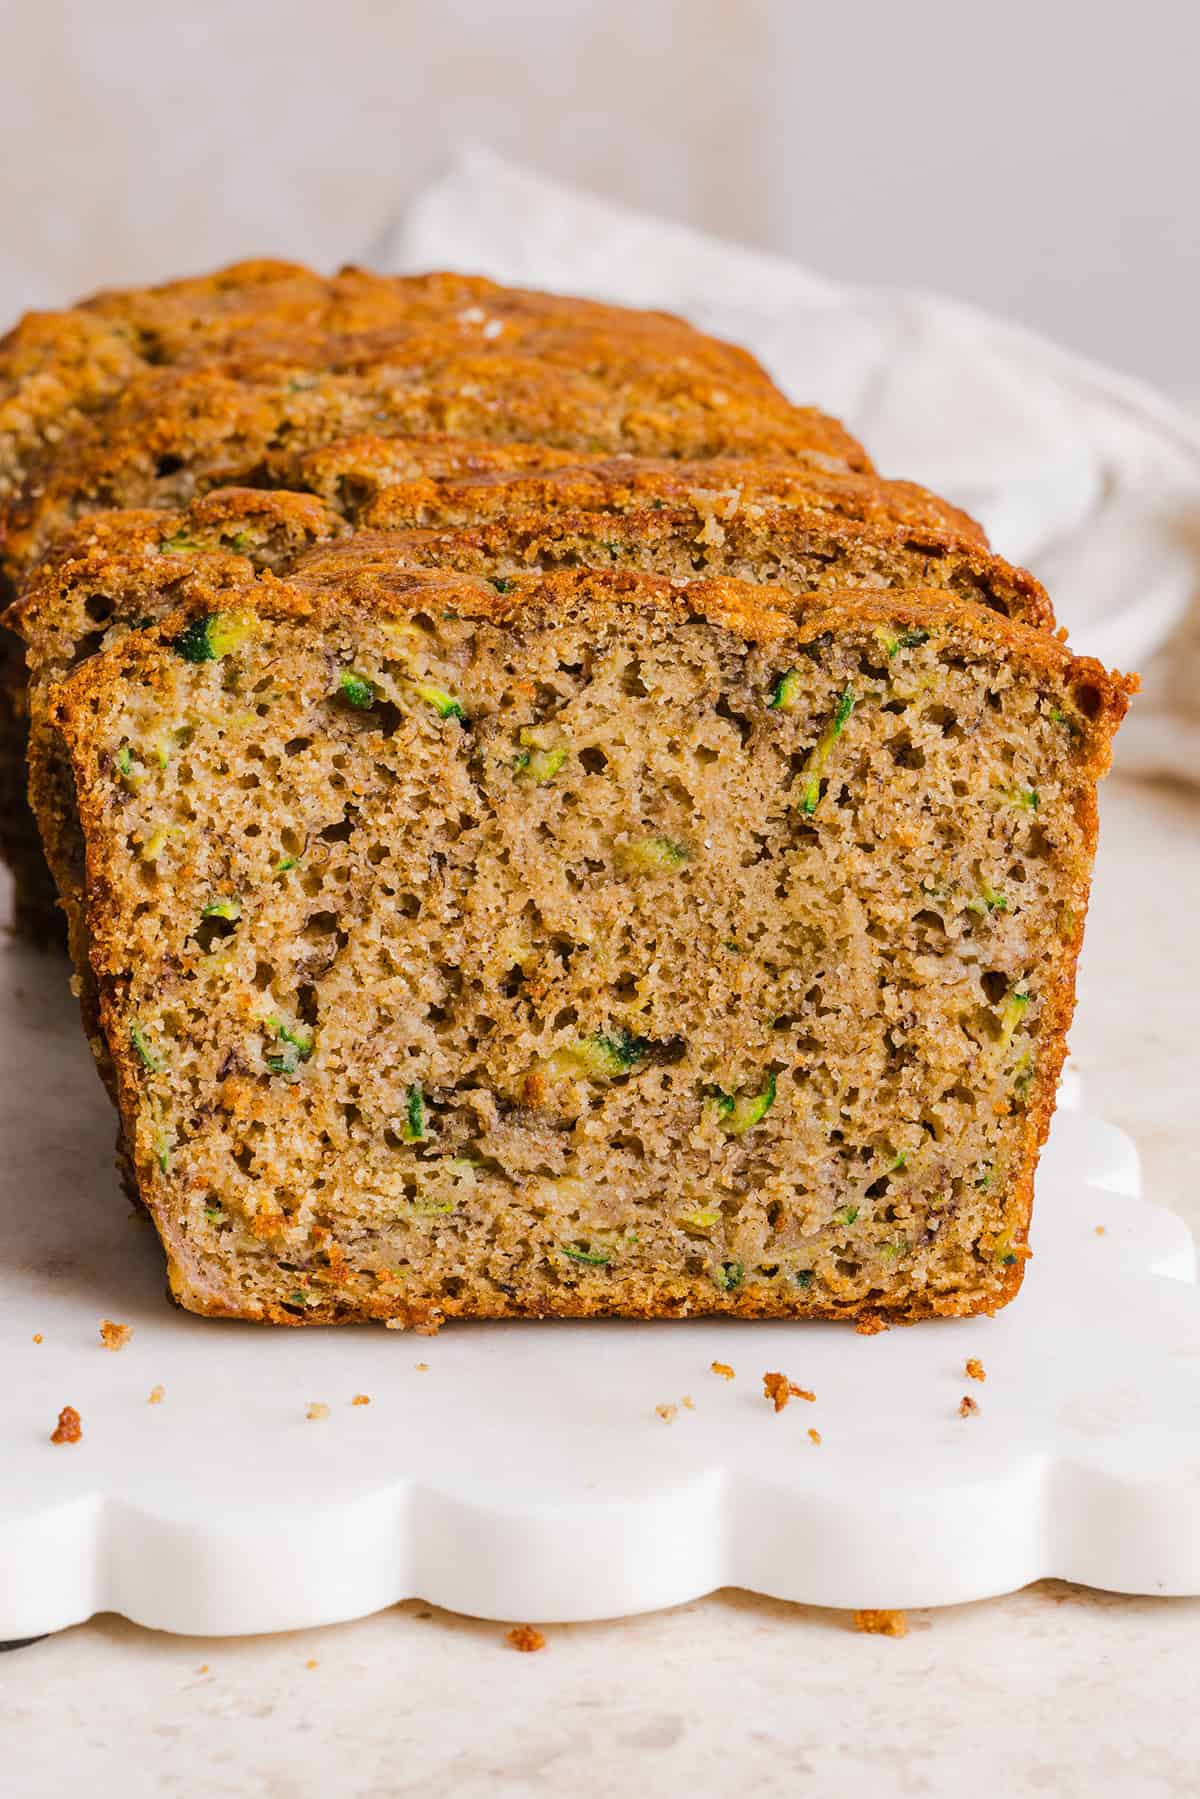
  • fresh raspberries – add little bursts of sweetness and tartness throughout the loaf. Some berries may naturally break apart while folding them into the batter, creating beautiful pink swirls inside the bread.
  • fresh lemons – fresh lemon juice adds brightness and tang while the lemon zest brings bold, fresh lemon flavor.
  • vanilla extract – adds a boost of flavor and warmth.
  • salt – enhances all the flavors.
  • lemon glaze – made with a mixture of powdered sugar and fresh lemon juice that adds the perfect sweet-tart finish to the bread!
Make the BEST Raspberry Lemon Yogurt Bread with fresh raspberries, protein-packed Greek yogurt, and bright lemon flavor. This moist, wholesome quick bread is perfect for breakfast, brunch or dessert!

How to Make Raspberry Lemon Bread

  1. Prepare the pan. Preheat your oven to 350 degrees F. Grease a 9×5-inch loaf pan or line it with parchment paper, leaving an overhang for easy removal.
  2. Mix the ingredients. In a large mixing bowl, whisk together the whole wheat pastry flour, all-purpose flour, baking powder, baking soda, and salt until evenly combined. In a separate large bowl, whisk together the Greek yogurt, eggs, melted butter, cane sugar, lemon juice, lemon zest, and vanilla extract until smooth and creamy.
  3. Combine the batter. Pour the wet ingredients into the dry ingredients and gently stir with a rubber spatula until just combined. A few small streaks of flour are perfectly fine.
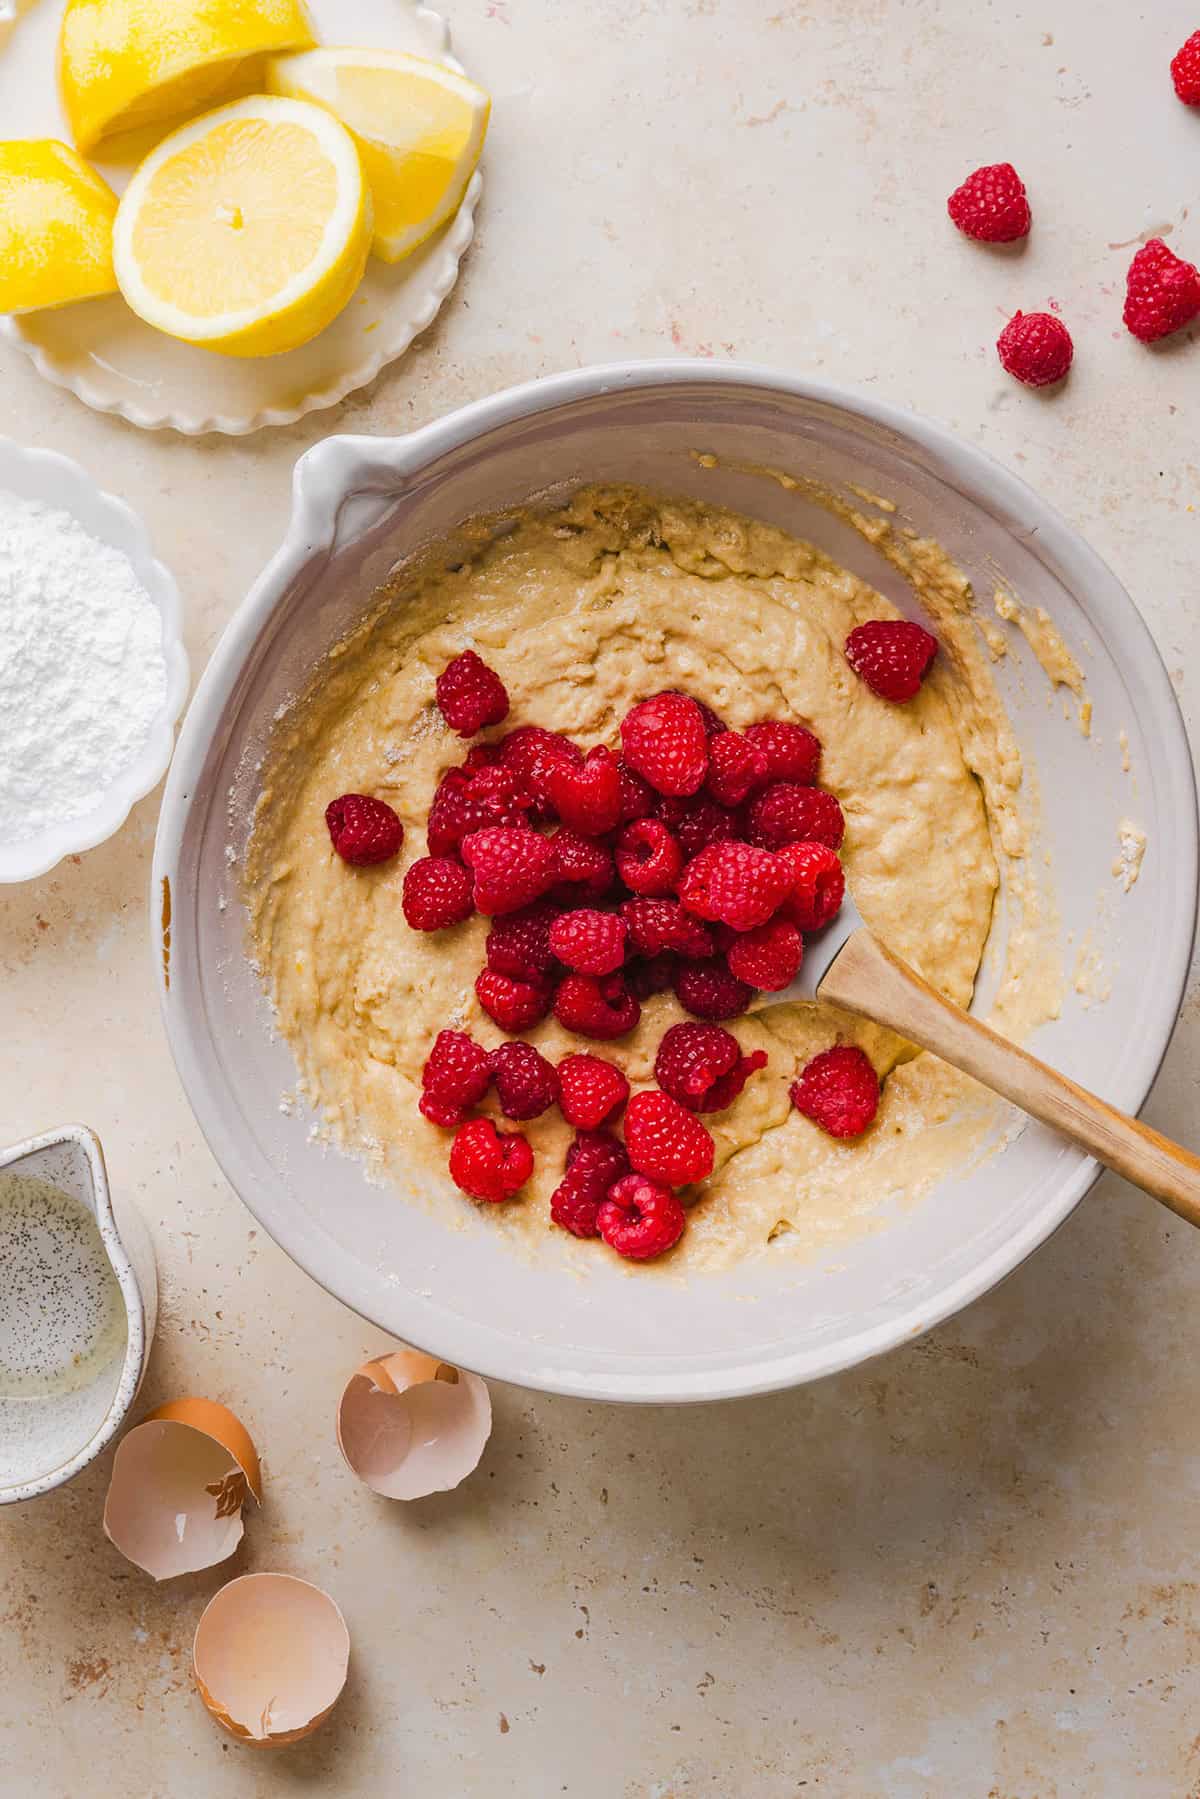
  4. Fold in the raspberries. Gently fold in the fresh raspberries. Don’t worry if a few berries break apart while mixing, they’ll create beautiful ribbons of raspberry throughout the loaf.
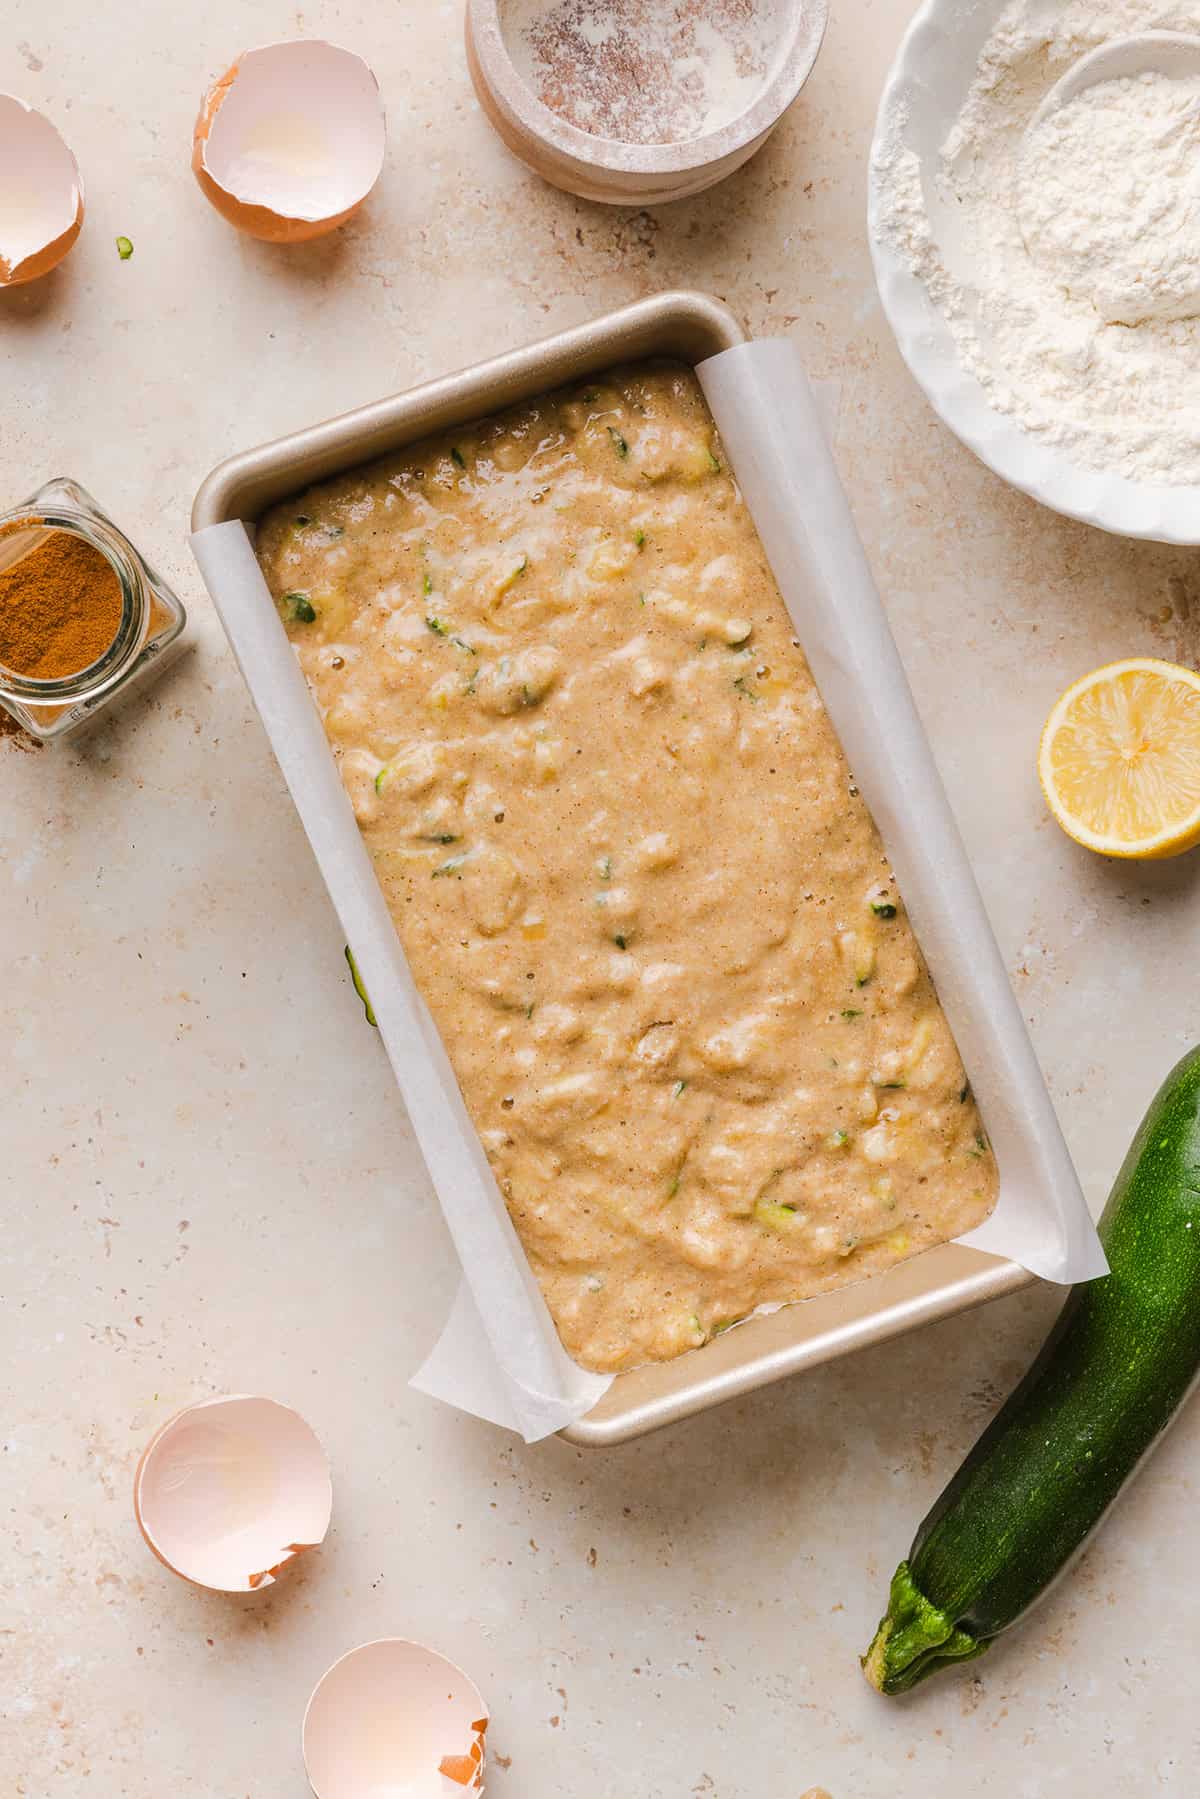
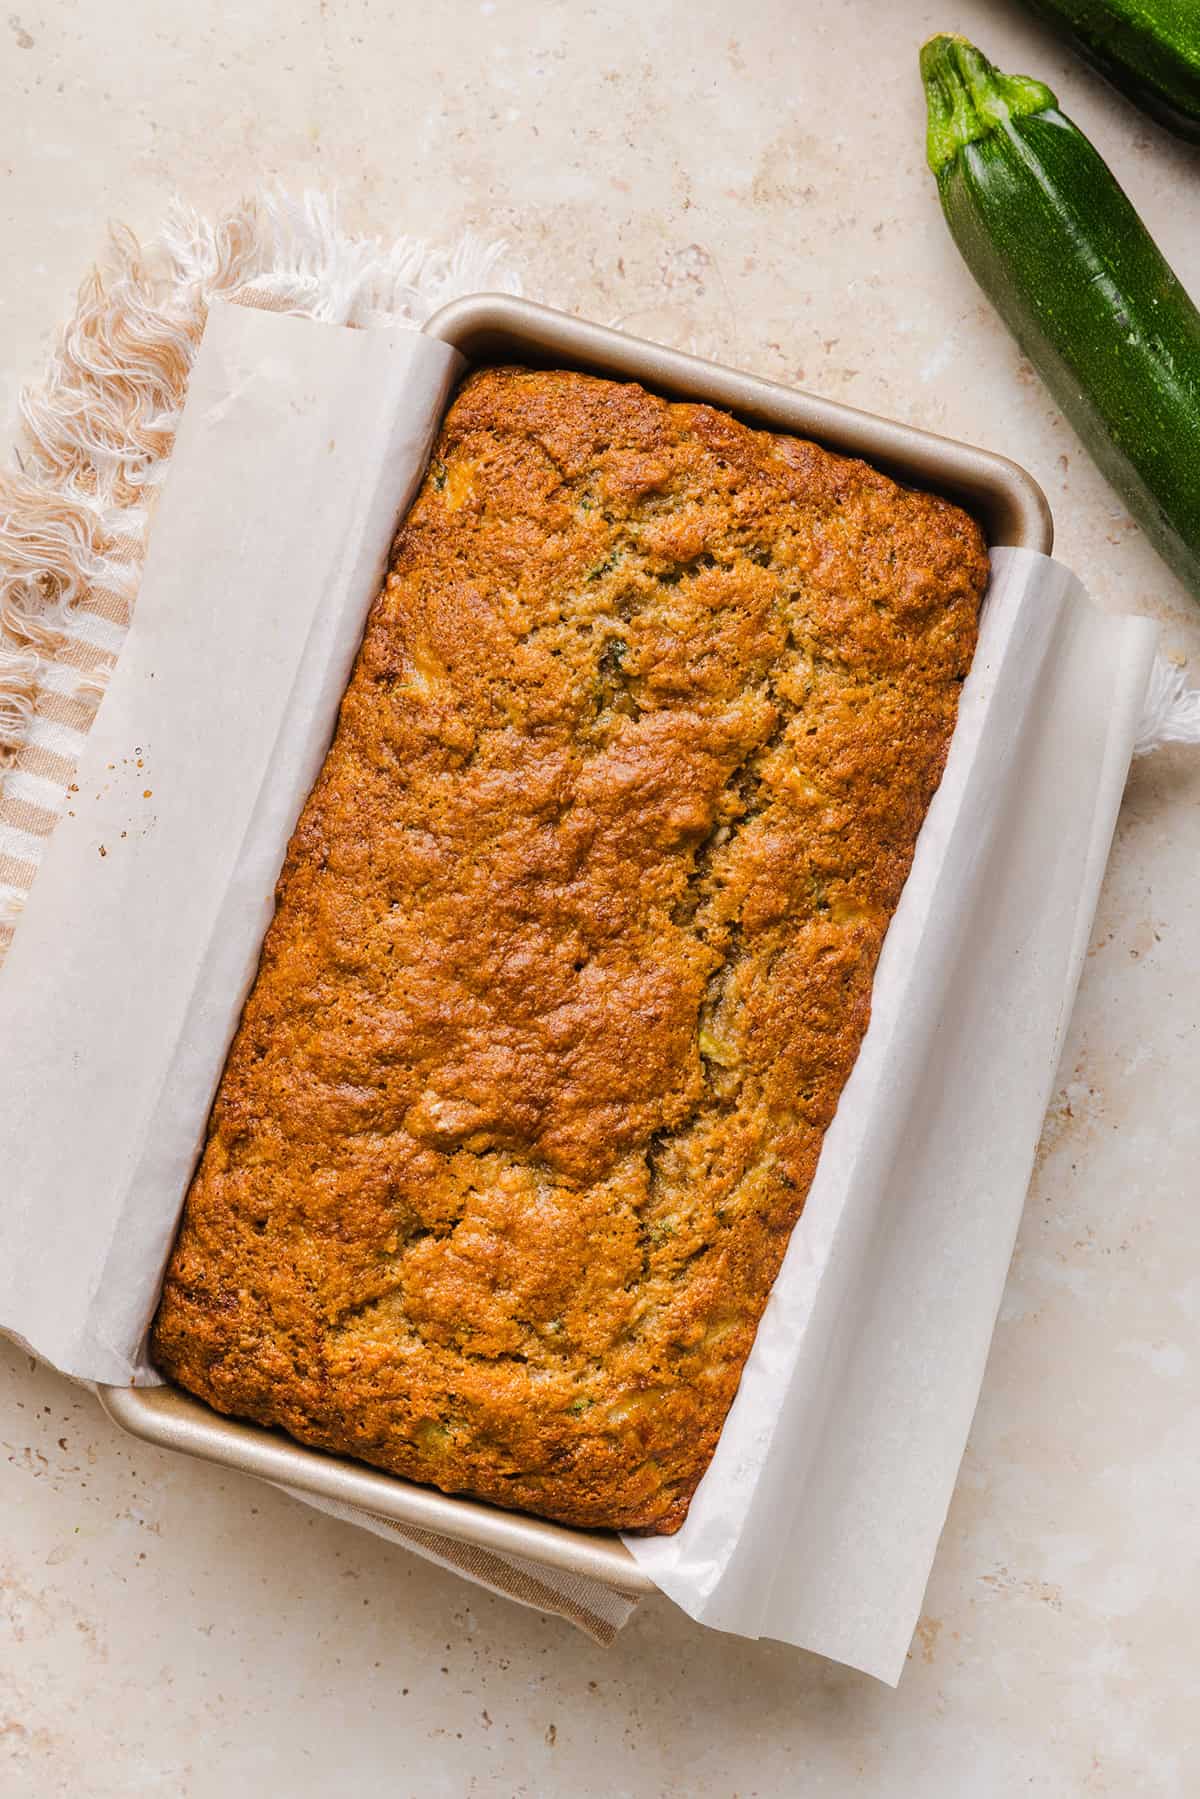
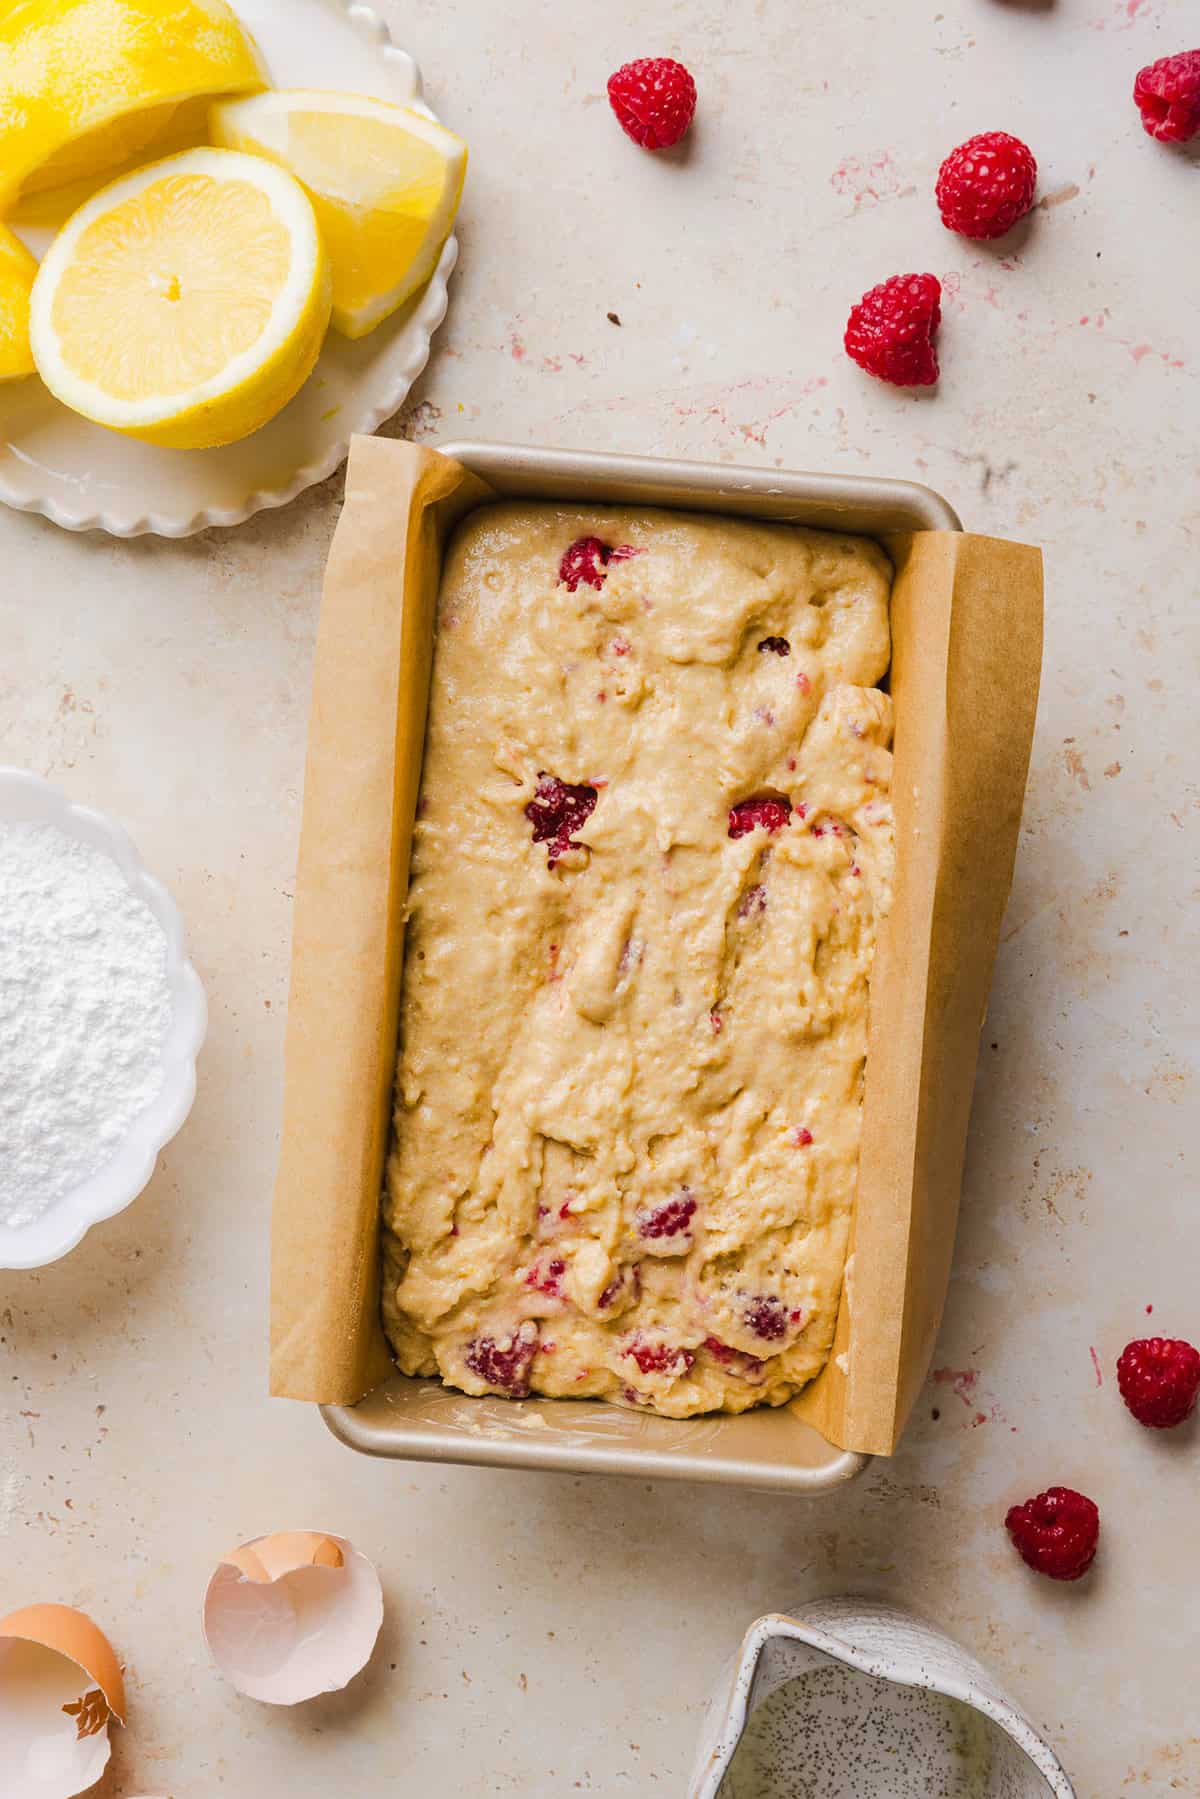
  5. Bake the bread. Transfer the batter to the prepared loaf pan and smooth the top. Bake for 45 to 50 minutes, or until the loaf is golden and a toothpick inserted into the center comes out clean or with just a few moist crumbs. If the top begins browning too quickly, loosely tent the bread with foil during the last 10–15 minutes.
  6. Cool. Allow the bread to cool in the pan for about 10 minutes before transferring it to a wire rack to cool completely.
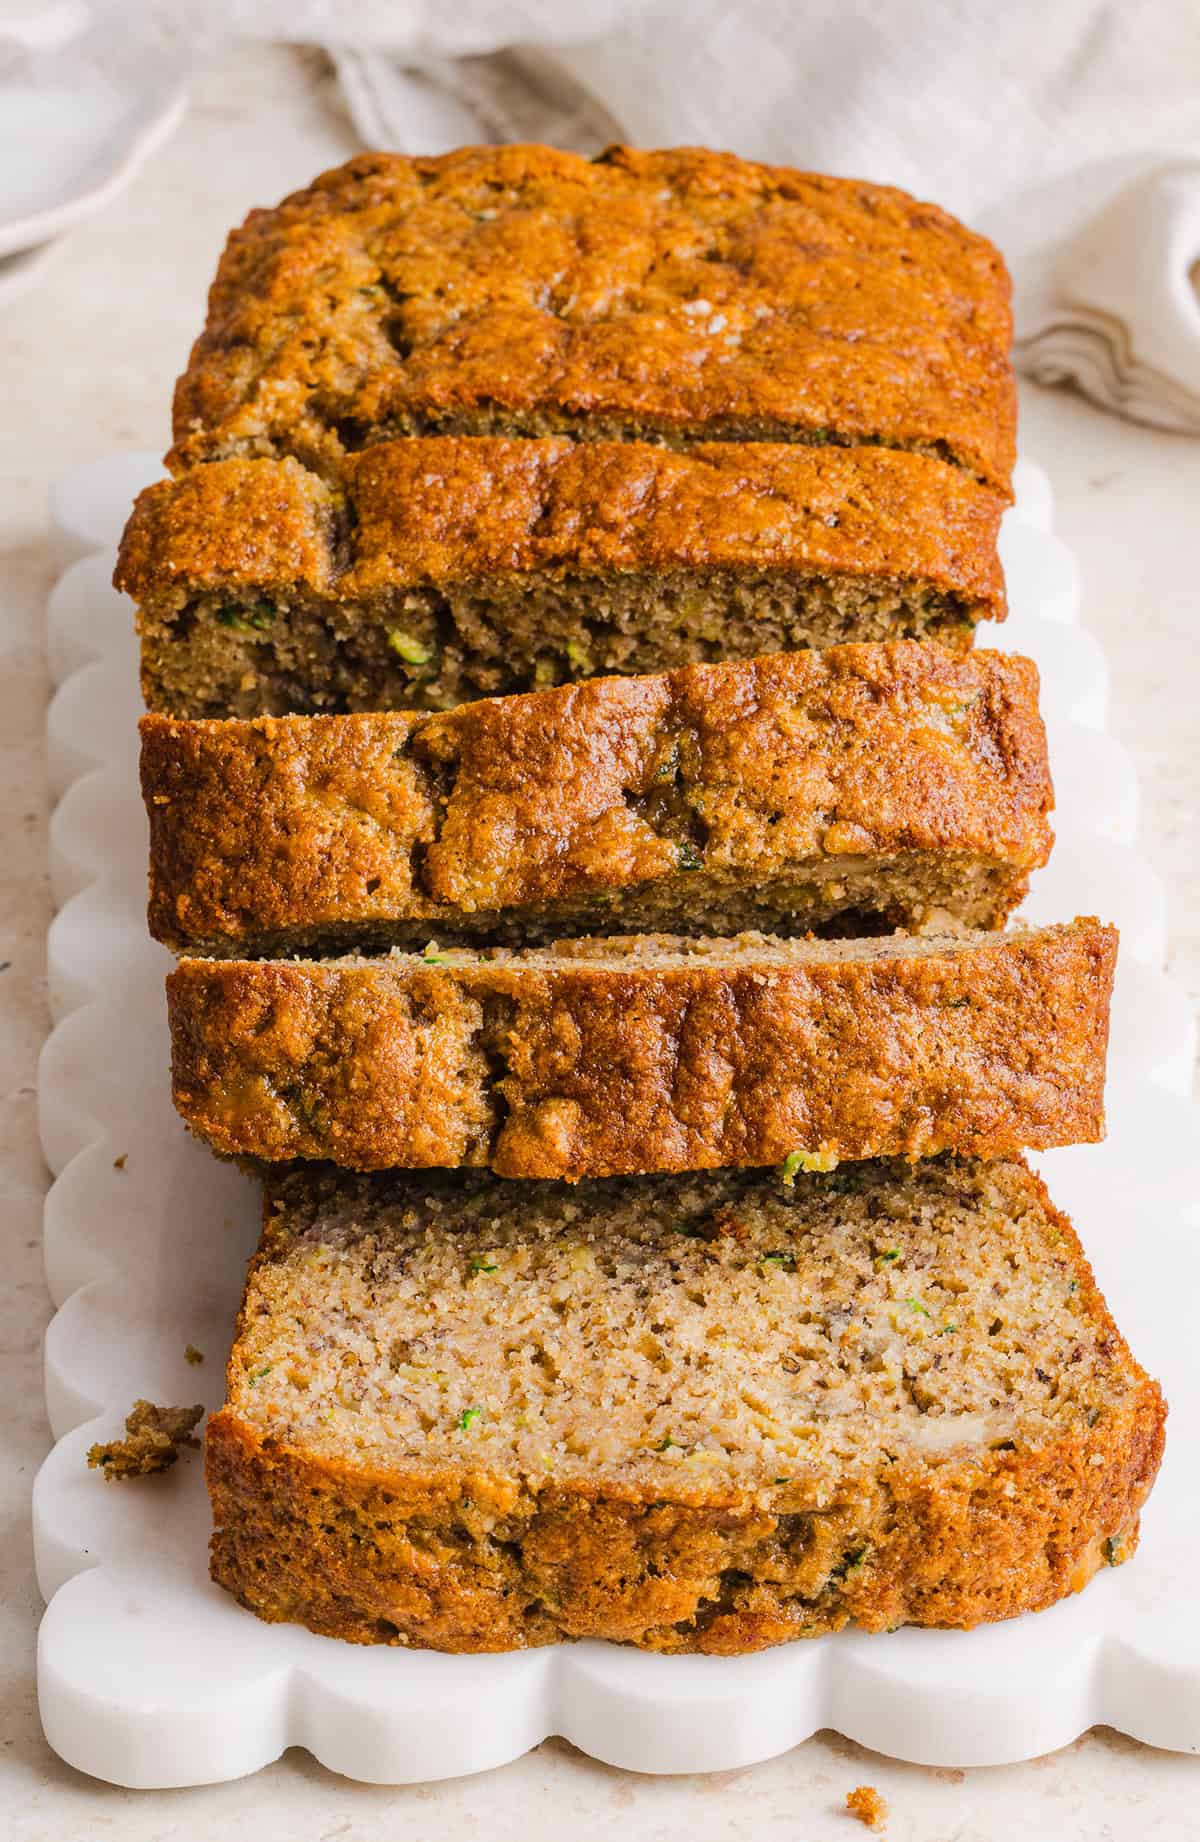
  7. Make the lemon glaze. Whisk together the powdered sugar and lemon juice in a small bowl until smooth. Drizzle over the cooled bread before slicing and serving.

Tips for the Best Raspberry Lemon Bread

  • Use room temperature ingredients – for the smoothest batter and most even bake, let the eggs and Greek yogurt come to room temperature before mixing. Cold ingredients don’t combine as easily and can cause the melted butter to firm up, resulting in a less uniform texture.
  • Measure flour correctly – too much flour is one of the most common reasons quick breads turn out dry or dense. Instead of scooping directly from the bag, fluff the flour with a spoon, lightly spoon it into your measuring cup, and level it off with a knife. This simple step helps ensure a light, tender crumb.
  • Don’t skip the lemon zest – while the lemon juice adds brightness, the zest contains the natural oils that deliver the most intense lemon flavor. Be sure to zest the lemon before juicing it, and avoid grating into the white pith, which can taste bitter.
  • Don’t overmix the batter – once you add the wet ingredients to the dry ingredients, stir gently until no large streaks of flour remain. Overmixing develops the gluten in the flour, which can make the bread tough instead of soft and tender.
  • Watch the bread – if the top is becoming too dark before the center is fully baked, loosely tent the loaf with aluminum foil for the remainder of the baking time. This allows the inside to finish baking without over-browning the top.
  • Let the bread cool before glazing – allowing the bread to cool completely helps the glaze set on top instead of melting into the loaf. This gives you that classic bakery-style finish.
Make the BEST Raspberry Lemon Yogurt Bread with fresh raspberries, protein-packed Greek yogurt, and bright lemon flavor. This moist, wholesome quick bread is perfect for breakfast, brunch or dessert!

Variations and Substitutions

  • Make it gluten-free – use your favorite 1:1 gluten-free baking flour in place of both flours.
  • Make it dairy-free – swap the Greek yogurt for a dairy-free alternative or even some applesauce, although it might change the flavor of this bread.
  • Use frozen raspberries – frozen raspberries work well. Add them straight from the freezer without thawing to prevent excess moisture.
  • Swap the fruit – blueberries, blackberries, chopped strawberries, or even diced peaches all make great options in this bread.
  • Lighten it up – replace the butter with avocado oil or melted coconut oil to keep the bread moist.
  • Add crunch – fold in sliced almonds or chopped walnuts for extra texture and crunch.
  • Skip the glaze – for a less sweet breakfast bread, simply dust the cooled loaf with powdered sugar or enjoy it plain.

Frequently Asked Questions

Can I use regular yogurt instead of Greek yogurt?

Yes, but Greek yogurt is thicker and creates a richer, more tender loaf. If using regular yogurt, the batter may be slightly thinner.

Can I use frozen raspberries?

Absolutely. Use them frozen and gently fold them into the batter without thawing.

Why did my bread sink in the middle?

This usually happens if the loaf is underbaked or the batter was overmixed. Be sure to test the center with a toothpick before removing it from the oven.

How do I know when it’s done baking?

Insert a toothpick into the center of the loaf. It should come out clean or with just a few moist crumbs attached.

Can I make muffins instead?

Yes! Divide the batter between a 12-cup lined muffin tin and bake at 350°F for about 18 to 22 minutes.

Can I make this bread ahead of time?

Definitely. The flavor actually gets even better the next day after the lemon has had time to develop.

Make the BEST Raspberry Lemon Yogurt Bread with fresh raspberries, protein-packed Greek yogurt, and bright lemon flavor. This moist, wholesome quick bread is perfect for breakfast, brunch or dessert!

Pin this now to find it later

Pin It

Follow on Instagram

Follow

Storage and Prepping

  • To Make Ahead – you can bake this lemon raspberry bread a day in advance and wait to add the glaze until just before serving for the freshest presentation.
  • To Store – keep the bread in a sealed, airtight container at room temperature for up to 2 days, or refrigerate the bread for up to 5 days.
  • To Freeze – wrap the whole loaf or individual slices tightly in plastic wrap followed by aluminum foil or a freezer bag. Freeze for up to 3 months. Thaw overnight in the fridge or let individual slices sit at room temperature for about 30 minutes.

More Quick Bread Recipes

Hope you all enjoy this Raspberry Lemon Yogurt Bread! If you love this easy recipe as much as we do, please leave a ⭐⭐⭐⭐⭐ star rating below and don’t forget to tag me on Instagram using the hashtag #eatyourselfskinny! Happy baking!

Make the BEST Raspberry Lemon Yogurt Bread with fresh raspberries, protein-packed Greek yogurt, and bright lemon flavor. This moist, wholesome quick bread is perfect for breakfast, brunch or dessert!

Print

Raspberry Lemon Yogurt Bread

#wprm-recipe-user-rating-0 .wprm-rating-star.wprm-rating-star-full svg * { fill: #343434; }#wprm-recipe-user-rating-0 .wprm-rating-star.wprm-rating-star-33 svg * { fill: url(#wprm-recipe-user-rating-0-33); }#wprm-recipe-user-rating-0 .wprm-rating-star.wprm-rating-star-50 svg * { fill: url(#wprm-recipe-user-rating-0-50); }#wprm-recipe-user-rating-0 .wprm-rating-star.wprm-rating-star-66 svg * { fill: url(#wprm-recipe-user-rating-0-66); }linearGradient#wprm-recipe-user-rating-0-33 stop { stop-color: #343434; }linearGradient#wprm-recipe-user-rating-0-50 stop { stop-color: #343434; }linearGradient#wprm-recipe-user-rating-0-66 stop { stop-color: #343434; }

Make the BEST Raspberry Lemon Yogurt Bread with fresh raspberries, protein-packed Greek yogurt, and bright lemon flavor. This moist, wholesome quick bread is perfect for breakfast, brunch or dessert!
Course Breakfast, Dessert
Cuisine American
Keyword Raspberry Lemon Yogurt Bread
Prep Time 10 minutes
Cook Time 45 minutes
Total Time 55 minutes
Servings 12
Calories 183kcal

Ingredients

  • 1 cup whole wheat pastry flour
  • 3/4 cup all-purpose flour
  • 1 tsp baking powder
  • 1/2 tsp baking soda
  • 1/2 tsp salt
  • 3/4 cup plain Greek yogurt
  • 2 eggs room temperature
  • 1/4 cup butter melted and cooled
  • 3/4 cup cane sugar
  • 1/4 cup fresh lemon juice + zest of 1 lemon
  • 2 tsp vanilla extract
  • 1 cup fresh raspberries

For the Lemon Glaze:

Instructions

  • Prepare the pan. Preheat your oven to 350 degrees F. Grease a 9×5-inch loaf pan or line it with parchment paper, leaving an overhang for easy removal.
  • Mix the ingredients. In a large mixing bowl, whisk together the whole wheat pastry flour, all-purpose flour, baking powder, baking soda, and salt until evenly combined. In a separate bowl, whisk together the Greek yogurt, eggs, melted butter, cane sugar, lemon juice, lemon zest, and vanilla extract until smooth and creamy.
  • Combine the batter. Pour the wet ingredients into the dry ingredients and gently stir with a rubber spatula until just combined. A few small streaks of flour are perfectly fine.
  • Fold in the raspberries. Gently fold in the fresh raspberries. Don’t worry if a few berries break apart while mixing, they’ll create beautiful ribbons of raspberry throughout the loaf.
  • Bake the bread. Transfer the batter to the prepared loaf pan and smooth the top. Bake for 45 to 50 minutes, or until the loaf is golden and a toothpick inserted into the center comes out clean or with just a few moist crumbs. If the top begins browning too quickly, loosely tent the bread with foil during the last 10–15 minutes.
  • Cool. Allow the bread to cool in the pan for about 10 minutes before transferring it to a wire rack to cool completely.
  • Make the lemon glaze. Whisk together the powdered sugar and lemon juice until smooth. Drizzle over the cooled bread before slicing and serving.

Nutrition

Serving: 1 slice | Calories: 183kcal | Carbohydrates: 31.2g | Protein: 4.4g | Fat: 4.9g | Saturated Fat: 2.7g | Cholesterol: 41.2mg | Sodium: 72mg | Fiber: 2g | Sugar: 16.3g
strawberry-banana-donuts-99-700x1049.jpg

Gluten-Free Strawberry Banana Donuts

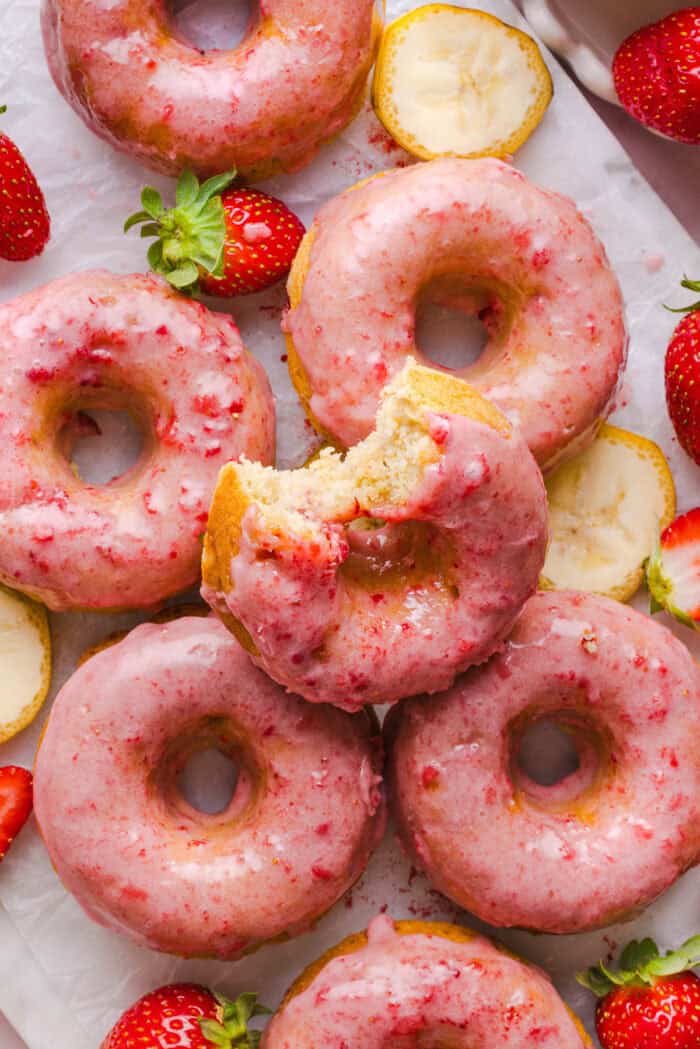
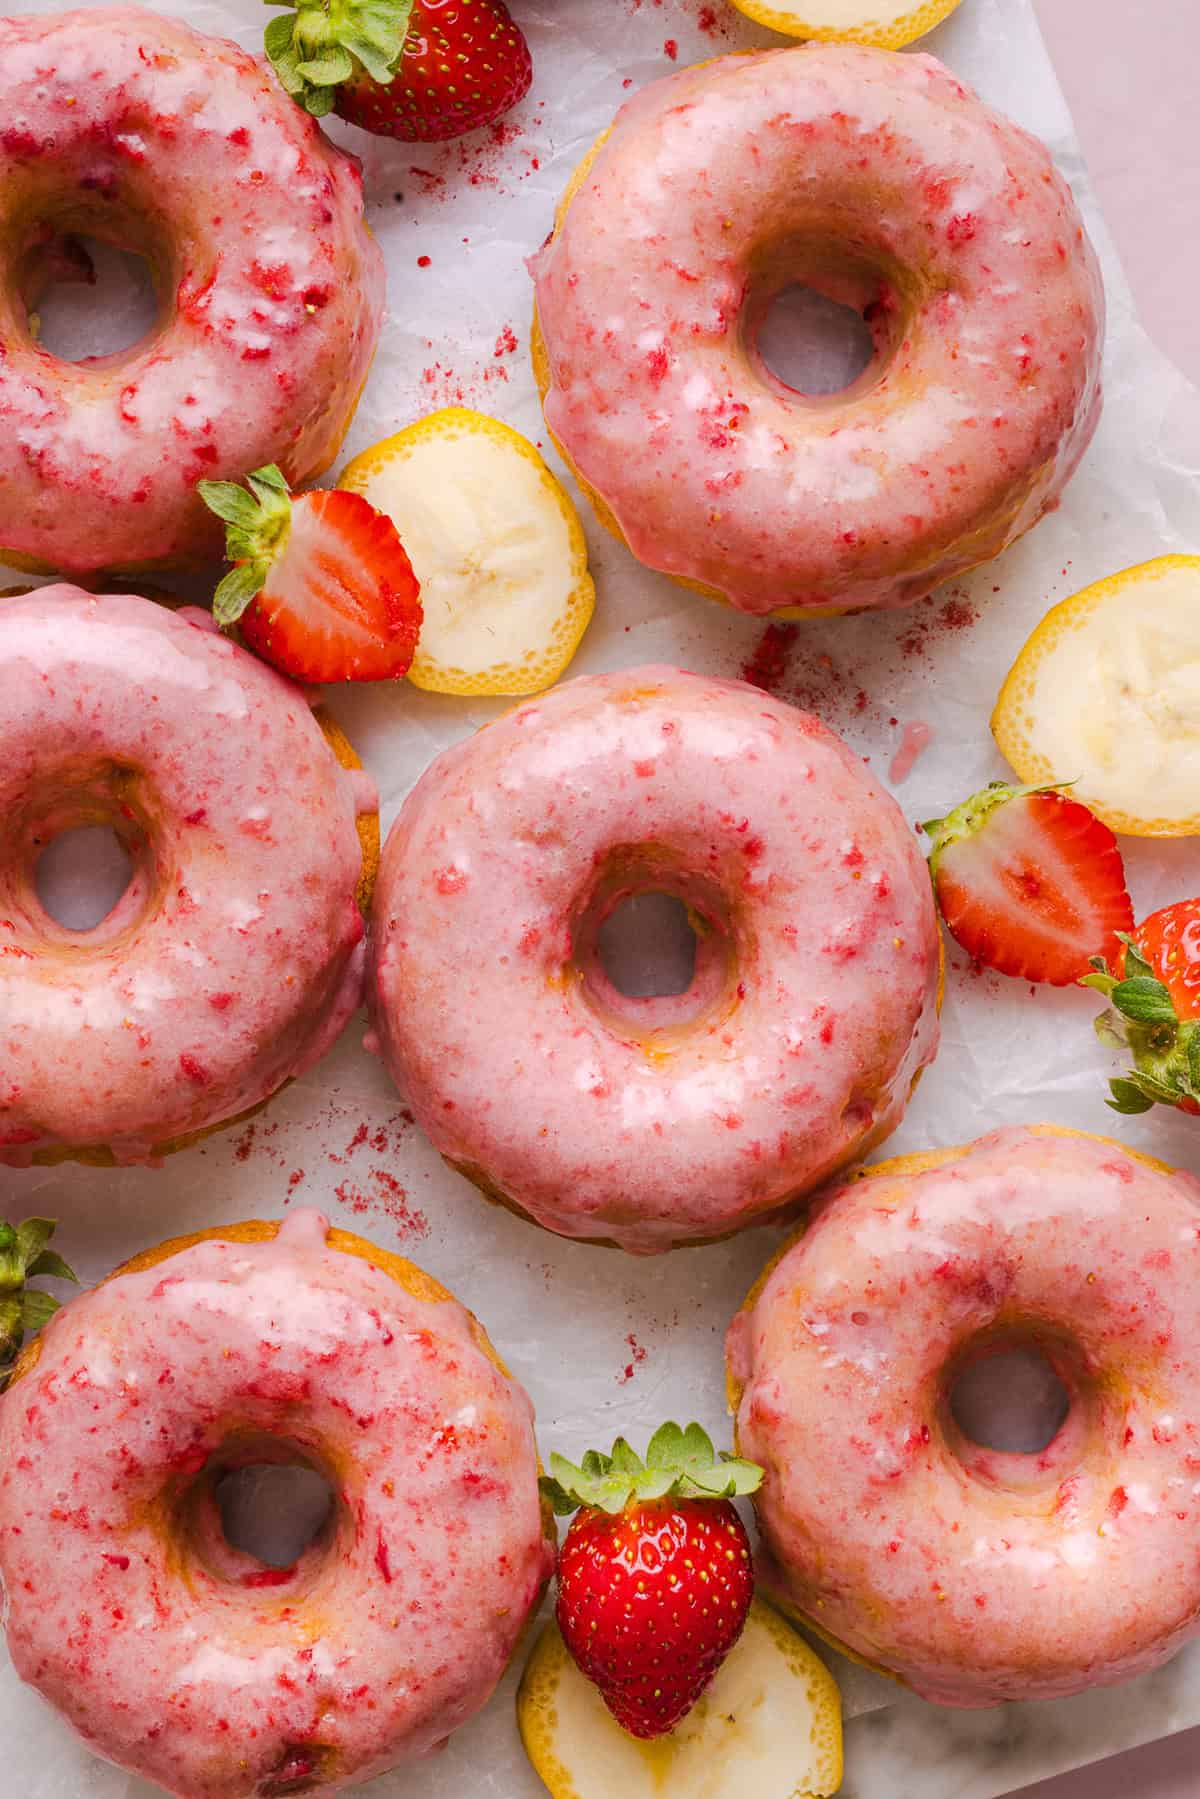
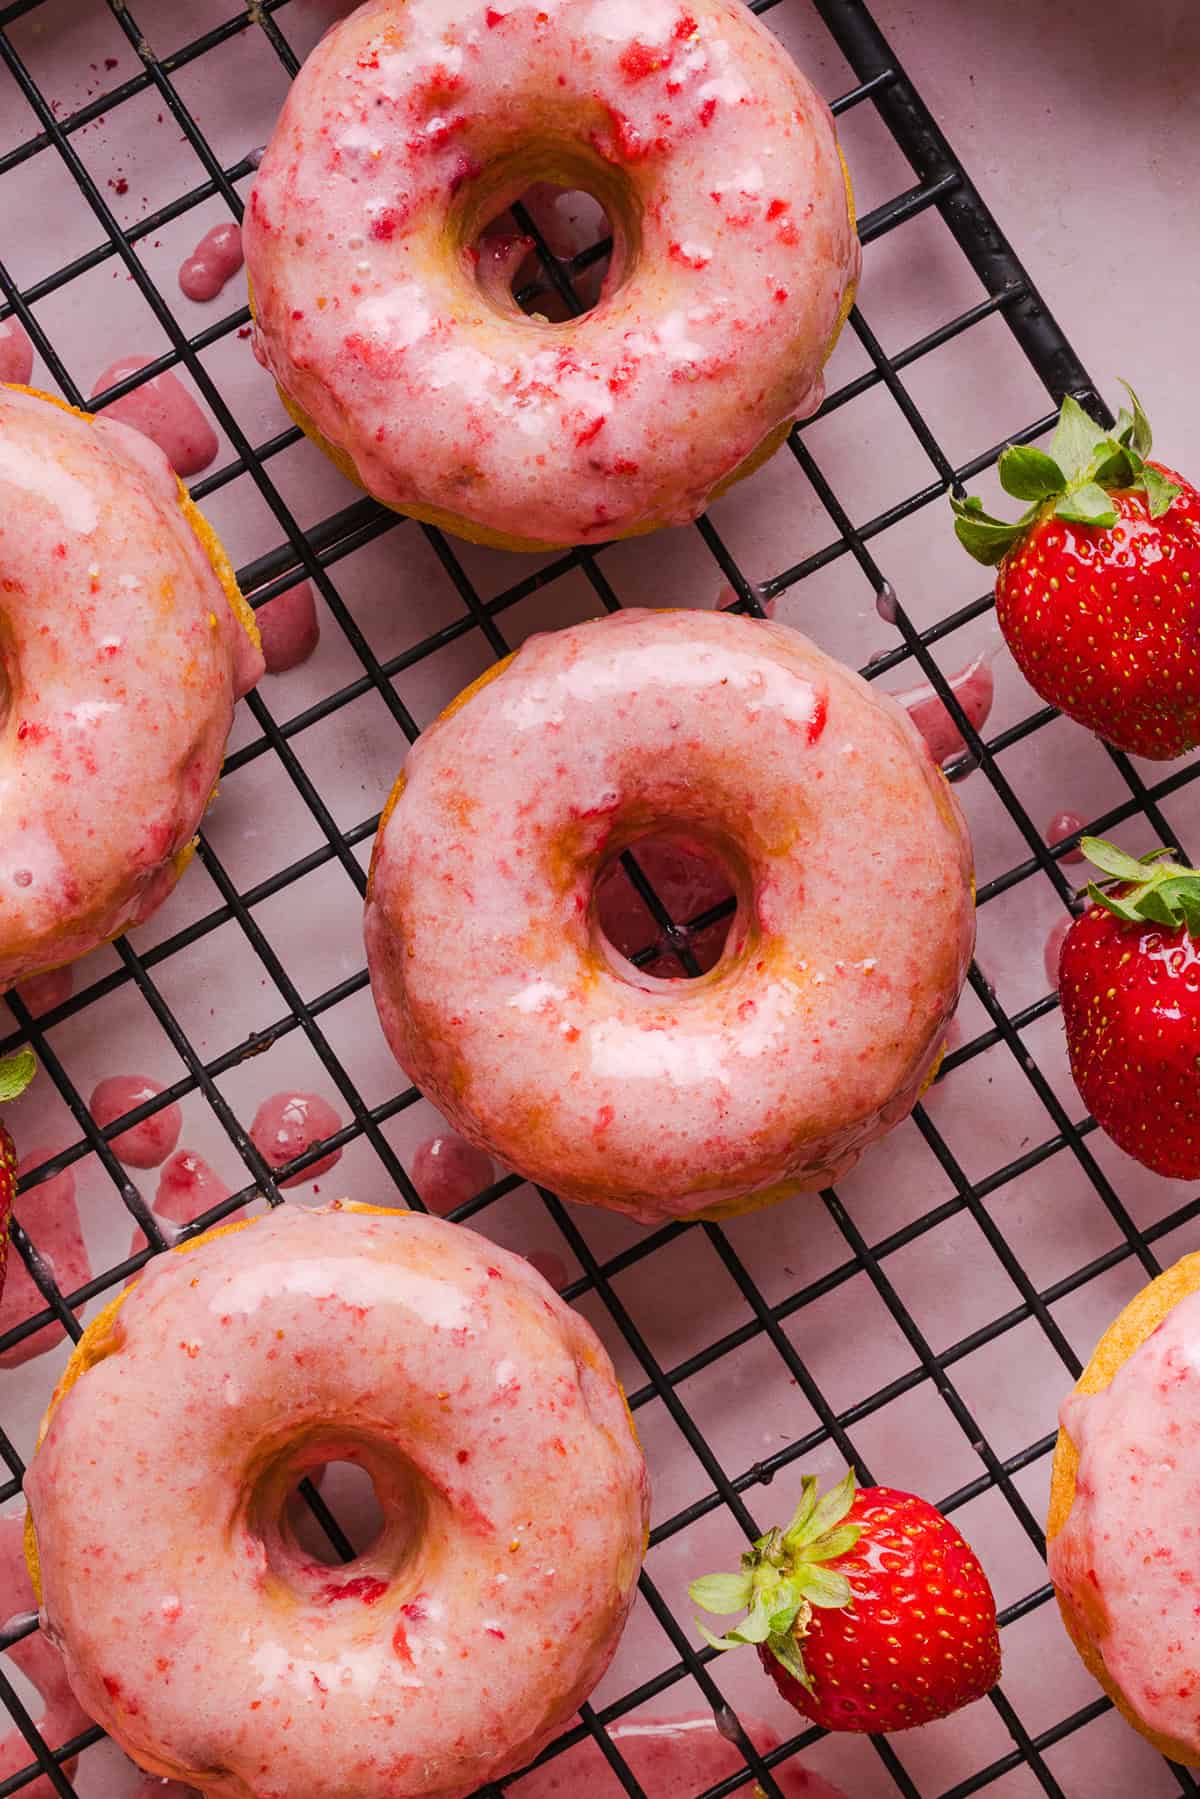
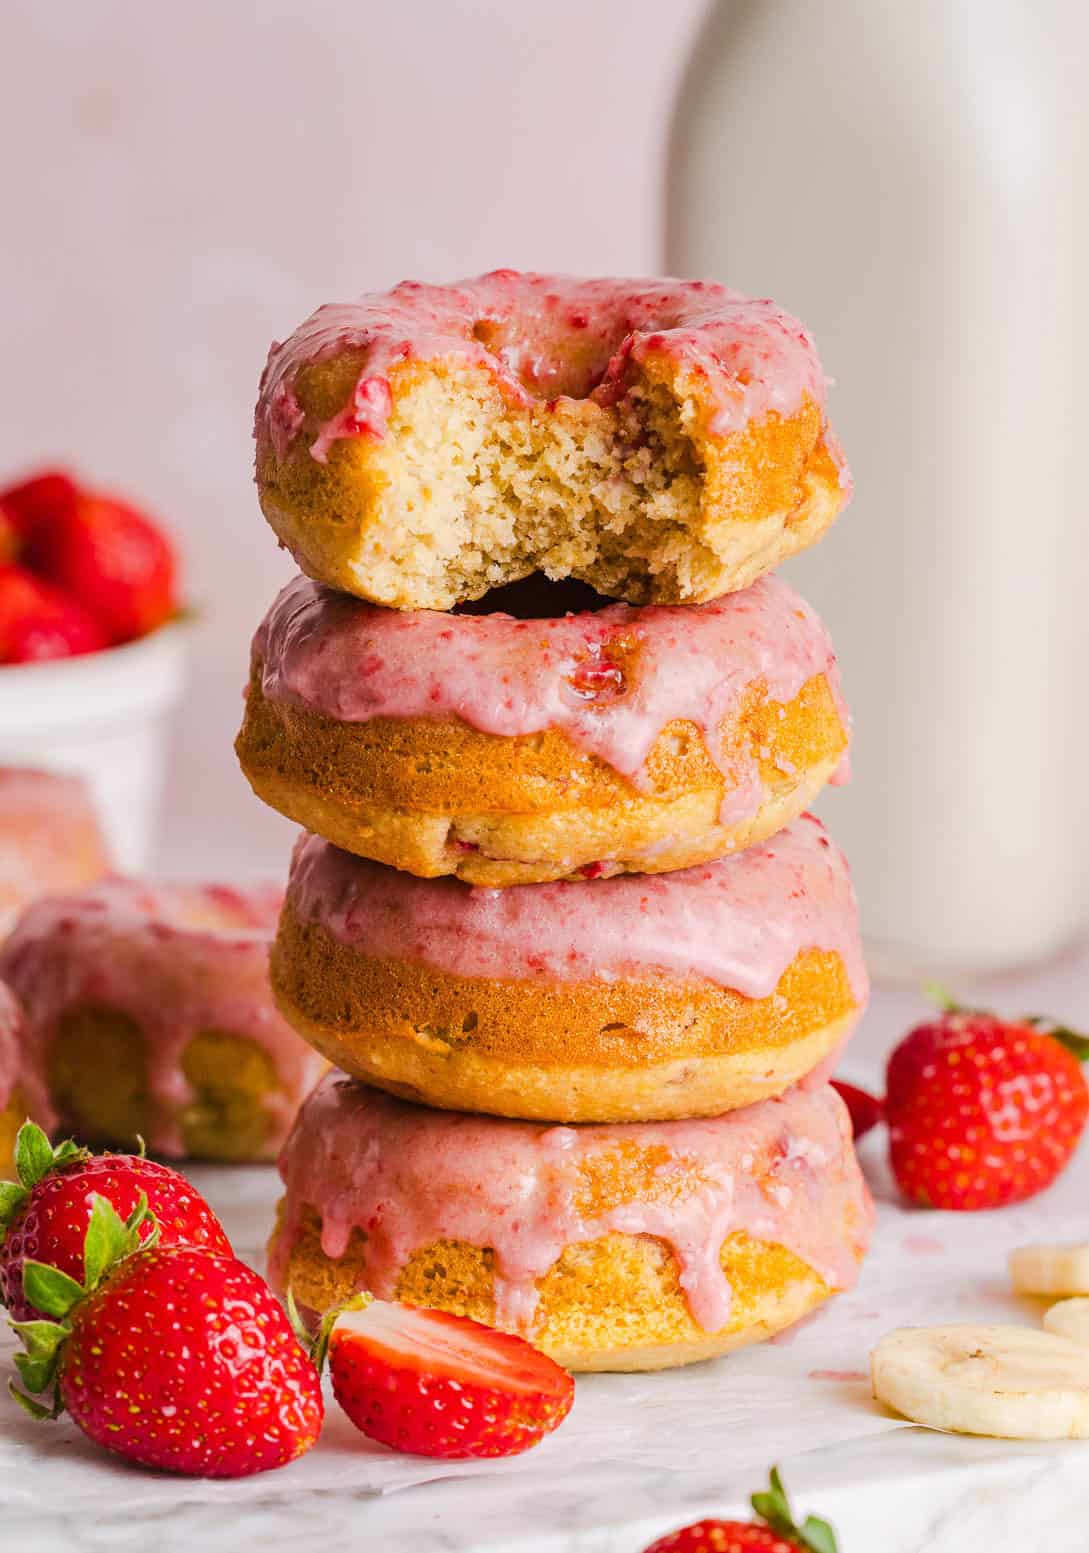
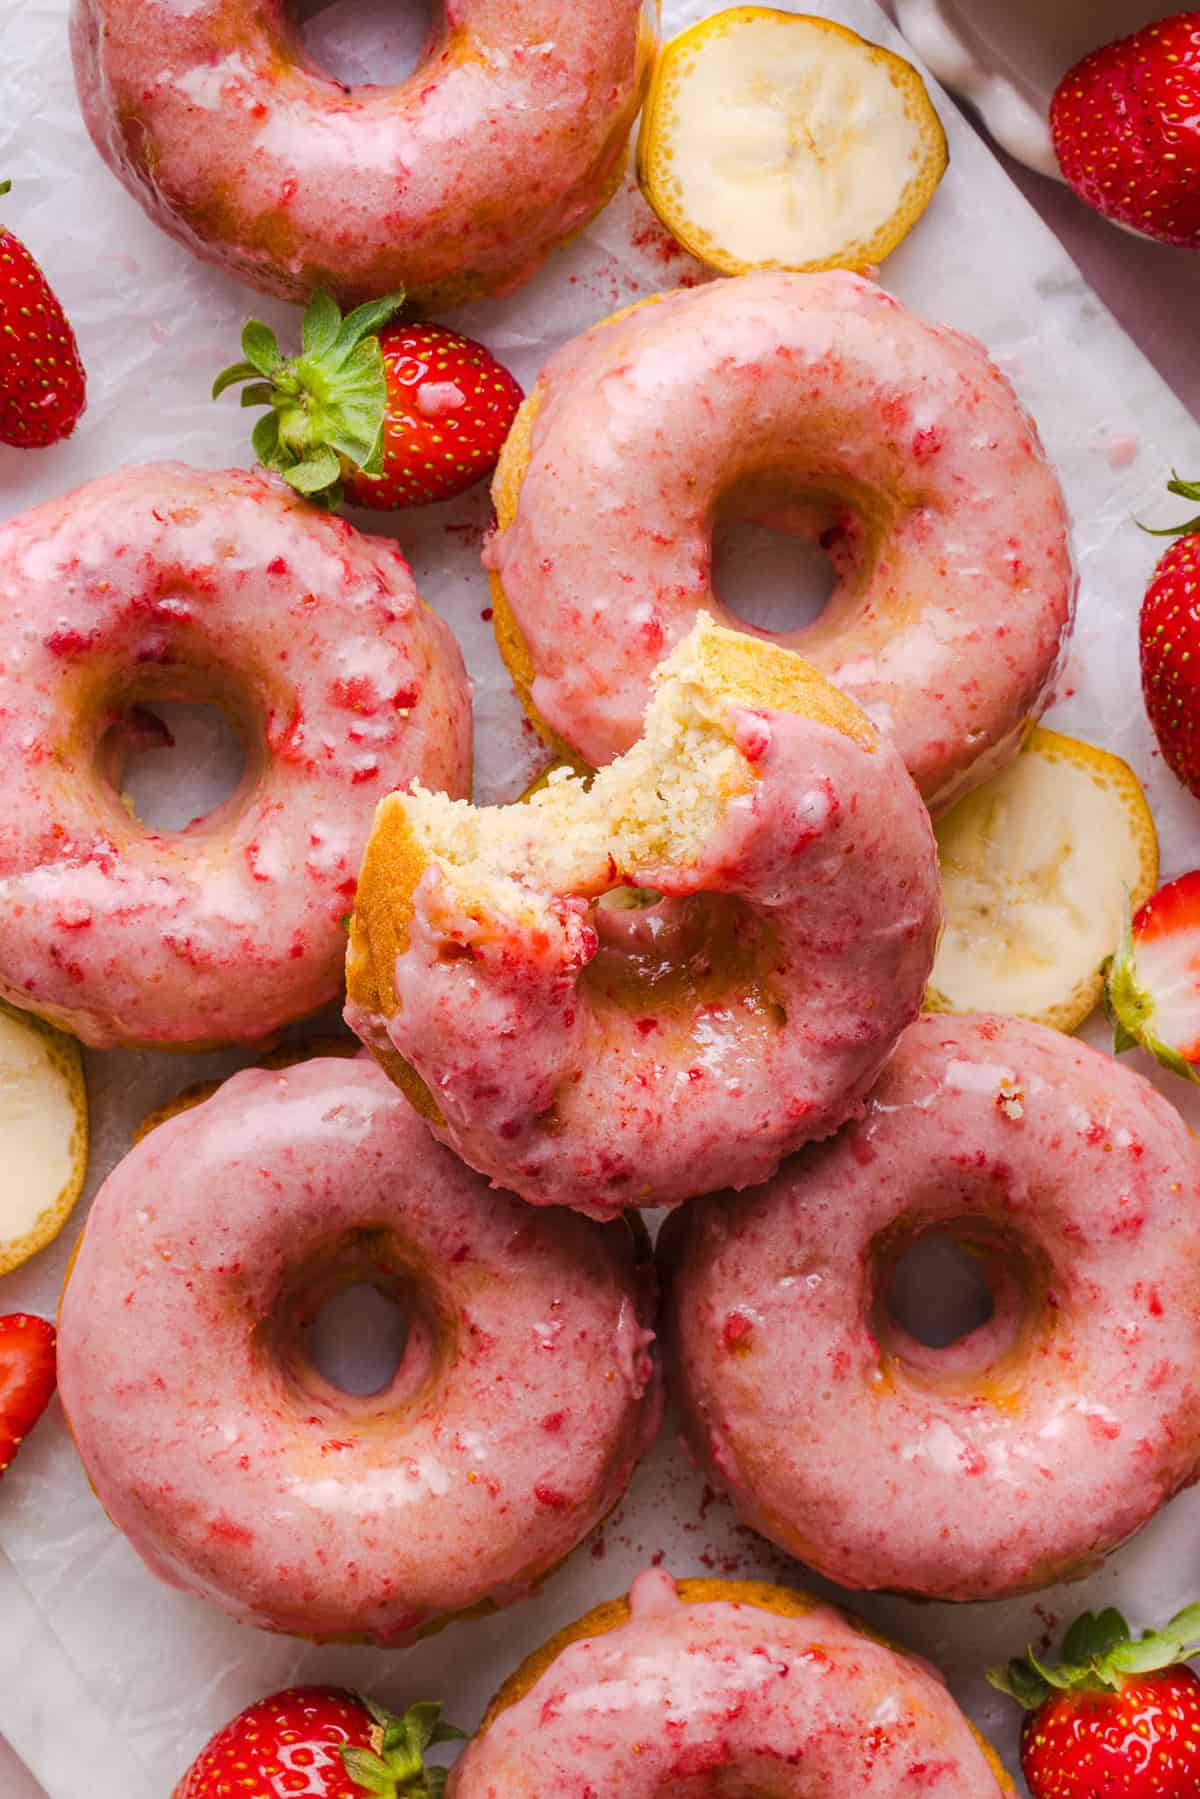
These Gluten-Free Strawberry Banana Donuts are soft, fluffy, and naturally sweetened with ripe bananas and fresh strawberries. These donuts are baked, not fried, and topped with a sweet strawberry glaze!

These Gluten-Free Strawberry Banana Donuts are soft, fluffy, and naturally sweetened with ripe bananas and fresh strawberries. These donuts are baked, not fried, and topped with a sweet strawberry glaze!

These Gluten-Free Strawberry Banana Donuts are soft, fluffy, and naturally sweetened with ripe bananas and fresh strawberries. These donuts are baked, not fried, and topped with a sweet strawberry glaze!
Want to save this recipe?
Just enter your email and get it sent to your inbox! Plus you’ll get new recipes from us every week!

Please enable JavaScript in your browser to complete this form.

Please enable JavaScript in your browser to complete this form.

Loading

These Gluten-Free Strawberry Banana Donuts are everything you love about a bakery-style donut, made with wholesome ingredients you can feel good about! Soft, fluffy, naturally moist, and bursting with sweet banana and juicy strawberries. These baked strawberry donuts are perfect for breakfast, brunch, an afternoon snack, or even a healthier dessert. Best of all, they’re baked instead of fried, and made with zero butter or oil making them a lighter treat you’ll want to make again and again!

Why You’ll Love These

  • Soft, moist and fluffy – mashed bananas keeps these donuts incredibly tender while almond flour adds richness and moisture.
  • Wholesome ingredients – oat flour, almond flour, fresh fruit, and simple pantry staples make these a healthier alternative to traditional donuts.
  • Easy to make – the donut batter comes together in one bowl with just a few minutes of prep and baked, not fried.
  • Great for meal prep – bake a batch at the beginning of the week for quick breakfasts or grab-and-go snacks for the kids.
These Gluten-Free Strawberry Banana Donuts are soft, fluffy, and naturally sweetened with ripe bananas and fresh strawberries. These donuts are baked, not fried, and topped with a sweet strawberry glaze!

Ingredients You’ll Need

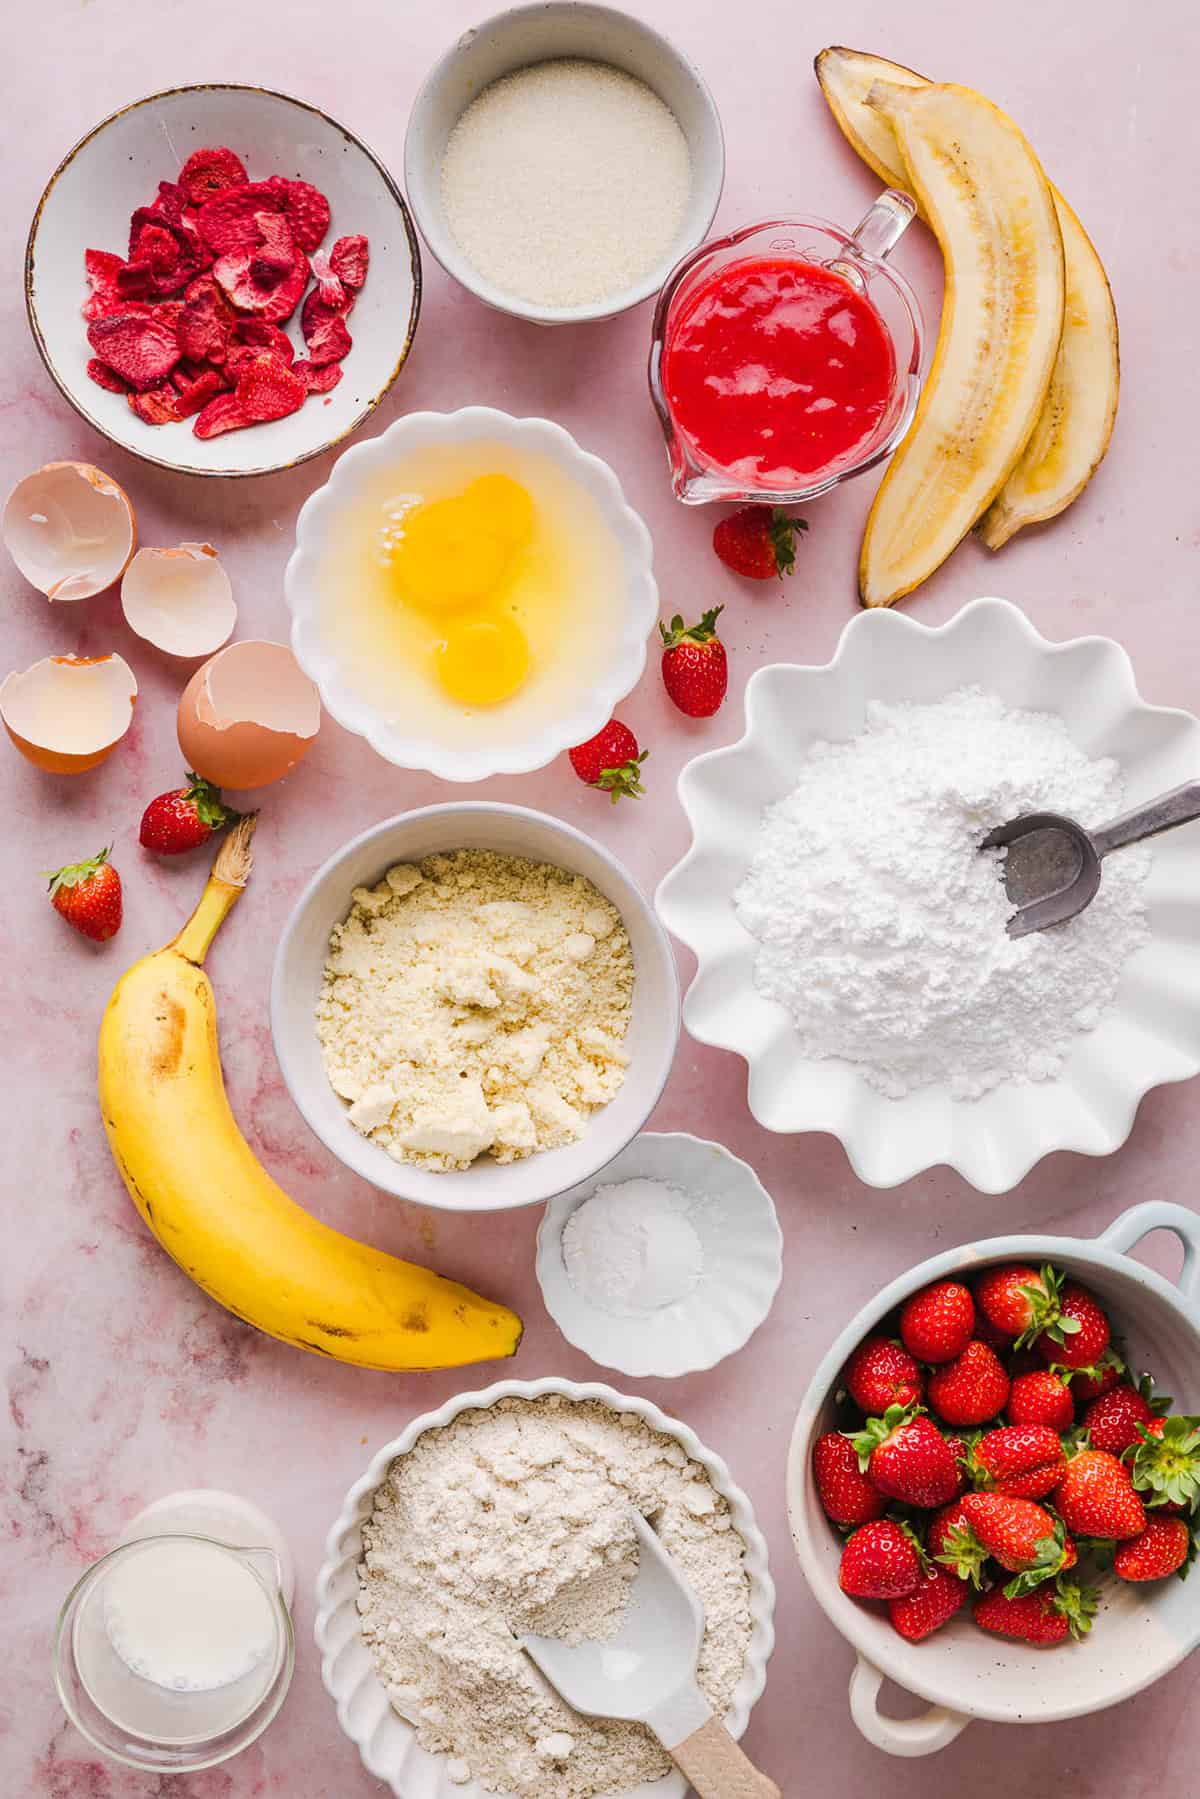
  • flour – I used a combination of oat flour and almond flour to keep these donuts gluten-free and keeping them nice and moist while still having a soft, tender texture.
  • baking powder – provides the lift these baked donuts need for a light, fluffy texture.
  • strawberries – finely chopped fresh strawberries add juicy bursts of sweetness throughout the donuts. Dice them into small pieces and gently pat dry with a paper towel to prevent excess moisture.
  • banana – one medium ripe banana provides natural sweetness, moisture, and delicious banana flavor. The riper your banana, the sweeter your donuts will be.
  • eggs – help bind the batter together while creating a soft, cake-like texture.
  • milk – adds moisture and creates a smooth batter. Dairy or unsweetened almond milk both work well in this recipe.
  • cane sugar – just enough cane sugar lightly sweetens these donuts without overpowering the fruit flavors.
  • vanilla extract – one tsp of vanilla enhances both the banana and strawberry flavors while adding warmth.
  • strawberry glaze – made with a combination of powdered sugar, fresh blended strawberries and milk to add the perfect finishing touch.

For extra strawberry flavor and a beautiful presentation, sprinkle a little crushed freeze-dried strawberries over the glaze before it sets! 🍓

These Gluten-Free Strawberry Banana Donuts are soft, fluffy, and naturally sweetened with ripe bananas and fresh strawberries. These donuts are baked, not fried, and topped with a sweet strawberry glaze!

How to Make Strawberry Banana Donuts

  1. Prepare the oven. Preheat your oven to 350 degrees F. Generously coat a 12-count donut pan with nonstick cooking spray.
  2. Mix the ingredients. In a large bowl, whisk together the oat flour, almond flour, baking powder, and salt until evenly combined. In a separate bowl, whisk together the mashed banana, eggs, milk, cane sugar, and vanilla extract until smooth and well incorporated.
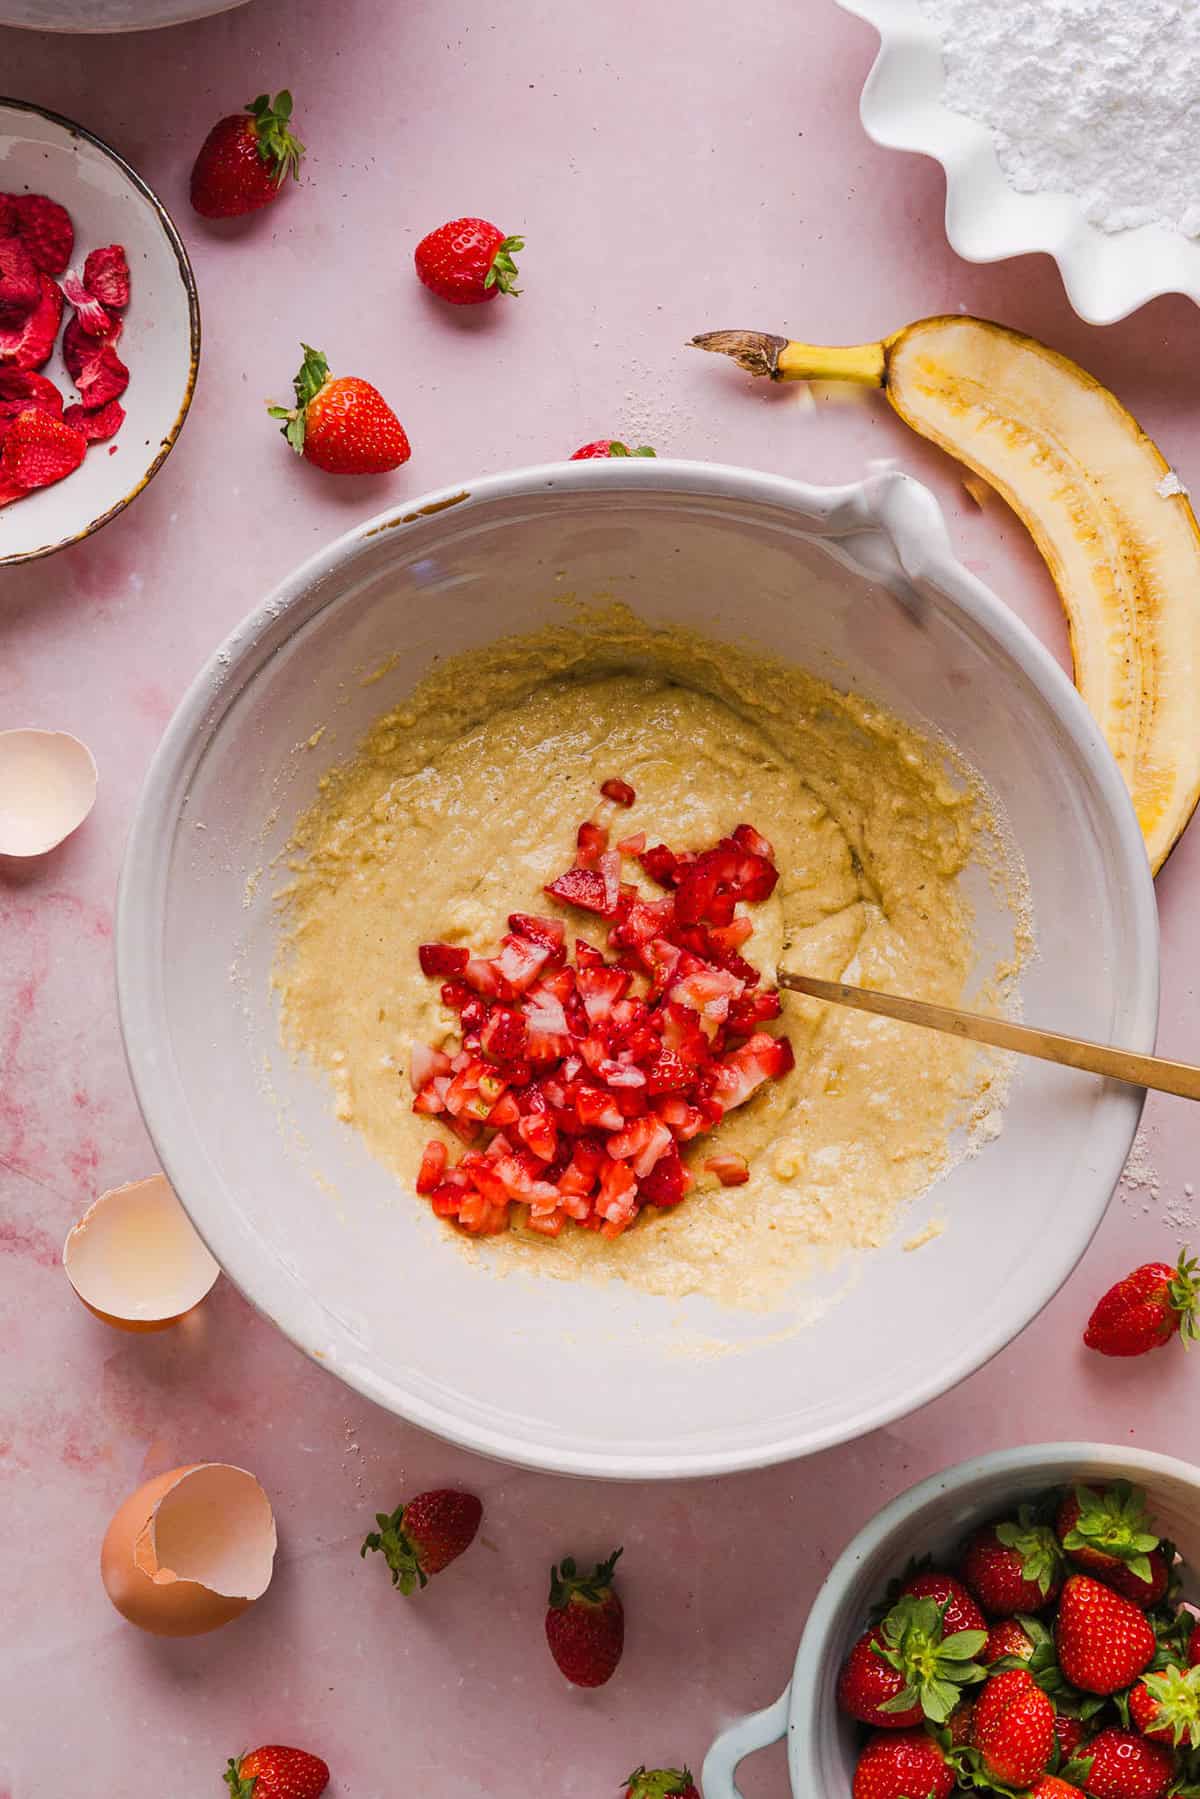
  3. Make the batter. Pour the wet ingredients into the dry ingredients and gently stir until just combined. Be careful not to overmix. Fold in the finely chopped strawberries until evenly distributed throughout the batter.
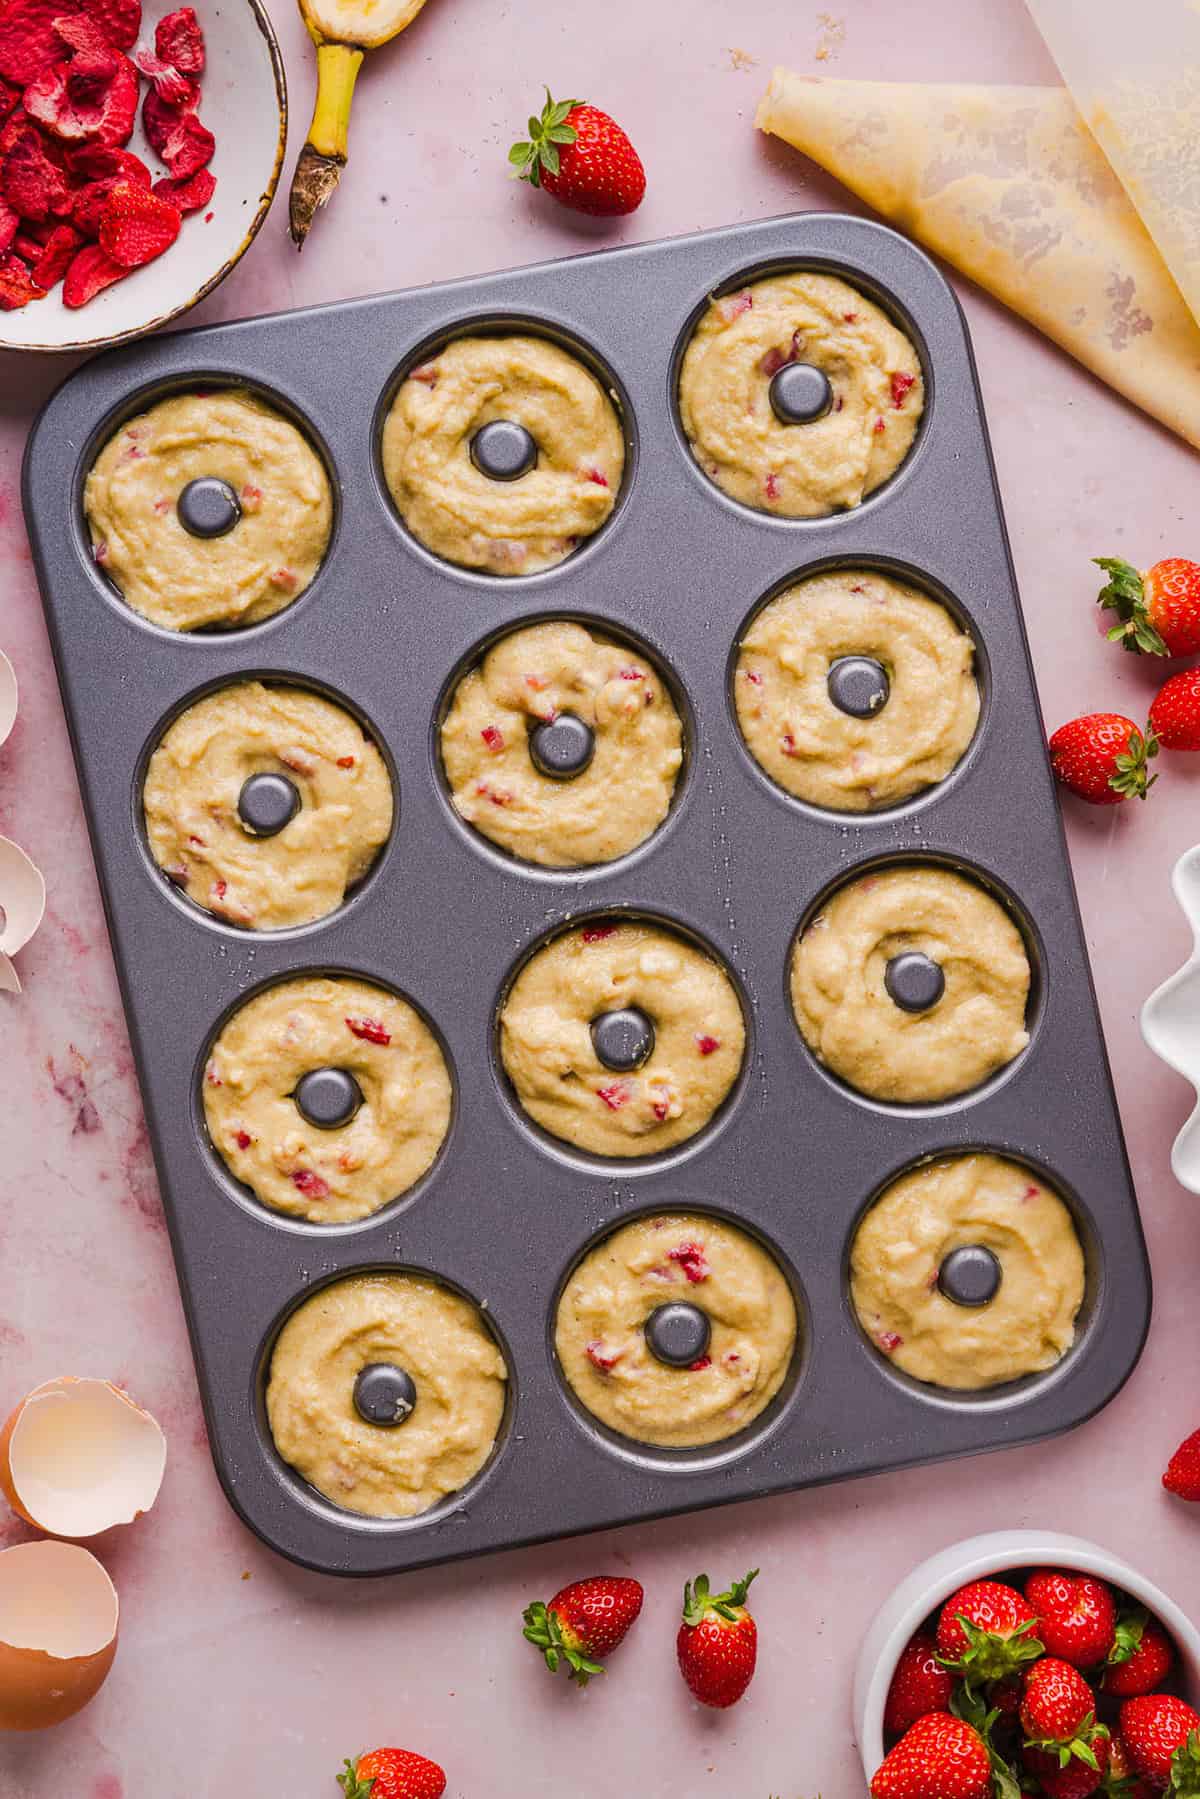
  4. Fill the donut pan. Transfer the batter to a large zip-top bag or piping bag and snip off one corner. Pipe the batter evenly into each donut cavity, filling each about three-quarters full.
  5. Bake the donuts. Bake for 13 to 15 minutes, or until the tops are lightly golden brown and a toothpick inserted into the center comes out clean. Allow the donuts to cool in the pan for about 5 minutes before carefully transferring them to a wire rack to cool completely.
  6. Make the strawberry glaze. While the donuts cool, whisk together the powdered sugar, blended strawberries, and milk until smooth. If needed, add additional milk one teaspoon at a time until the glaze reaches a thin, pourable consistency.
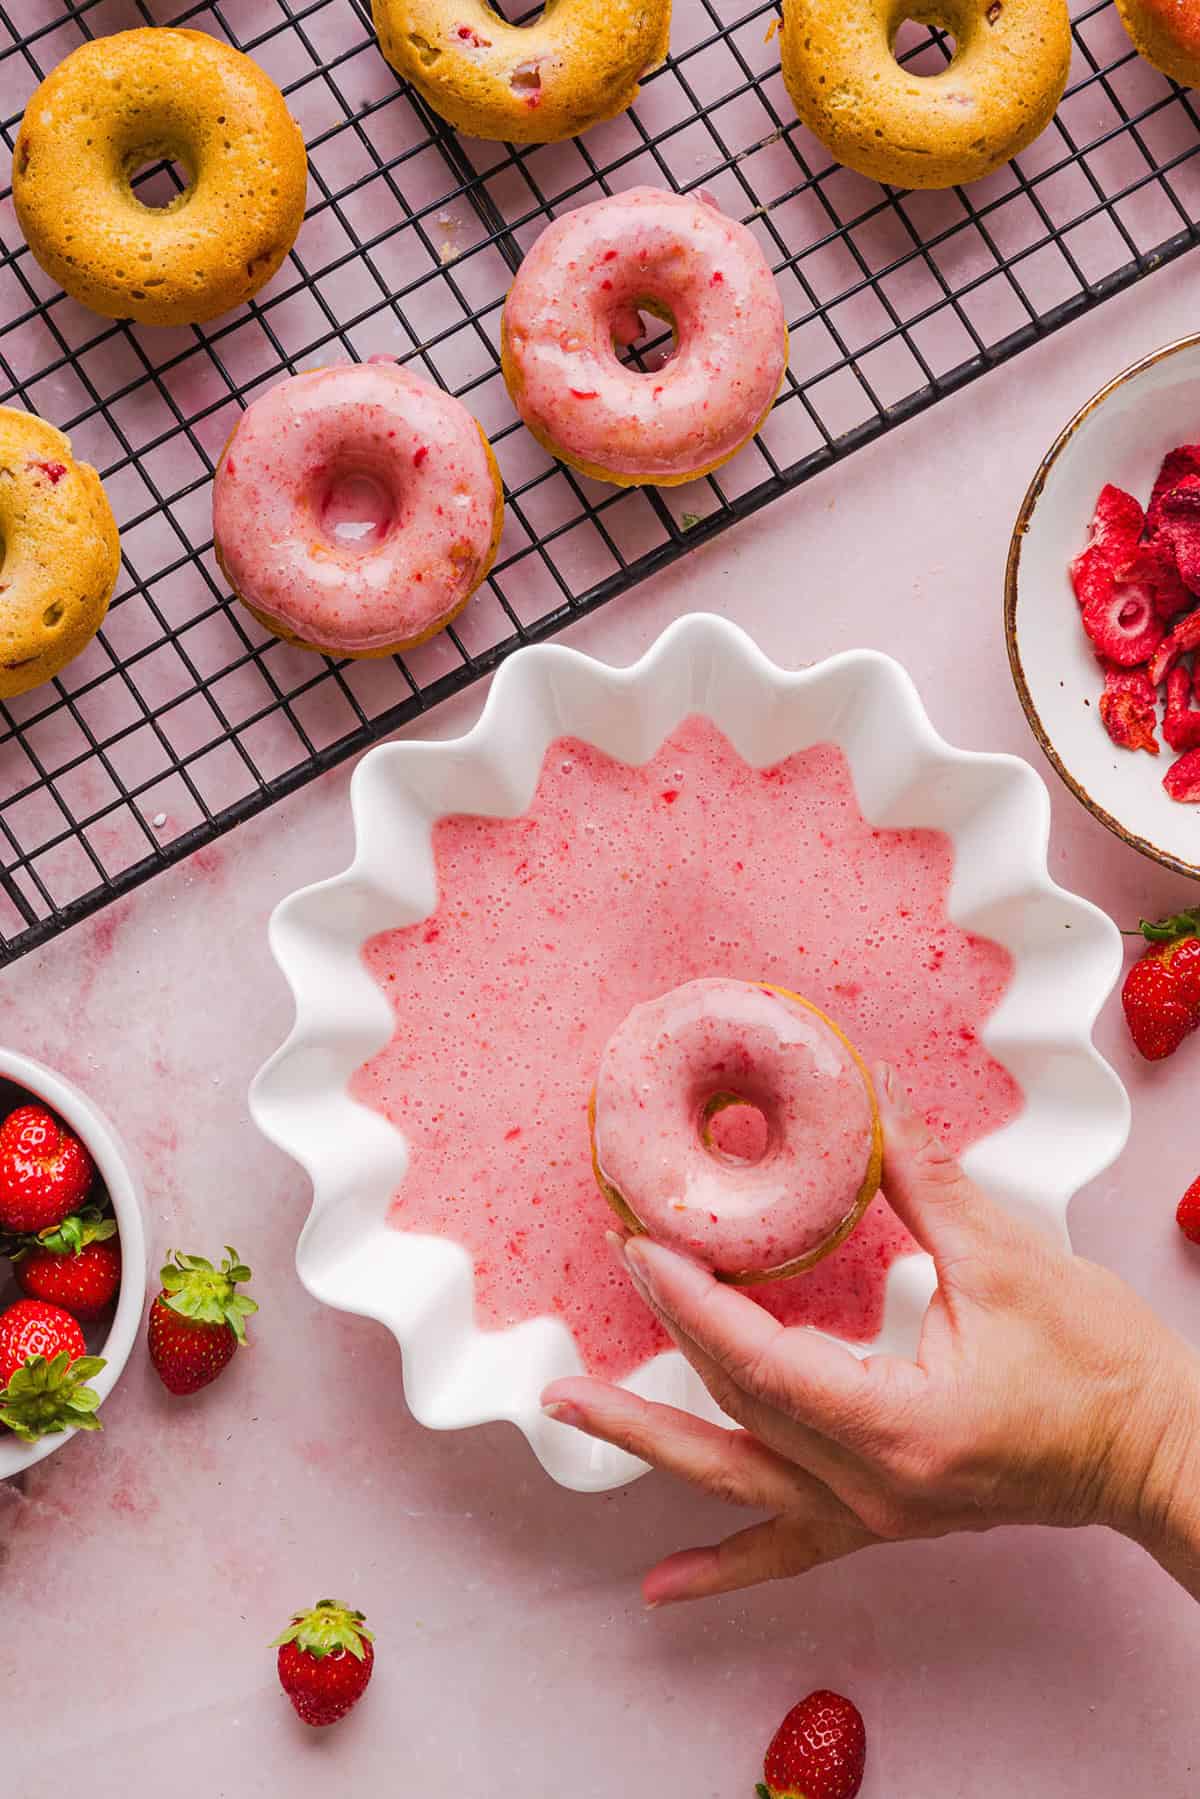
  7. Glaze the donuts. Dip the tops of each cooled donut into the glaze, allowing any excess to drip off. Sprinkle with finely crushed freeze-dried strawberries before the glaze sets. Let the glaze harden for several minutes before serving.

Baking Tools Needed

  • Donut pans – I use these Wilton donut baking pans which come in a set of 2 and are on sale right now for $14.50!
  • Pastry bag – this is not a necessity, but definitely makes piping the batter into the donut wells so much easier and highly recommend them.
  • Mixing bowls – you’ll need two mixing bowls to separately mix the dry ingredients from the wet ingredients before combining everything to make the donut batter.
These Gluten-Free Strawberry Banana Donuts are soft, fluffy, and naturally sweetened with ripe bananas and fresh strawberries. These donuts are baked, not fried, and topped with a sweet strawberry glaze!

Tips for Making the Best Strawberry Banana Donuts

  • Use an extra ripe banana – the riper the banana, the better! Bananas with plenty of brown spots are naturally sweeter, mash more easily, and add extra moisture to the batter. This gives the donuts their soft, tender texture while reducing the need for extra sugar.
  • Finely chop the strawberries – fresh strawberries release a lot of moisture as they bake. Dice them into small, even pieces and gently pat them dry with paper towels before folding them into the batter. This helps prevent soggy spots and keeps the donuts light and fluffy.
  • Don’t overmix the batter – once you combine the wet and dry ingredients, gently stir just until no streaks of flour remain. Overmixing can make baked donuts tougher instead of soft and tender.
  • Pipe the batter into the donut pan – instead of spooning the batter into the donut pan, transfer it to a piping bag or a large zip-top bag with the corner snipped off. This makes filling the donut wells much easier and gives you evenly shaped donuts with less mess.
  • Generously grease the donut pan – even nonstick donut pans can cause baked donuts to stick. Spray each cavity well with nonstick cooking spray or lightly grease with oil to ensure the donuts release easily after baking.
  • Don’t overbake – make sure to keep an eye on the donuts during the last few minutes of baking. Overbaking can dry them out, especially since they’re made with oat and almond flour.
  • Let donuts cool before baking – allow the donuts to cool completely on a wire rack before dipping them in the glaze. If they’re still warm, the glaze will melt and slide right off instead of creating that beautiful glossy coating.
  • Finish with freeze-dried strawberries – this is optional, but a light sprinkle of finely crushed freeze-dried strawberries adds beautiful pop of color and extra strawberry flavor. Crush them into small crumbs rather than large pieces so they evenly coat each donut without overpowering the glaze.
These Gluten-Free Strawberry Banana Donuts are soft, fluffy, and naturally sweetened with ripe bananas and fresh strawberries. These donuts are baked, not fried, and topped with a sweet strawberry glaze!

Variations and Substitutions

  • Make them dairy-free – use your favorite dairy-free milk in both the batter ad the glaze.
  • Add cinnamon – a half teaspoon of cinnamon adds a warm flavor that pairs beautifully with the banana.
  • Add lemon zest – fresh lemon zest brightens the strawberries and makes these donuts taste even more refreshing.
  • Add chocolate chips – mini dark chocolate chips make these donuts feel like a bakery treat.
  • Swap the berries – try raspberries, blueberries, or finely diced peaches instead of strawberries.
  • Add protein – mix a scoop of vanilla protein powder into the batter, adding an extra splash of milk if needed to maintain the proper consistency.
  • Skip the glaze – these donuts are delicious plain or lightly dusted with powdered sugar for a less sweet option.
These Gluten-Free Strawberry Banana Donuts are soft, fluffy, and naturally sweetened with ripe bananas and fresh strawberries. These donuts are baked, not fried, and topped with a sweet strawberry glaze!

Frequently Asked Questions

Can I use frozen strawberries?

Yes. Thaw them completely, drain any excess liquid, and pat them dry before folding them into the batter.

Can I make these into muffins?

Absolutely! Divide the batter into a muffin tin and bake for about 18 to 22 minutes, or until a toothpick comes out clean.

Why didn’t my donuts rise very much?

These donuts are naturally a little flatter than traditional cake donuts because they’re made with oat flour, almond flour, and fresh fruit. They still bake up soft, tender, and perfectly delicious.

Can I make the glaze ahead of time?

Yes! Store the glaze in the refrigerator for up to 2 days and whisk again before using. Add a splash of milk if it thickens while chilling.

Prepping and Storage Tips

  • To Prep Ahead – you can mash the banana and finely dice the strawberries up to one day in advance. Store them separately in the refrigerator until you’re ready to bake.
  • To Store – you can store the glazed donuts in an airtight container in the refrigerator for up to 5 days. If stacking, place parchment paper between layers to prevent the glaze from sticking.
  • To Freeze – freeze the unglazed donuts in a freezer-safe container or zip-top freezer bag for up to 3 months. Thaw overnight in the refrigerator or at room temperature before glazing and serving.
  • To Reheat – enjoy cold, at room temperature, or warm individual donuts in the microwave for about 10 to 15 seconds for a freshly baked taste.
These Gluten-Free Strawberry Banana Donuts are soft, fluffy, and naturally sweetened with ripe bananas and fresh strawberries. These donuts are baked, not fried, and topped with a sweet strawberry glaze!

Pin this now to find it later

Pin It

Follow on Instagram

Follow

More Strawberry Recipes

More Donut Recipes

Hope you all enjoy these Gluten-Free Strawberry Banana Donuts! If you love this recipe as much as we do, please leave a ⭐⭐⭐⭐⭐ star rating below and don’t forget to tag me on Instagram using the hashtag #eatyourselfskinny!

These Gluten-Free Strawberry Banana Donuts are soft, fluffy, and naturally sweetened with ripe bananas and fresh strawberries. These donuts are baked, not fried, and topped with a sweet strawberry glaze!

Print

Gluten-Free Strawberry Banana Donuts

#wprm-recipe-user-rating-1 .wprm-rating-star.wprm-rating-star-full svg * { fill: #343434; }#wprm-recipe-user-rating-1 .wprm-rating-star.wprm-rating-star-33 svg * { fill: url(#wprm-recipe-user-rating-1-33); }#wprm-recipe-user-rating-1 .wprm-rating-star.wprm-rating-star-50 svg * { fill: url(#wprm-recipe-user-rating-1-50); }#wprm-recipe-user-rating-1 .wprm-rating-star.wprm-rating-star-66 svg * { fill: url(#wprm-recipe-user-rating-1-66); }linearGradient#wprm-recipe-user-rating-1-33 stop { stop-color: #343434; }linearGradient#wprm-recipe-user-rating-1-50 stop { stop-color: #343434; }linearGradient#wprm-recipe-user-rating-1-66 stop { stop-color: #343434; }

Delicious Gluten-Free Strawberry Banana Donuts that are soft, lightly sweetened with honey and baked, not fried, with zero oil or butter for the perfect Valentine's Day treat!
Course Breakfast, Dessert
Cuisine American
Keyword Gluten-Free Strawberry Banana Donuts
Prep Time 10 minutes
Cook Time 10 minutes
Total Time 20 minutes
Servings 12
Calories 162kcal

Ingredients

For the Donuts:

  • 1 1/4 cups oat flour
  • 3/4 cup almond flour
  • 2 tsp baking powder
  • 1/4 tsp salt
  • 1/2 cup mashed very ripe banana (about 1 medium banana)
  • 2 eggs
  • 1/4 cup milk of choice
  • 1/3 cup cane sugar
  • 1 tsp vanilla extract
  • 1/2 cup finely chopped strawberries

For the Strawberry Glaze:

Instructions

  • Prepare the oven. Preheat your oven to 350 degrees F. Generously coat a 12-count donut pan with nonstick cooking spray.
  • Mix the ingredients. In a large bowl, whisk together the oat flour, almond flour, baking powder, and salt until evenly combined. In a separate bowl, whisk together the mashed banana, eggs, milk, cane sugar, and vanilla extract until smooth and well incorporated.
  • Make the batter. Pour the wet ingredients into the dry ingredients and gently stir until just combined. Be careful not to overmix. Fold in the finely chopped strawberries until evenly distributed throughout the batter.
  • Fill the donut pan. Transfer the batter to a large zip-top bag or piping bag and snip off one corner. Pipe the batter evenly into each donut cavity, filling each about three-quarters full.
  • Bake the donuts. Bake for 13 to 15 minutes, or until the tops are lightly golden and a toothpick inserted into the center comes out clean. Allow the donuts to cool in the pan for about 5 minutes before carefully transferring them to a wire rack to cool completely.
  • Make the strawberry glaze. While the donuts cool, whisk together the powdered sugar, blended strawberries, and milk until smooth. If needed, add additional milk one teaspoon at a time until the glaze reaches a thin, pourable consistency.
  • Glaze the donuts. Dip the tops of each cooled donut into the glaze, allowing any excess to drip off. Sprinkle with finely crushed freeze-dried strawberries before the glaze sets. Let the glaze harden for several minutes before serving.

Nutrition

Serving: 1donut | Calories: 162kcal | Carbohydrates: 25.2g | Protein: 4.9g | Fat: 5.3g | Saturated Fat: 0.7g | Cholesterol: 31mg | Sodium: 41.8mg | Fiber: 2.3g | Sugar: 14.1g
lemon-blueberry-muffins-7-700x1049.jpg

Lemon Blueberry Yogurt Muffins

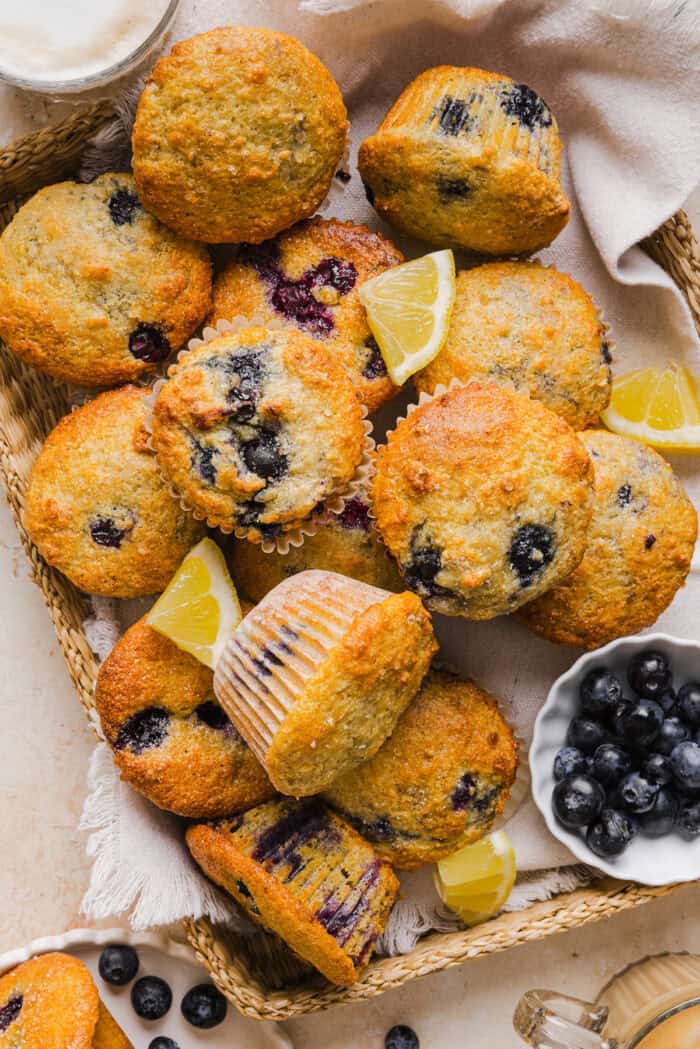
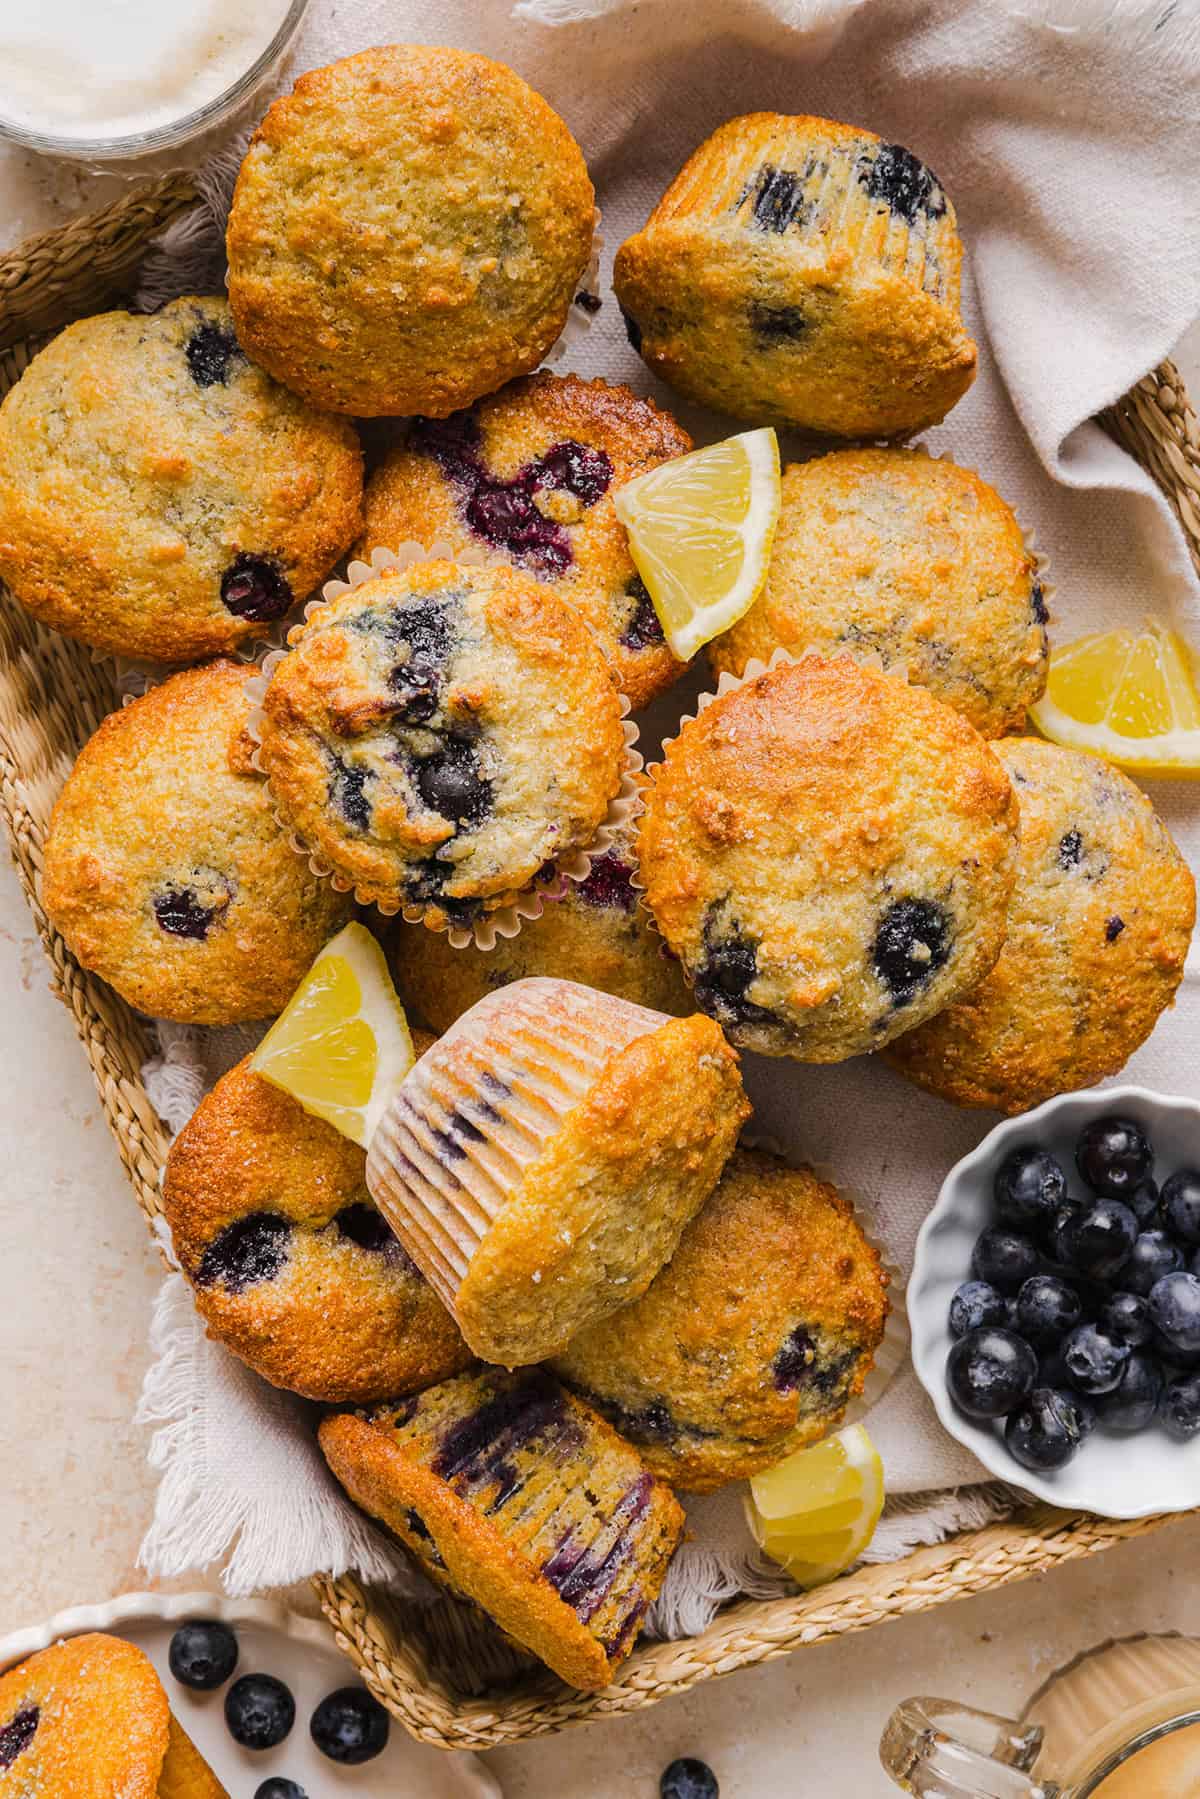
These Lemon Blueberry Yogurt Muffins are soft, moist and bursting with fresh lemon flavor and juicy blueberries! Made with Greek yogurt and wholesome ingredients, they are perfect for breakfast, snacks or meal prep.

These Lemon Blueberry Yogurt Muffins are soft, moist and bursting with fresh lemon flavor and juicy blueberries! Made with Greek yogurt and wholesome ingredients, they are perfect for breakfast, snacks or meal prep.

These Lemon Blueberry Yogurt Muffins are soft, moist and bursting with fresh lemon flavor and juicy blueberries! Made with Greek yogurt and wholesome ingredients, they are perfect for breakfast, snacks or meal prep.
Want to save this recipe?
Just enter your email and get it sent to your inbox! Plus you’ll get new recipes from us every week!

Please enable JavaScript in your browser to complete this form.

Please enable JavaScript in your browser to complete this form.

Loading

You are going to love these Lemon Blueberry Yogurt Muffins! Soft, moist and bursting with juicy blueberries and fresh lemon flavor in every bite. Made with creamy Greek yogurt, fresh lemon juice, and wholesome ingredients, these muffins bake up tender and fluffy with a hint of crunch from a sprinkle of sugar. Whether you’re looking for an easy breakfast, a healthy-ish afternoon snack, or a sweet addition to brunch, this lemon-blueberry muffin recipe is guaranteed to become a family favorite!

Why You’ll Love These

  • Soft and fluffy – these muffins have the best soft texture thanks to the creamy Greek yogurt that keeps them perfectly moist and fluffy.
  • Lighter muffins – these lemon blueberry muffins are made healthier with whole wheat pastry flour, protein-packed yogurt, fresh blueberries and zero refined sugar.
  • Great for meal prep – these muffins will last up to a week in an airtight container making them perfect for grab on-the-go breakfasts and are freezer-friendly.
  • Customizable – use your favorite berries, a variety of mix-ins or ingredients swaps to fit your dietary preferences.
These Lemon Blueberry Yogurt Muffins are soft, moist and bursting with fresh lemon flavor and juicy blueberries! Made with Greek yogurt and wholesome ingredients, they are perfect for breakfast, snacks or meal prep.

Ingredients You’ll Need

  • flour – I used a combination of whole wheat pastry flour and all-purpose flour to get a soft, fluffy texture. You could also use gluten-free 1 to 1 baking flour.
  • baking powder + baking soda – these act as leavening agents to help the muffins rise and keep them soft and fluffy.
  • eggs – helps bind the muffins and give them structure and height.
  • Greek yogurt – keeps these muffins moist and adds a boost of protein. You could also use sour cream or even applesauce.
  • butter – adds extra moisture to these muffins along with a rich flavor and soft texture.
  • fresh lemons – fresh lemon juice adds brightness and tang while the lemon zest brings bold, fresh lemon flavor. Avoid using bottled lemon juice as it can taste a little tinny.
  • cane sugar – naturally sweetens these muffins without using refined sugar. You could also use regular granulated sugar, honey or maple syrup.
  • pure vanilla extract – adds a boost of flavor and warmth.
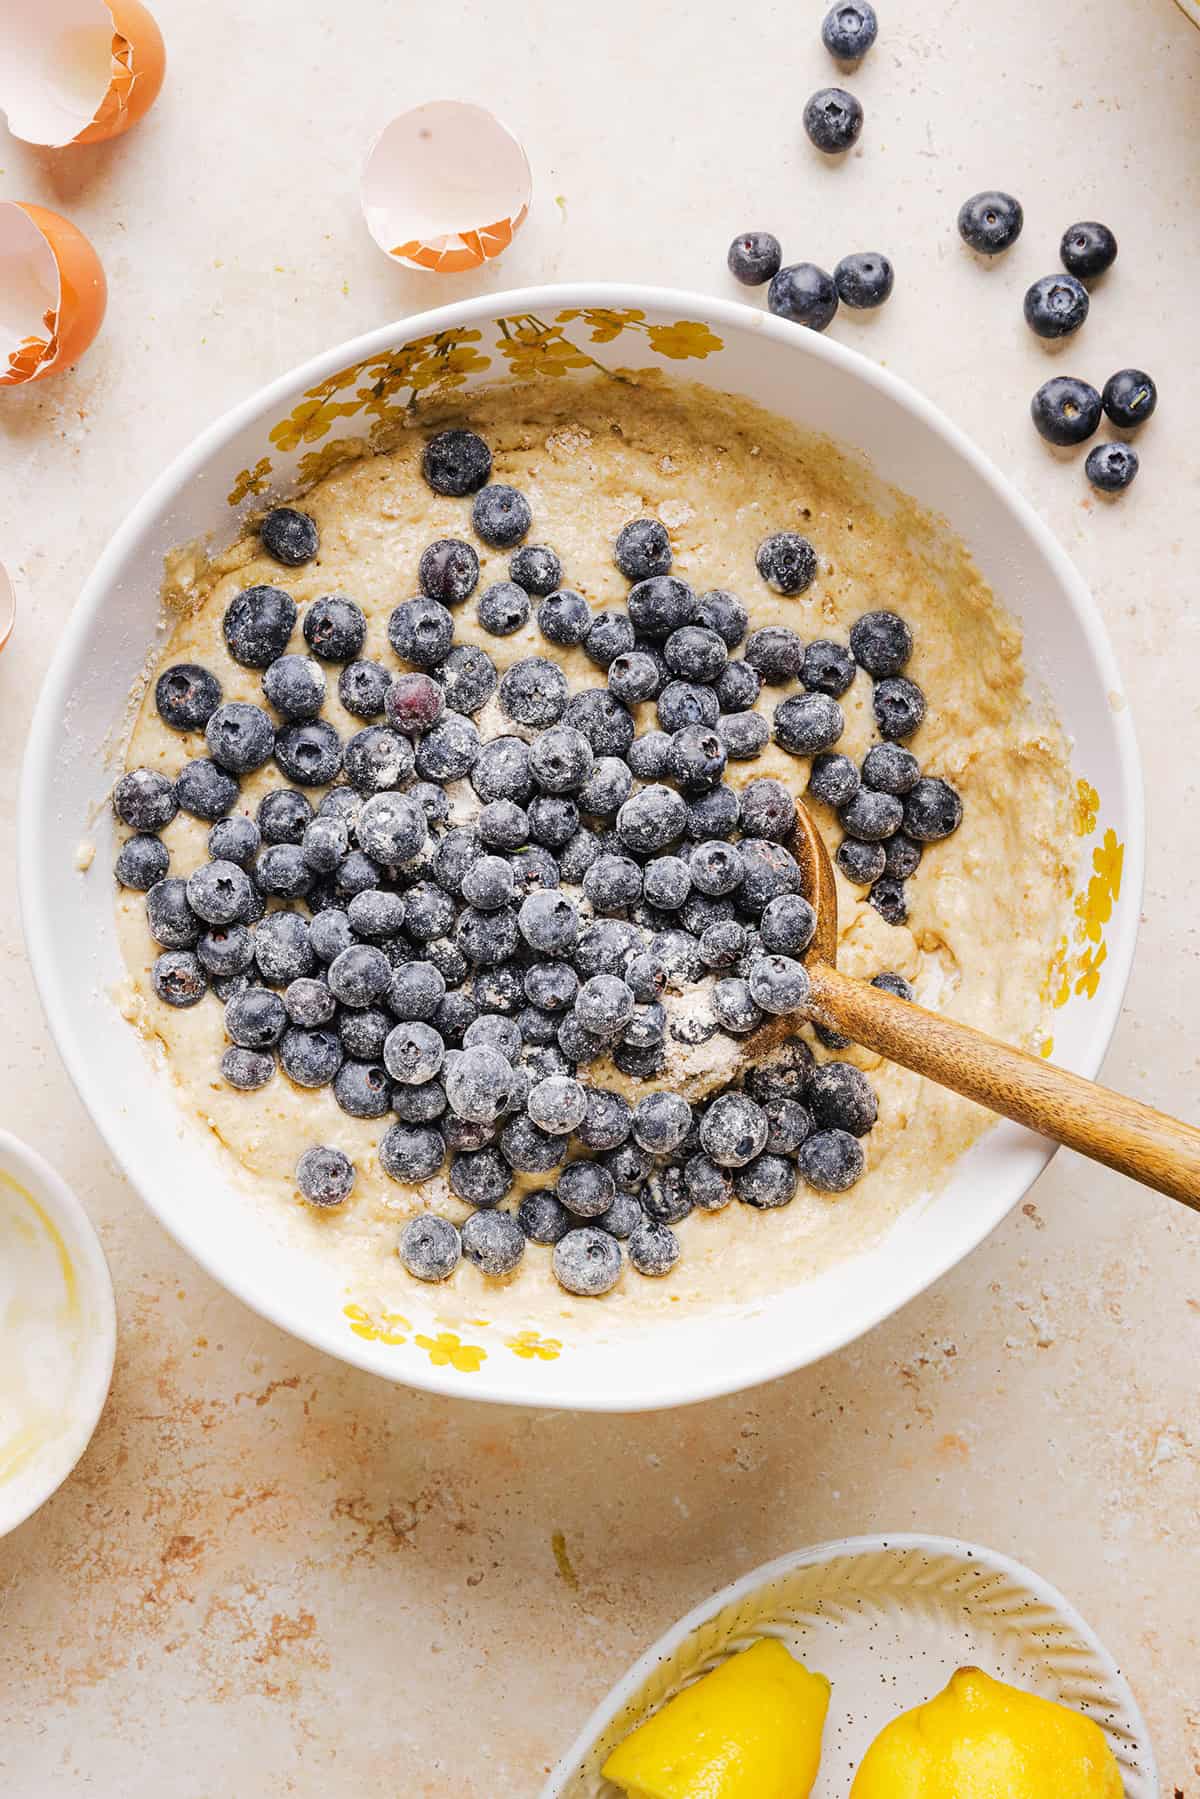
  • blueberries – you can use fresh or frozen blueberries in these muffins. I like to toss them in a bit of flour to help prevent them from sinking in the batter.
  • salt – enhances all the flavors.
These Lemon Blueberry Yogurt Muffins are soft, moist and bursting with fresh lemon flavor and juicy blueberries! Made with Greek yogurt and wholesome ingredients, they are perfect for breakfast, snacks or meal prep.

How to Make Lemon Blueberry Muffins

  1. Prepare oven. Preheat oven to 425 degrees F. Line a standard 12-cup muffin tin with paper liners or lightly coat with nonstick spray.
  2. Mix dry ingredients. In a medium bowl, whisk together the flours, baking powder, baking soda and salt. Set aside.
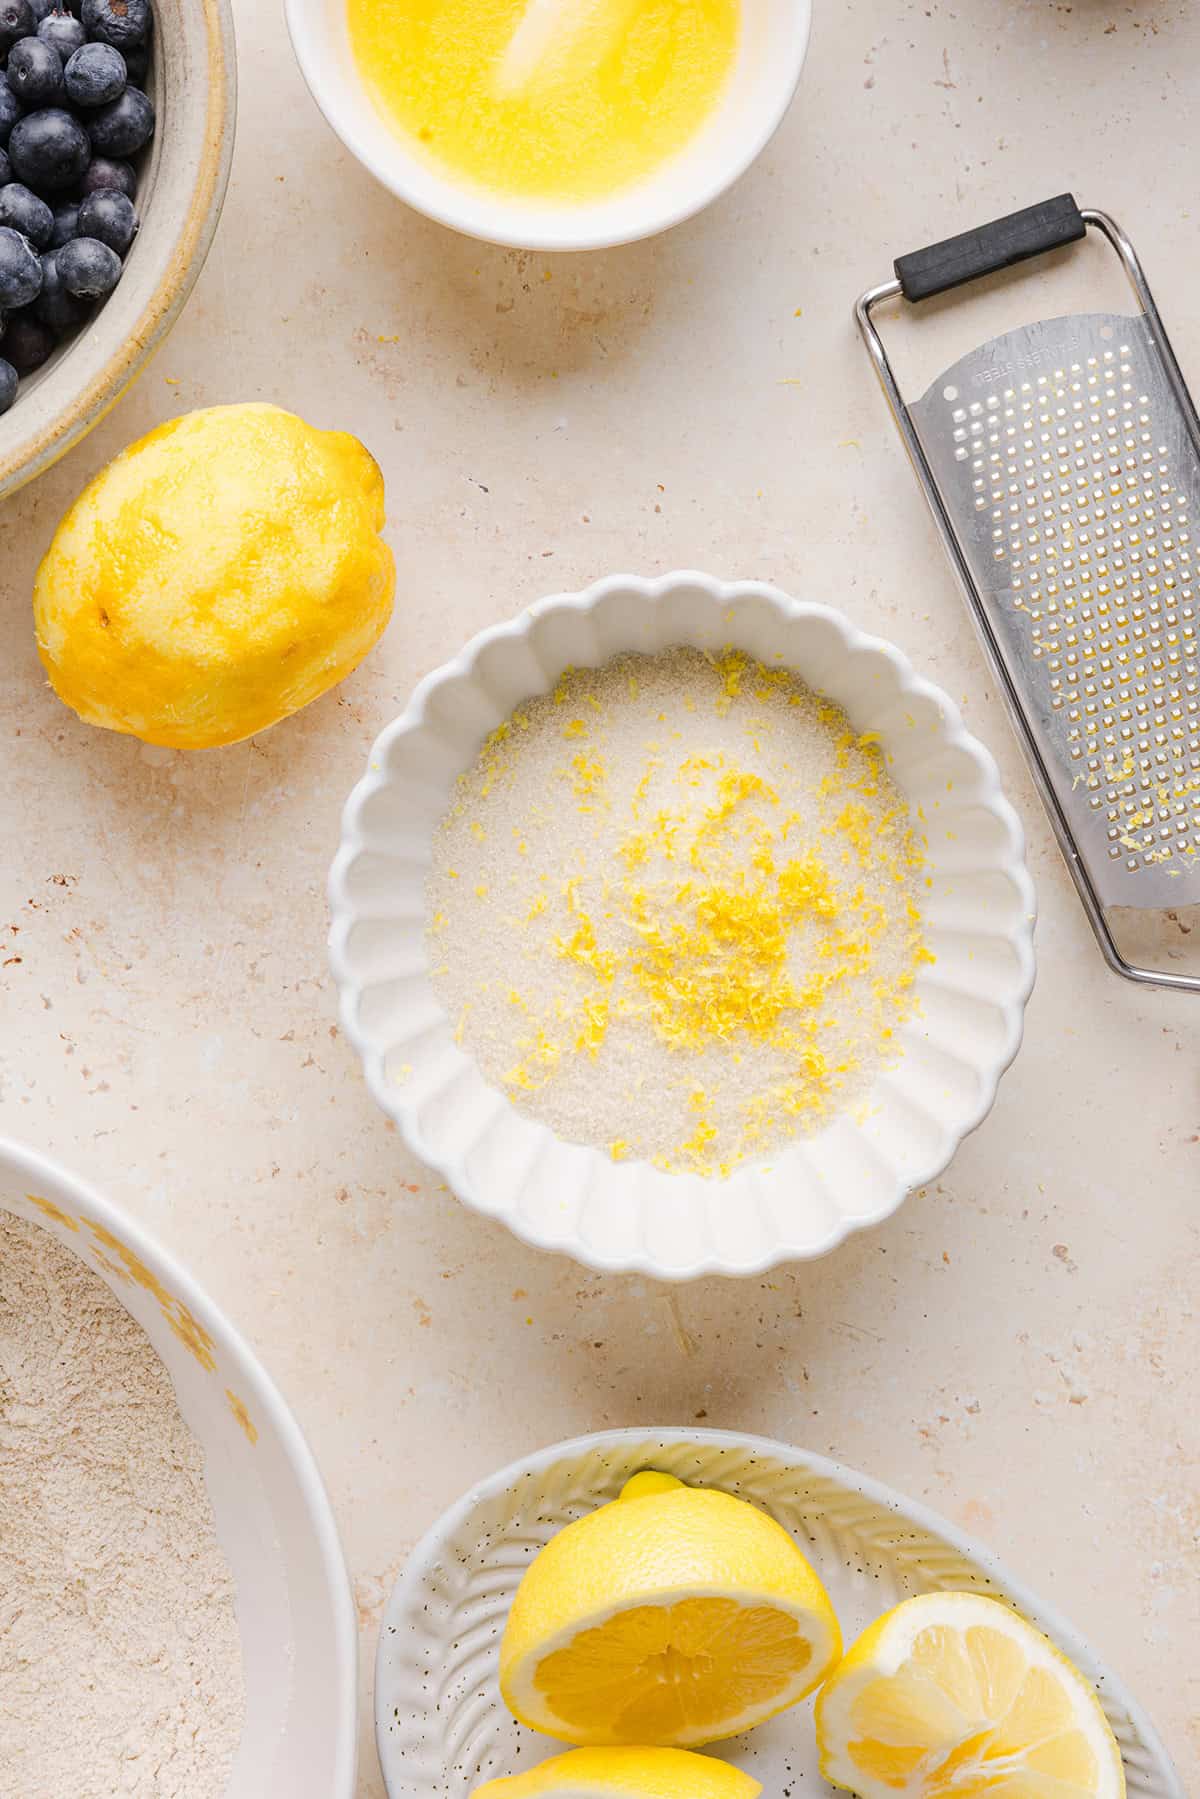
  3. Make lemon sugar. In a small bowl, combine the cane sugar and freshly grated lemon zest. Using your fingertips, rub the zest into the sugar for about 30 to 60 seconds, until the sugar becomes slightly damp and fragrant.
  4. Mix wet ingredients. In a large bowl, whisk together the eggs, Greek yogurt, lemon sugar mixture, melted butter, lemon juice and vanilla. Mix until smooth and well combined.
  5. Combine the batter. Pour the wet ingredients into the dry ingredients and gently stir with a spatula until just combined. Be careful not overmix, as this can create dense muffins.
  6. Fold in the blueberries. Toss the blueberries with 1 to 2 teaspoons of flour and gently fold them into the muffin batter.
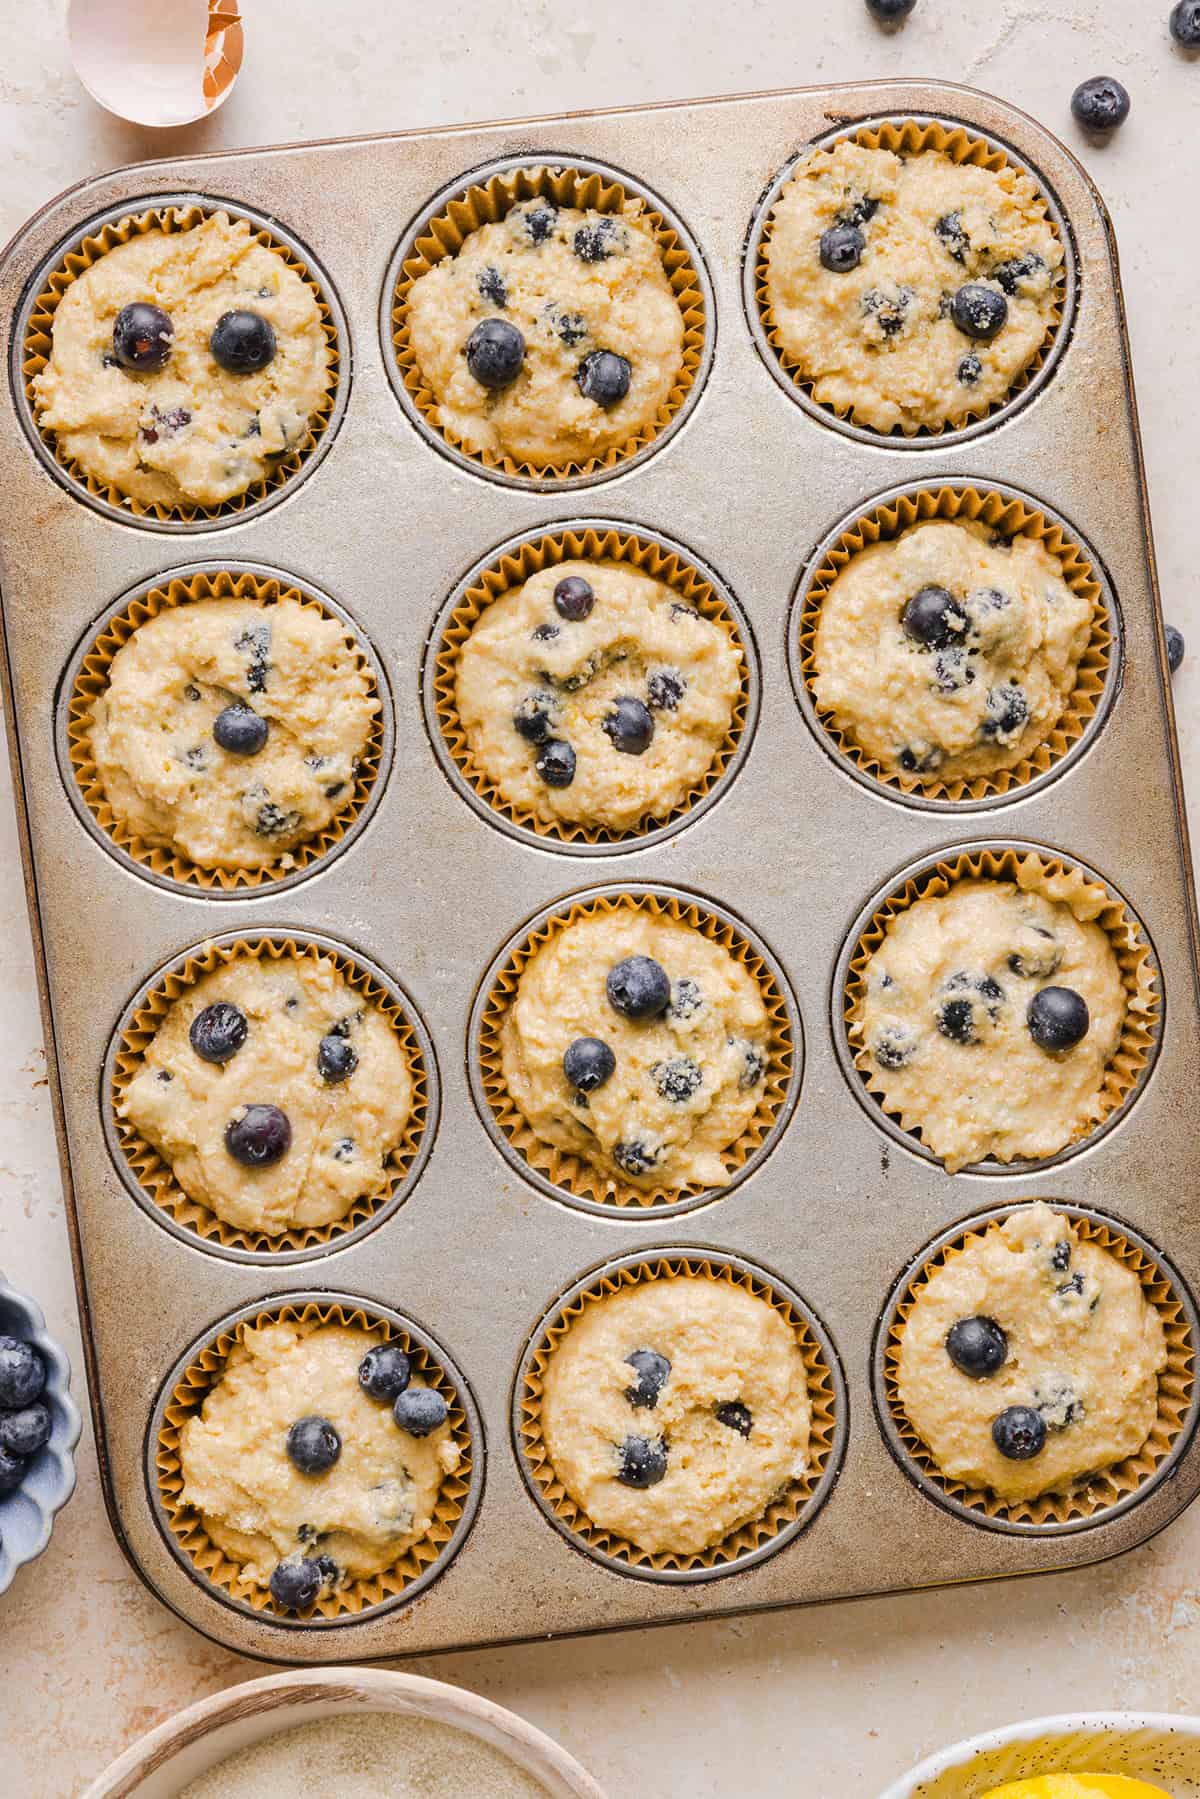
  7. Bake the muffins. Divide the batter evenly among 12 muffin cups and sprinkle with a little cane sugar on top of the muffins. Bake at 425 degrees F for 5 minutes. Without opening the oven door, reduce the temperature to 350 degrees F and continue baking for 12 to 15 minutes, or until a toothpick inserted in the center comes out clean.
  8. Let the muffins cool. Allow the muffins to cool in the pan for about 5 minutes before transferring them to a wire rack to cool completely.
These Lemon Blueberry Yogurt Muffins are soft, moist and bursting with fresh lemon flavor and juicy blueberries! Made with Greek yogurt and wholesome ingredients, they are perfect for breakfast, snacks or meal prep.

Tips for the Best Lemon Blueberry Muffins

  • Rub the lemon zest into the sugar – this releases the natural oils and gives these muffins stronger lemon flavor.
  • Don’t overmix the batter – mix only until the flour disappears for the softest texture in these muffins.
  • Coat the blueberries with flour – this helps keep the berries suspended throughout the batter.
  • Use room-temperature ingredients – everything blends more evenly and creates a better rise.
  • Measure flour correctly – spoon flour into measuring cups and level with a knife instead of scooping directly from the bag.
  • Avoid thawing frozen blueberries – if using frozen berries, add them straight from the freezer to prevent streaking.
  • Don’t skip the oven temperature change – starting at a higher heat creates those bakery-style muffin tops.
These Lemon Blueberry Yogurt Muffins are soft, moist and bursting with fresh lemon flavor and juicy blueberries! Made with Greek yogurt and wholesome ingredients, they are perfect for breakfast, snacks or meal prep.

Variations and Substitutions

  • Extra lemony – add an additional teaspoon of lemon zest or drizzle the cooled muffins with a simple lemon glaze.
  • Use different citrus – if you love citrus flavor, try replacing the lemon with orange or lime for a fun twist. Orange zest and juice creates a sweeter, more mellow flavor, while lime adds a bright, tangy kick that is perfect for summer.
  • Use different berries – swap the blueberries for raspberries, blackberries, chopped strawberries or a variety of mixed berries.
  • Make them even lighter – replace the melted butter with an equal amount of avocado oil or melted coconut oil.
  • Add a crumb topping – top each muffin with a simple streusel made from flour, brown sugar and butter before baking. Sprinkle extra lemon zest too, if desired.
  • Make them gluten-free – simple replace both flours with 1:1 gluten-free baking flour blend that contains xantham gum. Just make sure to let the batter rest for 10-15 minutes before baking as this gives the gluten-free flour time to absorb moisture.
  • Make them dairy-free – replace the Greek yogurt with dairy-free yogurt and substitute the melted butter with avocado oil or melted coconut oil.
  • Make mini muffins – bake in a mini muffin pan and reduce the baking time to approximately 10 to 12 minutes.
These Lemon Blueberry Yogurt Muffins are soft, moist and bursting with fresh lemon flavor and juicy blueberries! Made with Greek yogurt and wholesome ingredients, they are perfect for breakfast, snacks or meal prep.

Prepping and Storage

  • To Store – These muffins can be stored in an airtight container at room temp for 3 days or in the refrigerator for up to 1 week. Allow muffins to come to room temperature or warm briefly before serving.
  • To Freeze – Store these muffins in a freezer-safe bag or container for up to 3 months in the freezer. Thaw overnight in the refrigerator or at room temperature for a few hours before enjoying.
  • To Reheat – Warm the muffins in the microwave for 10 to 15 seconds or in a 300-degree F oven for about 5 minutes until heated through.

More Healthy Muffins

Hope you all enjoy this EASY Lemon Blueberry Muffin recipe! If you love these as much as we do, please leave a ⭐⭐⭐⭐⭐ star rating below and don’t forget to tag me on Instagram using the hashtag #eatyourselfskinny!

These Lemon Blueberry Yogurt Muffins are soft, moist and bursting with fresh lemon flavor and juicy blueberries! Made with Greek yogurt and wholesome ingredients, they are perfect for breakfast, snacks or meal prep.

Print

Lemon Blueberry Yogurt Muffins

#wprm-recipe-user-rating-2 .wprm-rating-star.wprm-rating-star-full svg * { fill: #343434; }#wprm-recipe-user-rating-2 .wprm-rating-star.wprm-rating-star-33 svg * { fill: url(#wprm-recipe-user-rating-2-33); }#wprm-recipe-user-rating-2 .wprm-rating-star.wprm-rating-star-50 svg * { fill: url(#wprm-recipe-user-rating-2-50); }#wprm-recipe-user-rating-2 .wprm-rating-star.wprm-rating-star-66 svg * { fill: url(#wprm-recipe-user-rating-2-66); }linearGradient#wprm-recipe-user-rating-2-33 stop { stop-color: #343434; }linearGradient#wprm-recipe-user-rating-2-50 stop { stop-color: #343434; }linearGradient#wprm-recipe-user-rating-2-66 stop { stop-color: #343434; }

These Lemon Blueberry Yogurt Muffins are soft, moist and bursting with fresh lemon flavor and juicy blueberries! Made with Greek yogurt and wholesome ingredients, they are perfect for breakfast, snacks or meal prep.
Course Breakfast, Dessert
Cuisine American
Keyword Lemon Blueberry Yogurt Muffins
Prep Time 10 minutes
Cook Time 20 minutes
Total Time 30 minutes
Servings 12
Calories 178kcal

Ingredients

  • 1 cup whole wheat pastry flour
  • 3/4 cup all-purpose flour
  • 1 1/2 tsp baking powder
  • 1/2 tsp baking soda
  • 1/2 tsp salt
  • 3/4 cup cane sugar + more for sprinkling
  • 1 lemon zest + juice
  • 2 eggs
  • 3/4 cup plain Greek yogurt
  • 1/4 cup salted butter melted and cooled
  • 2 tsp vanilla extract
  • 1 1/2 cups blueberries
  • 1-2 tsp flour (to coat the blueberries)

Instructions

  • Prepare oven. Preheat oven to 425 degrees F. Line a standard 12-cup muffin pan with paper liners or lightly coat with nonstick spray.
  • Mix dry ingredients. In a medium bowl, whisk together the flours, baking powder, baking soda and salt. Set aside.
  • Make lemon sugar. In a small bowl, combine the cane sugar and freshly grated lemon zest. Using your fingertips, rub the zest into the sugar for about 30 to 60 seconds, until the sugar becomes slightly damp and fragrant.
  • Mix wet ingredients. In a large bowl, whisk together the eggs, Greek yogurt, lemon sugar mixture, melted butter, lemon juice and vanilla. Mix until smooth and well combined.
  • Combine the batter. Pour the wet ingredients into the dry ingredients and gently mix with a spatula until just combined. Be careful not overmix, as this can create dense muffins.
  • Fold in the blueberries. Toss the blueberries with 1 to 2 teaspoons of flour and gently fold them into the batter.
  • Bake the muffins. Divide the batter evenly among 12 muffin cups and sprinkle with a little cane sugar. Bake in the oven at 425 degrees F for 5 minutes. Without opening the oven door, reduce the temperature to 350 degrees F and continue baking for 12 to 15minutes, or until a toothpick inserted in the center comes out clean.
  • Let the muffins cool. Allow the muffins to cool in the pan for about 5 minutes before transferring them to a wire rack to cool completely.

Nutrition

Serving: 1 muffin | Calories: 178kcal | Carbohydrates: 29.1g | Protein: 4.7g | Fat: 5g | Saturated Fat: 2.6g | Cholesterol: 41.4mg | Sodium: 119mg | Fiber: 2.1g | Sugar: 14.7g
funfetti-cookie-bars-6-700x1049.jpg

Healthy Funfetti Cookie Bars

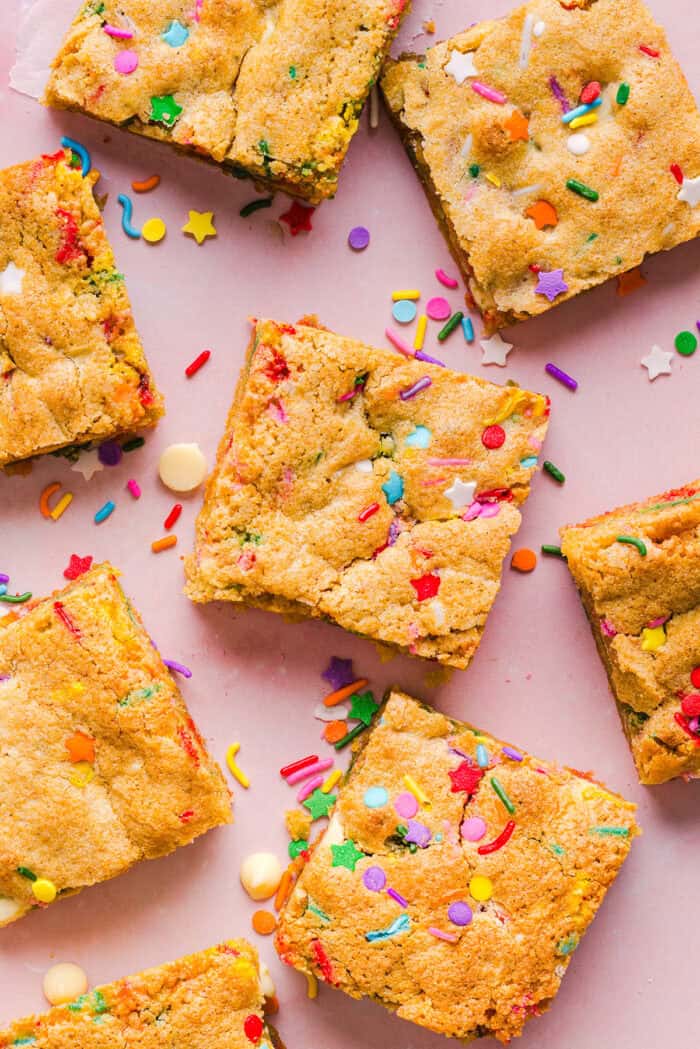
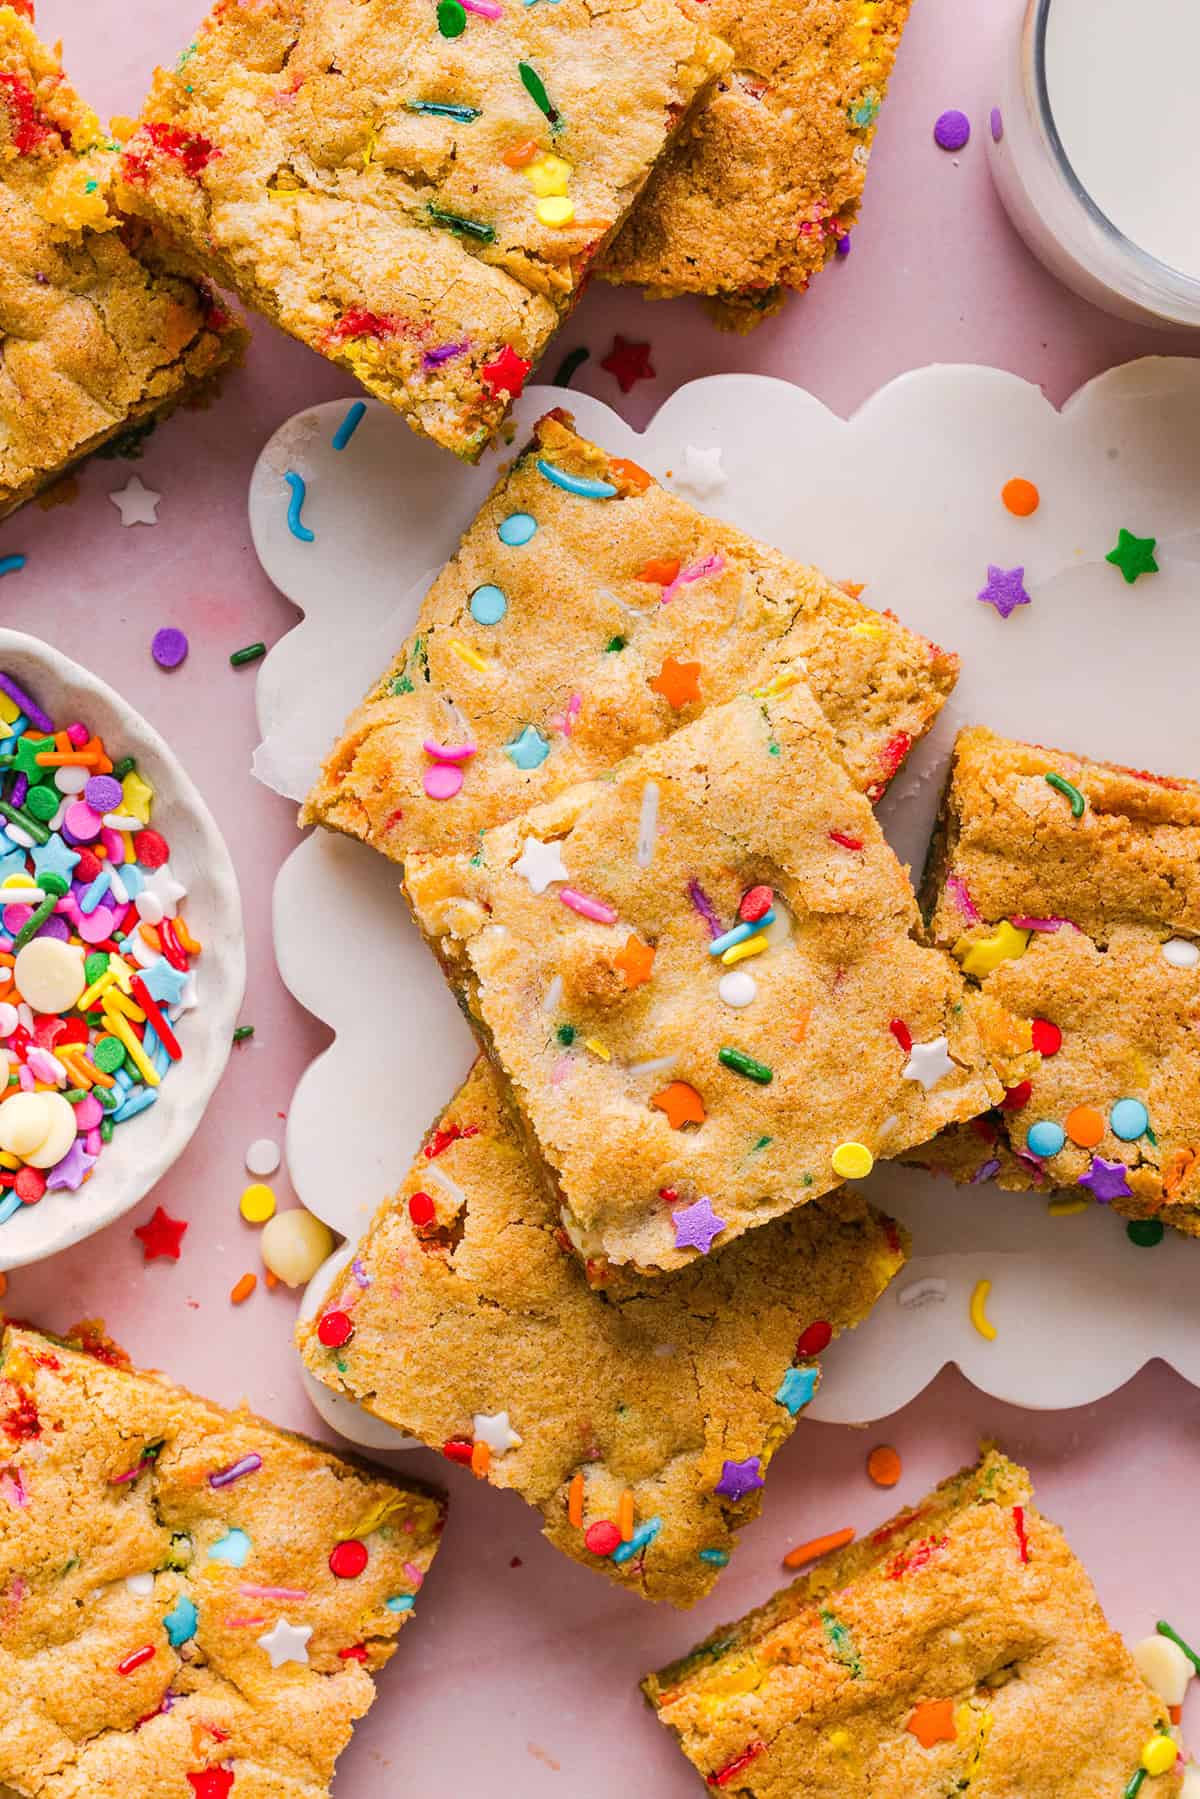
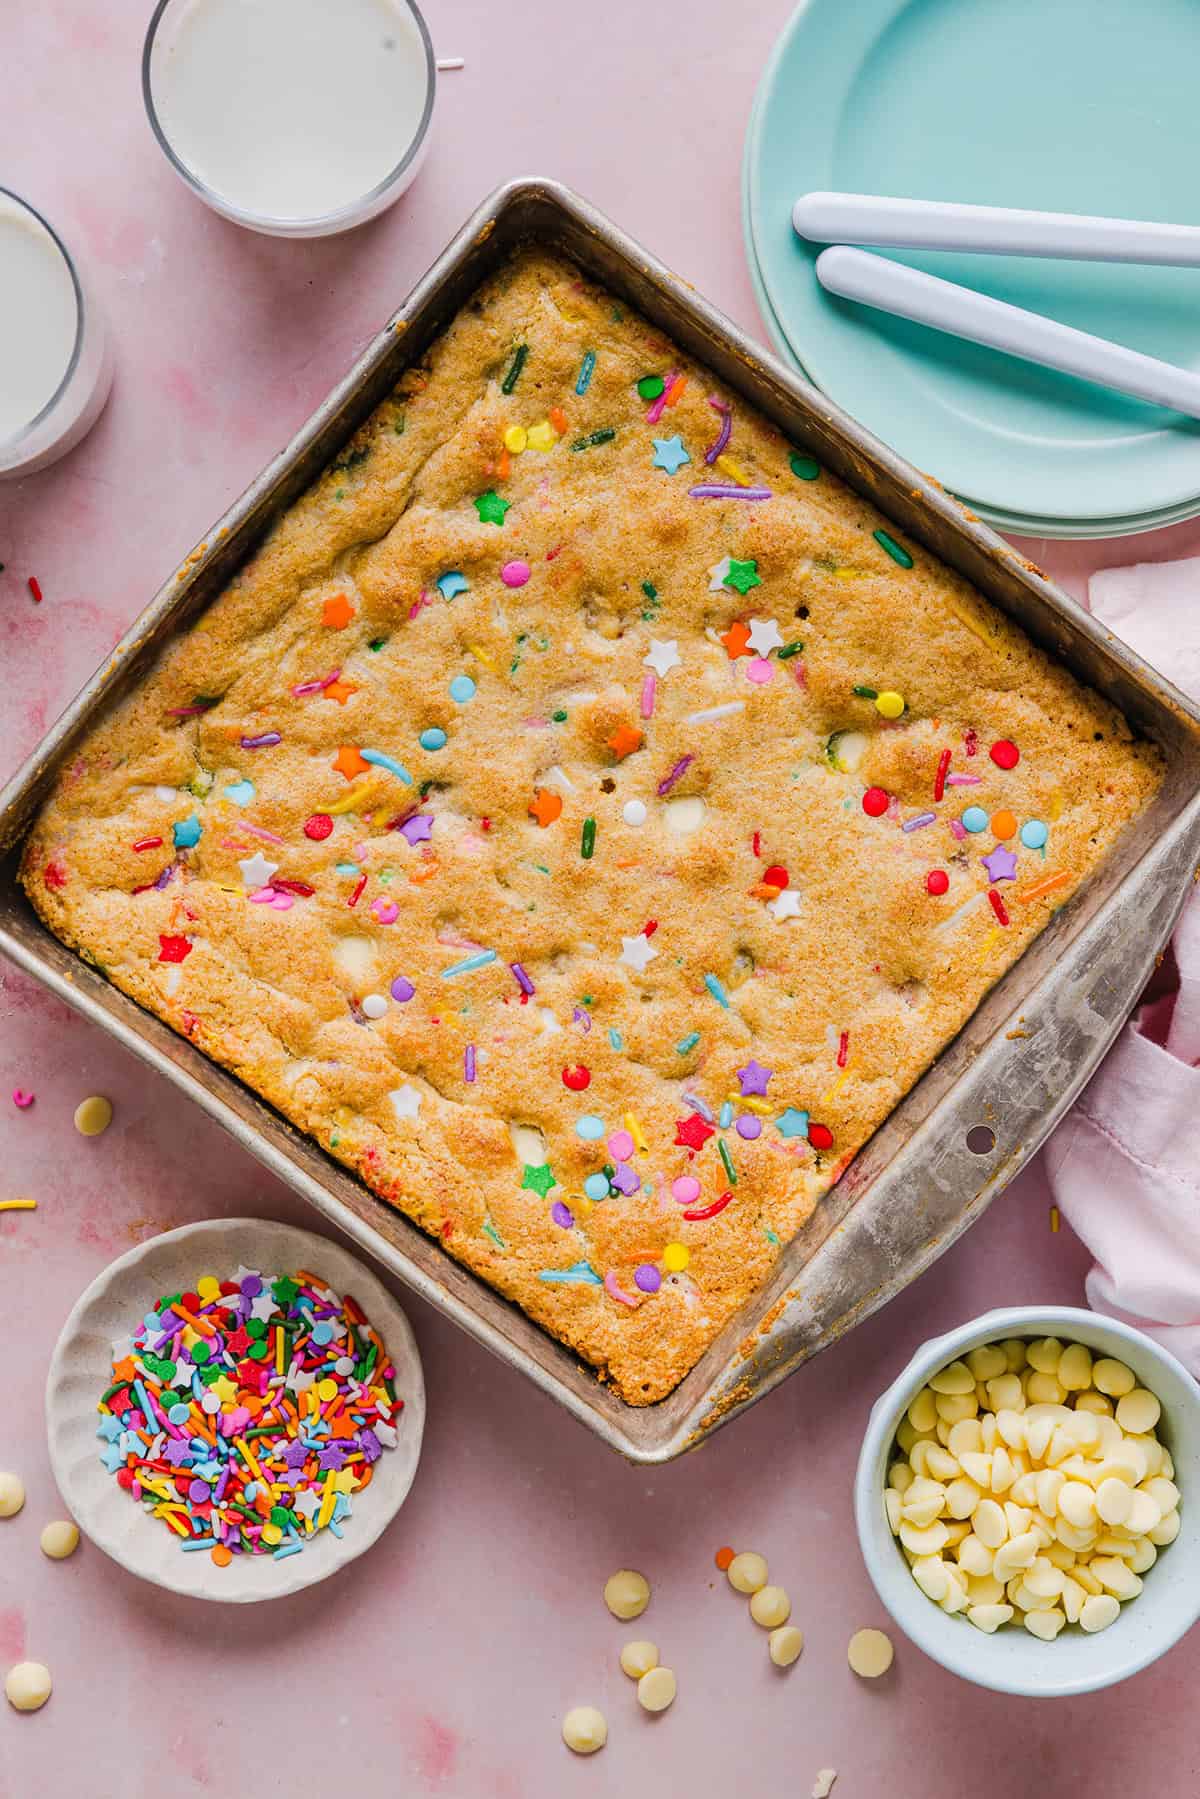
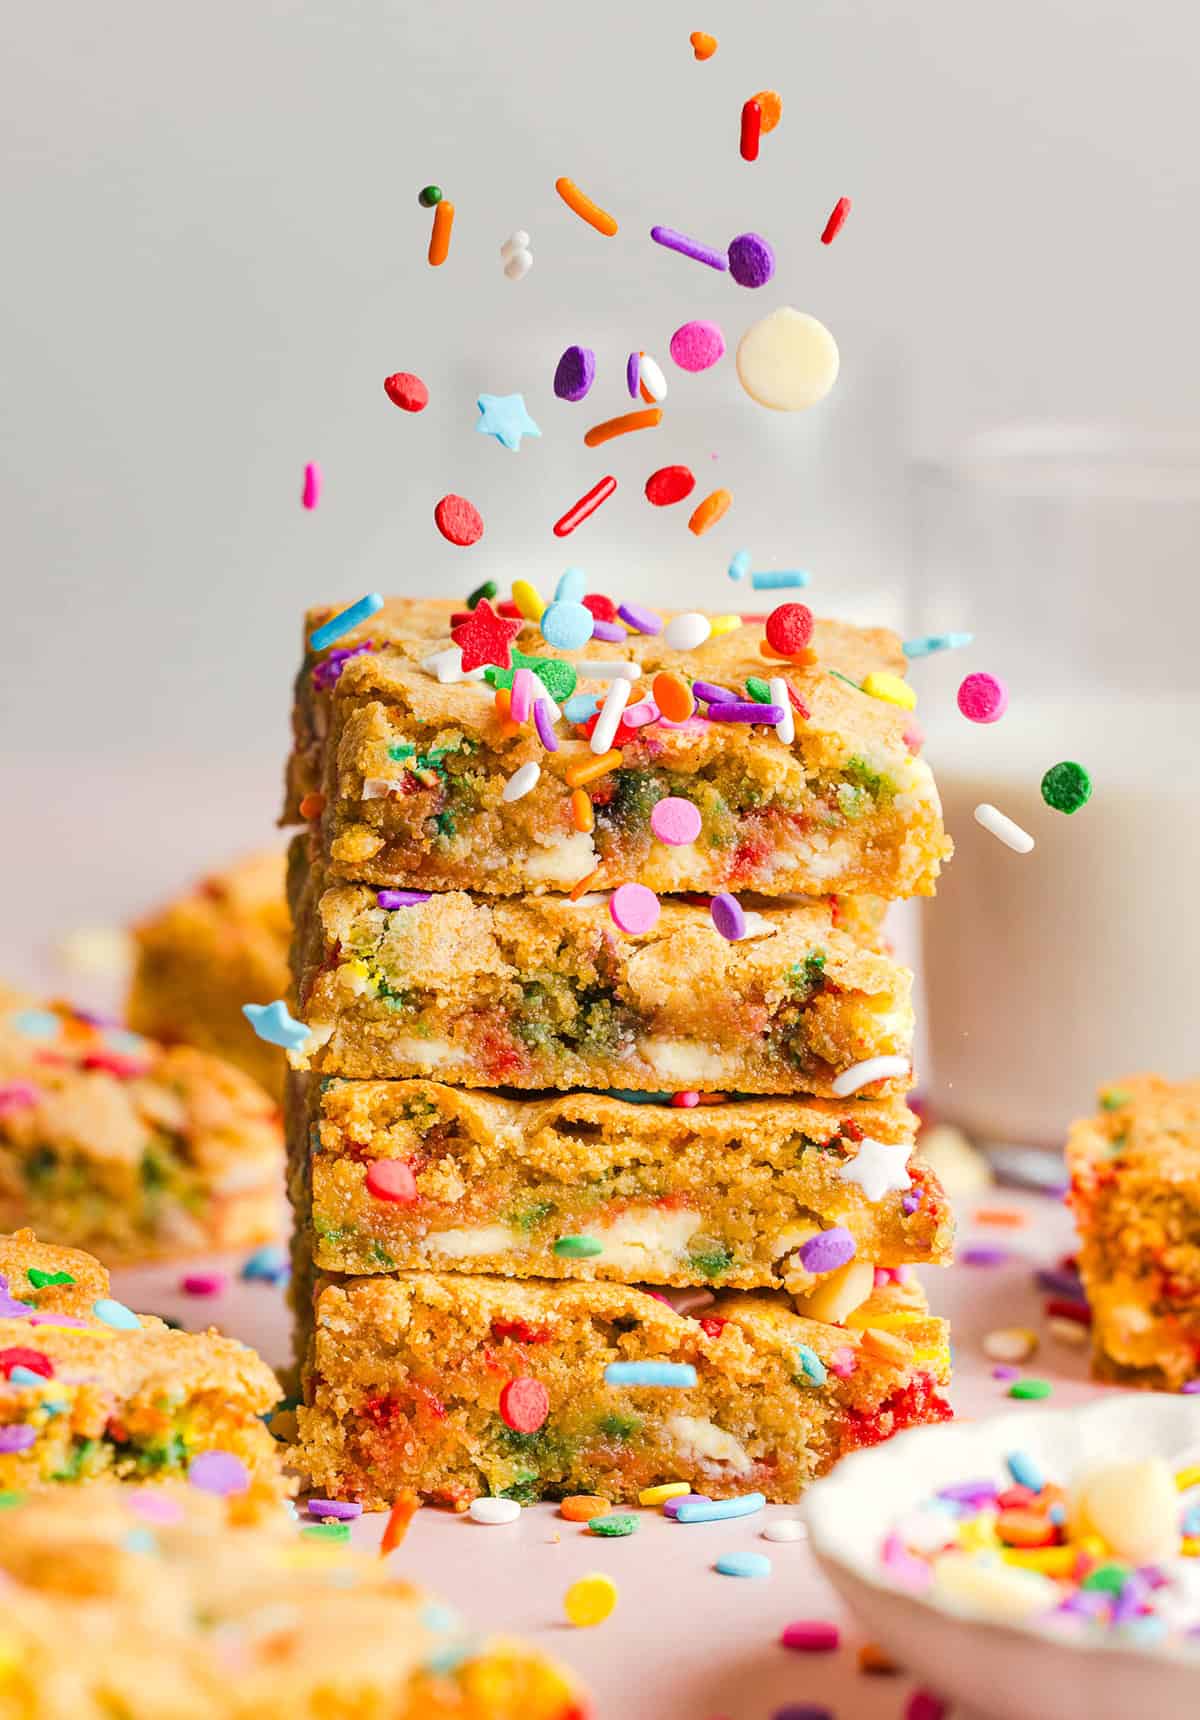
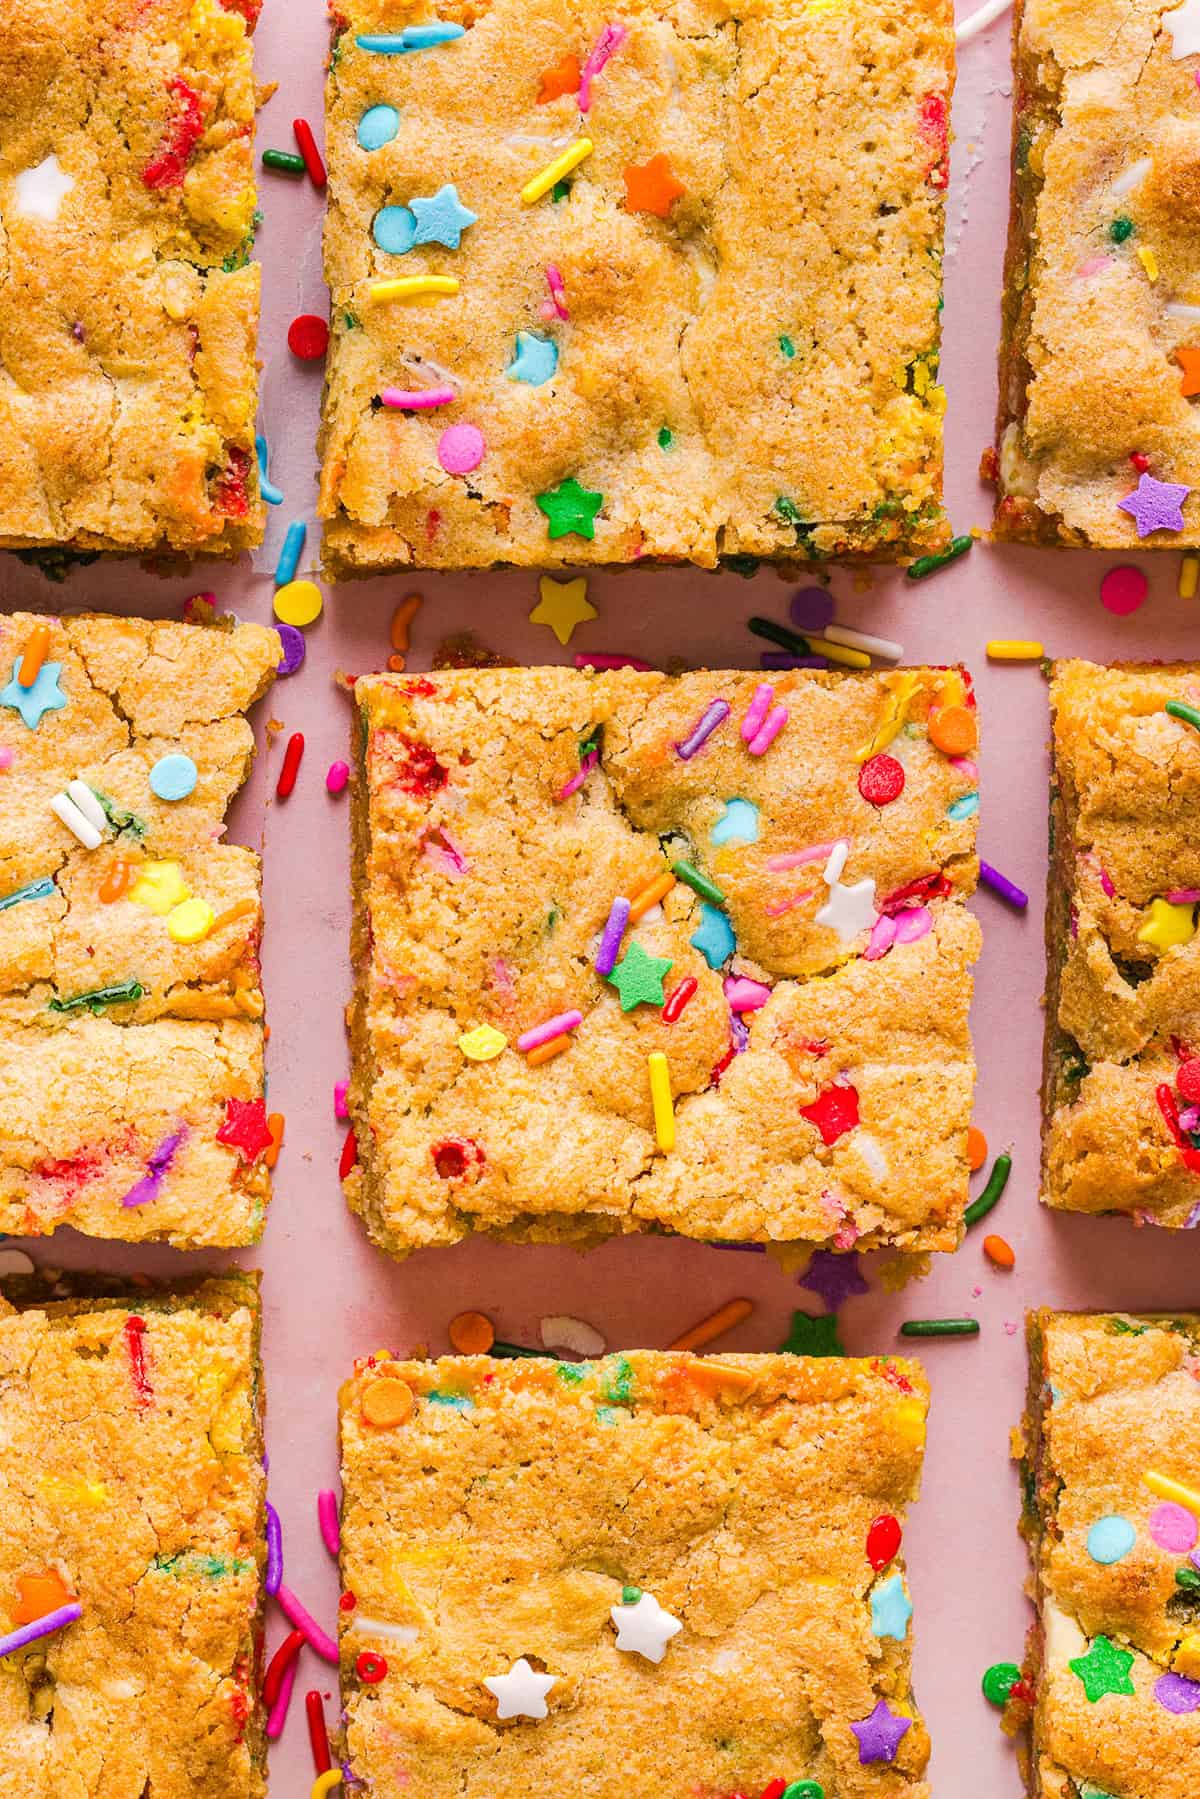
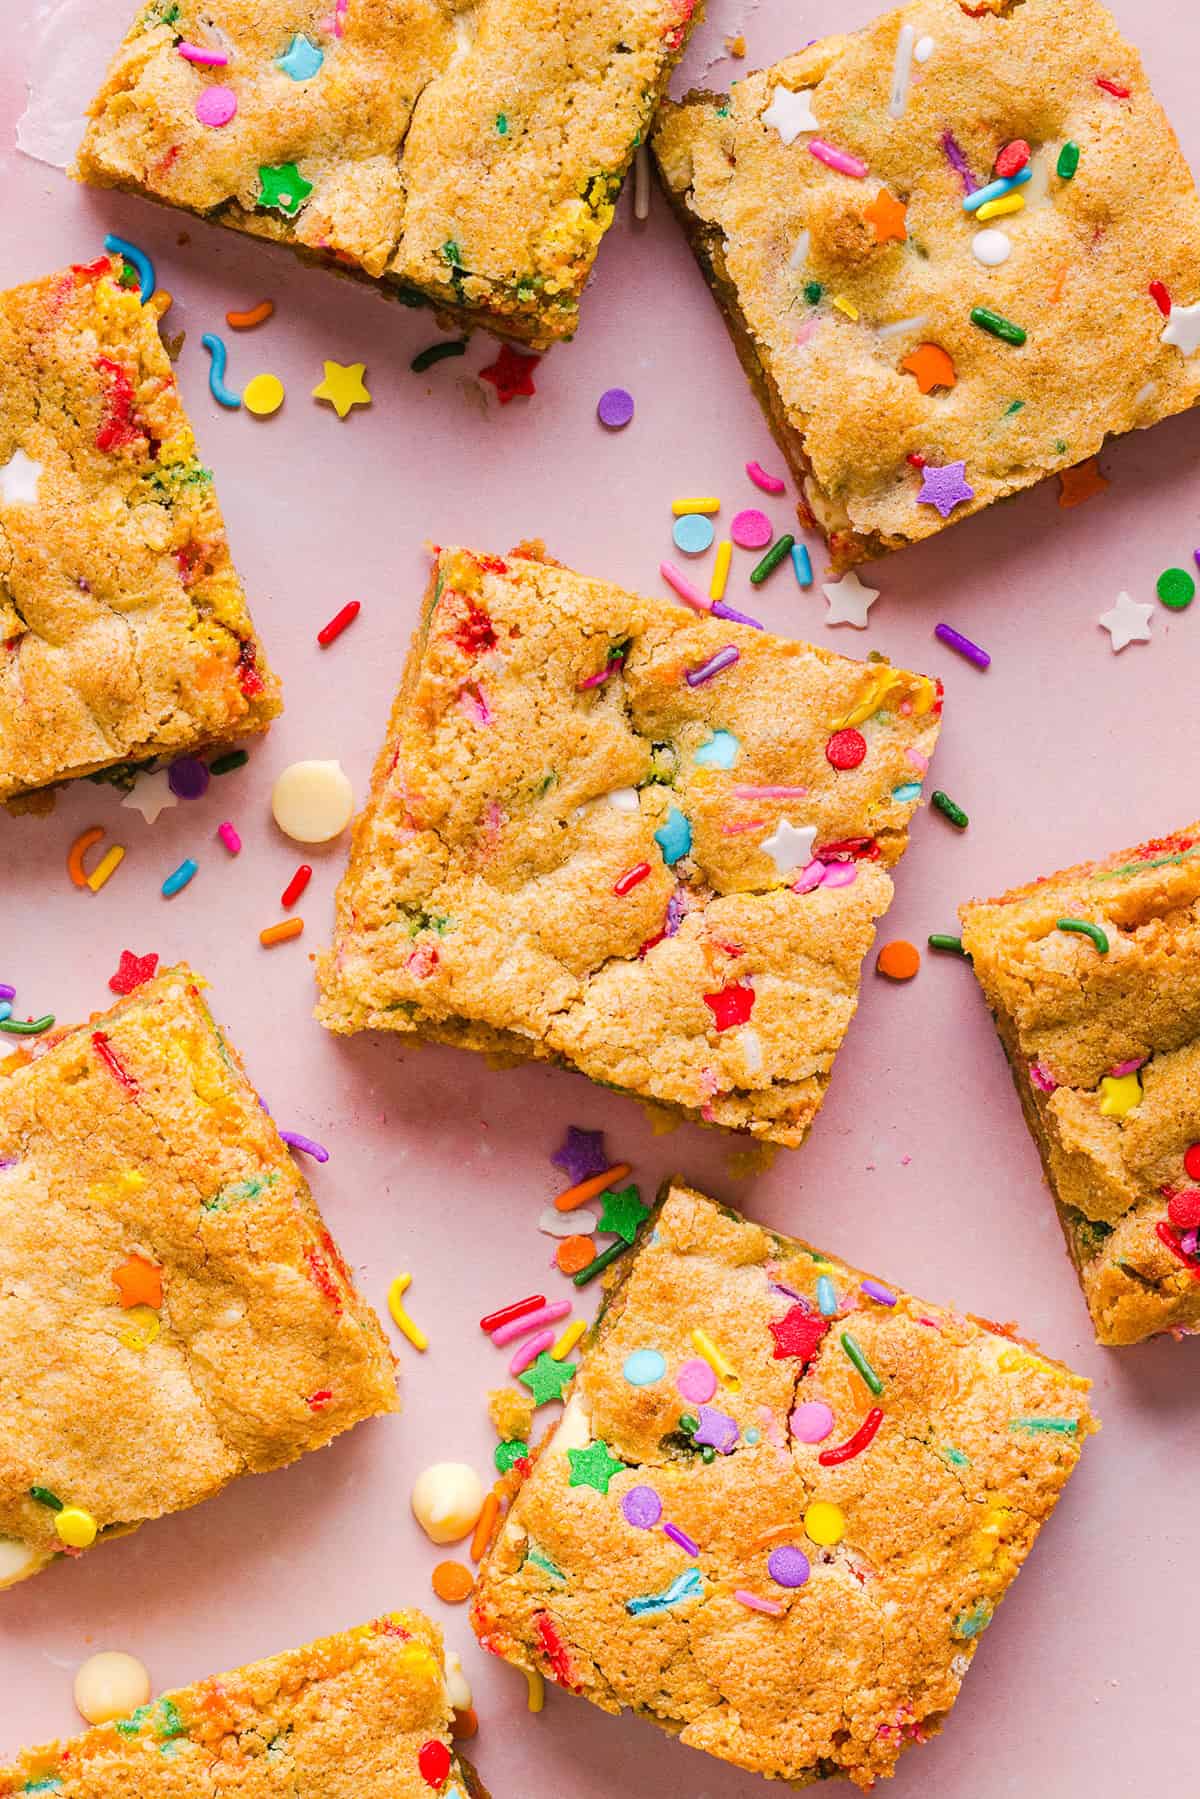
Soft and chewy Healthy Funfetti Cookie Bars that taste like birthday cake batter! Made healthier with whole wheat flour, less butter and zero refined sugar for the perfect lightened-up party dessert!

Soft and chewy Healthy Funfetti Cookie Bars that taste like birthday cake batter! Made healthier with whole wheat flour, less butter and zero refined sugar for the perfect lightened-up party dessert!

Soft and chewy Healthy Funfetti Cookie Bars that taste like birthday cake batter! Made healthier with whole wheat flour, less butter and zero refined sugar for the perfect lightened-up party dessert!
Want to save this recipe?
Just enter your email and get it sent to your inbox! Plus you’ll get new recipes from us every week!

Please enable JavaScript in your browser to complete this form.

Please enable JavaScript in your browser to complete this form.

Loading

It’s birthday week around here! 🥳 My daughter and I have birthdays just two days apart so I wanted to share something fun to celebrate. These Healthy Funfetti Cookie Bars are made with wholesome ingredients like whole wheat pastry flour, zero refined sugar and less butter than traditional cookie bars or using funfetti cake mix. The best part? These chewy funfetti cookie bars come together quickly using simple pantry staples and no dough chilling required. Just mix, bake, slice and enjoy! One of my favorite desserts to make on my daughter’s birthday because the kids love them!

Why You’ll Love These

  • Soft and chewy – these cookie bars have that delicious bakery-style texture with soft centers, chewy edges and rich vanilla flavor in every bite!
  • Lightened up – these bars are made with wholesome whole wheat flour, less butter and zero refined sugar while still tasting indulgent and delicious.
  • Easy to make – no stand mixer, dough chilling or complicated steps required. Everything comes together quickly with minimal cleanup.
  • Tastes like cake batter – the combination of vanilla and almond extract gives these cookie bars that nostalgic funfetti cake flavor everyone loves!
Soft and chewy Healthy Funfetti Cookie Bars that taste like birthday cake batter! Made healthier with whole wheat flour, less butter and zero refined sugar for the perfect lightened-up party dessert!

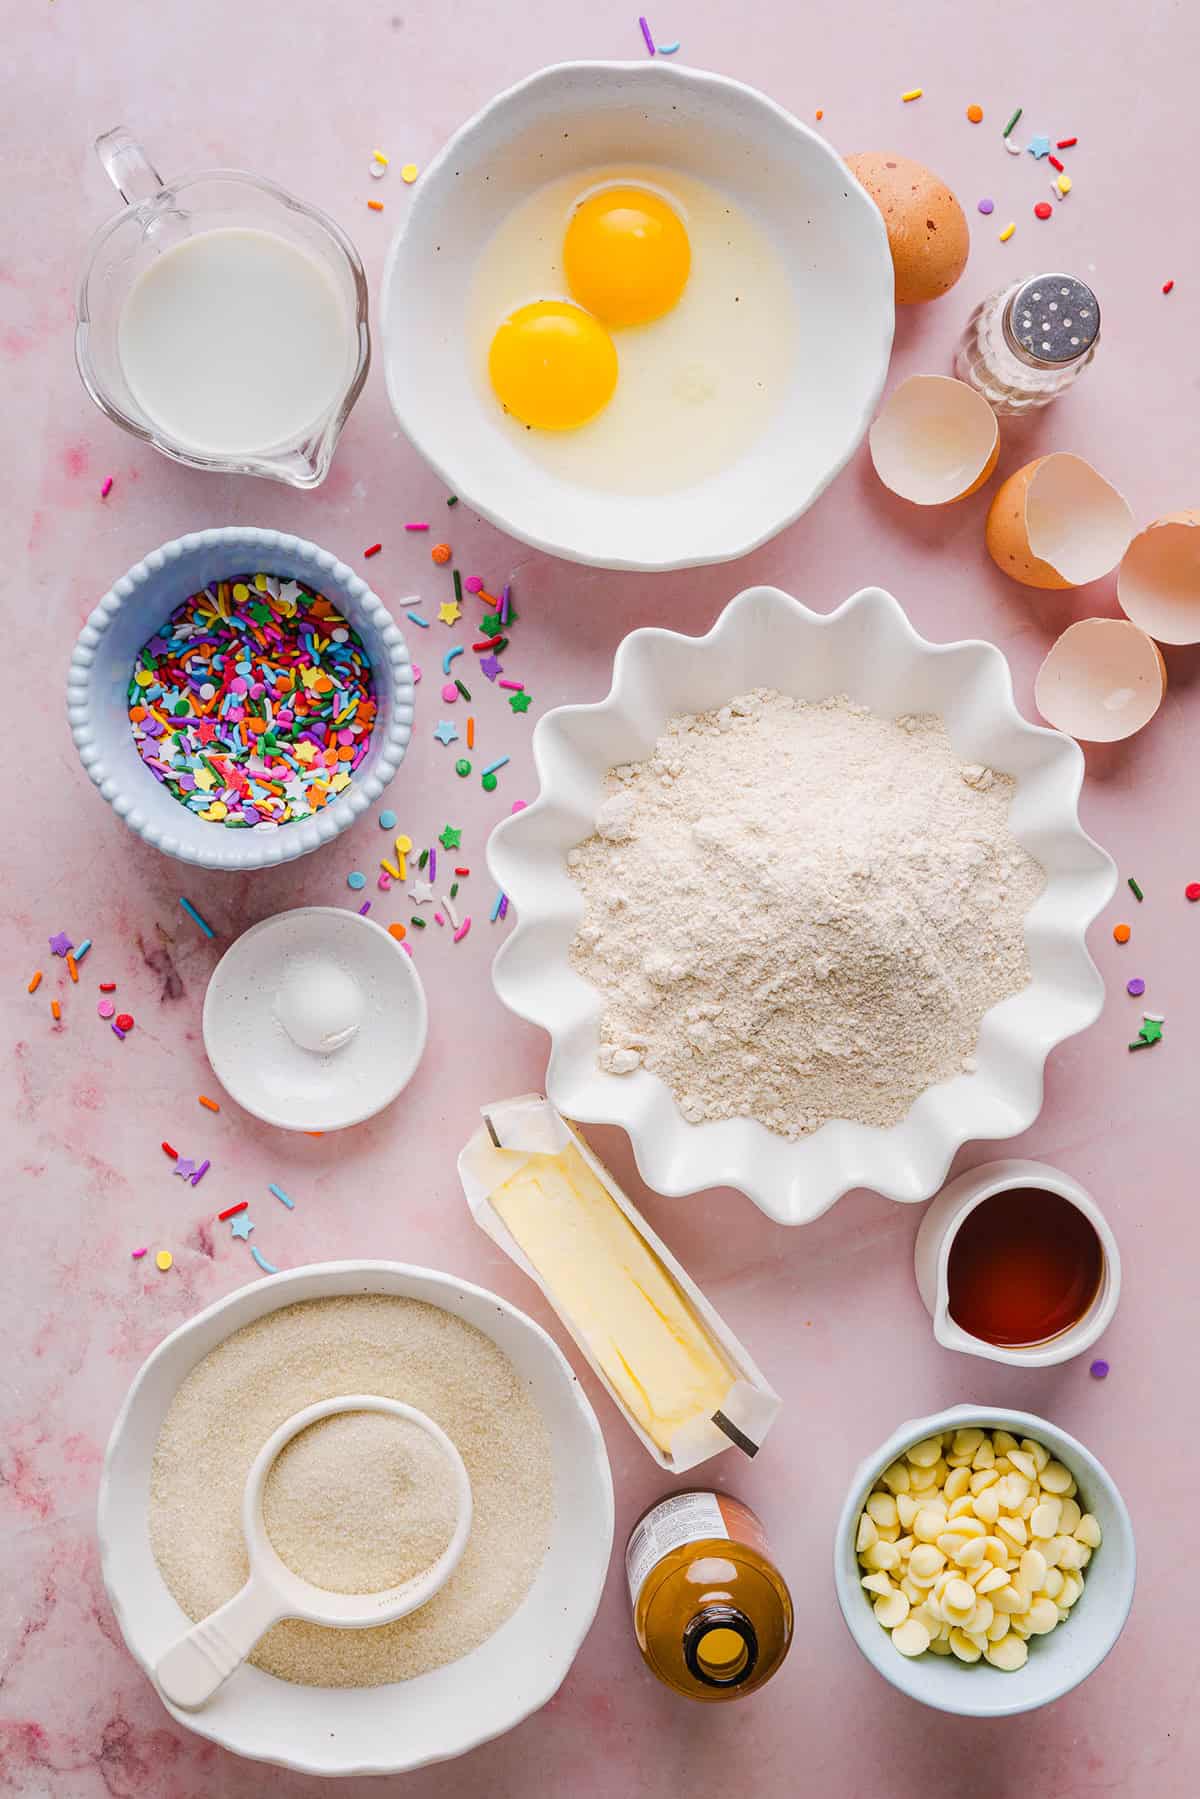
Ingredients You’ll Need

  • flour – I used whole wheat pastry flour to keep these cookie bars soft and tender while adding extra fiber and nutrients compared to traditional all-purpose flour. It has a lighter texture than regular whole wheat flour, making it perfect for these bars!
  • baking powder – helps these bars rise slightly and keeps the texture soft instead of dense.
  • cane sugar – naturally sweetens these bars while giving them chewy edges and that classic cookie flavor. You can also substitute coconut sugar, brown sugar or regular white sugar.
  • eggs – you’ll need one whole egg and one egg yolk in this recipe which creates a rich, chewy texture that makes these cookie bars incredibly soft and moist.
  • butter – melted unsalted butter gives these cookie bars their rich flavor and chewy consistency. Let it cool slightly before mixing so it doesn’t scramble the eggs. You could also substitute with coconut oil.
  • milk – I used almond milk in these bars, but any type of milk will work. This adds moisture and helps create the perfect thick batter consistency.
  • extracts – I used a combination of vanilla extract and almond extract to add warmth and give these bars that signature funfetti cake batter flavor!
  • salt – needed to enhance the flavor in these bars and balance the sweetness.
  • white chocolate chips – I used Lily’s white chocolate chips  to add creamy sweetness to these bars. They are gluten-free, vegan and sweetened with stevia making the sugar content really low while still having that delicious chocolate flavor. 
  • sprinkles – the star ingredient! Use rainbow jimmies-style sprinkles for the best results since they hold their color during baking.
Soft and chewy Healthy Funfetti Cookie Bars that taste like birthday cake batter! Made healthier with whole wheat flour, less butter and zero refined sugar for the perfect lightened-up party dessert!

How to Make Funfetti Cookie Bars

  1. Prep your pan. Preheat the oven to 350 degrees F. Line an 8×8-inch baking pan with parchment paper, leaving a little overhang on the sides for easy removal.
  2. Mix the dry ingredients. In a large bowl, whisk together the whole wheat pastry flour, baking powder, cane sugar and salt until combined.
  3. Mix the wet ingredients. In a separate bowl, lightly beat the egg and egg yolk. Add the melted butter, milk, vanilla extract and almond extract, whisking the mixture until smooth.
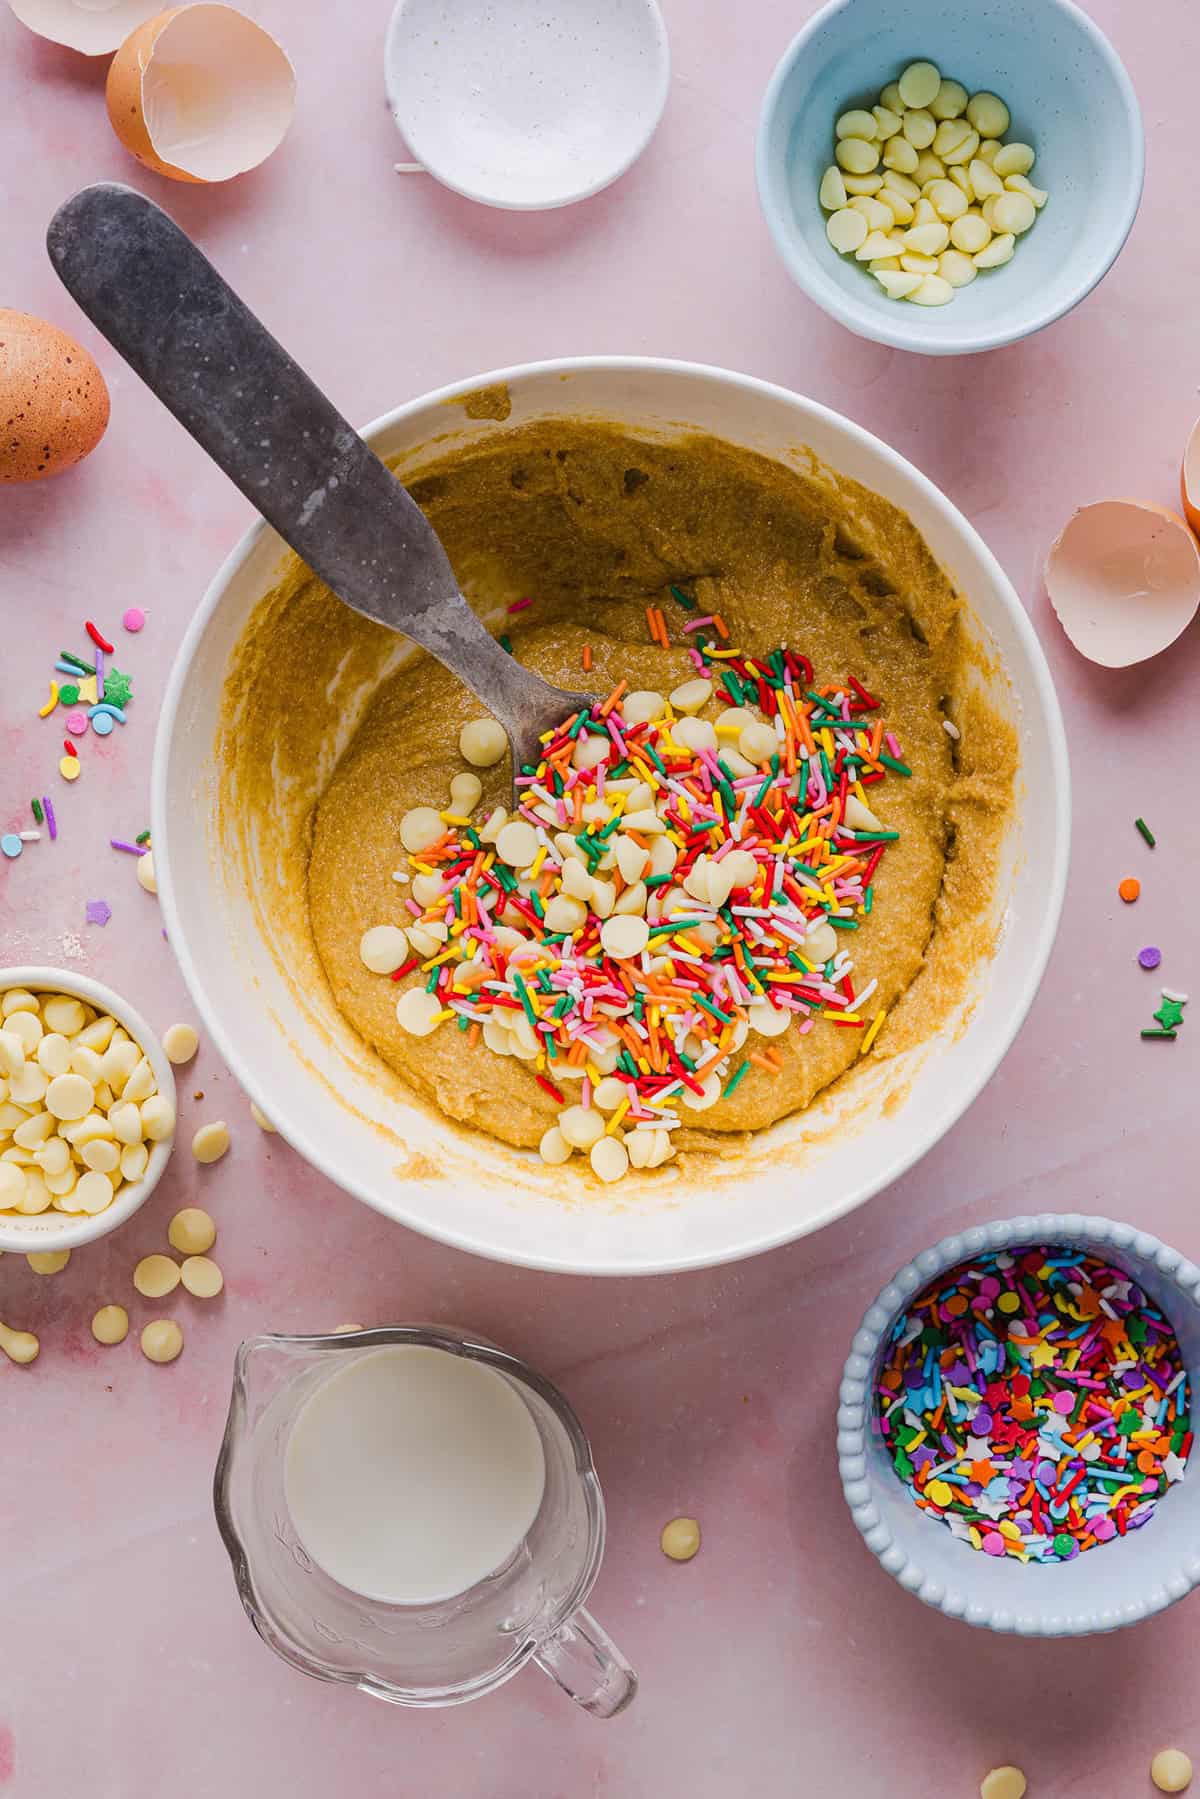
  4. Make the batter. Pour the wet ingredients into the dry ingredients and stir until just combined. The batter will be thick, which is exactly what you want. Fold in the white chocolate chips and colorful sprinkles, being careful not to overmix.
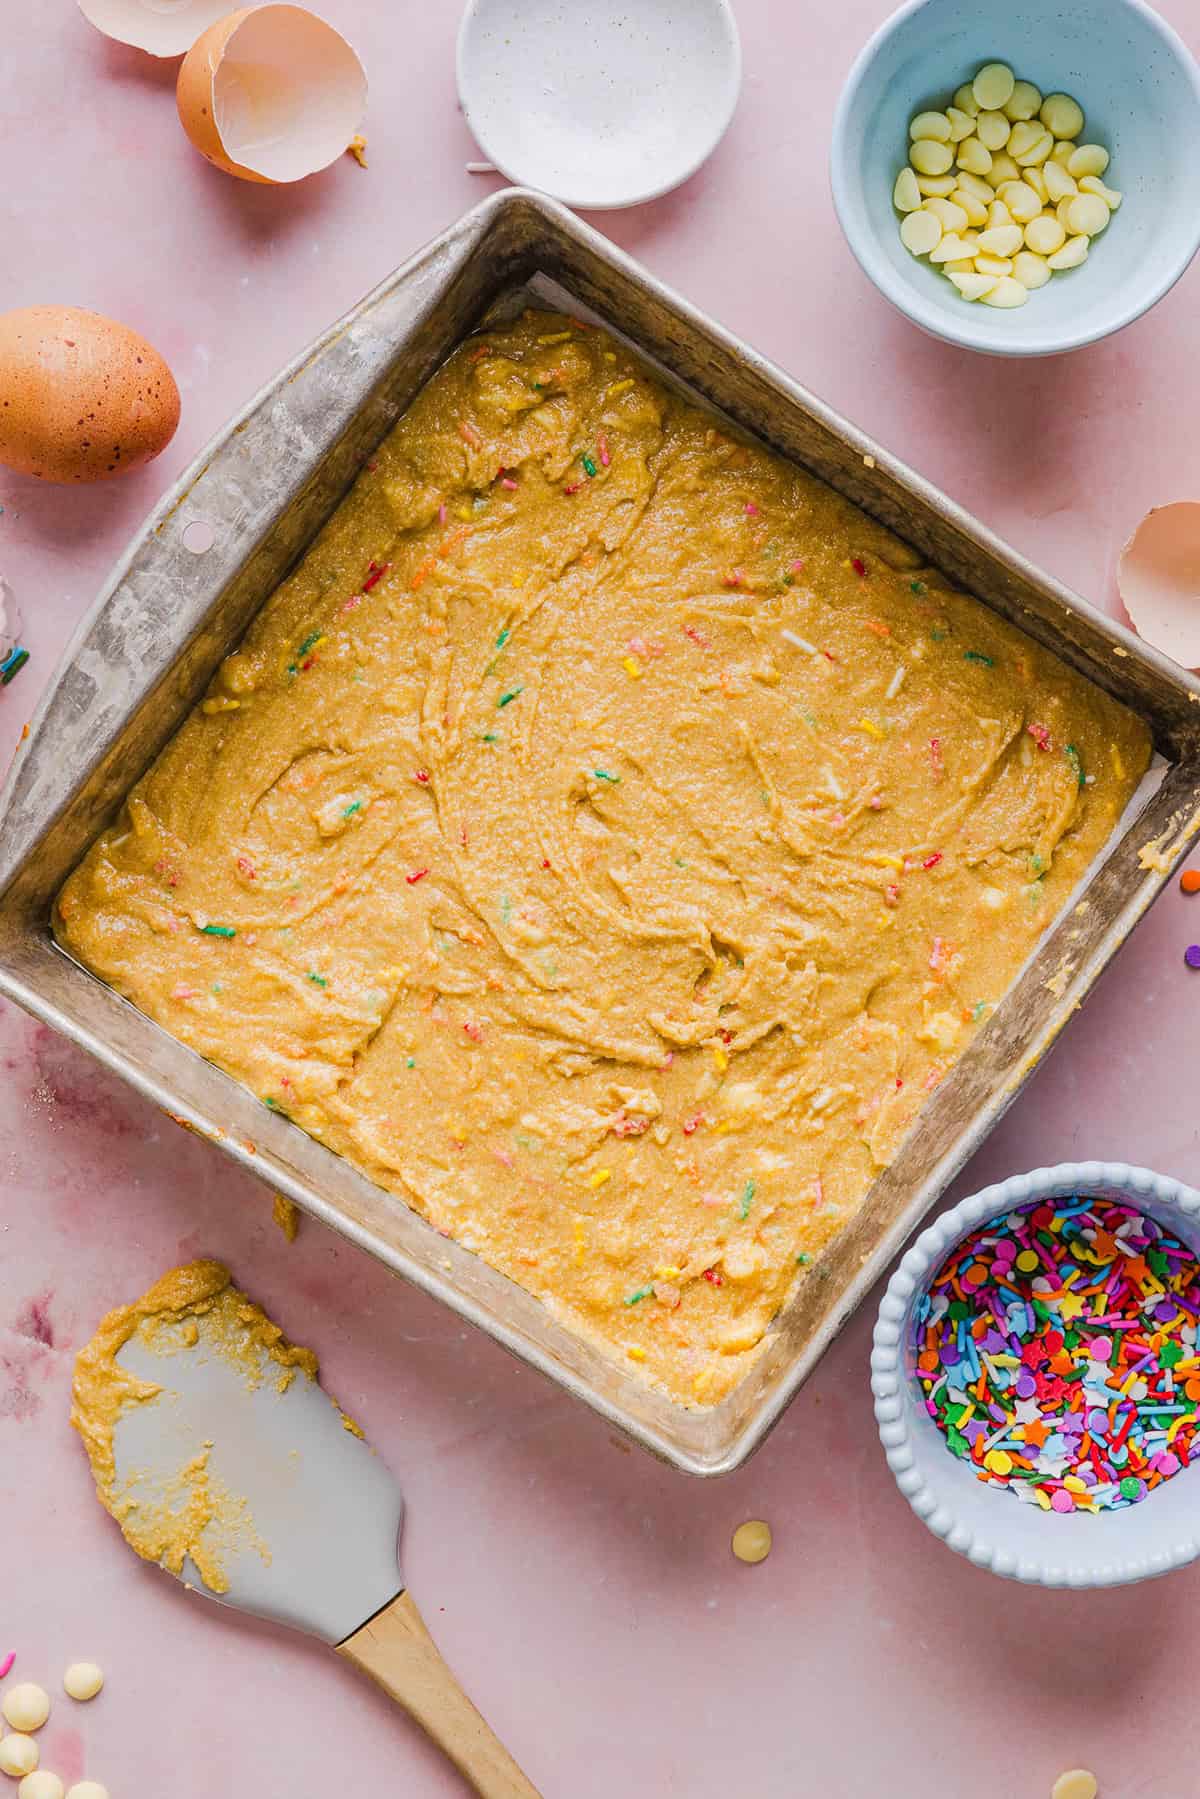
  5. Spread into the pan. Transfer the batter into the prepared baking pan and spread evenly using a spatula. Since the batter is thick, gently press it into the corner of the pan. Top with extra sprinkles, if desired.
  6. Bake the bars. Bake for 22 to 25 minutes, or until the edges are lightly golden and a toothpick inserted into the center comes out clean. Allow the bars to cool completely before slicing into squares with a sharp knife. This helps them to set properly and gives you clean cuts.

When measuring flour, I always like to use the spoon-and-level method instead of scooping directly with the measuring cup. Use a spoon to lightly fluff and scoop the flour into the cup, then level it off with a knife. This prevents the flour from being packed down causing the bars to be dense, dry or crumbly.

Soft and chewy Healthy Funfetti Cookie Bars that taste like birthday cake batter! Made healthier with whole wheat flour, less butter and zero refined sugar for the perfect lightened-up party dessert!

How to Make the Best Funfetti Cookie Bars

  • Don’t overmix the batter – overmixing can lead to dense bars instead of soft and chewy ones. Stir just until the flour disappears.
  • Use room temperature eggs – room temperature eggs blend more evenly into the batter, creating a smoother texture.
  • Let the butter cool slightly – hot butter can cook the eggs when mixed together, so let it cool for a few minutes first.
  • Line your pan with parchment paper – using parchment paper helps make removing and slicing the bars so much easier.
  • Don’t overbake – the bars may look slightly underdone in the center when you pull them from the oven, but they’ll continue to set as they cool. Over-baking can make them dry instead of soft and chewy.
  • Add extra sprinkles on top – to really make these bars pop and highlight the fun colors, sprinkle a few extra sprinkles over the top before baking.
  • Cut into shapes – instead of cutting into bars, you could also use cookie cutters to cut these bars into fun shapes!
Soft and chewy Healthy Funfetti Cookie Bars that taste like birthday cake batter! Made healthier with whole wheat flour, less butter and zero refined sugar for the perfect lightened-up party dessert!

Variations and Substitutions

  • Make them extra festive – swap the rainbow sprinkles for holiday-themed sprinkles for birthdays, Christmas, Easter, Valentine’s Day or other celebration.
  • Add protein – for a boost of protein in these cookie bars, swap 1/4 cup of flour for your favorite protein powder.
  • Use different chocolate chips – try milk chocolate or dark chocolate chips instead of white chocolate chips for a different flavor.
  • Skip the almond extract – if you’re not a fan of almond extract or have allergies, simple use extra vanilla extract instead.
  • Swap the flour – if you don’t have whole wheat pastry flour, all-purpose flour works well too or even gluten-free 1-to-1 baking flour.
  • Add frosting – top the cooled bars with vanilla buttercream or cream cheese frosting for an extra decadent dessert.
  • Make them gluten-free – use 1-to-1 gluten-free baking flour in place of the whole wheat pastry flour.
Soft and chewy Healthy Funfetti Cookie Bars that taste like birthday cake batter! Made healthier with whole wheat flour, less butter and zero refined sugar for the perfect lightened-up party dessert!

Pin this now to find it later

Pin It

Follow on Instagram

Follow

Prepping and Storage

  • To Store – you can store the cooled cookie bars in a sealed, airtight container at room temperature for up to 4 days or stored in the refrigerator for up to 1 week. They stay soft and chewy best when tightly covered.
  • To Freeze – you can freeze sliced cookie bars in a freezer-safe container or bag for up to 3 months. Place parchment paper between layers to prevent them from sticking. Let the bars thaw overnight in the fridge or at room temperature for a few hours before serving.

More Bars You’ll Love

Hope you all enjoy these Healthy Funfetti Cookie Bars! If you love this recipe as much as we do, please leave a ⭐⭐⭐⭐⭐ star rating below and don’t forget to tag me on Instagram using the hashtag #eatyourselfskinny!

Soft and chewy Healthy Funfetti Cookie Bars that taste like birthday cake batter! Made healthier with whole wheat flour, less butter and zero refined sugar for the perfect lightened-up party dessert!

Print

Healthy Funfetti Cookie Bars

#wprm-recipe-user-rating-3 .wprm-rating-star.wprm-rating-star-full svg * { fill: #343434; }#wprm-recipe-user-rating-3 .wprm-rating-star.wprm-rating-star-33 svg * { fill: url(#wprm-recipe-user-rating-3-33); }#wprm-recipe-user-rating-3 .wprm-rating-star.wprm-rating-star-50 svg * { fill: url(#wprm-recipe-user-rating-3-50); }#wprm-recipe-user-rating-3 .wprm-rating-star.wprm-rating-star-66 svg * { fill: url(#wprm-recipe-user-rating-3-66); }linearGradient#wprm-recipe-user-rating-3-33 stop { stop-color: #343434; }linearGradient#wprm-recipe-user-rating-3-50 stop { stop-color: #343434; }linearGradient#wprm-recipe-user-rating-3-66 stop { stop-color: #343434; }

Soft and chewy Healthy Funfetti Cookie Bars that taste like birthday cake batter! Made healthier with whole wheat flour, less butter and zero refined sugar for the perfect lightened-up party dessert!
Course Dessert
Cuisine American
Keyword Healthy Funfetti Cookie Bars
Prep Time 5 minutes
Cook Time 22 minutes
Total Time 27 minutes
Servings 16
Calories 133kcal

Ingredients

  • 1 1/4 cup whole wheat pastry flour
  • 1/2 tsp baking powder
  • 3/4 cup cane sugar
  • 1/4 tsp salt
  • 1 egg + 1 egg yolk lightly beaten
  • 1/4 cup butter melted and slightly cooled
  • 3 Tbsp milk of choice
  • 1 tsp vanilla extract
  • 1/4 tsp almond extract
  • 1/3 cup white chocolate chips I used Lily's
  • 1/3 cup rainbow sprinkles

Instructions

  • Prep your pan. Preheat the oven to 350 degrees F. Line an 8×8-inch baking pan with parchment paper, leaving a little overhang on the sides for easy removal.
  • Mix the dry ingredients. In a large bowl, whisk together the whole wheat pastry flour, baking powder, cane sugar and salt until combined.
  • Mix the wet ingredients. In a separate bowl, lightly beat the egg and egg yolk. Add the melted butter, milk, vanilla extract and almond extract, whisking until smooth.
  • Make the batter. Pour the wet ingredients into the dry ingredients and stir until just combined. The batter will be thick, which is exactly what you want. Fold in the white chocolate chips and sprinkles, being careful not to over-mix.
  • Spread into the pan. Transfer the batter into the prepared baking pan and spread evenly using a spatula.Since the batter is thick, gently press it into the corner of the pan. Top with extra sprinkles, if desired.
  • Bake the bars. Bake for 22 to 25 minutes, or until the edges are lightly golden and a toothpick inserted into the center comes out clean. Allow the bars to cool completely before slicing into squares. This helps them to set properly and gives you clean cuts.

Nutrition

Serving: 1 bar | Calories: 133kcal | Carbohydrates: 21.7g | Protein: 1.9g | Fat: 5.4g | Saturated Fat: 2.8g | Cholesterol: 32.4mg | Sodium: 29.3mg | Fiber: 2.3g | Sugar: 11g
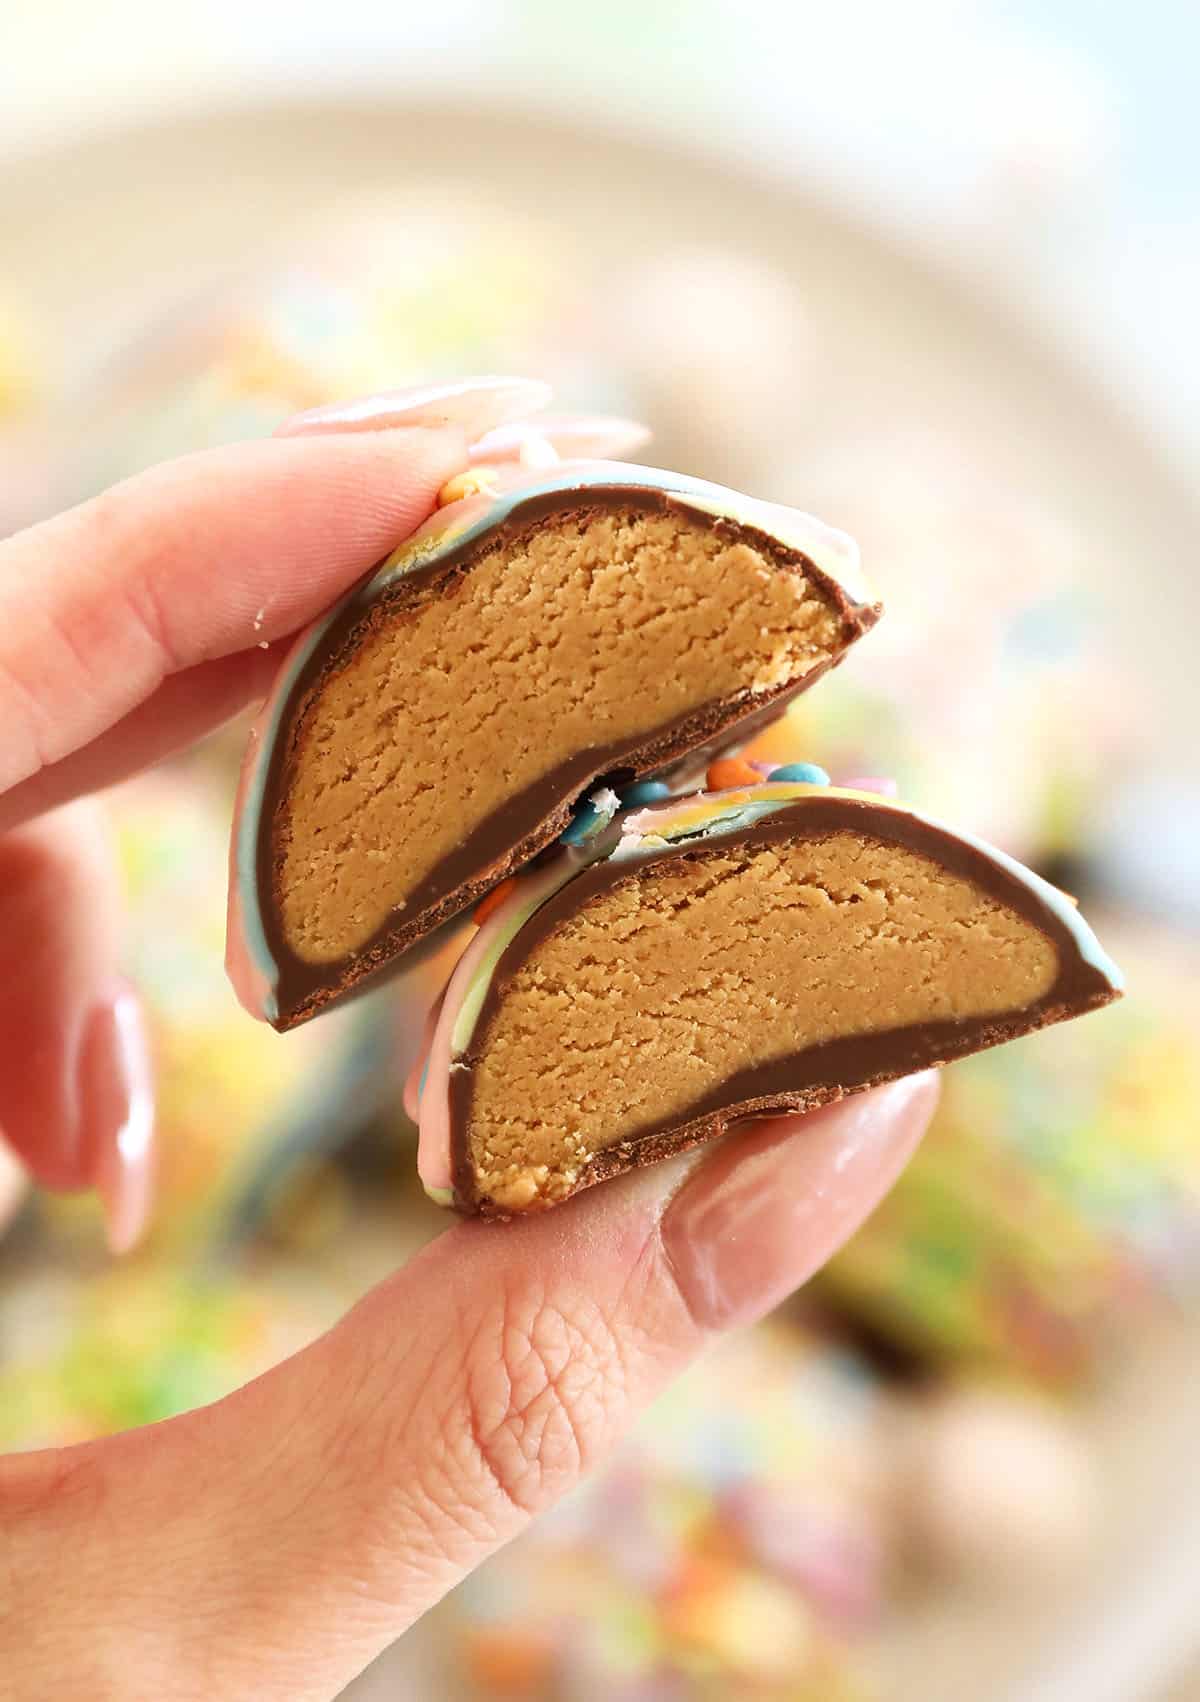
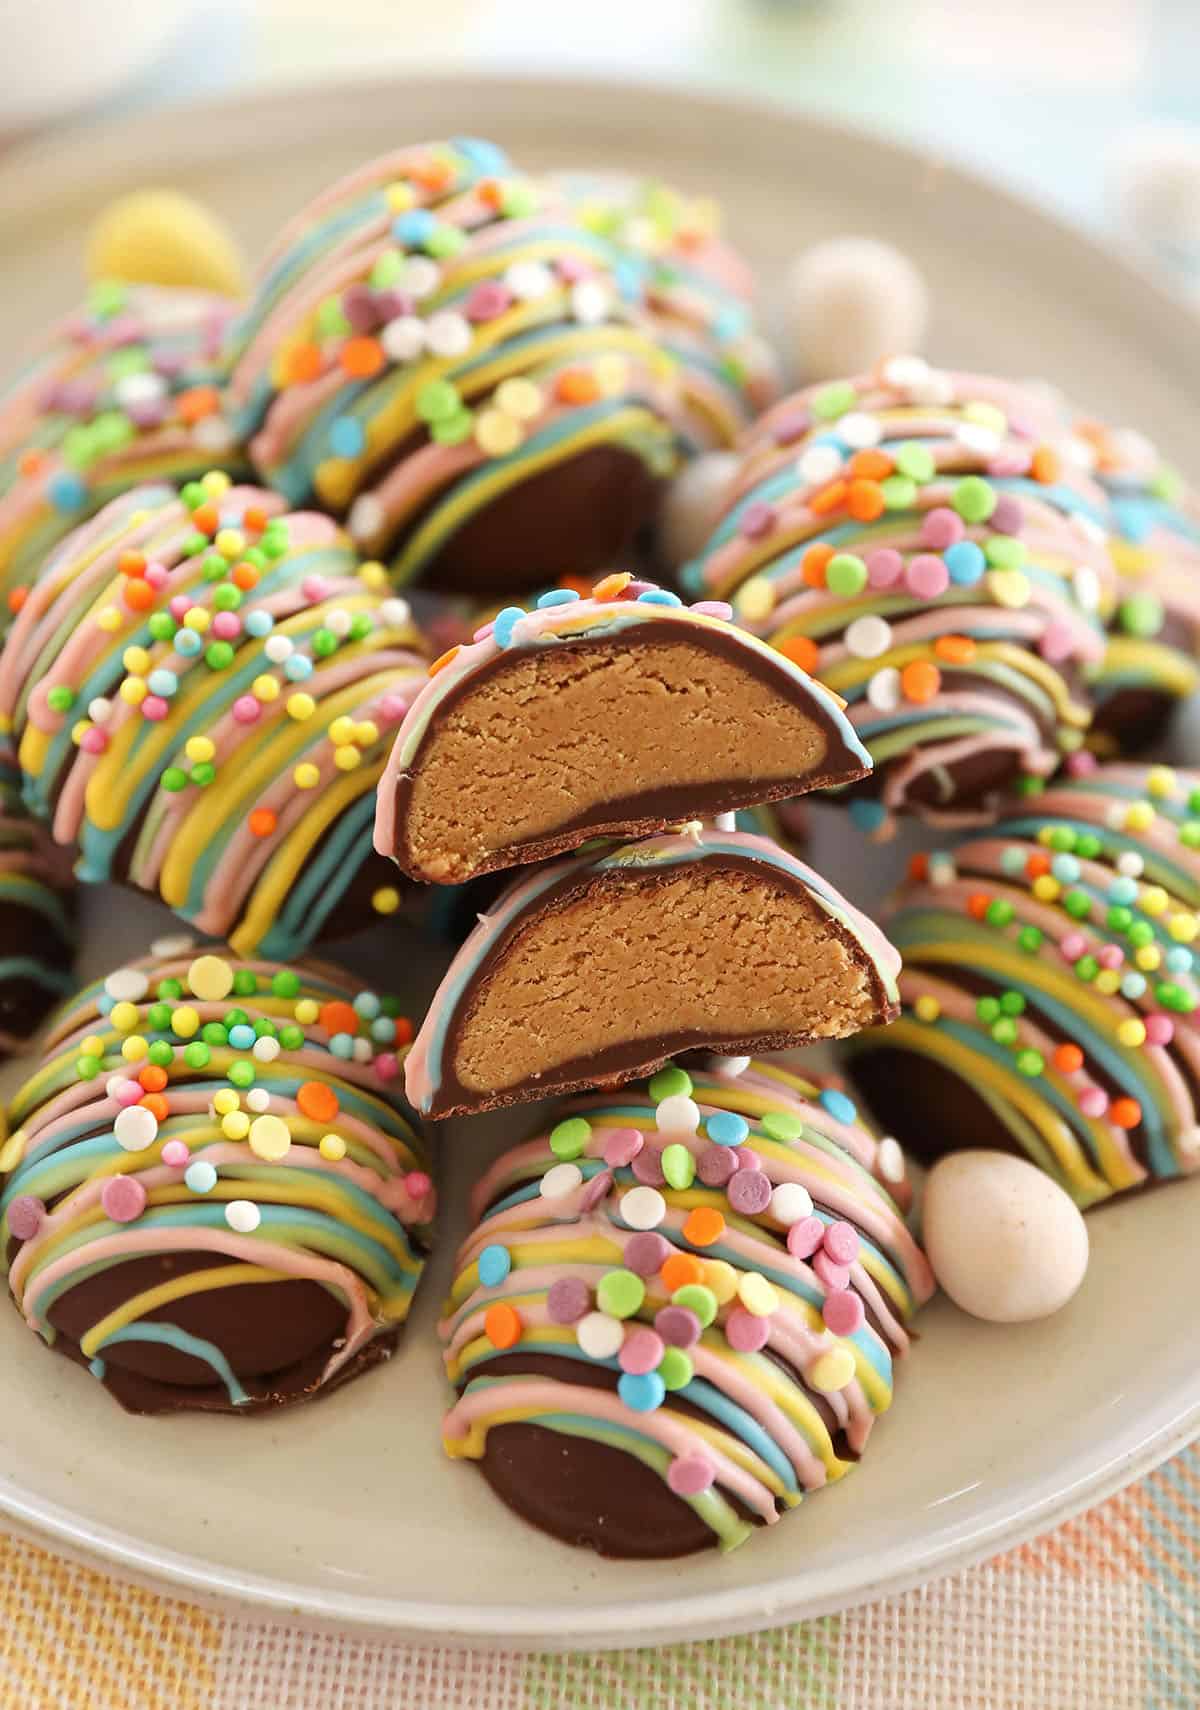
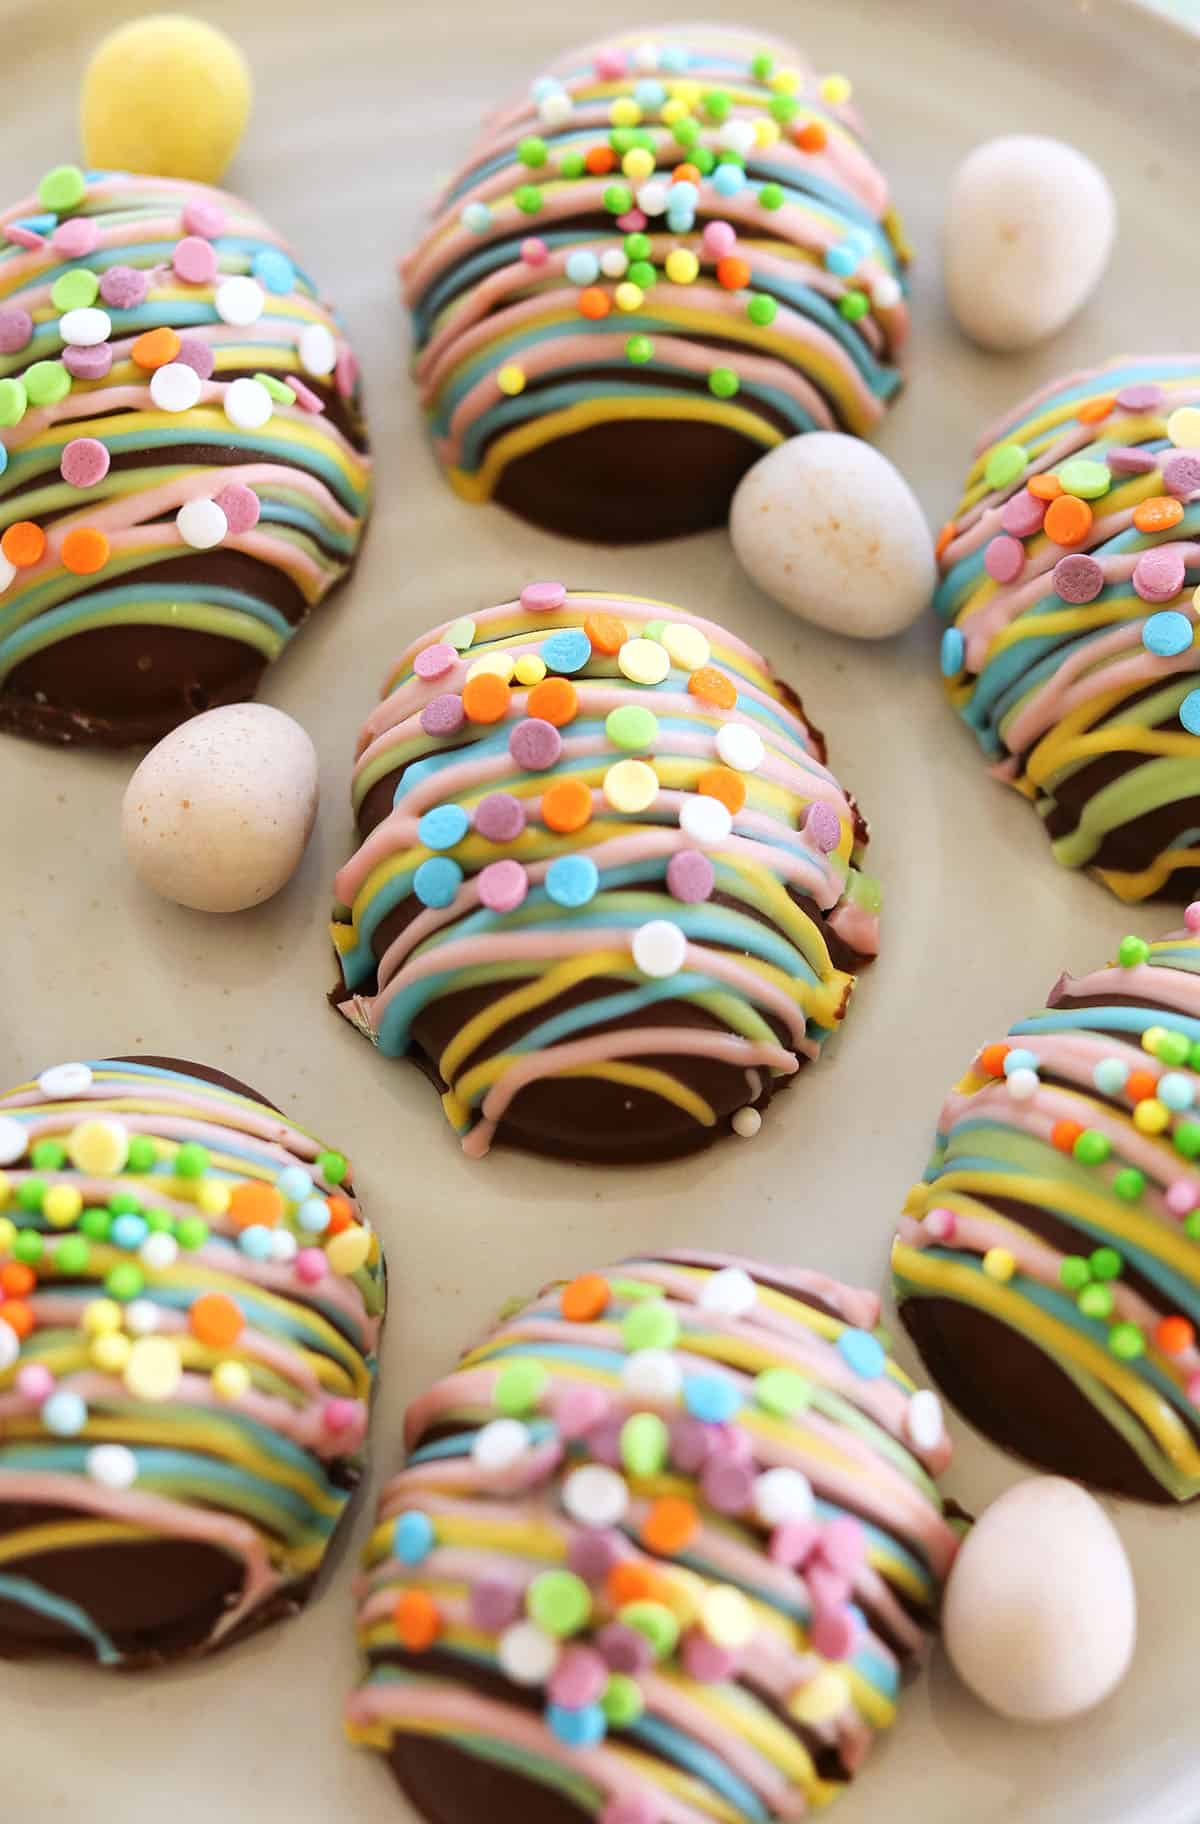
peanut-butter-eggs-7-main-700x972.jpg

Healthy Chocolate Peanut Butter Eggs

These Healthy Chocolate Peanut Butter Eggs are an easy no-bake Easter treat made with just a few simple ingredients! A healthier version of Reese's eggs that are gluten-free and refined sugar-free!

These Healthy Chocolate Peanut Butter Eggs are an easy no-bake Easter treat made with just a few simple ingredients! A healthier version of Reese’s peanut butter eggs that are gluten-free and refined sugar-free!

These Healthy Chocolate Peanut Butter Eggs are an easy no-bake Easter treat made with just a few simple ingredients! A healthier version of Reese's eggs that are gluten-free and refined sugar-free!
Want to save this recipe?
Just enter your email and get it sent to your inbox! Plus you’ll get new recipes from us every week!

Please enable JavaScript in your browser to complete this form.

Please enable JavaScript in your browser to complete this form.

Loading

If there is one Easter treat that disappears instantly in our house, it’s these Healthy Chocolate Peanut Butter Eggs. They have that classic creamy peanut butter center with a rich chocolate coating, but made with simple, better for you ingredients. Everything you love about Reese’s peanut butter cups, but cleaner, naturally sweetened, and incredibly easy to make at home!

The best part? These eggs are no-bake, freezer-friendly, and come together in just minutes, making them perfect for an Easter basket, spring gatherings, or just keeping a stash in the fridge for when that chocolate craving hits!

Why You’ll Love These

  • No-bake and easy – these healthy peanut butter eggs have minimal prep, no oven required and just 5 simple ingredients!
  • Healthier than store-bought – we are using simple, wholesome ingredients with zero refined sugar. So much peanut butter flavor!
  • Perfect for Easter – these homemade peanut butter eggs are festive, fun and kid-friendly! My daughter begs for them any time she wants a sweet treat.
  • Make-ahead friendly – you can easily store these in the fridge or freezer until ready to enjoy making them great to prep ahead of time.
These Healthy Chocolate Peanut Butter Eggs are an easy no-bake Easter treat made with just a few simple ingredients! A healthier version of Reese's eggs that are gluten-free and refined sugar-free!

Ingredients You’ll Need

  • drippy peanut butter – you really want to use natural peanut butter without any added sugar because it is smoother and easier to stir. You could use almond butter, cashew butter or any other nut butter, if you prefer.
  • oat flour – this acts as a binder for these eggs. I don’t recommend using all-purpose flour in this recipe as that should not be eaten raw, but almond flour or coconut flour are great options.
  • honey – naturally sweetens these eggs without using refined sugar. You could also use maple syrup or other natural sweetener.
  • vanilla extract – boost of flavor!
  • chocolate chips – I used Lily’s chocolate chips which are gluten-free, vegan and sweetened with stevia making the sugar content really low and they taste delicious!  You could also of course use regular semi-sweet chocolate chips to coat these eggs, but the sugar content will be much higher.
  • coconut oil – I like mixing in a little coconut oil when melting the chocolate because it makes the chocolate a little thicker and really helps create that perfect shell when it hardens without affecting the taste. Feel free to leave this out if you don’t have any.

If you don’t have any oat flour on hand, you can easily make your own by blending old fashioned oats (or instant oats) in a blender or food processor for about 60 seconds!

These Healthy Chocolate Peanut Butter Eggs are an easy no-bake Easter treat made with just a few simple ingredients! A healthier version of Reese's eggs that are gluten-free and refined sugar-free!

How to Make Chocolate Peanut Butter Eggs

  1. Make the peanut butter filling. In a bowl, combine oat flour, peanut butter, vanilla and honey mixing well with a spatula or an electric mixer until all combined and the dough is smooth. 
  2. Shape into eggs.  Using a small cookie scoop, scoop and shape into small eggs. I used these silicone egg molds to get perfectly shaped eggs. Just press the peanut butter mixture into each cavity, cover and chill and then they pop right out! You can also create the egg shapes with the palms of your hands and place them on a parchment-lined baking sheet. You should get about 16 eggs.
  3. Chill eggs. Place the egg molds (or the baking sheet) into the freezer and chill for about 20-30 minutes until firm.
  4. Melt chocolate.  Pour chocolate chips and coconut oil into the pot of a double boiler, or you can simply use a metal or glass bowl on top of a saucepan with about an inch of water in it. As the water heats up, the chocolate will begin to melt and you should continually stir it with a spatula until nice and smooth. You can also melt the chocolate in the microwave at 30-second intervals until melted.
  5. Dip and coat.  If using the egg molds, simply pop each egg out before dipping. Using a dipping fork, or regular fork, dip each peanut butter egg into the melted chocolate. Make sure the eggs are completely coated, shaking off any excess chocolate drip. Place the dipped eggs on a baking sheet lined with parchment paper. 
  6. Decorate and chill. Drizzle the eggs with colored chocolate and top with fun sprinkles or even a little coarse sea salt. You could also just leave them as is (like Reese’s eggs) and place them in the freezer until ready to enjoy.

Naturally Colored Chocolate Decorating

If you want to avoid the artificial dyes found in the colored chocolate candy melts, you can simply melt white chocolate chips and mix in a few drops of natural food coloring. The colors won’t be as bright, but will still look really pretty!

These Healthy Chocolate Peanut Butter Eggs are an easy no-bake Easter treat made with just a few simple ingredients! A healthier version of Reese's eggs that are gluten-free and refined sugar-free!

Tips for the BEST Peanut Butter Eggs

  • Don’t skip chilling – this helps the peanut butter eggs harden and hold their shape when dipping.
  • Use drippy peanut butter – use creamy natural peanut butter (just peanuts + salt) that is smooth and easy to stir. This makes mixing everything easier and gives the filling a smooth texture.
  • Use a cookie scoop – using a small tablespoon size cookie scoop to scoop the peanut butter mixture ensures the eggs are all the same size and is just so easy.
  • Use a fork for dipping – I really found this dipping fork super helpful, but you can also use a regular fork. This makes coating the eggs cleaner and easier as opposed to using a spoon, allowing the chocolate to easily drip off.

Don’t throw out the leftover melted chocolate! Add it to a piping bag, drizzle over the eggs and top with sprinkles. Less clean-up involved since you’re not using assorted colors and it still looks pretty and festive for a special treat!

These Healthy Chocolate Peanut Butter Eggs are an easy no-bake Easter treat made with just a few simple ingredients! A healthier version of Reese's eggs that are gluten-free and refined sugar-free!

Variations

Prepping and Storage

To Store:  These chocolate peanut butter eggs should be kept cold so you can either store them in a sealed, airtight container for up to 1 week in the refrigerator, but will last longer in the freezer. When storing, I like to line the container with some parchment paper so the eggs don’t stick.

To Freeze:  I also recommend storing these peanut butter eggs in the freezer and they will last up to 3 months. These eggs thaw out quickly when you remove them from the freezer and should be ready to enjoy in 30 minutes or so.

These Healthy Chocolate Peanut Butter Eggs are an easy no-bake Easter treat made with just a few simple ingredients! A healthier version of Reese's eggs that are gluten-free and refined sugar-free!

Pin this now to find it later

Pin It

Follow on Instagram

Follow

More No-Bake Recipes

Hope you all enjoy these Healthy Chocolate Peanut Butter Eggs! If you love these treats as much as we do, please leave a ⭐⭐⭐⭐⭐ star rating below and don’t forget to tag me on Instagram using the hashtag #eatyourselfskinny!

These Healthy Chocolate Peanut Butter Eggs are an easy no-bake Easter treat made with just a few simple ingredients! A healthier version of Reese's eggs that are gluten-free and refined sugar-free!

Print

Healthy Chocolate Peanut Butter Eggs

#wprm-recipe-user-rating-4 .wprm-rating-star.wprm-rating-star-full svg * { fill: #343434; }#wprm-recipe-user-rating-4 .wprm-rating-star.wprm-rating-star-33 svg * { fill: url(#wprm-recipe-user-rating-4-33); }#wprm-recipe-user-rating-4 .wprm-rating-star.wprm-rating-star-50 svg * { fill: url(#wprm-recipe-user-rating-4-50); }#wprm-recipe-user-rating-4 .wprm-rating-star.wprm-rating-star-66 svg * { fill: url(#wprm-recipe-user-rating-4-66); }linearGradient#wprm-recipe-user-rating-4-33 stop { stop-color: #343434; }linearGradient#wprm-recipe-user-rating-4-50 stop { stop-color: #343434; }linearGradient#wprm-recipe-user-rating-4-66 stop { stop-color: #343434; }

These Healthy Chocolate Peanut Butter Eggs are an easy no-bake Easter treat made with just a few simple ingredients! A healthier version of Reese's eggs that are gluten-free and refined sugar-free!
Course Dessert, Snack
Cuisine American
Keyword Healthy Chocolate Peanut Butter Eggs
Prep Time 30 minutes
1 hour
Total Time 1 hour 30 minutes
Servings 16 Servings
Calories 166kcal

Ingredients

Instructions

  • Make the peanut butter filling. In a medium bowl, combine oat flour, peanut butter, vanilla and honey mixing well with a spatula or an electric mixer until all combined and the dough is smooth. 
  • Shape into eggs. Using a small cookie scoop, scoop and shape into small eggs. I used these silicone egg molds to get perfectly shaped eggs, but you could also use your hands. Press the peanut butter mixture into each cavity, cover and chill or shape the mixture into small egg forms and place on a baking sheet lined with parchment paper. You should get about 16 eggs.
  • Chill eggs. Place the egg molds (or the baking sheet) into the freezer and chill for about 20-30 minutes until firm.
  • Melt the chocolate. Pour chocolate chips and coconut oil into the pot of a double boiler, or you can simply use a metal or glass bowl on top of a saucepan with about an inch of water in it. As the water heats up, the chocolate will begin to melt and you should continually stir it with a spatula until nice and smooth. You can also heat the chocolate in the microwave at 30 second intervals until melted.
  • Dip and coat. If using the egg molds, simply pop each egg out before dipping. Using a dipping fork, or regular fork, dip each peanut butter egg into the melted chocolate, making sure they are completely coated. Place the chocolate dipped eggs on a baking sheet lined with parchment paper. 
  • Decorate and chill. This is optional, but you can also drizzle the eggs with colored chocolate and top with fun sprinkles. Or just leave them as is (like Reese's eggs) and store them in the freezer until ready to enjoy.

Nutrition

Serving: 1egg | Calories: 166kcal | Carbohydrates: 18.7g | Protein: 4.9g | Fat: 11.6g | Saturated Fat: 3.9g | Sodium: 49mg | Fiber: 5.1g | Sugar: 4.7g
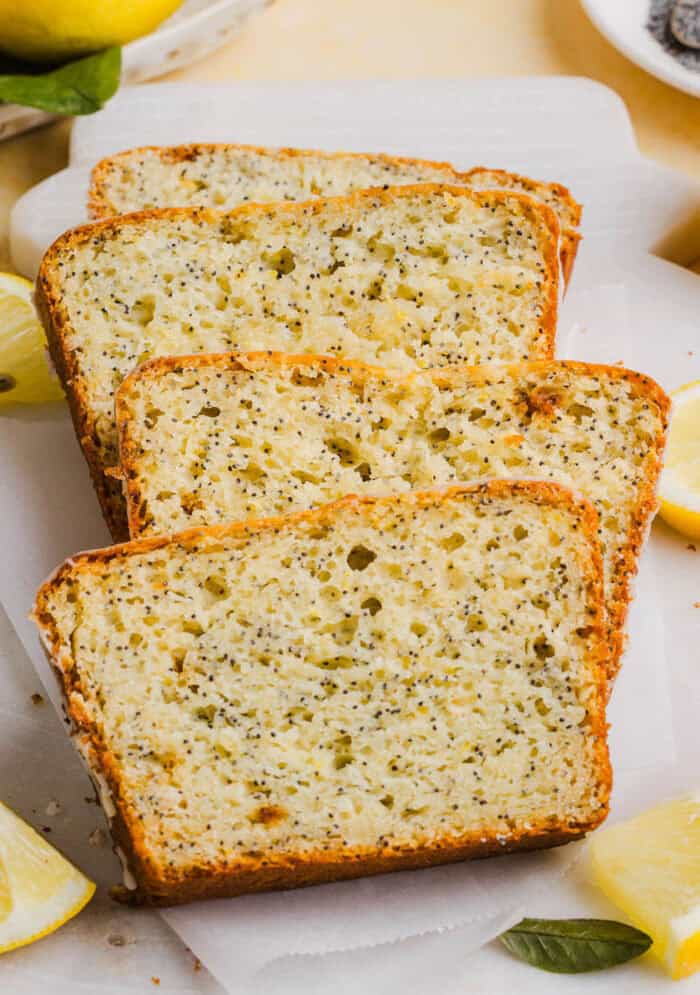
lemon-poppy-seed-bread-13-1-700x995.jpg

Healthy Lemon Poppy Seed Bread

The BEST Healthy Lemon Poppy Seed Bread made with Greek yogurt and honey. Perfectly moist, naturally sweetened, and topped with the most delicious fresh lemon glaze!

The BEST Healthy Lemon Poppy Seed Bread made with Greek yogurt and honey. Perfectly moist, naturally sweetened, and topped with the most delicious fresh lemon glaze!
Want to save this recipe?
Just enter your email and get it sent to your inbox! Plus you’ll get new recipes from us every week!

Please enable JavaScript in your browser to complete this form.

Please enable JavaScript in your browser to complete this form.

Loading

There is just something about Lemon Poppy Seed Bread that feels like sunshine in every bite! Bright, fresh, and perfectly sweet with that irresistible citrus flavor. And this version? This bread is made lighter with wholesome ingredients like Greek yogurt and naturally sweetened with honey, so you can enjoy it any time of day.

Whether you are looking for a quick spring breakfast, an afternoon snack with a cup of coffee, or a simple treat to share, this healthy lemon poppyseed loaf checks all the boxes. It’s incredibly moist, easy to make, and topped with a simple lemon glaze that takes it to the next level.

Why You’ll Love This

  • Lightened up – this lemon poppy seed bread recipe is made with Greek yogurt and naturally sweetened with honey for a healthier twist.
  • Perfectly moist – no dry loaf here thanks to the yogurt and olive oil combination. Deliciously soft and moist with a sweet glaze!
  • Easy to make – this quick lemon loaf couldn’t be easier to make. Just mix the ingredients, pour into the pan and bake!
  • Freezer-friendly – this lemon poppy seed loaf is perfect for meal prep, future snacks, quick breakfasts or dessert.
The BEST Healthy Lemon Poppy Seed Bread made with Greek yogurt and honey. Perfectly moist, naturally sweetened, and topped with the most delicious fresh lemon glaze!

Ingredients You’ll Need

  • flour – I used all-purpose flour to get that soft texture, but you could use whole wheat pastry flour or gluten-free 1 to 1 baking flour.
  • baking powder + baking soda – these act as leavening agents to help the bread rise and keep it soft and fluffy.
  • Greek yogurt – keeps the lemon bread moist and adds a boost of protein. You could also use sour cream or even applesauce.
  • olive oil – adds extra moisture, creates a soft, tender crumb as well as a light texture and enhances the flavor of the other ingredients. You could also use melted coconut oil or melted butter.
  • large eggs – helps bind the loaf and gives this bread its structure and height.
  • fresh lemons – fresh lemon juice adds brightness and tang while the lemon zest brings bold, fresh lemon flavor.
  • honey – naturally sweetens without using any refined sugar. You could also use maple syrup or other natural sweetener.
  • vanilla extract – adds a boost of flavor and warmth.
  • poppy seeds – adds that classic crunch and texture to the bread.
  • salt – enhances all the flavors.
  • lemon glaze – made with a mixture of powdered sugar, lemon juice and lemon zest that adds the perfect sweet-tart finish to the bread!
The BEST Healthy Lemon Poppy Seed Bread made with Greek yogurt and honey. Perfectly moist, naturally sweetened, and topped with the most delicious fresh lemon glaze!

How to Make Lemon Poppy Seed Bread

  1. Mix ingredients. In a large bowl, whisk together the flour, baking powder, baking soda, poppy seeds, lemon zest and salt, set aside. In a medium bowl, whisk together the Greek yogurt, eggs, olive oil, honey, lemon juice, and vanilla, mixing until all combined.
  2. Combine the batter. Pour the wet ingredients into the dry ingredients and gently mix with a spatula until just combined. Make sure not to overmix, a few lumps are totally fine and help keep the bread tender.
  3. Bake the bread. Pour batter into a prepared 9×5-inch loaf pan line with parchment paper or sprayed with nonstick spray. Bake in the oven at 350 degrees F for 40 to 45 minutes, or until a toothpick inserted in the center comes out clean.
  4. Let the bread cool. Let the bread sit for 10 minutes, then remove from the pan and let it cool completely on a wire rack.
  5. Make the lemon glaze. In a small bowl, whisk together the powdered sugar, lemon juice and zest, mixing until smooth. Drizzle over the cooled bread, slice and enjoy!
The BEST Healthy Lemon Poppy Seed Bread made with Greek yogurt and honey. Perfectly moist, naturally sweetened, and topped with the most delicious fresh lemon glaze!

Tips for Making the Best Lemon Poppy Seed Bread

  • Use fresh lemon juice and zest – this makes a huge difference in the flavor as bottle lemon juice can taste too bitter.
  • Don’t overmix the batter – stir until the flour is just incorporated. Overmixing leads to dense, tough bread.
  • Measure flour correctly – spoon flour into your measuring cup and level it off, don’t scoop! Scooping packs in too much flour and leads to dryness.
  • Use room temperature eggs – this helps everything mix evenly and create a uniform batter, which leads to even baking.
  • Line your pan with parchment paper – this makes removing the bread super easy, especially since there is honey in this recipe that makes it stick more to the pan.
  • Let it cool before glazing – this prevents the glaze from melting and disappearing into the loaf. Letting it cool first makes the glaze stay thick and sets into that slightly firm, glossy layer we want.
  • Add extra zest on top – this boosts the lemon flavor of the bread and makes it look beautiful!
The BEST Healthy Lemon Poppy Seed Bread made with Greek yogurt and honey. Perfectly moist, naturally sweetened, and topped with the most delicious fresh lemon glaze!

Variations

  • Make it dairy-free – swap the Greek yogurt for a dairy-free alternative or even some applesauce, although it might change the flavor of this bread.
  • Add blueberries – lemon and blueberries are the perfect combination and would be such a great addition to this bread.
  • Flour – feel free to swap out the all-purpose flour for whole wheat pastry flour, whole wheat flour or even gluten-free 1 to 1 baking flour if making GF bread. I don’t recommend using almond flour or coconut flour in this recipe.
  • Make muffins instead – divide the batter into 12 muffin cups and reduce the baking time to 18 to 22 minutes.
The BEST Healthy Lemon Poppy Seed Bread made with Greek yogurt and honey. Perfectly moist, naturally sweetened, and topped with the most delicious fresh lemon glaze!

Prepping and Storage

To Store: This lemon poppyseed bread can be stored in an airtight container or wrapped in plastic or foil at room temp for 2 or 3 days. Make sure to refrigerate after that to keep this longer. This bread will last up to a week in the fridge.

To Freeze: This bread freezes really well too! You can either wrap the whole loaf in plastic wrap, aluminum foil or a freezer-safe bag, or you can freeze individual slices. When ready to serve, allow the bread to thaw overnight in the refrigerator and bring to room temperature before slicing. This bread will keep in the freezer for up to 3 months.

The BEST Healthy Lemon Poppy Seed Bread made with Greek yogurt and honey. Perfectly moist, naturally sweetened, and topped with the most delicious fresh lemon glaze!

Pin this now to find it later

Pin It

Follow on Instagram

Follow

More Quick Bread Recipes

Hope you all enjoy this Healthy Lemon Poppy Seed Loaf recipe! If you love this as much as we do, please leave a ⭐⭐⭐⭐⭐ star rating below and don’t forget to tag me on Instagram using the hashtag #eatyourselfskinny!

The BEST Healthy Lemon Poppy Seed Bread made with Greek yogurt and honey. Perfectly moist, naturally sweetened, and topped with the most delicious fresh lemon glaze!

Print

Healthy Lemon Poppy Seed Bread

#wprm-recipe-user-rating-5 .wprm-rating-star.wprm-rating-star-full svg * { fill: #343434; }#wprm-recipe-user-rating-5 .wprm-rating-star.wprm-rating-star-33 svg * { fill: url(#wprm-recipe-user-rating-5-33); }#wprm-recipe-user-rating-5 .wprm-rating-star.wprm-rating-star-50 svg * { fill: url(#wprm-recipe-user-rating-5-50); }#wprm-recipe-user-rating-5 .wprm-rating-star.wprm-rating-star-66 svg * { fill: url(#wprm-recipe-user-rating-5-66); }linearGradient#wprm-recipe-user-rating-5-33 stop { stop-color: #343434; }linearGradient#wprm-recipe-user-rating-5-50 stop { stop-color: #343434; }linearGradient#wprm-recipe-user-rating-5-66 stop { stop-color: #343434; }

The BEST Healthy Lemon Poppy Seed Bread made with Greek yogurt and honey. Perfectly moist, naturally sweetened, and topped with the most delicious fresh lemon glaze!
Course Dessert
Cuisine American
Keyword Healthy Lemon Poppy Seed Bread
Prep Time 5 minutes
Cook Time 40 minutes
Total Time 45 minutes
Servings 12
Calories 216kcal

Ingredients

  • 1 3/4 cups all-purpose flour
  • 1 tsp baking powder
  • 1/2 tsp baking soda
  • 2 Tbsp poppy seeds
  • 1 Tbsp lemon zest
  • 1/4 tsp salt
  • 3/4 cup plain Greek yogurt
  • 2 eggs room temperature
  • 1/4 cup olive oil
  • 3/4 cup honey
  • 1/4 cup fresh lemon juice
  • 2 tsp vanilla extract

For the Lemon Glaze:

  • 1/2 cup powdered sugar
  • 1 Tbsp lemon juice
  • 1 tsp lemon zest plus more for garnish

Instructions

  • Preheat oven to 350 degrees F.
  • In a large bowl, whisk together the flour, baking powder, baking soda, poppy seeds, lemon zest and salt, set aside. In a medium bowl, whisk together the Greek yogurt, eggs, olive oil, honey, lemon juice, and vanilla, mixing until all combined.
  • Pour the wet ingredients into the dry ingredients and gently mix with a spatula until just combined. Make sure not to overmix, a few lumps are totally fine and help keep the bread tender.
  • Pour the batter into a prepared 9×5-inch loaf pan line with parchment paper or sprayed with nonstick spray. Bake in the oven for 40 to 45 minutes, or until a toothpick inserted in the center comes out clean.
  • Let the bread sit for 10 minutes, then remove from the pan and let it cool completely on a wire rack.
  • In a small bowl, whisk together the powdered sugar, lemon juice and zest, mixing until smooth. Drizzle over the cooled bread, slice and enjoy!

Nutrition

Serving: 1slice | Calories: 216kcal | Carbohydrates: 36.7g | Protein: 5g | Fat: 5.6g | Saturated Fat: 0.9g | Cholesterol: 31mg | Sodium: 95.6mg | Fiber: 0.7g | Sugar: 23.3g
banana-bread-8-700x1049.jpg

The BEST Banana Bread Recipe

This is hands down the BEST Banana Bread recipe passed down from my Grandma! Moist, lightly sweet, and packed with rich banana flavor that works for breakfast, a delicious snack or dessert.

This is hands down the BEST Banana Bread recipe passed down from my Grandma! Moist, lightly sweet, and packed with rich banana flavor that works for breakfast, a delicious snack or dessert.

This is hands down the BEST Banana Bread recipe passed down from my Grandma! Moist, lightly sweet, and packed with rich banana flavor that works for breakfast, a delicious snack or dessert.
Want to save this recipe?
Just enter your email and get it sent to your inbox! Plus you’ll get new recipes from us every week!

Please enable JavaScript in your browser to complete this form.

Please enable JavaScript in your browser to complete this form.

Loading

This has been my favorite banana bread recipe since I was a little girl and I have to give my Grandma ALL the credit. She literally makes the BEST and it was always a staple in her home growing up. This banana bread is so moist and fluffy, incredibly easy to make and is the perfect way to use up those overripe bananas. This has been one of my most popular recipes and always gets rave reviews. Everyone needs a go-to banana bread recipe and I hope this one becomes yours!

Why You’ll Love This

  • Moist and tender – thanks to the overripe bananas, you can expect to get super moist and tender banana bread every single time.
  • Customizable – feel free to add in chopped nuts, chocolate chips, cinnamon for a different flavor or simply keep it classic.
  • Freezer-friendly – this ultra-moist banana bread is perfect for meal prep, future snacks and quick breakfasts.
  • Versatile – I love using this classic banana bread recipe to make muffins, mini muffins, and even mini loaves to gift neighbors and friends.
This is hands down the BEST Banana Bread recipe passed down from my Grandma! Moist, lightly sweet, and packed with rich banana flavor that works for breakfast, a delicious snack or dessert.

Ingredients You’ll Need

  • bananas – make sure to use very ripe bananas to get that strong banana flavor and sweetness, the more brown spots the better! This truly makes or breaks a good banana bread recipe.
  • flour – I used all-purpose flour to stick with my Grandma’s original recipe, but you could use whole wheat pastry flour or gluten-free 1 to 1 baking flour.
  • baking soda – this acts as a leavening agent to help the bread rise and keep it soft and fluffy. You could also use baking powder.
  • eggs – helps bing the loaf and gives this banana bread its structure and height.
  • butter – adds richness and helps keep the loaf deliciously moist and fluffy. You’ll want to make sure the butter is nice and soft (not melted butter). You could also use coconut oil in place of the butter, but it will give the bread a different taste.
  • sugar – I used one cup of sugar (I wanted to stick to my Grandma’s original recipe), but you could cut the amount of sugar in half if your bananas are super ripe as that should add enough sweetness. You could also swap out the white sugar for brown sugar, cane sugar, honey, maple syrup or other natural sweetener.
  • sour cream – this helps keep the bread super moist. You could also use plain Greek yogurt as well.
  • vanilla extract – enhances the banana flavor and adds warmth.
  • salt – balances the sweetness and enhances the flavor.
This is hands down the BEST Banana Bread recipe passed down from my Grandma! Moist, lightly sweet, and packed with rich banana flavor that works for breakfast, a delicious snack or dessert.

How to Make Banana Bread

This particular recipe makes one standard loaf of bread, but you could also make 3 small loaves (I promise your neighbors will thank you!) or even muffins. See below for the different baking times depending on how you choose to make this.

  1. Mix wet ingredients. Using a stand mixer or hand held electric mixer, mix together softened butter and sugar until well combined. Add in the eggs and mix well. Next add in vanilla, sour cream (or Greek yogurt) and mashed bananas, continuing to blend well.
  2. Add in dry ingredients. While the mixer is on, slowly add the flour, baking soda and salt and mix slowly until completely combined, scraping the sides and the bottom of the bowl with a spatula. If adding any fun mix-ins like chocolate chips or nuts, feel free to fold them into the banana mixture here.
  3. Bake the bread. Pour the batter into a greased 9×5 loaf pan sprayed with non-stick cooking spray or lined with parchment paper. Bake banana bread in the oven for about 1 hour, or until a toothpick inserted comes out clean. Feel free to lightly tent the bread with aluminum foil halfway through if the top starts to brown too much.
  4. Let the bread cool. Let the bread sit for 10 minutes then remove from the pan and let cool completely on a wire rack. Slice the cooled loaf and enjoy!
This is hands down the BEST Banana Bread recipe passed down from my Grandma! Moist, lightly sweet, and packed with rich banana flavor that works for breakfast, a delicious snack or dessert.

Tips for Making the Best Banana Bread

  • Use very ripe bananas – the darker they are, the more sweetness and moisture they bring. Black-spotted bananas are perfect.
  • Don’t overmix the batter – stir until the flour is just incorporated. Overmixing leads to dense, tough bread.
  • Measure flour correctly – spoon flour into your measuring cup and level it off, don’t scoop! Scooping packs in too much flour and leads to dryness.
  • Toothpick should come out clean – oven times tend to vary so check the center with a toothpick. If it comes out clean with moist crumbs, it’s perfect.
  • Cool completely before slicing – letting the loaf cool completely helps set the crumb and keeps the slices from falling apart.
This is hands down the BEST Banana Bread recipe passed down from my Grandma! Moist, lightly sweet, and packed with rich banana flavor that works for breakfast, a delicious snack or dessert.

Variations

  • Flour – feel free to swap out the all-purpose flour for whole wheat pastry flour, whole wheat flour or even gluten-free 1 to 1 baking flour if making GF bread.  I don’t recommend using almond flour or coconut flour in this recipe.
  • Sour cream – you can easily swap out the sour cream and use plain Greek yogurt, pumpkin puree or even more mashed banana.
  • Mix-ins – mix in other fun additions like chocolate chips, chopped nuts such walnuts or pecans for banana nut bread, or even dried fruit or fresh berries.
  • Spices – add warm spices like cinnamon and nutmeg for a more seasonal bread recipe.
This is hands down the BEST Banana Bread recipe passed down from my Grandma! Moist, lightly sweet, and packed with rich banana flavor that works for breakfast, a delicious snack or dessert.

Other Baking Methods

  • If making three smaller loaves, bake at 350 degrees F for 45 minutes in small loaf pans, or until a toothpick inserted comes out clean. When making for friends and family members, I like to double this recipe and make 6 small loaves! Perfect for holidays.
  • This recipe also makes delicious banana muffins. Simply distribute the batter into 12 muffin cups sprayed with nonstick spray (or muffin liners) and bake at 350 degrees F for 22 to 25 minutes.
  • Alternatively you can make 24 mini muffins for bite-sized, poppable treats! Just bake these at 350 degrees F for about 18 to 20 minutes.
This is hands down the BEST Banana Bread recipe passed down from my Grandma! Moist, lightly sweet, and packed with rich banana flavor that works for breakfast, a delicious snack or dessert.

Pin this now to find it later

Pin It

Follow on Instagram

Follow

Prepping and Storage

To Store: This banana bread can be stored in an airtight container or wrapped in plastic or foil at room temp for up to 3 days, but make sure to refrigerate after that to keep this longer. This bread will last up to a week in the fridge.

To Freeze: This bread freezes really well too! You can either wrap the whole loaf in plastic wrap, aluminum foil or a freezer-safe bag or you can freeze individual slices. When ready to serve, allow to thaw out overnight in the refrigerator and bring to room temperature before slicing. This bread will keep in the freezer for up to 3 months.

More Quick Bread Recipes

Hope you all enjoy this Easy Banana Bread recipe! If you love this as much as we do, please leave a ⭐⭐⭐⭐⭐ star rating below and don’t forget to tag me on Instagram using the hashtag #eatyourselfskinny!

This is hands down the BEST Banana Bread recipe passed down from my Grandma! Moist, lightly sweet, and packed with rich banana flavor that works for breakfast, a delicious snack or dessert.

Print

The BEST Banana Bread Recipe

#wprm-recipe-user-rating-0 .wprm-rating-star.wprm-rating-star-full svg * { fill: #343434; }#wprm-recipe-user-rating-0 .wprm-rating-star.wprm-rating-star-33 svg * { fill: url(#wprm-recipe-user-rating-0-33); }#wprm-recipe-user-rating-0 .wprm-rating-star.wprm-rating-star-50 svg * { fill: url(#wprm-recipe-user-rating-0-50); }#wprm-recipe-user-rating-0 .wprm-rating-star.wprm-rating-star-66 svg * { fill: url(#wprm-recipe-user-rating-0-66); }linearGradient#wprm-recipe-user-rating-0-33 stop { stop-color: #343434; }linearGradient#wprm-recipe-user-rating-0-50 stop { stop-color: #343434; }linearGradient#wprm-recipe-user-rating-0-66 stop { stop-color: #343434; }

This is hands down the BEST Banana Bread recipe passed down from my Grandma! Moist, lightly sweet, and packed with rich banana flavor that works for breakfast, a delicious snack or dessert.
Course Breakfast, Dessert, Snack
Cuisine American
Keyword Banana Bread
Prep Time 5 minutes
Cook Time 45 minutes
Total Time 50 minutes
Servings 12
Calories 218kcal

Ingredients

  • 1/2 cup (1 stick) butter softened
  • 1 cup sugar
  • 2 eggs
  • 1 teaspoon vanilla
  • 1/2 cup sour cream or plain Greek yogurt
  • 1 cup mashed ripe bananas about 2 bananas
  • 1 1/2 cups all-purpose flour
  • 1 teaspoon baking soda
  • 1/2 teaspoon salt

Instructions

  • Preheat oven to 350 degrees F.
  • In a stand mixer, or electric mixer, mix together softened butter and sugar until well combined. Then add in eggs and mix well. Next add in vanilla, sour cream (or Greek yogurt) and mashed bananas.
  • Then, while the mixer is on, slowly add the flour, baking soda and salt and mix slowly until completely combined, scraping the sides and the bottom.
  • Pour batter into prepared 9×5 loaf pan. Bake bread for about 1 hour, or until a toothpick inserted into the center comes out clean.
  • Let the bread sit for 10 minutes then remove from pan and let cool completely on a wire rack. Serve and enjoy!

Nutrition

Serving: 1slice | Calories: 218kcal | Carbohydrates: 32.7g | Protein: 3.7g | Fat: 8.5g | Saturated Fat: 5.1g | Sodium: 218.5mg | Fiber: 1g | Sugar: 19.4g

The post The BEST Banana Bread Recipe appeared first on Eat Yourself Skinny.

chocolate-hummus-12-700x981.jpg

Healthy Chocolate Hummus

This Healthy Chocolate Hummus is a rich and indulgent way to satisfy your sweet tooth, but made with wholesome ingredients that you can feel good about eating! Serve with your favorite fruit, pretzels or graham crackers for the perfect fun dessert or snack!

This Healthy Chocolate Hummus is rich and indulgent to satisfy your sweet tooth, but made with wholesome ingredients that you can feel good about eating! Serve with your favorite fruit, pretzels or graham crackers for the perfect fun dessert or snack!
Want to save this recipe?
Just enter your email and get it sent to your inbox! Plus you’ll get new recipes from us every week!

Please enable JavaScript in your browser to complete this form.

Please enable JavaScript in your browser to complete this form.

Loading

Calling all chocolate lovers! This Healthy Chocolate Hummus recipe is rich and creamy with a silky texture that feels incredibly decadent. This is such a fun snack or dessert that legit tastes like brownie batter, but way more wholesome. Perfect when you’re looking for a healthier dessert dip, a kid-friendly snack, or something fun and nourishing to keep on hand right in your fridge, this chocolate hummus checks all the boxes!

Why You’ll Love This

  • Naturally sweetened – this chocolate hummus is naturally sweetened with maple syrup that provides just the right amount of sweetness without any refined sugar.
  • Quick and easy – this entire recipe easily comes together in just minutes right in your food processor or blender.
  • High in protein and fiber – this chocolate hummus is packed protein and fiber thanks to the chickpeas, tahini and peanut butter.
  • Great for all ages – this is such a fun way to serve a wholesome sweet treat to your kids that everyone will love!
This Healthy Chocolate Hummus is rich and indulgent to satisfy your sweet tooth, but made with wholesome ingredients that you can feel good about eating! Serve with your favorite fruit, pretzels or graham crackers for the perfect fun dessert or snack!

Ingredients You’ll Need

  • chickpeas – the star of this recipe and creates a smooth, creamy texture while adding protein and fiber. I like to remove the skins of the chickpeas which makes the hummus even creamier!
  • tahini – adds richness and a subtle nuttiness that balances the sweetness and enhances the overall creaminess of the hummus.
  • peanut butter – deepens the flavor and pairs perfectly with the chocolate flavors. Feel free to use any type of nut butter you prefer.
  • cocoa powder – I used unsweetened cocoa powder to give this hummus that deep chocolate richness.
  • espresso powder – really enhances the chocolate flavor in this recipe.
  • maple syrup – naturally sweetens the hummus without using any refined sugar. You could also use honey or agave if you don’t have maple syrup.
  • milk – helps thin out the hummus mixture to get that perfect dipping consistency. Any type of milk will work in this recipe.
  • chocolate chips – I used these Lily’s chocolate chips to melt into the mixture which are sweetened with stevia making the sugar content really low.
  • vanilla extract – adds a boost of flavor and helps enhance the chocolate.
  • salt – essential for balancing the sweetness and making all these flavors pop.
This Healthy Chocolate Hummus is rich and indulgent to satisfy your sweet tooth, but made with wholesome ingredients that you can feel good about eating! Serve with your favorite fruit, pretzels or graham crackers for the perfect fun dessert or snack!

How to Make Chocolate Hummus

  1. Prepare the chickpeas. To get the creamiest hummus, first we need to remove the skins from the chickpeas. Drain and rinse the chickpeas and place them in a bowl of cold water. Using your fingers, gently rub the chickpeas together to remove the skins. The skins will float to the top of the water and can be removed with a slotted spoon. Give the chickpeas a final rinse under cold water to remove any remaining skins.
  2. Make the chocolate mixture. In a small saucepan, combine tahini, peanut butter, maple syrup, milk and chocolate chips. Heat over medium-low heat, whisking until the chocolate is melted and mixture is smooth.
  3. Blend the ingredients. Combine the chickpeas, chocolate mixture, cocoa powder, vanilla, espresso powder and salt in a food processor or high-powdered blender and blend until smooth and creamy. If the mixture is too thick, feel free to add in more milk 1 teaspoon at a time until you’ve reached the desired consistency.
  4. Chill and serve. Transfer the chocolate hummus to a bowl, cover and refrigerate for at least 30 minutes to allow the flavors to deepen and the texture to set. Serve chilled with your favorite dippers. I like to top mine with a little shaved chocolate!
This Healthy Chocolate Hummus is rich and indulgent to satisfy your sweet tooth, but made with wholesome ingredients that you can feel good about eating! Serve with your favorite fruit, pretzels or graham crackers for the perfect fun dessert or snack!

How to Serve

  • fresh fruit – we love serving this with fresh strawberries, banana slices, apple slices, and raspberries as they pair perfectly with the rich chocolate flavor and make a nutritious option.
  • graham crackers – make this a s’mores-inspired snack without the guilt and feel free to serve with some marshmallows too.
  • pretzels – who doesn’t love a sweet and salty combo and pretzels taste amazing with this chocolate hummus.
  • waffles or pancakes – use it as a healthier chocolate spread for a delicious breakfast or brunch.
  • toast – this would be especially good spread on toast with sliced bananas or strawberries on top.

You can serve this as part of a dessert board with mixed fruit, crackers and a sprinkle of extra chocolate chips or shaved chocolate on top for presentation!

This Healthy Chocolate Hummus is rich and indulgent to satisfy your sweet tooth, but made with wholesome ingredients that you can feel good about eating! Serve with your favorite fruit, pretzels or graham crackers for the perfect fun dessert or snack!

Pin this now to find it later

Pin It

Follow on Instagram

Follow

Prepping and Storage

To Store: This chocolate hummus can be stored in a sealed, airtight container for 5 to 7 days in the refrigerator. The hummus will thicken slightly as it chills so I recommend giving this a good stir before serving or you can let it sit at room temperature for 5 to 10 minutes to soften back up to a creamy, dippable consistency.

To Freeze: You can freeze this chocolate hummus, however the texture may change slightly after thawing. If you are planning to freeze, transfer to a freezer-safe container and store up to 2 months. Thaw overnight in the fridge, then stir or re-blend briefly in your food processor or blender to restore creaminess.

More Chocolate Desserts

Hope you all enjoy this Healthy Chocolate Hummus recipe! If you love this as much as we do, please leave a ⭐⭐⭐⭐⭐ star rating below and don’t forget to tag me on Instagram using the hashtag #eatyourselfskinny!

This Healthy Chocolate Hummus is rich and indulgent to satisfy your sweet tooth, but made with wholesome ingredients that you can feel good about eating! Serve with your favorite fruit, pretzels or graham crackers for the perfect fun dessert or snack!

Print

Healthy Chocolate Hummus

#wprm-recipe-user-rating-0 .wprm-rating-star.wprm-rating-star-full svg * { fill: #343434; }#wprm-recipe-user-rating-0 .wprm-rating-star.wprm-rating-star-33 svg * { fill: url(#wprm-recipe-user-rating-0-33); }#wprm-recipe-user-rating-0 .wprm-rating-star.wprm-rating-star-50 svg * { fill: url(#wprm-recipe-user-rating-0-50); }#wprm-recipe-user-rating-0 .wprm-rating-star.wprm-rating-star-66 svg * { fill: url(#wprm-recipe-user-rating-0-66); }linearGradient#wprm-recipe-user-rating-0-33 stop { stop-color: #343434; }linearGradient#wprm-recipe-user-rating-0-50 stop { stop-color: #343434; }linearGradient#wprm-recipe-user-rating-0-66 stop { stop-color: #343434; }

This Healthy Chocolate Hummus is rich and indulgent to satisfy your sweet tooth, but made with wholesome ingredients that you can feel good about eating! Serve with your favorite fruit, pretzels or graham crackers for the perfect fun dessert or snack!
Course Appetizer, Snack
Cuisine American
Keyword Healthy Chocolate Hummus
Prep Time 5 minutes
Cook Time 5 minutes
Total Time 10 minutes
Servings 8
Calories 181kcal

Ingredients

  • 1 (15 oz) can chickpeas, drained and rinsed with skins removed
  • 1/4 cup tahini
  • 2 Tbsp peanut butter
  • 1/3 cup maple syrup
  • 3 Tbsp milk
  • 2 Tbsp chocolate chips (I used Lily’s chocolate chips)
  • 1/3 cup unsweetened cocoa powder
  • 1 tsp vanilla extract
  • 1 tsp espresso powder
  • 1/4 tsp salt
  • Serve with fresh fruit, pretzels or graham crackers

Instructions

  • Prepare the chickpeas. To get the creamiest hummus, first we need to remove the skins from the chickpeas. Drain and rinse the chickpeas and place them in a bowl of cold water. Using your fingers, gently rub the chickpeas together to remove the skins. The skins will float to the top of the water and can be removed with a slotted spoon. Give the chickpeas a final rinse under cold water to remove any remaining skins.
  • Make the chocolate mixture. In a small saucepan, combine tahini, peanut butter, maple syrup, milk and chocolate chips. Heat over medium-low heat, whisking until the chocolate is melted and mixture is smooth.
  • Blend the ingredients. Combine the chickpeas, chocolate mixture, cocoa powder, vanilla, espresso powder and salt in a food processor or high-powdered blender and blend until smooth and creamy. If the mixture is too thick, feel free to add in more milk 1 teaspoon at a time until you’ve reached the desired consistency.
  • Chill and serve. Transfer the chocolate hummus to a bowl, cover and refrigerate for at least 30 minutes to allow the flavors to deepen and the texture to set. Serve chilled with your favorite dippers. I like to top mine with a little shaved chocolate!

Nutrition

Serving: 1/8th of recipe | Calories: 181kcal | Carbohydrates: 26.5g | Protein: 6g | Fat: 7.3g | Saturated Fat: 1.1g | Sodium: 217.4mg | Fiber: 4.8g | Sugar: 8.2g

The post Healthy Chocolate Hummus appeared first on Eat Yourself Skinny.

granola-bars-10-700x1070.jpg

No Bake Almond Butter Granola Bars

These No Bake Almond Butter Granola Bars are a wholesome, delicious snack that easily comes together in just 15 minutes using simple pantry ingredients! Perfect for busy mornings, a healthy snack or for your kid's lunchbox!

These No Bake Almond Butter Granola Bars are a wholesome, delicious snack that easily comes together in just 15 minutes using simple pantry ingredients! Perfect for busy mornings, a healthy snack or for your kid’s lunchbox!

These No Bake Almond Butter Granola Bars are a wholesome, delicious snack that easily comes together in just 15 minutes using simple pantry ingredients! Perfect for busy mornings, a healthy snack or for your kid's lunchbox!

If you’re looking for a wholesome snack that is quick to make, naturally sweetened and requires zero oven time, these No Bake Almond Butter Granola Bars are about to become a staple in your house! Perfect for busy mornings, lunchboxes, post-workout fuel or a healthy afternoon snack bar, this recipe comes together in just 15 minutes using simple pantry ingredients. No baking, no complicated steps, just chewy, nutty and lightly sweet bars that taste indulgent while still being nourishing.

Why You’ll Love These

  • Wholesome – these bars are made with hearty rolled oats and are naturally sweetened without using any refined sugar. So much better than store-bought granola bars!
  • No oven required – these healthy granola bars come together in just 15 minutes with zero baking necessary making them the perfect snack to grab on-the-go.
  • Customizable – feel free to make these homemade granola bars to your liking by using a variety of your favorite mix-ins or swapping the almond butter for peanut butter!
  • Kids will love these – these bars are so fun to make with your kids and are made with wholesome ingredients so you can feel good about putting them in their lunchbox.
These No Bake Almond Butter Granola Bars are a wholesome, delicious snack that easily comes together in just 15 minutes using simple pantry ingredients! Perfect for busy mornings, a healthy snack or for your kid's lunchbox!

Ingredients You’ll Need

  • rolled oats – wholesome whole grain old fashioned oats (I used gluten-free oats) make these bars deliciously chewy! You can also use quick-cooking oats if that’s all you have on hand, but they won’t have that great chewy texture.
  • puffed rice cereal – I used puffed brown rice cereal with no added sugar (not Rice Krispies) which adds a delicious crunch to these bars.
  • almond butter – creamy, rich and packed with healthy fats and protein. You could also use peanut butter or other nut butter if you prefer.
  • coconut oil – helps to bind these bars together along with the honey.
  • honey – this is needed to naturally sweeten the bars and help bind them together, but feel free to use maple syrup or other natural sweetener.
  • vanilla extract – for a boost of flavor.
  • mini chocolate chips – you could also use chopped up chocolate or other mix-ins like chopped almonds, shredded coconut, chia seeds or dried fruit.
  • sea salt – to bring out all these flavors!
These No Bake Almond Butter Granola Bars are a wholesome, delicious snack that easily comes together in just 15 minutes using simple pantry ingredients! Perfect for busy mornings, a healthy snack or for your kid's lunchbox!

How to Make Almond Butter Granola Bars

  1. Mix dry ingredients. In a large mixing bowl, combine rolled oats and puffed rice cereal. Set aside.
  2. Heat up wet ingredients. In a small saucepan on medium-high heat, whisk together the almond butter, honey and coconut oil and bring to a boil. Lower the heat to medium-low, continually whisking, and allow mixture to simmer for about 2 minutes on low heat. Remove mixture from heat and stir in the vanilla extract.
  3. Combine the oat mixture. Pour mixture over the dry oat mixture and fold together so everything is evenly coated. Stir in one tablespoon of chocolate chips and transfer to a prepared 9×13-inch baking dish lined with parchment paper.
  4. Press into the pan. Press the granola mixture firmly into the prepared pan. I used extra parchment paper to press down to avoid the granola from sticking to my fingers. Sprinkle the remaining chocolate chips over top, lightly pressing them into the mixture, and top with a little sea salt.
  5. Refrigerate. Cover the pan tightly with plastic wrap or aluminum foil and refrigerate for at least 2 hours. Once bars are set and firm, lift the parchment paper so that bars are easily removed from the baking dish and slice into 18 bars.
These No Bake Almond Butter Granola Bars are a wholesome, delicious snack that easily comes together in just 15 minutes using simple pantry ingredients! Perfect for busy mornings, a healthy snack or for your kid's lunchbox!

Tips for Making the Best Granola Bars

  • Use the right nut butter – the almond butter acts as both our flavor base and the glue that holds these bars together so make sure to choose a creamy, well-stirred almond butter (or other nut butter) for the best texture.
  • Measure oats carefully – too many oats can make your granola bars dry and crumbly, while using too few can make them overly soft. Spoon the oats into your measuring cup and level them off rather than packing them down.
  • Boil the mixture for 2 minutes – I found that this is really the secret to helping these bars stick together. Make sure to whisk constantly so that the bottom of the peanut butter doesn’t burn.
  • Press firmly into the pan – this is one of the most important steps to ensure your bars set properly and hold together. I like to use a little parchment paper to evenly press down on the bars and help prevent the mixture from sticking to my hands.
  • Don’t skip the salt – sprinkling a little sea salt at the end is essential! It enhances the sweetness, balances the flavors and prevents the bars from tasting flat.
  • Chill long enough to set – these bars need to chill for at least 2 hours in the fridge to give them time to firm up, but feel free to let them chill even longer. Slicing them too early will cause them to crumble.
These No Bake Almond Butter Granola Bars are a wholesome, delicious snack that easily comes together in just 15 minutes using simple pantry ingredients! Perfect for busy mornings, a healthy snack or for your kid's lunchbox!

Variations and Substitutions

  • Make them nut-free – you can simply swap out the creamy almond butter for a seed-based alternative such as sunflower seed butter or pumpkin seed butter.
  • Make them dairy-free – just make sure you use dairy-free chocolate chips or cacao nibs when mixing in the chocolate.
  • Make them vegan – swap out the honey for maple syrup or agave nectar and make sure to use dairy-free chocolate chips.
  • Flavor variations – switch up the flavor profile by adding in cinnamon, shredded coconut, cocoa powder, pumpkin spice or dried fruit.
  • For chewier bars – if you like your bars more on the chewier side, feel free to add in extra almond butter, honey or brown sugar.
  • For crunchier bars – if you like your bars with more of a crunch, add in some chopped nuts or sunflower seeds.
  • For thicker bars – these bars are on the thinner side as I was trying to recreate those classic Chewy granola bars, but if you want thicker bars that won’t crumble as easy, try using a 9×9-inch square pan and slicing about 12 bars.
  • Extra protein – you can also mix in 2 to 3 tablespoons of your favorite protein powder or even some flax seeds, hemp seeds or chia seeds for a little protein boost.

Prepping and Storage

  • To Store: These chewy almond butter granola bars can be stored in a sealed, airtight container for up to 7 days in the refrigerator. I like to place a piece of parchment paper between the layers when stacking them to prevent them from sticking together.
  • To Freeze: These bars can be stored in the freezer for up to 3 months making them great for meal prep! Pull out individual bars to thaw anytime you’re craving something sweet.
These No Bake Almond Butter Granola Bars are a wholesome, delicious snack that easily comes together in just 15 minutes using simple pantry ingredients! Perfect for busy mornings, a healthy snack or for your kid's lunchbox!

Pin this now to find it later

Pin It

Follow on Instagram

Follow

More Bars You’ll Love

More No Bake Desserts

Hope you all enjoy these Almond Butter Granola Bars! If you love this recipe as much as we do, please leave a ⭐⭐⭐⭐⭐ star rating below and don’t forget to tag me on Instagram using the hashtag #eatyourselfskinny! I love seeing all your delicious recreations!

These No Bake Almond Butter Granola Bars are a wholesome, delicious snack that easily comes together in just 15 minutes using simple pantry ingredients! Perfect for busy mornings, a healthy snack or for your kid's lunchbox!

Print

No Bake Almond Butter Granola Bars

#wprm-recipe-user-rating-0 .wprm-rating-star.wprm-rating-star-full svg * { fill: #343434; }#wprm-recipe-user-rating-0 .wprm-rating-star.wprm-rating-star-33 svg * { fill: url(#wprm-recipe-user-rating-0-33); }#wprm-recipe-user-rating-0 .wprm-rating-star.wprm-rating-star-50 svg * { fill: url(#wprm-recipe-user-rating-0-50); }#wprm-recipe-user-rating-0 .wprm-rating-star.wprm-rating-star-66 svg * { fill: url(#wprm-recipe-user-rating-0-66); }linearGradient#wprm-recipe-user-rating-0-33 stop { stop-color: #343434; }linearGradient#wprm-recipe-user-rating-0-50 stop { stop-color: #343434; }linearGradient#wprm-recipe-user-rating-0-66 stop { stop-color: #343434; }

These No Bake Almond Butter Granola Bars are a wholesome, delicious snack that easily comes together in just 15 minutes using simple pantry ingredients! Perfect for busy mornings, a healthy snack or for your kid's lunchbox!
Course Snack
Cuisine American
Keyword No Bake Almond Butter Granola Bars
Prep Time 10 minutes
Total Time 10 minutes
Servings 18 Servings
Calories 170kcal

Ingredients

  • 2 cups old fashioned rolled oats
  • 1 cup puffed rice cereal
  • 3/4 cup almond butter
  • 4 Tbsp coconut oil
  • 1/2 cup honey
  • 1 tsp vanilla extract
  • 3 Tbsp mini chocolate chips divided
  • Pinch of sea salt

Instructions

  • In a large bowl, combine rolled oats and puffed rice cereal; set aside.
  • In a small saucepan on medium-high heat, whisk together almond butter, coconut oil and honey and bring to a boil. Lower the heat to medium-low, continually whisking, and allow mixture to simmer for about 2 minutes. Remove mixture from heat and stir in the vanilla extract.
  • Pour mixture over the dry oat mixture and fold together so everything is evenly coated. Stir in one tablespoon of chocolate chips and transfer to a prepared 9×13-inch baking dish lined with parchment paper.
  • Press granola mixture firmly into the baking dish (I used extra parchment paper to press down to avoid granola from sticking to my fingers) and sprinkle remaining chocolate chips over top along with a pinch of sea salt. Cover and refrigerate for two hours.
  • Remove from refrigerator and lift the parchment paper so the bars are easily removed from the baking dish. Cut into 18 bars and store at room temp individually wrapped in plastic wrap or freeze for later.

Video

Nutrition

Serving: 1bar | Calories: 170kcal | Carbohydrates: 18.2g | Protein: 2.8g | Fat: 10.7g | Saturated Fat: 3.7g | Sodium: 86.8mg | Fiber: 1.3g | Sugar: 9.8g

The post No Bake Almond Butter Granola Bars appeared first on Eat Yourself Skinny.

chocolate-peppermint-cookies-10-700x1049.jpg

Chocolate Peppermint Cookies

These chewy Chocolate Chip Peppermint Cookies are rich and fudgy with a festive candy cane crunch that are so easy to make! The perfect holiday cookie made healthier with less butter, whole wheat flour and zero refined sugar.

These chewy Chocolate Peppermint Cookies are rich and fudgy with a festive candy cane crunch that are so easy to make! The perfect holiday cookie made healthier with less butter, whole wheat flour and zero refined sugar.

These chewy Chocolate Peppermint Cookies are rich and fudgy with a festive candy cane crunch that are so easy to make! The perfect holiday cookie made healthier with less butter, whole wheat flour and zero refined sugar.
Want to save this recipe?
Just enter your email and get it sent to your inbox! Plus you’ll get new recipes from us every week!

Please enable JavaScript in your browser to complete this form.

Please enable JavaScript in your browser to complete this form.

Loading

These Chocolate Peppermint Cookies make the perfect holiday sweet treat great for Christmas parties, cookie exchanges, baking with your kids or enjoying with a hot cup of cocoa. These cookies are chewy, rich in chocolate flavor and easily come together in under 30 minutes making this recipe a favorite during the busy Christmas season!

Why You’ll Love These

  • Made healthier – these chocolate peppermint cookies are made healthier with less butter, whole wheat flour and zero refined sugar.
  • Quick and easy – these cookies come together in under 30 minutes with zero chilling required.
  • Rich and fudgy – the combination of cocoa powder, espresso powder and chocolate chips make these cookies deliciously rich and fudgy!
  • Great for holiday baking – these cookies are perfect for Christmas parties, gifting in cookie tins, or simply enjoying a sweet treat with your morning coffee or hot cocoa.
These chewy Chocolate Peppermint Cookies are rich and fudgy with a festive candy cane crunch that are so easy to make! The perfect holiday cookie made healthier with less butter, whole wheat flour and zero refined sugar.

Ingredients You’ll Need

  • flours – I used a combination of whole wheat pastry flour and all-purpose flour in these cookies, but you could also use a gluten-free 1 to 1 baking flour if making gluten-free cookies.
  • unsweetened cocoa powder – adds the chocolate to these cookies.
  • espresso powder – enhances the chocolate flavor.
  • baking soda – this acts as a leavening agent to help these cookies bake up nicely and gives them that chewy texture.
  • butter – we are only using 4 tablespoons of butter which really makes these cookies so delicious with amazing flavor, but you could substitute coconut oil, if you prefer.
  • coconut oil
  • egg – you’ll need one large egg in this recipe which acts as a binding ingredient and gives the cookies structure and height.
  • cane sugar – naturally sweetens these cookies without using any refined sugar, but you could also use coconut sugar or other granulated sugar.
  • chocolate chips – I used these Lily’s chocolate chips which are sweetened with stevia making the sugar content really low and gives these cookies even more chocolate flavor.
  • vanilla + peppermint extracts – boosts of flavor!
  • candy canes – crushed candy canes are mixed into these cookies as well as sprinkled on top for a delicious peppermint finish.
These chewy Chocolate Peppermint Cookies are rich and fudgy with a festive candy cane crunch that are so easy to make! The perfect holiday cookie made healthier with less butter, whole wheat flour and zero refined sugar.

How to Make Chocolate Peppermint Cookies

  1. Mix ingredients. In the bowl of your stand mixer fitted with the paddle attachment or using an electric mixer, cream together the butter and sugar until well combined. Add the melted coconut oil and egg and beat until creamy. Mix in the vanilla and peppermint extracts.
  2. Make batter.  In a separate bowl, whisk together the flours, cocoa powder, espresso powder and salt. Add the dry ingredients to the wet ingredients and mix well. Fold in the chocolate chips and crushed candy canes.
  3. Bake cookies. Using a tablespoon-size cookie scoop, drop the batter onto a prepared baking sheet lined with parchment paper or baking mat and gently press down on the tops of the cookies to flatten them a bit. Bake the cookies in the oven at 350 degrees F for 12 to 13 minutes, until cookies are set, but still soft. Immediately sprinkle some extra crushed candy canes on top.
  4. Cool.  Let the cookies cool on the baking sheet for 5 minutes then transfer them to a wire rack to cool completely. You should get about 24 to 25 cookies.
These chewy Chocolate Peppermint Cookies are rich and fudgy with a festive candy cane crunch that are so easy to make! The perfect holiday cookie made healthier with less butter, whole wheat flour and zero refined sugar.

Tips for the Best Chocolate Peppermint Cookies

  • Use high-quality cocoa powder for the richest chocolate flavor. I like to use Dutch-process cocoa powder that gives a a darker color and smoother taste.
  • Measure peppermint extract carefully as a little goes a long way and too much can overpower the cookies.
  • Use parchment paper as this helps prevent sticking and makes for really easy clean-up. If you don’t have parchment paper, a silicone baking mat works great too.
  • Don’t over-bake so you can get those soft, fudgy centers. The key is to slightly underbake them when the edges are set, but centers are still soft.
  • Store cookies properly in a sealed, airtight container to keep the cookies soft and fresh for several days. If stacking, place parchment paper between the layers to prevent the peppermint topping from sticking.
These chewy Chocolate Peppermint Cookies are rich and fudgy with a festive candy cane crunch that are so easy to make! The perfect holiday cookie made healthier with less butter, whole wheat flour and zero refined sugar.

Prepping and Storage

To Store:  These cookies will last at room temperature stored in a sealed, airtight container on the counter for 3 to 4 days.  You can also store these in the refrigerator to keep them longer for up to 7 days.

To Freeze:  For longer storage, these cookies can be stored in the freezer for up to 2 months. When ready to enjoy, transfer them to the fridge to thaw overnight or let them thaw completely on the countertop at room temperature. You can also freeze the cookie dough as well.

These chewy Chocolate Peppermint Cookies are rich and fudgy with a festive candy cane crunch that are so easy to make! The perfect holiday cookie made healthier with less butter, whole wheat flour and zero refined sugar.

Pin this now to find it later

Pin It

Follow on Instagram

Follow

More Cookie Recipes to Make

Hope you all enjoy these Chocolate Peppermint Cookies and if you love this as much as we do, please leave me ⭐⭐⭐⭐⭐ below and don’t forget to tag me on Instagram using the hashtag #eatyourselfskinny! 

These chewy Chocolate Chip Peppermint Cookies are rich and fudgy with a festive candy cane crunch that are so easy to make! The perfect holiday cookie made healthier with less butter, whole wheat flour and zero refined sugar.

Print

Chocolate Peppermint Cookies

#wprm-recipe-user-rating-0 .wprm-rating-star.wprm-rating-star-full svg * { fill: #343434; }#wprm-recipe-user-rating-0 .wprm-rating-star.wprm-rating-star-33 svg * { fill: url(#wprm-recipe-user-rating-0-33); }#wprm-recipe-user-rating-0 .wprm-rating-star.wprm-rating-star-50 svg * { fill: url(#wprm-recipe-user-rating-0-50); }#wprm-recipe-user-rating-0 .wprm-rating-star.wprm-rating-star-66 svg * { fill: url(#wprm-recipe-user-rating-0-66); }linearGradient#wprm-recipe-user-rating-0-33 stop { stop-color: #343434; }linearGradient#wprm-recipe-user-rating-0-50 stop { stop-color: #343434; }linearGradient#wprm-recipe-user-rating-0-66 stop { stop-color: #343434; }

These chewy Chocolate Peppermint Cookies are rich and fudgy with a festive candy cane crunch that are so easy to make! The perfect holiday cookie made healthier with less butter, whole wheat flour and zero refined sugar.
Course Dessert
Cuisine American
Keyword Chocolate Peppermint Cookies
Prep Time 10 minutes
Cook Time 12 minutes
Total Time 22 minutes
Servings 24
Calories 103kcal

Ingredients

  • 1/4 cup butter softened
  • 3/4 cup cane sugar
  • 1/4 cup coconut oil melted and cooled
  • 1 large egg room temperature
  • 1 tsp vanilla extract
  • 1/2 tsp peppermint extract
  • 1/2 cup all purpose flour
  • 1/2 cup whole wheat pastry flour
  • 1/4 cup unsweetened cocoa powder
  • 1 tsp espresso powder
  • 1/2 tsp baking soda
  • 1/4 tsp salt
  • 1/2 cup chocolate chips
  • 1/4 cup crushed candy canes about 2 or 3 canes (plus more for topping)

Instructions

  • Preheat oven to 350 degrees F.
  • In the bowl of your stand mixer fitted with the paddle attachment or using an electric mixer, cream together the butter and sugar until well combined. Add the melted coconut oil and egg and beat until creamy. Mix in the vanilla and peppermint extracts.
  • In a separate bowl, whisk together the flours, cocoa powder, espresso powder and salt. Add the dry ingredients to the wet ingredients and mix well. Fold in the chocolate chips and crushed candy canes.
  • Using a tablespoon-size cookie scoop, drop the batter onto a prepared baking sheet lined with parchment paper or baking mat and gently press down on the tops of the cookies to flatten them a bit. 
  • Bake the cookies for 12 to 13 minutes, until cookies are set, but still soft. Immediately sprinkle some extra crushed candy canes on top.
  • Let the cookies cool on the baking sheet for 5 minutes then transfer them to a wire rack to cool completely. You should get about 24 to 25 cookies.

Nutrition

Serving: 1cookie | Calories: 103kcal | Carbohydrates: 13.1g | Protein: 1.3g | Fat: 6g | Saturated Fat: 4.2g | Cholesterol: 12.8mg | Sodium: 14.9mg | Fiber: 1.7g | Sugar: 6g

The post Chocolate Peppermint Cookies appeared first on Eat Yourself Skinny.