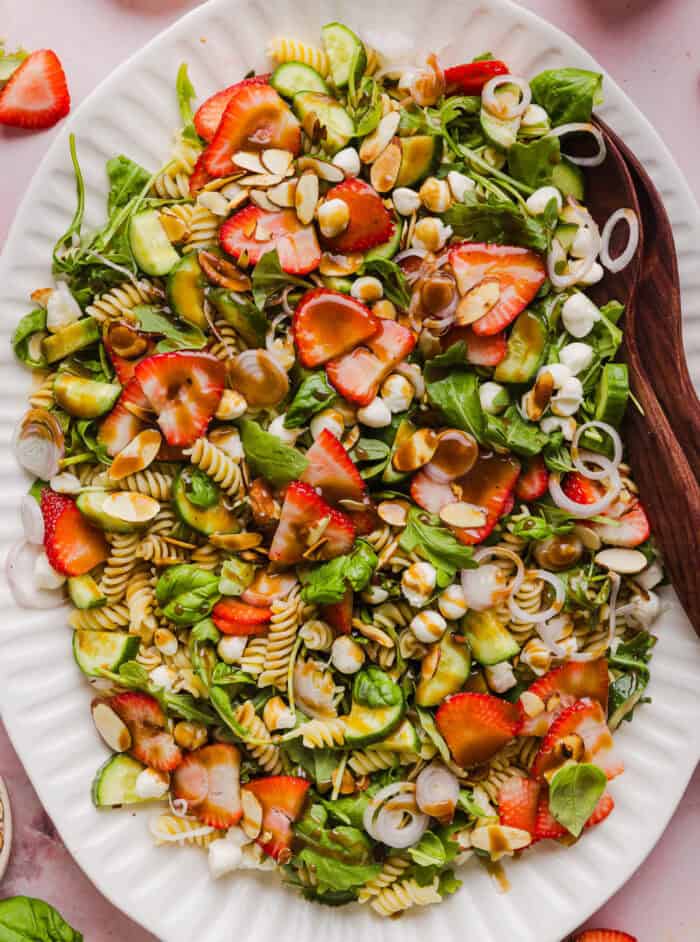
strawberry-balsamic-pasta-salad-10-700x942.jpg

Strawberry Balsamic Pasta Salad

This Strawberry Balsamic Pasta Salad is fresh, flavorful, and perfect for spring and summer! Made with juicy strawberries, tender pasta, fresh basil, creamy mozzarella and crisp cucumbers all tossed in a lightly sweet balsamic dressing.
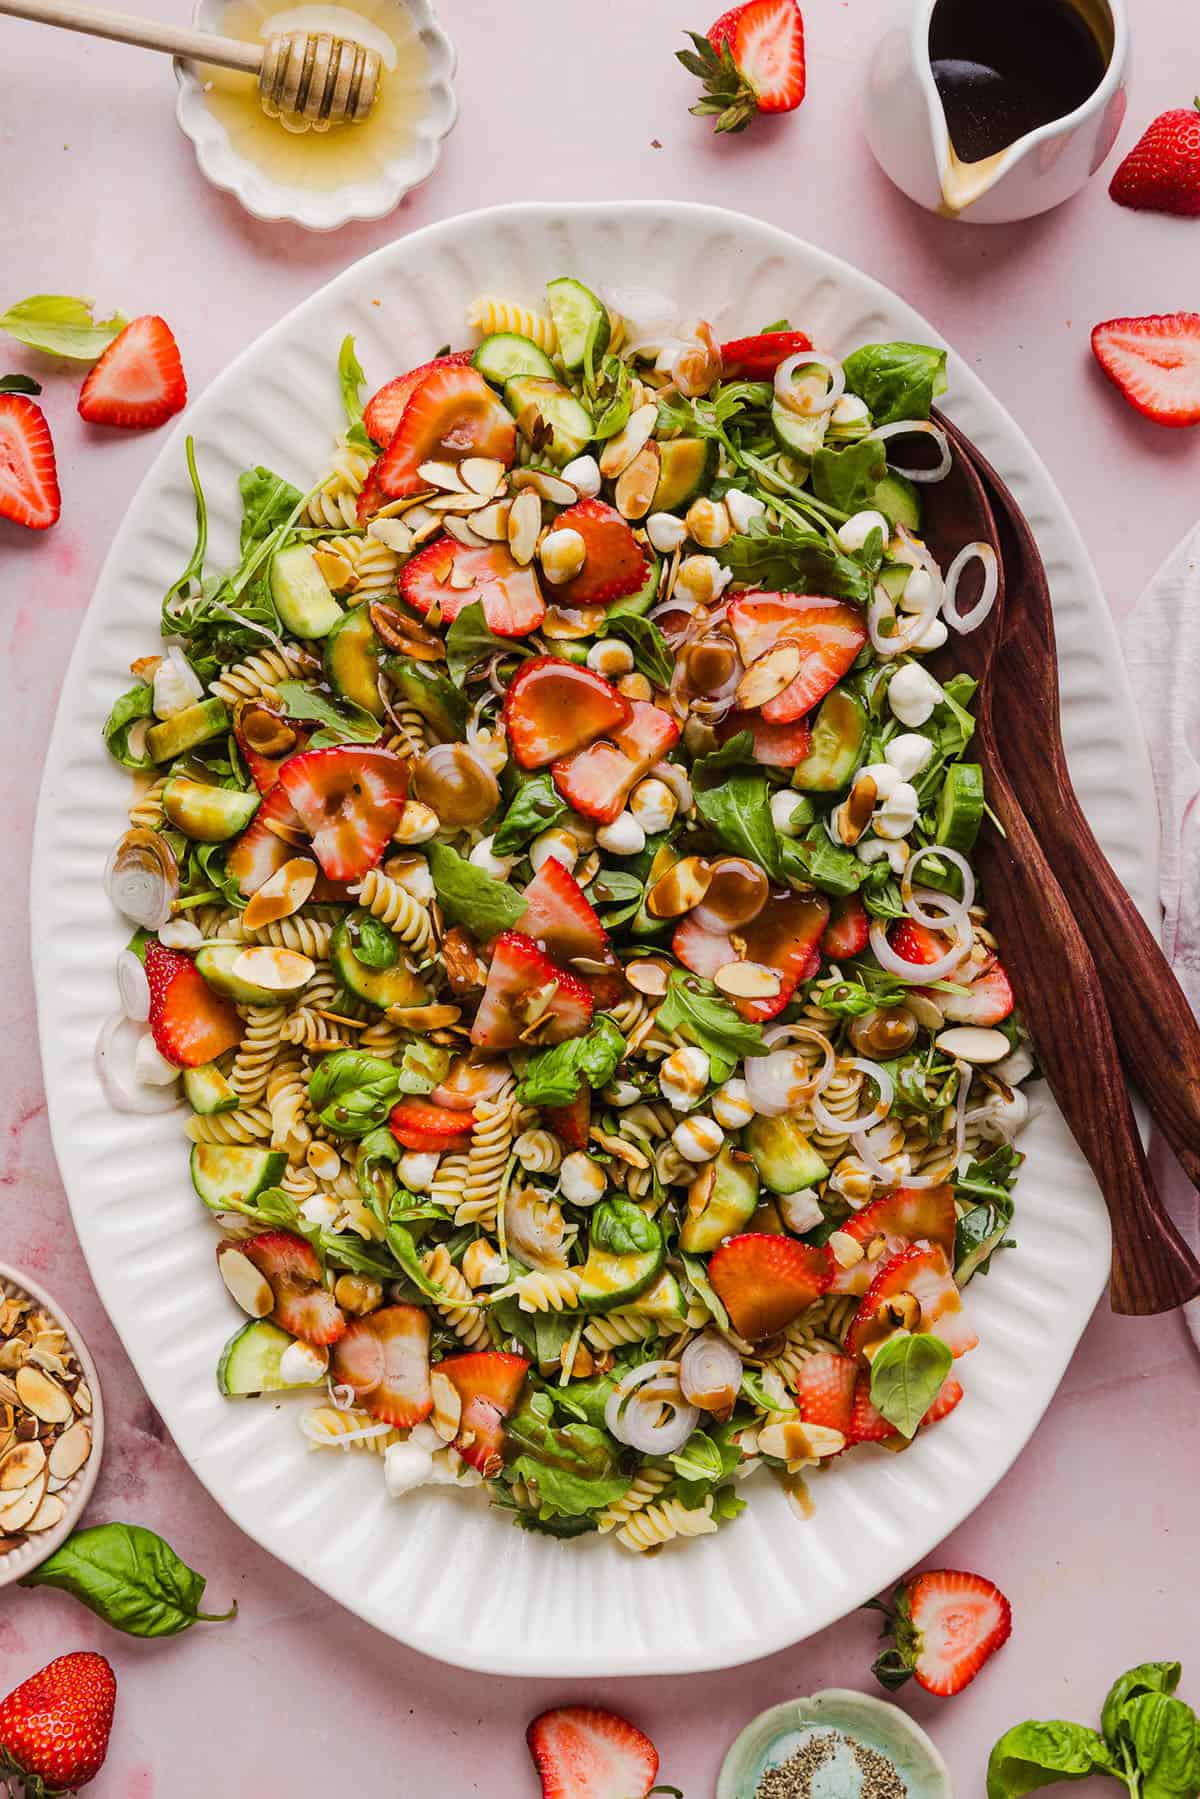
This Strawberry Balsamic Pasta Salad is fresh, flavorful, and perfect for spring and summer! Made with juicy strawberries, tender pasta, fresh basil, creamy mozzarella and crisp cucumbers all tossed in a lightly sweet balsamic dressing.

This Strawberry Balsamic Pasta Salad is fresh, flavorful, and perfect for spring and summer! Made with juicy strawberries, tender pasta, fresh basil, creamy mozzarella and crisp cucumbers all tossed in a lightly sweet balsamic dressing.
Want to save this recipe?
Just enter your email and get it sent to your inbox! Plus you’ll get new recipes from us every week!

Please enable JavaScript in your browser to complete this form.

Please enable JavaScript in your browser to complete this form.

Loading

If you’re looking for a pasta salad that is anything but boring, this Strawberry Balsamic Pasta Salad is it. The perfect mix of sweet, savory, creamy and crunchy! Loaded with juicy strawberries, tender pasta, fresh basil, creamy mozzarella, and crisp cucumbers all tossed in a sweet balsamic dressing. Every bite is fresh, bright and so flavorful!

Why You’ll Love This

  • Fresh and flavorful – the combination of sweet strawberries and tangy balsamic dressing creates a flavor that’s bright, balances and totally addictive!
  • Quick and easy – this whole pasta salad easily comes together in about 15 minutes making it perfect for busy days when you still want something fresh and satisfying.
  • Lightened-up – unlike traditional pasta salads, this one skips the heavy, mayo-based dressing and uses a simple homemade balsamic vinaigrette which really lets the ingredients shine.
  • Customizable – you can easily make this to your liking whether you need to adjust it based on what you have on hand or your dietary preferences.
This Strawberry Balsamic Pasta Salad is fresh, flavorful, and perfect for spring and summer! Made with juicy strawberries, tender pasta, fresh basil, creamy mozzarella and crisp cucumbers all tossed in a lightly sweet balsamic dressing.

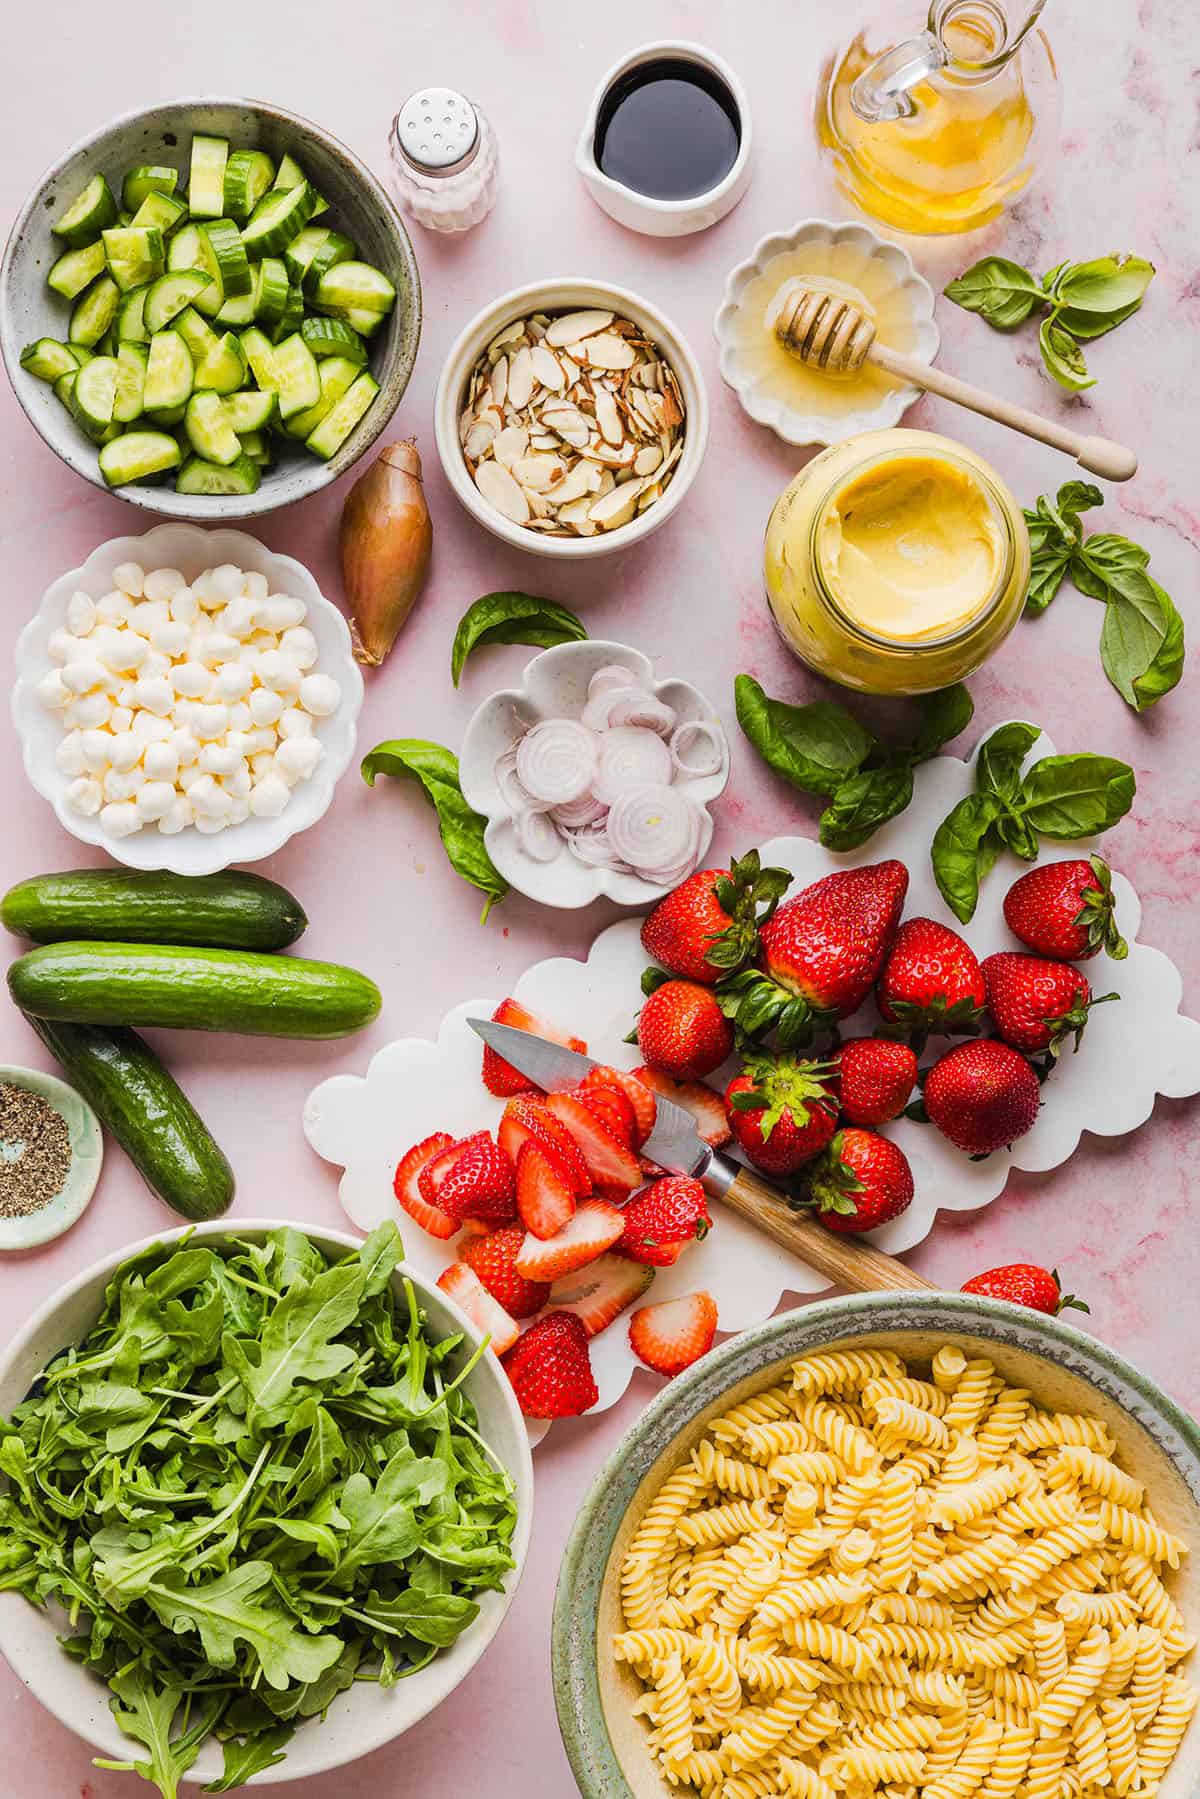
Ingredients You’ll Need

  • strawberries – the star of this recipe! Sweet, juicy and perfect for pairing with the balsamic dressy.
  • pasta – for this recipe I used fusilli noodles, but feel free to use any type of corkscrew pasta such as cavatappi or rotini. The nooks in the pasta really grab hold of the dressing nicely! You could also use farfalle, penne pasta or a gluten-free option. 
  • arugula – adds a boost of nutrition to this pasta salad and balances out the sweetness of the strawberries. I used fresh arugula, but feel free to use baby spinach or other type of lettuce.
  • cucumbers – I used 3 mini cucumbers which add a fresh, crisp bite to this pasta salad and great texture.
  • mozzarella pearls – the perfect bite-sized addition to this salad that adds creaminess and flavor to this pasta salad.
  • almonds – adds a delicious crunch and nutty flavor to this salad. Toasting really brings out their richness so don’t skip this step! Walnuts make a great option as well.
  • shallot – adds a slightly sweet, mild onion flavor to this pasta salad without being overpowering.
  • fresh basil – fresh herbs add a pop of color and pairs perfectly with the balsamic dressing. I used basil leaves, but fresh mint would be a great addition as well!
  • balsamic dressing – a combination of olive oil, balsamic vinegar, honey, Dijon mustard, salt and black pepper.
This Strawberry Balsamic Pasta Salad is fresh, flavorful, and perfect for spring and summer! Made with juicy strawberries, tender pasta, fresh basil, creamy mozzarella and crisp cucumbers all tossed in a lightly sweet balsamic dressing.

How to Make Strawberry Balsamic Pasta Salad

  1. Cook the pasta. Bring a large pot of salted water to a boil. Cook the pasta according to the package directions until al dente. Drain and rinse under cold water to stop the cooking process and set aside to cool.
  2. Toast the almonds. In a small skillet over medium heat, toast the slivered almonds for 2 to 5 minutes, stirring occasionally, until lightly golden and fragrant. Remove from heat and let cool.
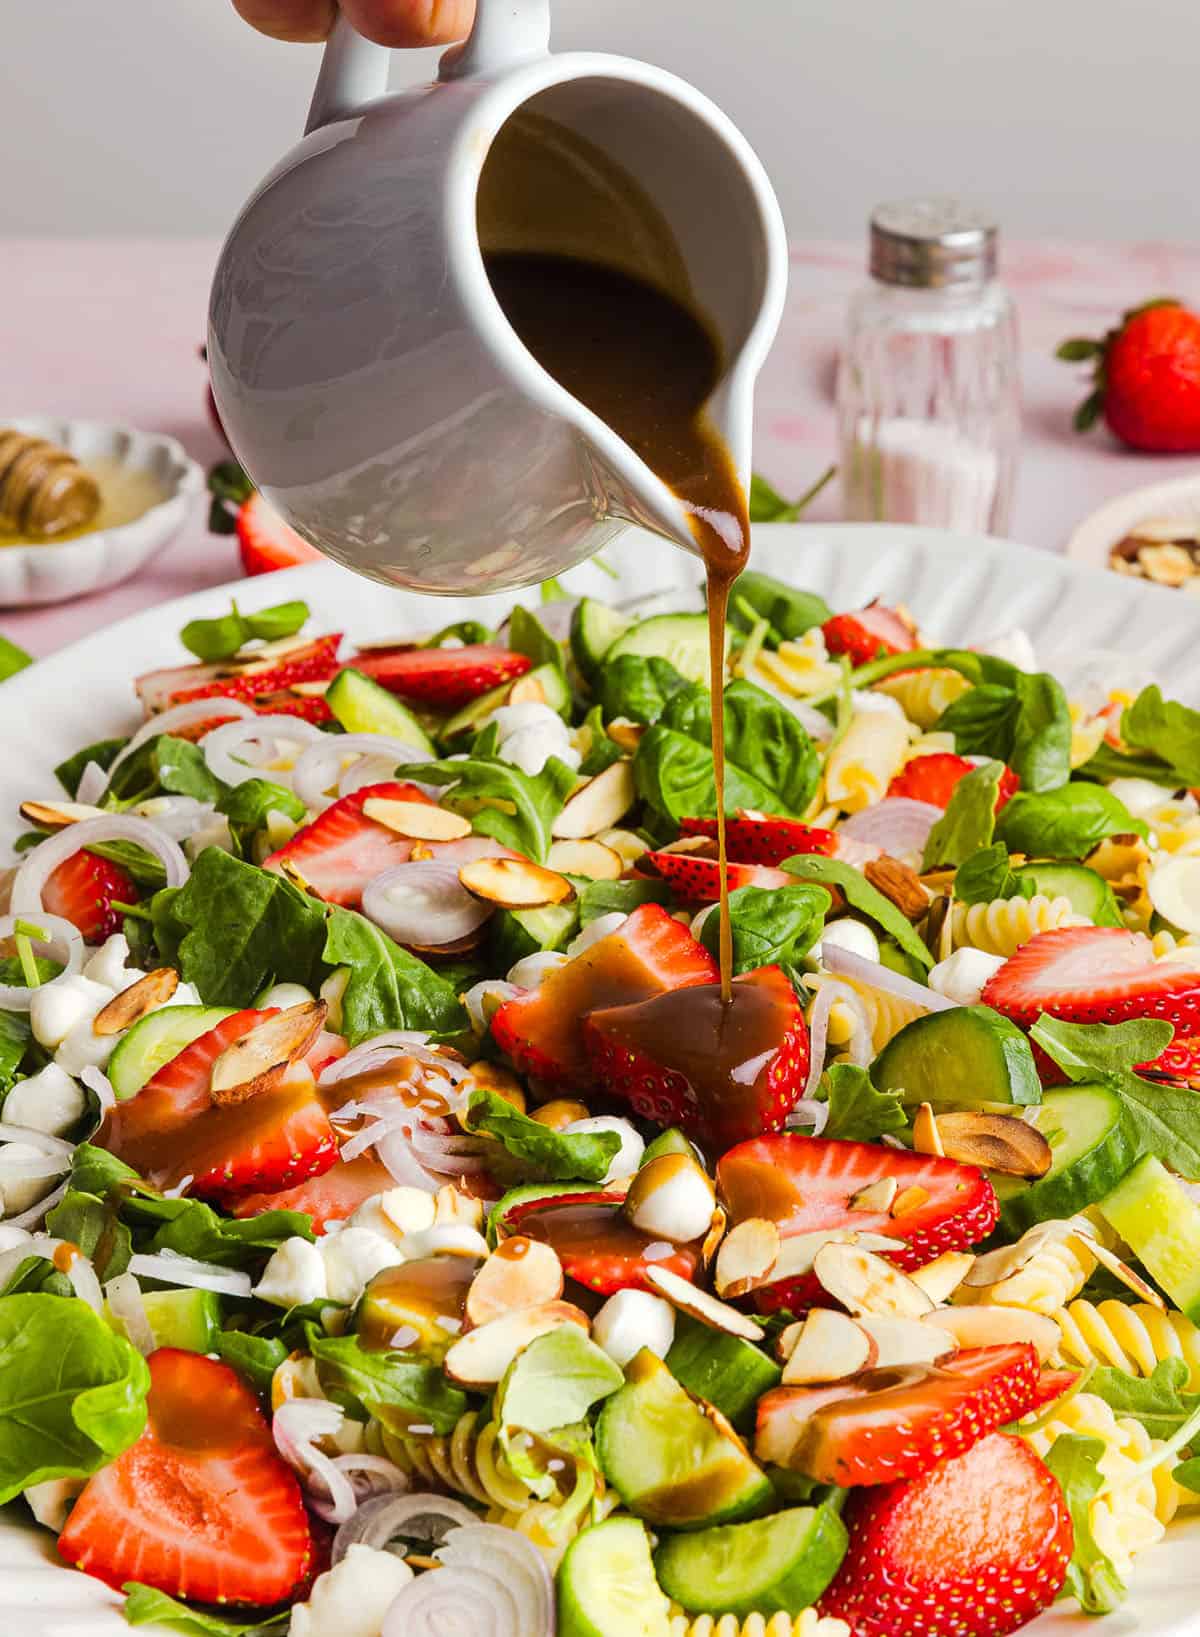
  3. Make the dressing. In a small bowl or jar with a tight fitted lid, whisk together the olive oil, balsamic vinegar, honey, Dijon mustard, salt and pepper until fully combined.
  4. Assemble the salad. In a large bowl, add the cooled pasta along with the strawberries, arugula, mozzarella pearls, sliced shallot, cucumbers, toasted almonds and fresh basil.
  5. Toss and serve. Drizzle the balsamic dressing over the salad and gently toss to combine. Taste and season with salt and pepper, as needed. Serve immediately or chill before serving.
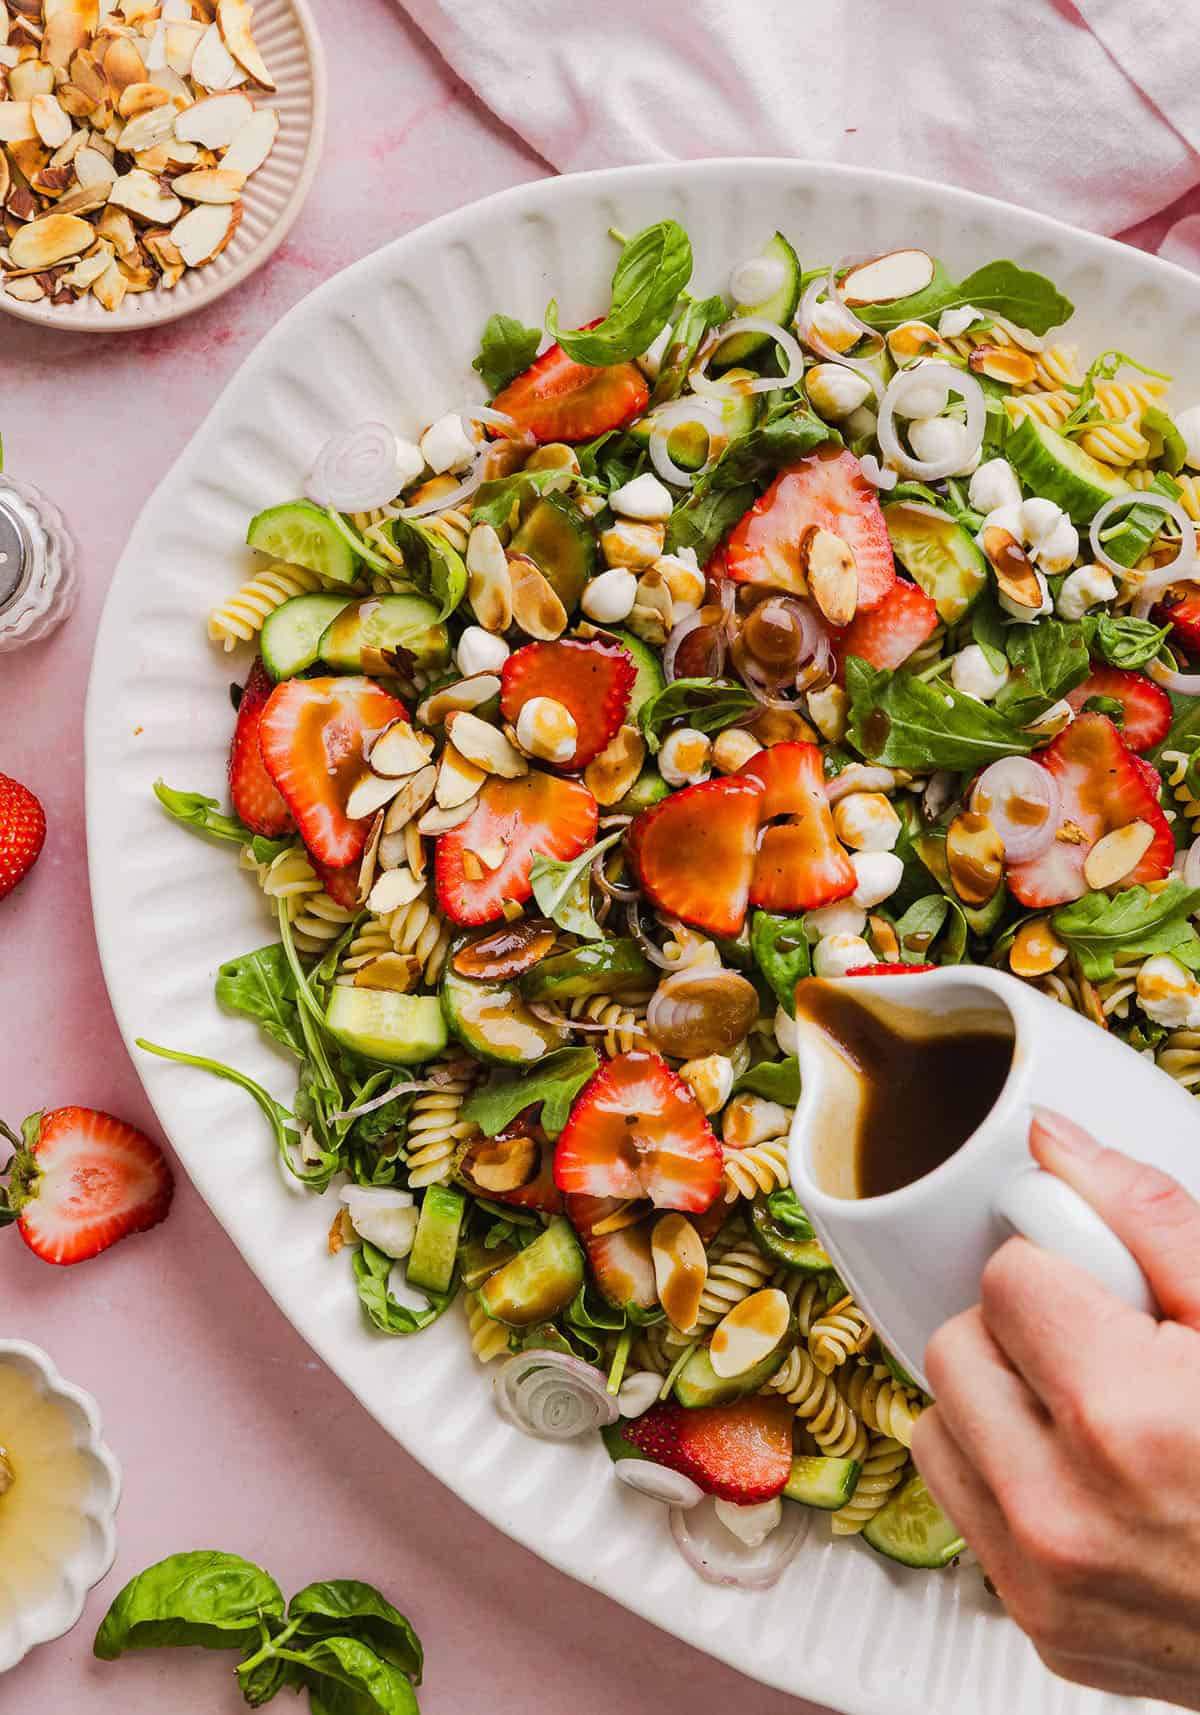
This Strawberry Balsamic Pasta Salad is fresh, flavorful, and perfect for spring and summer! Made with juicy strawberries, tender pasta, fresh basil, creamy mozzarella and crisp cucumbers all tossed in a lightly sweet balsamic dressing.

Tips for the Best Strawberry Balsamic Pasta Salad

  • Salt the pasta water generously – this is important to add flavor to the pasta salad, don’t skip this set!
  • Cook pasta just to al dente – overcooked pasta can get mushy once tossed with the dressing.
  • Cool the pasta completely – if the pasta is warm it can wilt the greens and make everything else soggy. I like to run it under cold water after draining.
  • Use fresh, ripe strawberries – they sweeter they are, the better the flavor of the whole salad.
  • Don’t skip toasting the almonds – the toasted almonds add a huge flavor boost and crunch to this pasta salad.
  • Add delicate ingredients last – toss the pasta salad gently to keep strawberries and mozzarella intact.
  • Let it sit for 10-15 minutes before serving – this helps the flavors melt together beautifully.
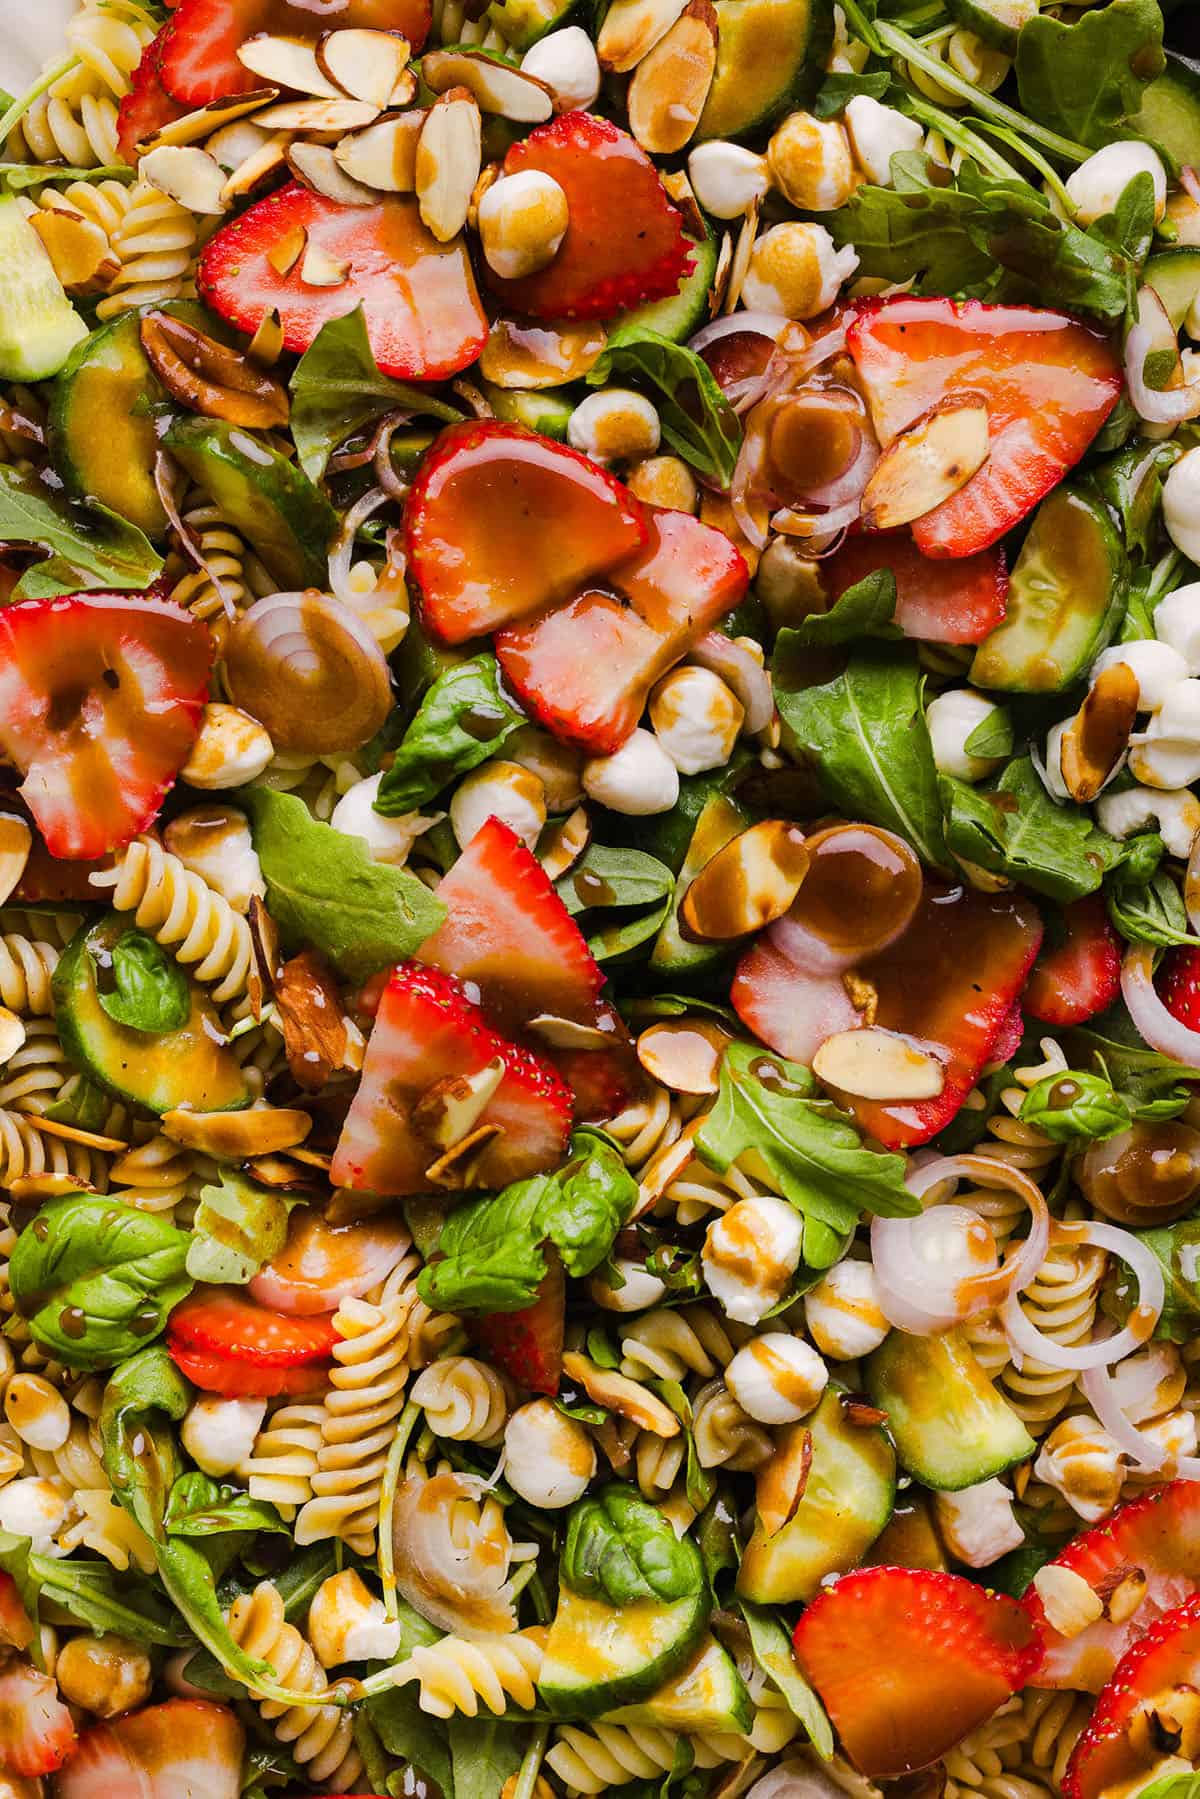
This Strawberry Balsamic Pasta Salad is fresh, flavorful, and perfect for spring and summer! Made with juicy strawberries, tender pasta, fresh basil, creamy mozzarella and crisp cucumbers all tossed in a lightly sweet balsamic dressing.

Variations

  • Add grilled chicken for extra protein.
  • Swap mozzarella for creamy goat cheese or feta cheese.
  • Add quinoa or farro for a heartier salad.
  • Use this poppy seed dressing or this maple balsamic vinaigrette for a different flavor.
  • Toss in spinach or other leafy greens instead of arugula.
  • Add avocado slices for creaminess.

Prepping and Storage

  • To Prep – you can easily cook the pasta and make the dressing ahead of time. You can also chop all the ingredients and store separately until ready to assemble.
  • To Store – leftovers will last in a sealed, airtight container in the refrigerator for up to 3 to 4 days. The flavors actually get even better after a few hours marinating!
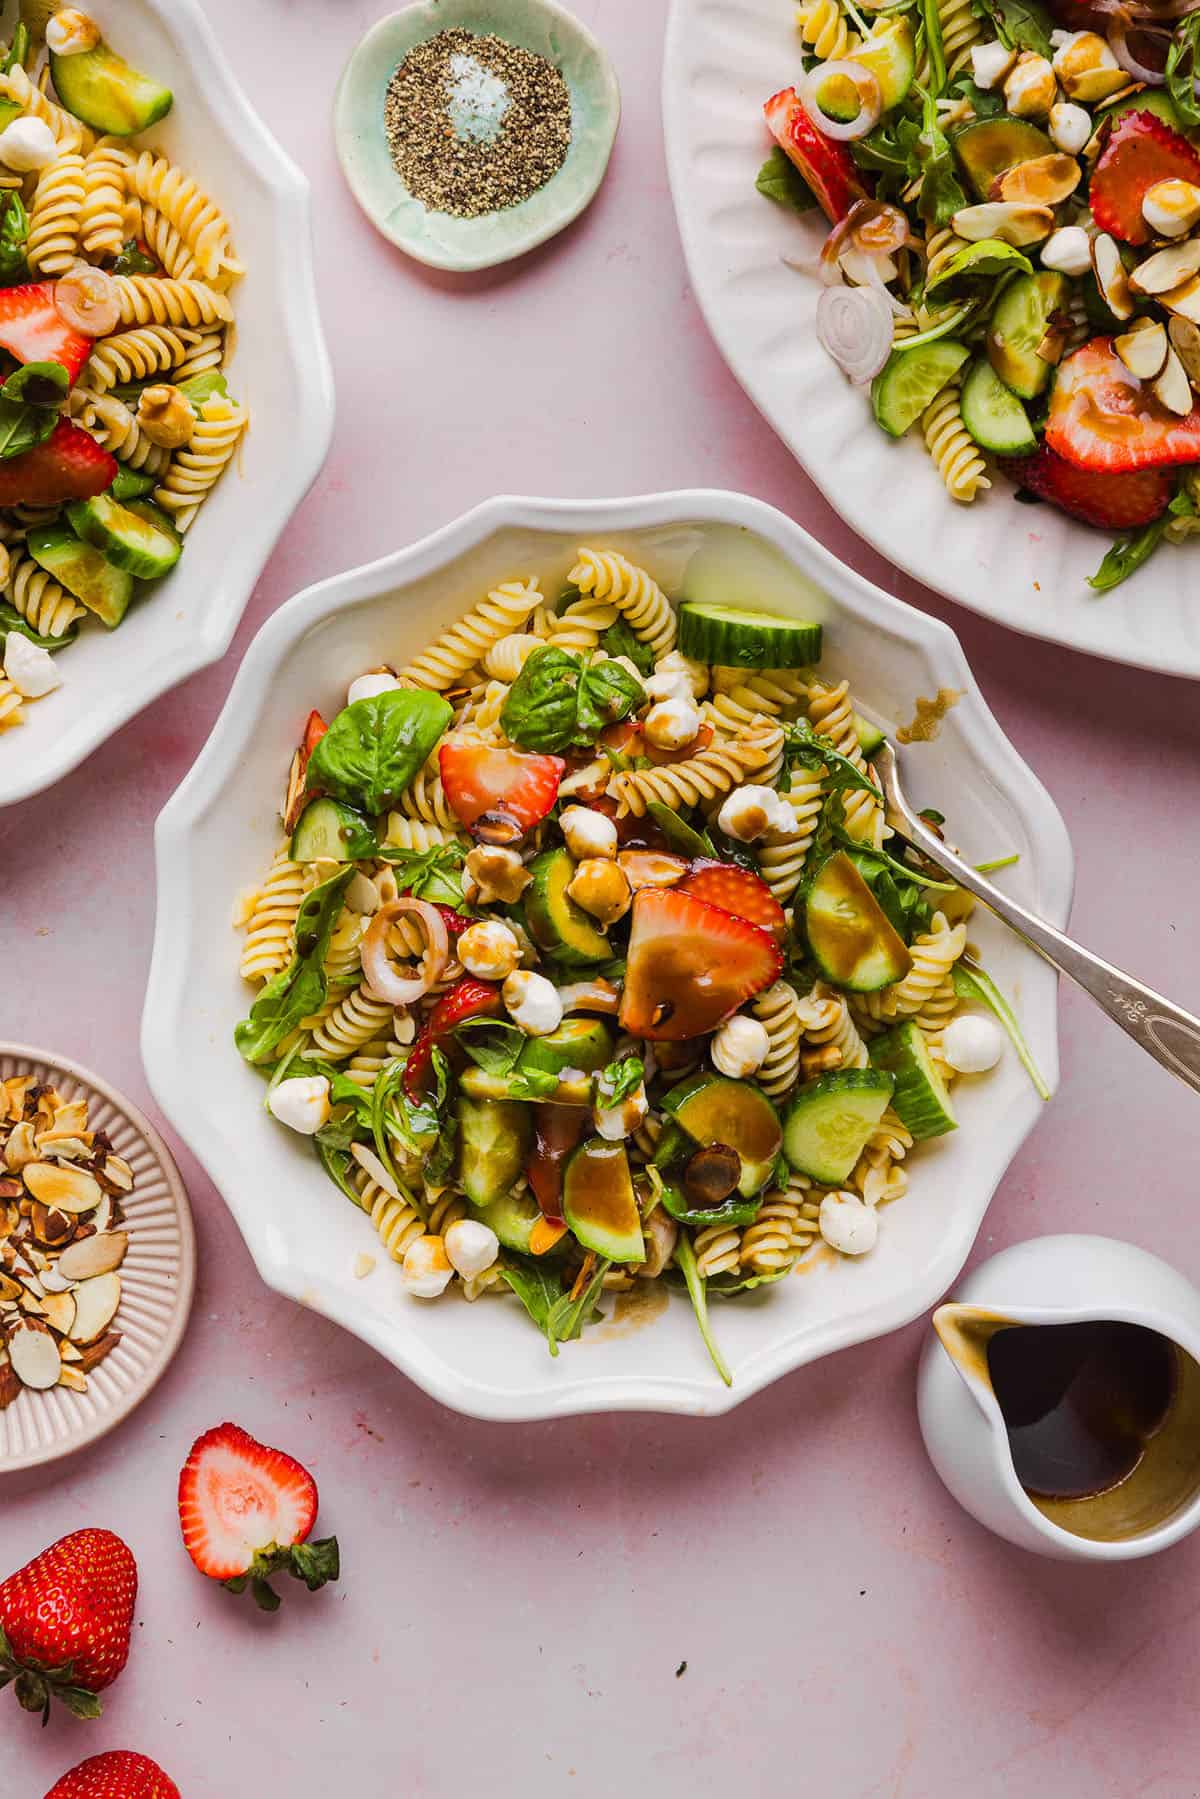
This Strawberry Balsamic Pasta Salad is fresh, flavorful, and perfect for spring and summer! Made with juicy strawberries, tender pasta, fresh basil, creamy mozzarella and crisp cucumbers all tossed in a lightly sweet balsamic dressing.

Pin this now to find it later

Pin It

Follow on Instagram

Follow

More Pasta Salads

Hope you all enjoy this Strawberry Balsamic Pasta Salad! If you love this recipe as much as we do, please leave a ⭐⭐⭐⭐⭐ star rating below and don’t forget to tag me on Instagram using the hashtag #eatyourselfskinny!
This Strawberry Balsamic Pasta Salad is fresh, flavorful, and perfect for spring and summer! Made with juicy strawberries, tender pasta, fresh basil, creamy mozzarella and crisp cucumbers all tossed in a lightly sweet balsamic dressing.

Print

Strawberry Balsamic Pasta Salad

#wprm-recipe-user-rating-9 .wprm-rating-star.wprm-rating-star-full svg * { fill: #343434; }#wprm-recipe-user-rating-9 .wprm-rating-star.wprm-rating-star-33 svg * { fill: url(#wprm-recipe-user-rating-9-33); }#wprm-recipe-user-rating-9 .wprm-rating-star.wprm-rating-star-50 svg * { fill: url(#wprm-recipe-user-rating-9-50); }#wprm-recipe-user-rating-9 .wprm-rating-star.wprm-rating-star-66 svg * { fill: url(#wprm-recipe-user-rating-9-66); }linearGradient#wprm-recipe-user-rating-9-33 stop { stop-color: #343434; }linearGradient#wprm-recipe-user-rating-9-50 stop { stop-color: #343434; }linearGradient#wprm-recipe-user-rating-9-66 stop { stop-color: #343434; }

This Strawberry Balsamic Pasta Salad is fresh, flavorful, and perfect for spring and summer! Made with juicy strawberries, tender pasta, fresh basil, creamy mozzarella and crisp cucumbers all tossed in a lightly sweet balsamic dressing.
Course Salad
Cuisine American
Keyword Strawberry Balsamic Pasta Salad
Prep Time 15 minutes
Cook Time 10 minutes
Total Time 25 minutes
Servings 8
Calories 274kcal

Ingredients

  • 16 oz fusilli pasta
  • 1/3 cup slivered almonds toasted
  • 16 oz strawberries hulled and sliced
  • 8 oz mozzarella pearls
  • 1 shallot thinly sliced
  • 3 mini cucumbers sliced into half-moons
  • 2 cups baby arugula
  • 1/2 cup fresh basil leaves torn

For the Balsamic Dressing:

  • 1/3 cup olive oil
  • 3 Tbsp balsamic vinegar
  • 2 Tbsp honey
  • 2 tsp Dijon mustard
  • 1/2 tsp each salt + pepper

Instructions

  • Cook the pasta. Bring a large pot of salted water to a boil. Cook the pasta according to the package directions until al dente. Drain and rinse under cold water to stop the cooking process and set aside to cool.
  • Toast the almonds. In a small skillet over medium heat, toast the slivered almonds for 2 to 5 minutes, stirring occasionally, until lightly golden and fragrant. Remove from heat and let cool.
  • Make the dressing. In a small bowl or jar with a tight fitted lid, whisk together the olive oil, balsamic vinegar, honey, Dijon mustard, salt and pepper until fully combined.
  • Assemble the salad. In a large bowl, add the cooled pasta along with the strawberries, arugula, mozzarella pearls, sliced shallot, cucumbers, toasted almonds and fresh basil.
  • Toss and serve. Drizzle the balsamic dressing over the salad and gently toss to combine. Taste and season with salt and pepper, as needed. Serve immediately or chill before serving.


Nutrition

Serving: 1/8th of recipe | Calories: 274kcal | Carbohydrates: 26.3g | Protein: 9.5g | Fat: 17.1g | Saturated Fat: 4.6g | Cholesterol: 20mg | Sodium: 162.9mg | Fiber: 2.5g | Sugar: 9g
peanut-butter-eggs-7-main-700x972.jpg

Healthy Chocolate Peanut Butter Eggs

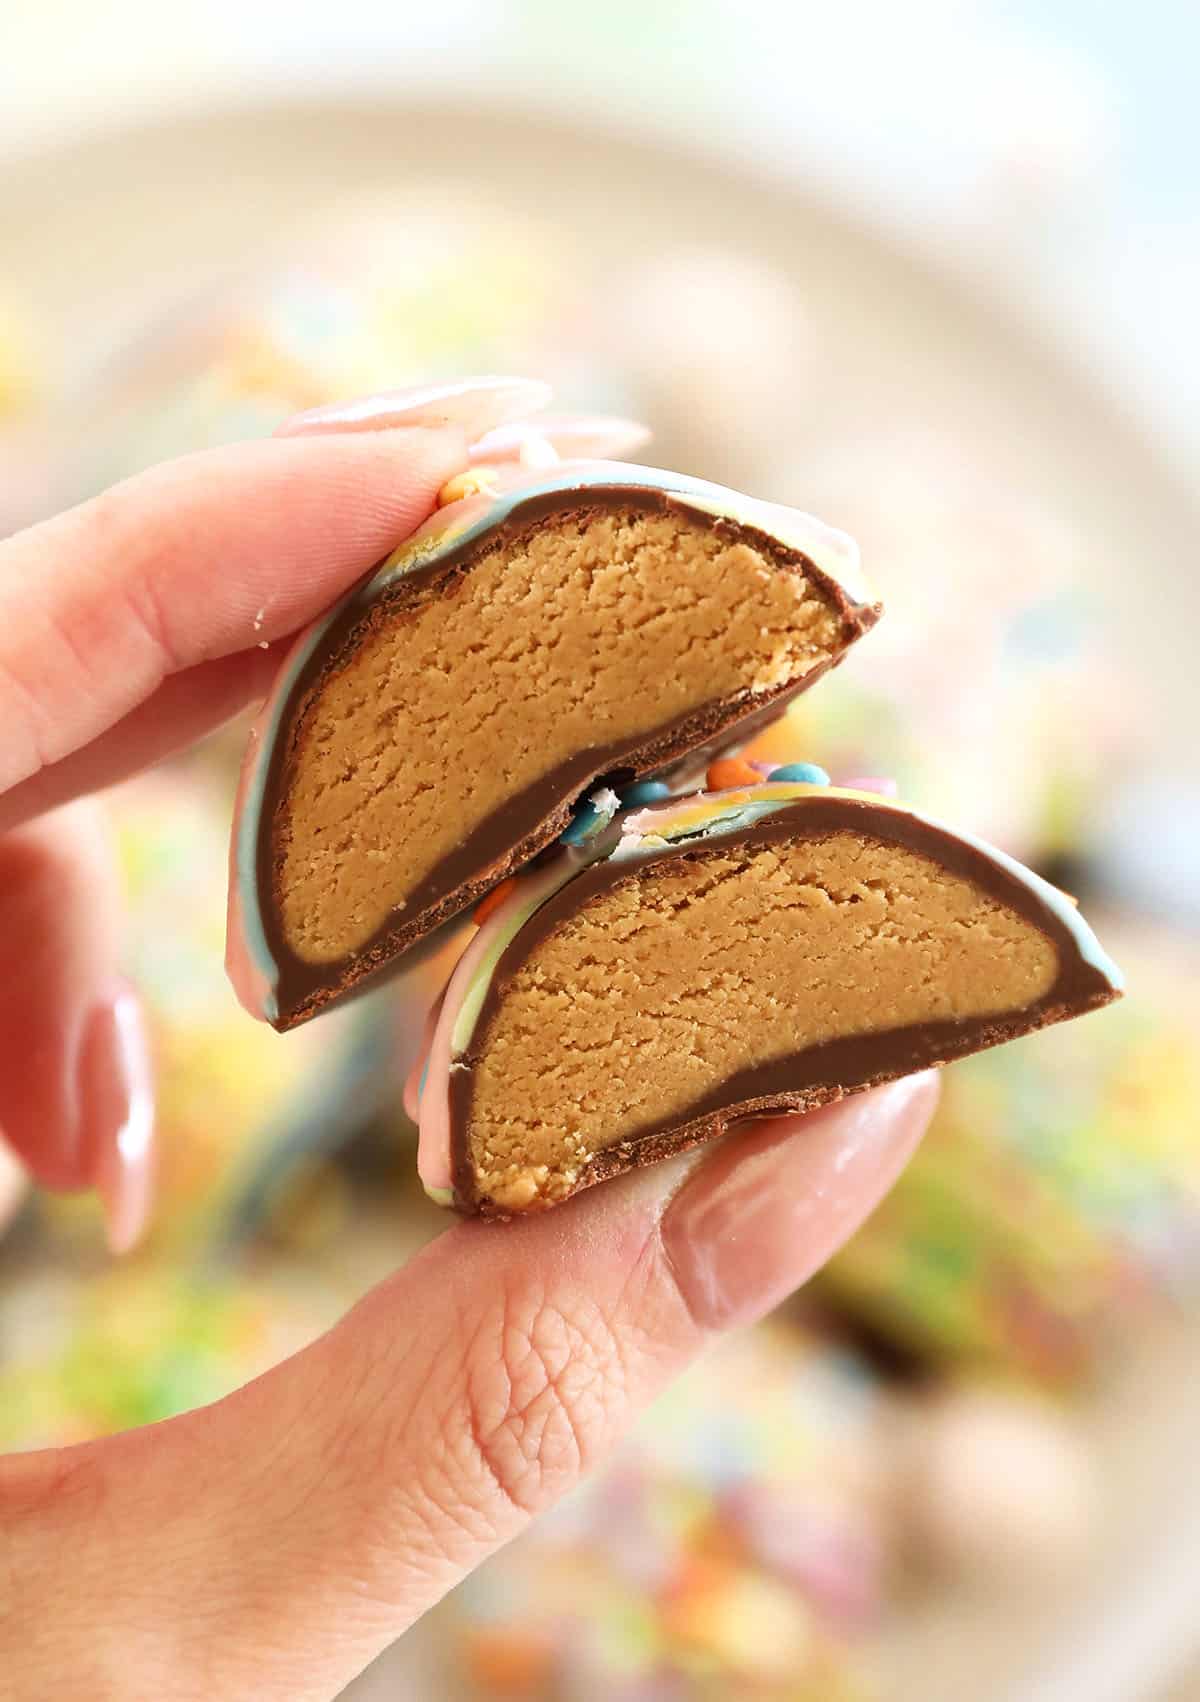
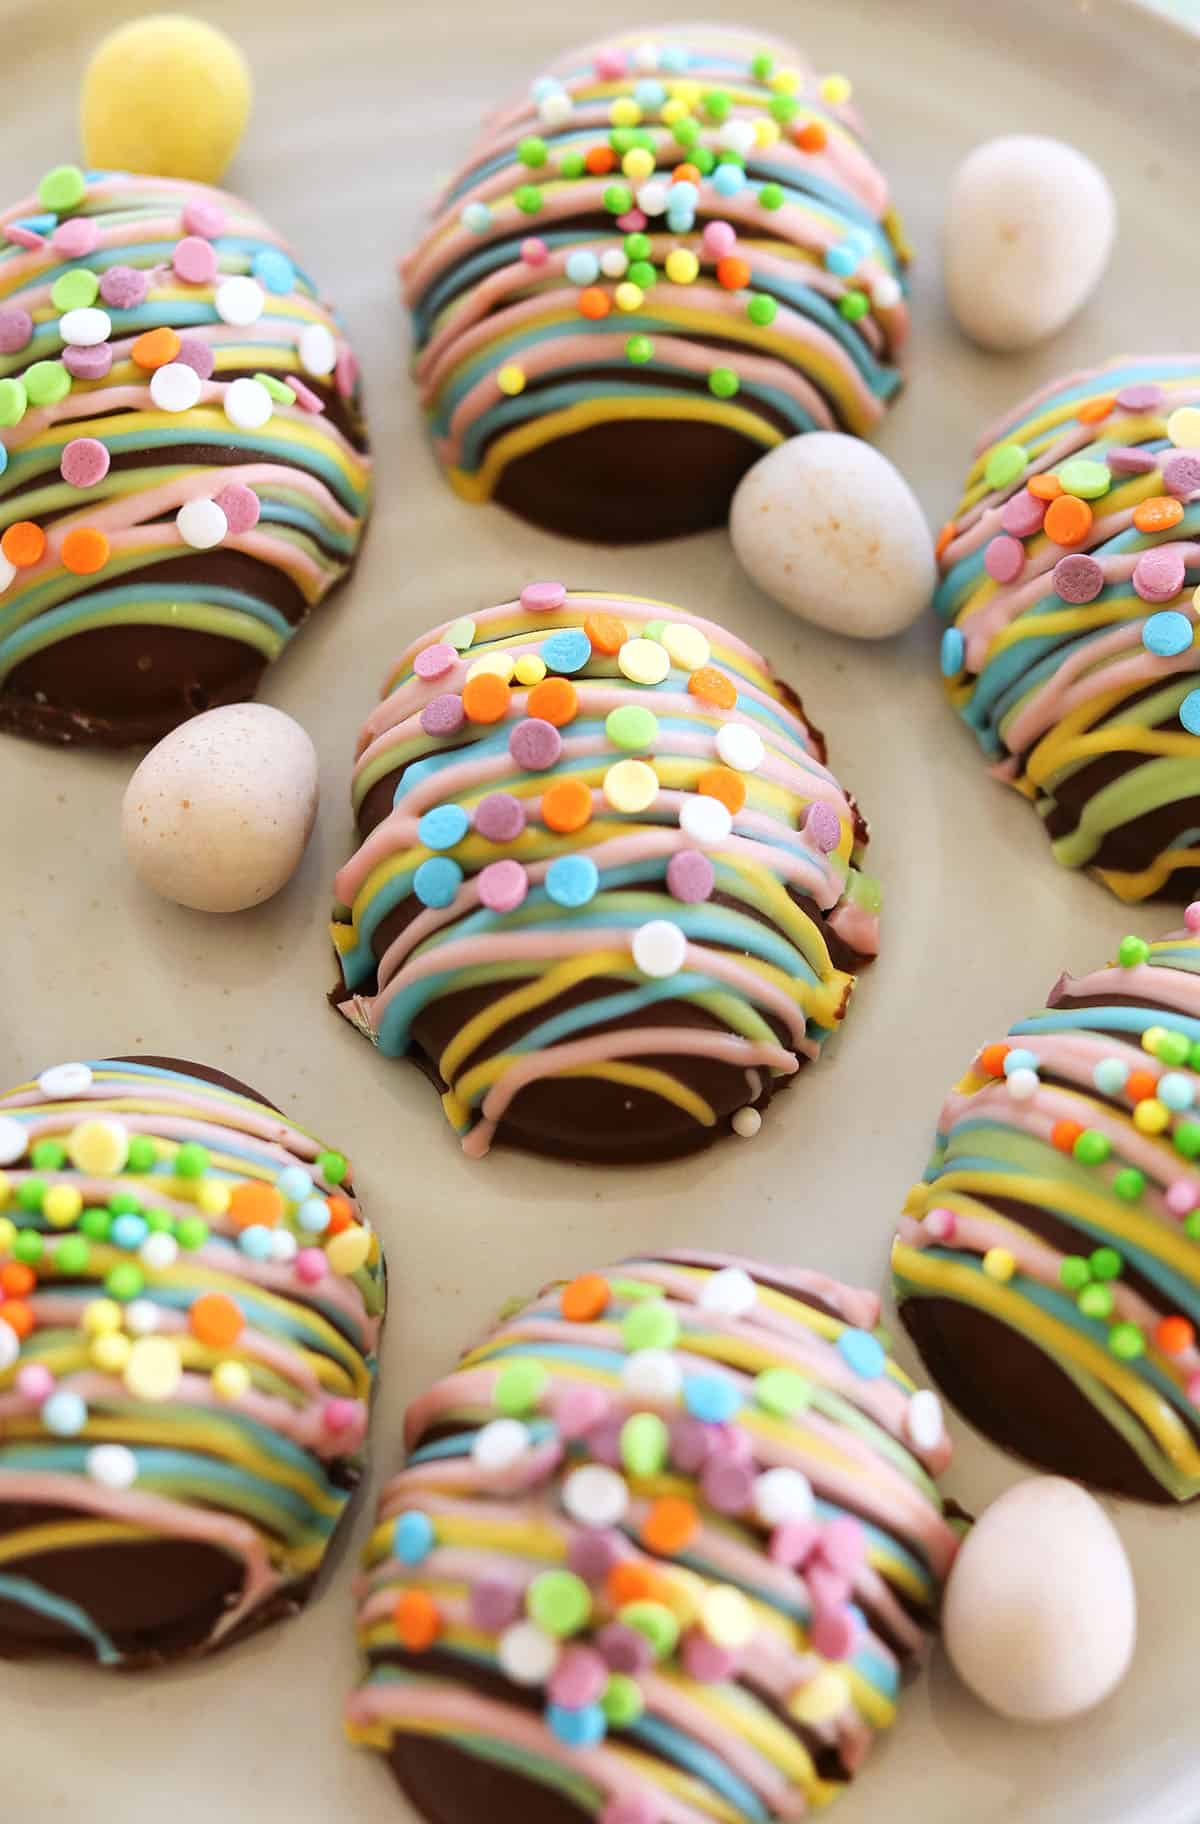
These Healthy Chocolate Peanut Butter Eggs are an easy no-bake Easter treat made with just a few simple ingredients! A healthier version of Reese's eggs that are gluten-free and refined sugar-free!

These Healthy Chocolate Peanut Butter Eggs are an easy no-bake Easter treat made with just a few simple ingredients! A healthier version of Reese’s peanut butter eggs that are gluten-free and refined sugar-free!

These Healthy Chocolate Peanut Butter Eggs are an easy no-bake Easter treat made with just a few simple ingredients! A healthier version of Reese's eggs that are gluten-free and refined sugar-free!
Want to save this recipe?
Just enter your email and get it sent to your inbox! Plus you’ll get new recipes from us every week!

Please enable JavaScript in your browser to complete this form.

Please enable JavaScript in your browser to complete this form.

Loading

If there is one Easter treat that disappears instantly in our house, it’s these Healthy Chocolate Peanut Butter Eggs. They have that classic creamy peanut butter center with a rich chocolate coating, but made with simple, better for you ingredients. Everything you love about Reese’s peanut butter cups, but cleaner, naturally sweetened, and incredibly easy to make at home!

The best part? These eggs are no-bake, freezer-friendly, and come together in just minutes, making them perfect for an Easter basket, spring gatherings, or just keeping a stash in the fridge for when that chocolate craving hits!

Why You’ll Love These

  • No-bake and easy – these healthy peanut butter eggs have minimal prep, no oven required and just 5 simple ingredients!
  • Healthier than store-bought – we are using simple, wholesome ingredients with zero refined sugar. So much peanut butter flavor!
  • Perfect for Easter – these homemade peanut butter eggs are festive, fun and kid-friendly! My daughter begs for them any time she wants a sweet treat.
  • Make-ahead friendly – you can easily store these in the fridge or freezer until ready to enjoy making them great to prep ahead of time.
These Healthy Chocolate Peanut Butter Eggs are an easy no-bake Easter treat made with just a few simple ingredients! A healthier version of Reese's eggs that are gluten-free and refined sugar-free!

Ingredients You’ll Need

  • drippy peanut butter – you really want to use natural peanut butter without any added sugar because it is smoother and easier to stir. You could use almond butter, cashew butter or any other nut butter, if you prefer.
  • oat flour – this acts as a binder for these eggs. I don’t recommend using all-purpose flour in this recipe as that should not be eaten raw, but almond flour or coconut flour are great options.
  • honey – naturally sweetens these eggs without using refined sugar. You could also use maple syrup or other natural sweetener.
  • vanilla extract – boost of flavor!
  • chocolate chips – I used Lily’s chocolate chips which are gluten-free, vegan and sweetened with stevia making the sugar content really low and they taste delicious!  You could also of course use regular semi-sweet chocolate chips to coat these eggs, but the sugar content will be much higher.
  • coconut oil – I like mixing in a little coconut oil when melting the chocolate because it makes the chocolate a little thicker and really helps create that perfect shell when it hardens without affecting the taste. Feel free to leave this out if you don’t have any.

If you don’t have any oat flour on hand, you can easily make your own by blending old fashioned oats (or instant oats) in a blender or food processor for about 60 seconds!

These Healthy Chocolate Peanut Butter Eggs are an easy no-bake Easter treat made with just a few simple ingredients! A healthier version of Reese's eggs that are gluten-free and refined sugar-free!

How to Make Chocolate Peanut Butter Eggs

  1. Make the peanut butter filling. In a bowl, combine oat flour, peanut butter, vanilla and honey mixing well with a spatula or an electric mixer until all combined and the dough is smooth. 
  2. Shape into eggs.  Using a small cookie scoop, scoop and shape into small eggs. I used these silicone egg molds to get perfectly shaped eggs. Just press the peanut butter mixture into each cavity, cover and chill and then they pop right out! You can also create the egg shapes with the palms of your hands and place them on a parchment-lined baking sheet. You should get about 16 eggs.
  3. Chill eggs. Place the egg molds (or the baking sheet) into the freezer and chill for about 20-30 minutes until firm.
  4. Melt chocolate.  Pour chocolate chips and coconut oil into the pot of a double boiler, or you can simply use a metal or glass bowl on top of a saucepan with about an inch of water in it. As the water heats up, the chocolate will begin to melt and you should continually stir it with a spatula until nice and smooth. You can also melt the chocolate in the microwave at 30-second intervals until melted.
  5. Dip and coat.  If using the egg molds, simply pop each egg out before dipping. Using a dipping fork, or regular fork, dip each peanut butter egg into the melted chocolate. Make sure the eggs are completely coated, shaking off any excess chocolate drip. Place the dipped eggs on a baking sheet lined with parchment paper. 
  6. Decorate and chill. Drizzle the eggs with colored chocolate and top with fun sprinkles or even a little coarse sea salt. You could also just leave them as is (like Reese’s eggs) and place them in the freezer until ready to enjoy.

Naturally Colored Chocolate Decorating

If you want to avoid the artificial dyes found in the colored chocolate candy melts, you can simply melt white chocolate chips and mix in a few drops of natural food coloring. The colors won’t be as bright, but will still look really pretty!

These Healthy Chocolate Peanut Butter Eggs are an easy no-bake Easter treat made with just a few simple ingredients! A healthier version of Reese's eggs that are gluten-free and refined sugar-free!

Tips for the BEST Peanut Butter Eggs

  • Don’t skip chilling – this helps the peanut butter eggs harden and hold their shape when dipping.
  • Use drippy peanut butter – use creamy natural peanut butter (just peanuts + salt) that is smooth and easy to stir. This makes mixing everything easier and gives the filling a smooth texture.
  • Use a cookie scoop – using a small tablespoon size cookie scoop to scoop the peanut butter mixture ensures the eggs are all the same size and is just so easy.
  • Use a fork for dipping – I really found this dipping fork super helpful, but you can also use a regular fork. This makes coating the eggs cleaner and easier as opposed to using a spoon, allowing the chocolate to easily drip off.

Don’t throw out the leftover melted chocolate! Add it to a piping bag, drizzle over the eggs and top with sprinkles. Less clean-up involved since you’re not using assorted colors and it still looks pretty and festive for a special treat!

These Healthy Chocolate Peanut Butter Eggs are an easy no-bake Easter treat made with just a few simple ingredients! A healthier version of Reese's eggs that are gluten-free and refined sugar-free!

Variations

Prepping and Storage

To Store:  These chocolate peanut butter eggs should be kept cold so you can either store them in a sealed, airtight container for up to 1 week in the refrigerator, but will last longer in the freezer. When storing, I like to line the container with some parchment paper so the eggs don’t stick.

To Freeze:  I also recommend storing these peanut butter eggs in the freezer and they will last up to 3 months. These eggs thaw out quickly when you remove them from the freezer and should be ready to enjoy in 30 minutes or so.

These Healthy Chocolate Peanut Butter Eggs are an easy no-bake Easter treat made with just a few simple ingredients! A healthier version of Reese's eggs that are gluten-free and refined sugar-free!

Pin this now to find it later

Pin It

Follow on Instagram

Follow

More No-Bake Recipes

Hope you all enjoy these Healthy Chocolate Peanut Butter Eggs! If you love these treats as much as we do, please leave a ⭐⭐⭐⭐⭐ star rating below and don’t forget to tag me on Instagram using the hashtag #eatyourselfskinny!

These Healthy Chocolate Peanut Butter Eggs are an easy no-bake Easter treat made with just a few simple ingredients! A healthier version of Reese's eggs that are gluten-free and refined sugar-free!

Print

Healthy Chocolate Peanut Butter Eggs

#wprm-recipe-user-rating-4 .wprm-rating-star.wprm-rating-star-full svg * { fill: #343434; }#wprm-recipe-user-rating-4 .wprm-rating-star.wprm-rating-star-33 svg * { fill: url(#wprm-recipe-user-rating-4-33); }#wprm-recipe-user-rating-4 .wprm-rating-star.wprm-rating-star-50 svg * { fill: url(#wprm-recipe-user-rating-4-50); }#wprm-recipe-user-rating-4 .wprm-rating-star.wprm-rating-star-66 svg * { fill: url(#wprm-recipe-user-rating-4-66); }linearGradient#wprm-recipe-user-rating-4-33 stop { stop-color: #343434; }linearGradient#wprm-recipe-user-rating-4-50 stop { stop-color: #343434; }linearGradient#wprm-recipe-user-rating-4-66 stop { stop-color: #343434; }

These Healthy Chocolate Peanut Butter Eggs are an easy no-bake Easter treat made with just a few simple ingredients! A healthier version of Reese's eggs that are gluten-free and refined sugar-free!
Course Dessert, Snack
Cuisine American
Keyword Healthy Chocolate Peanut Butter Eggs
Prep Time 30 minutes
1 hour
Total Time 1 hour 30 minutes
Servings 16 Servings
Calories 166kcal

Ingredients

Instructions

  • Make the peanut butter filling. In a medium bowl, combine oat flour, peanut butter, vanilla and honey mixing well with a spatula or an electric mixer until all combined and the dough is smooth. 
  • Shape into eggs. Using a small cookie scoop, scoop and shape into small eggs. I used these silicone egg molds to get perfectly shaped eggs, but you could also use your hands. Press the peanut butter mixture into each cavity, cover and chill or shape the mixture into small egg forms and place on a baking sheet lined with parchment paper. You should get about 16 eggs.
  • Chill eggs. Place the egg molds (or the baking sheet) into the freezer and chill for about 20-30 minutes until firm.
  • Melt the chocolate. Pour chocolate chips and coconut oil into the pot of a double boiler, or you can simply use a metal or glass bowl on top of a saucepan with about an inch of water in it. As the water heats up, the chocolate will begin to melt and you should continually stir it with a spatula until nice and smooth. You can also heat the chocolate in the microwave at 30 second intervals until melted.
  • Dip and coat. If using the egg molds, simply pop each egg out before dipping. Using a dipping fork, or regular fork, dip each peanut butter egg into the melted chocolate, making sure they are completely coated. Place the chocolate dipped eggs on a baking sheet lined with parchment paper. 
  • Decorate and chill. This is optional, but you can also drizzle the eggs with colored chocolate and top with fun sprinkles. Or just leave them as is (like Reese's eggs) and store them in the freezer until ready to enjoy.

Nutrition

Serving: 1egg | Calories: 166kcal | Carbohydrates: 18.7g | Protein: 4.9g | Fat: 11.6g | Saturated Fat: 3.9g | Sodium: 49mg | Fiber: 5.1g | Sugar: 4.7g
lemon-poppy-seed-bread-13-1-700x995.jpg

Healthy Lemon Poppy Seed Bread

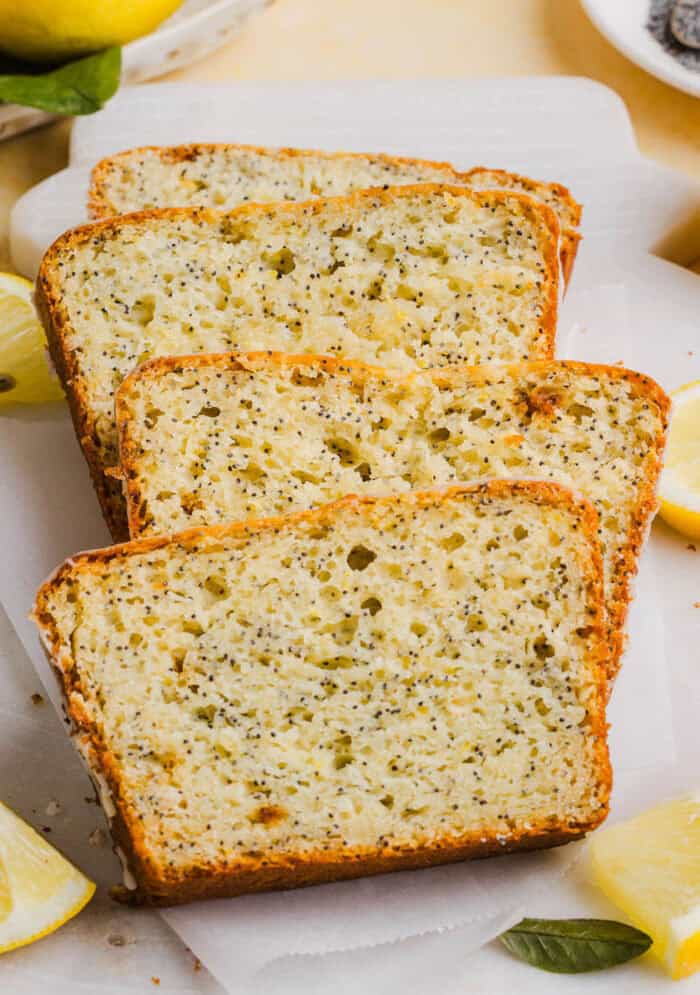
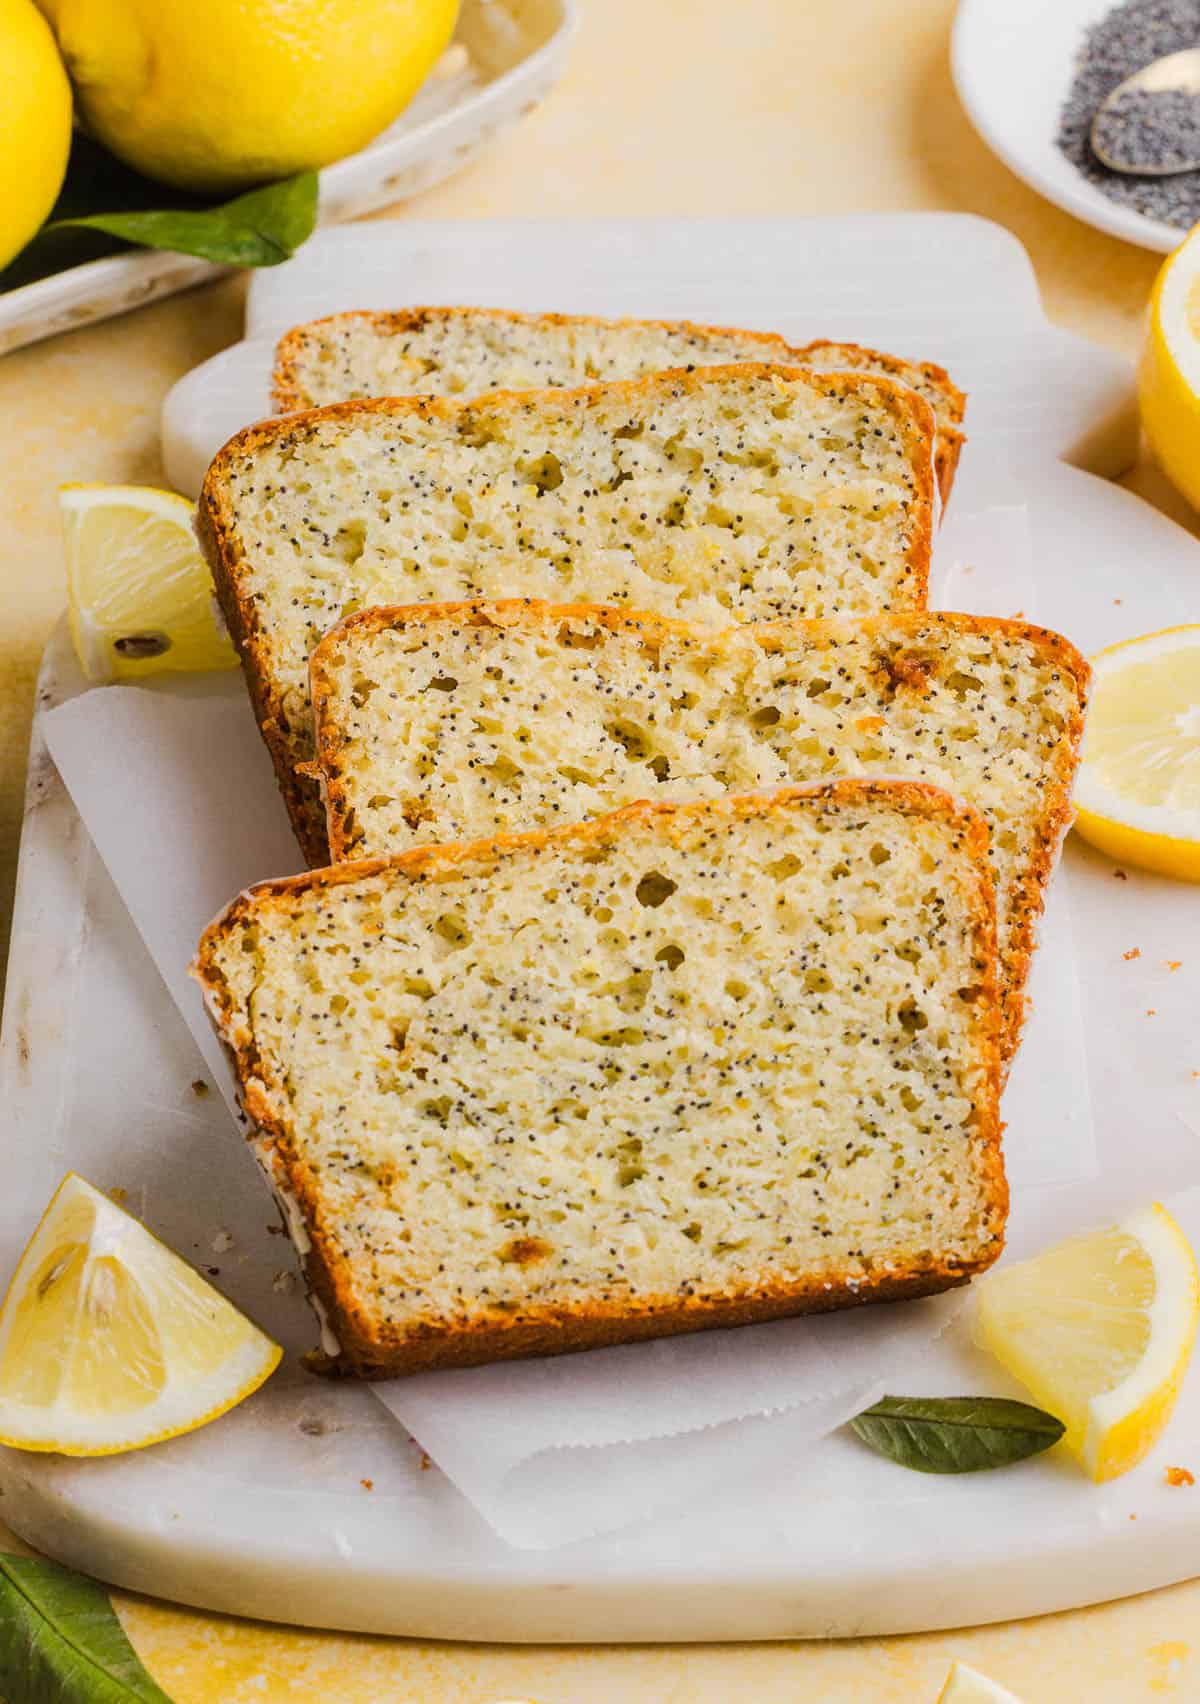
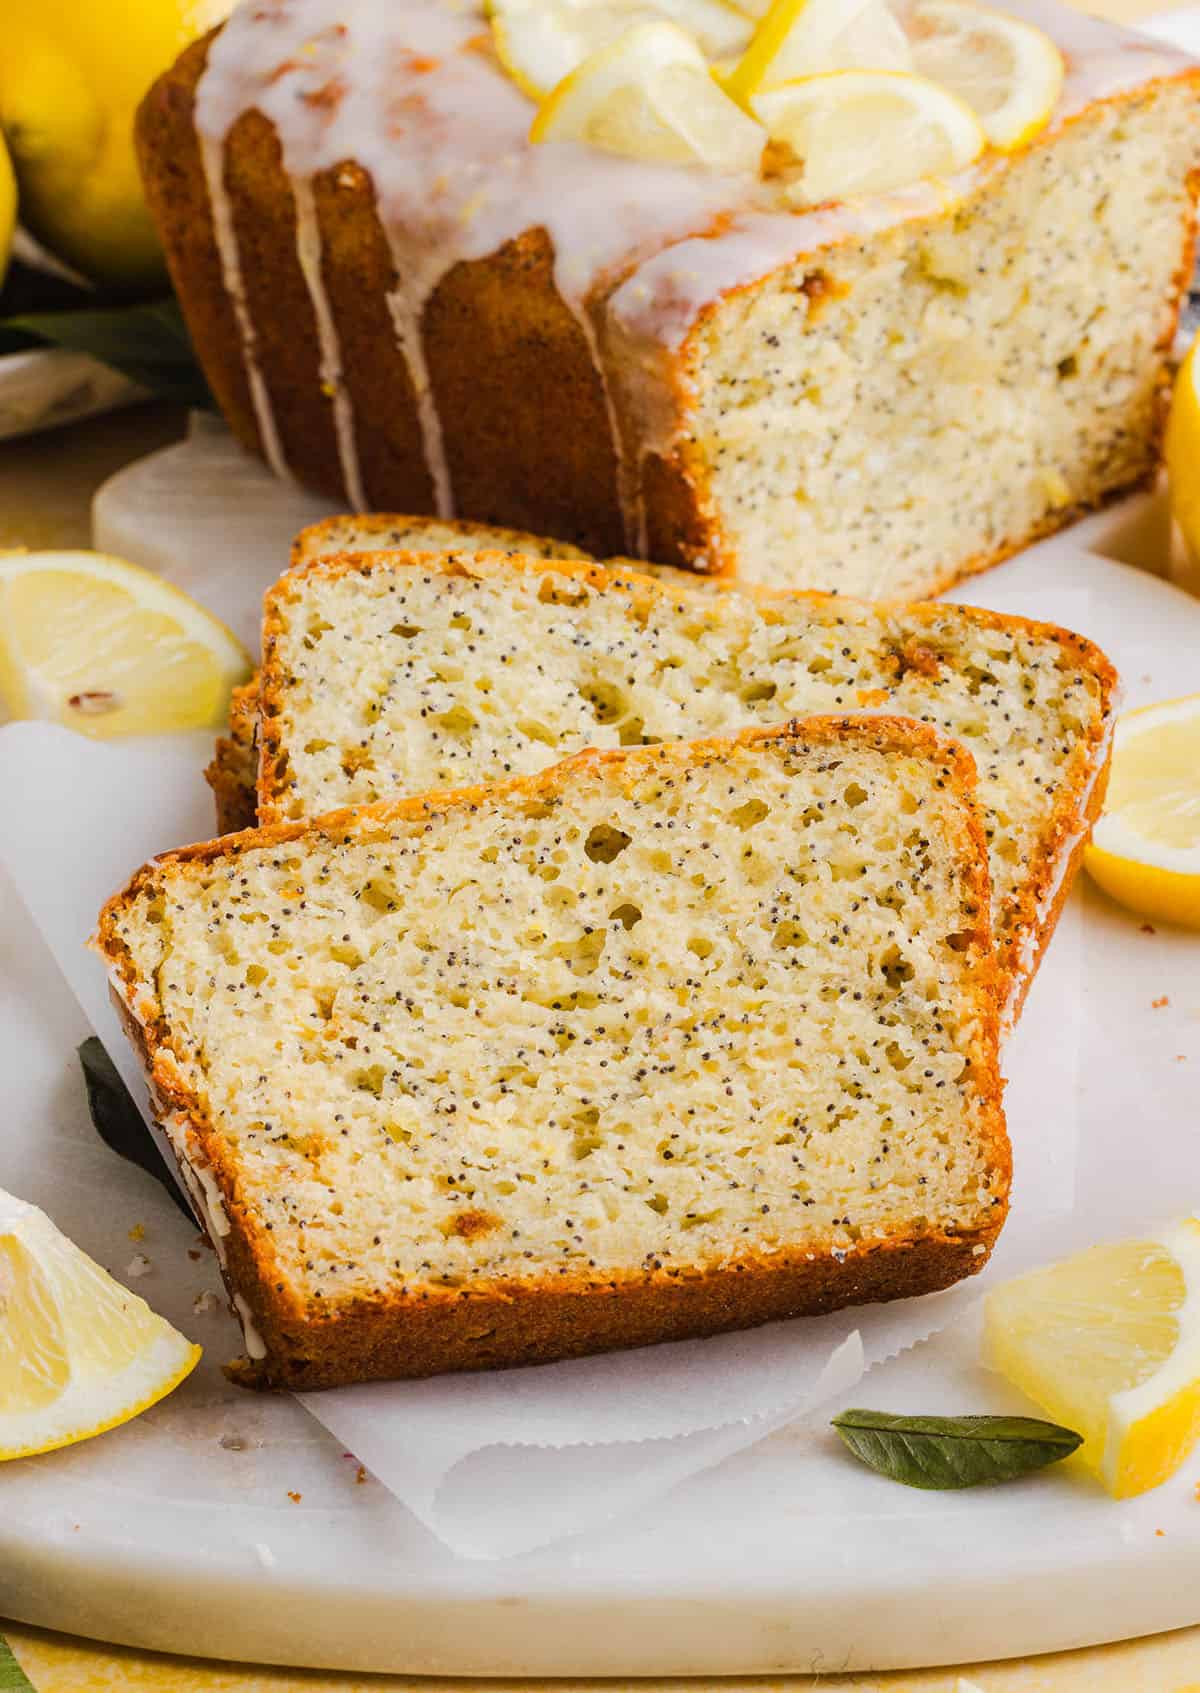
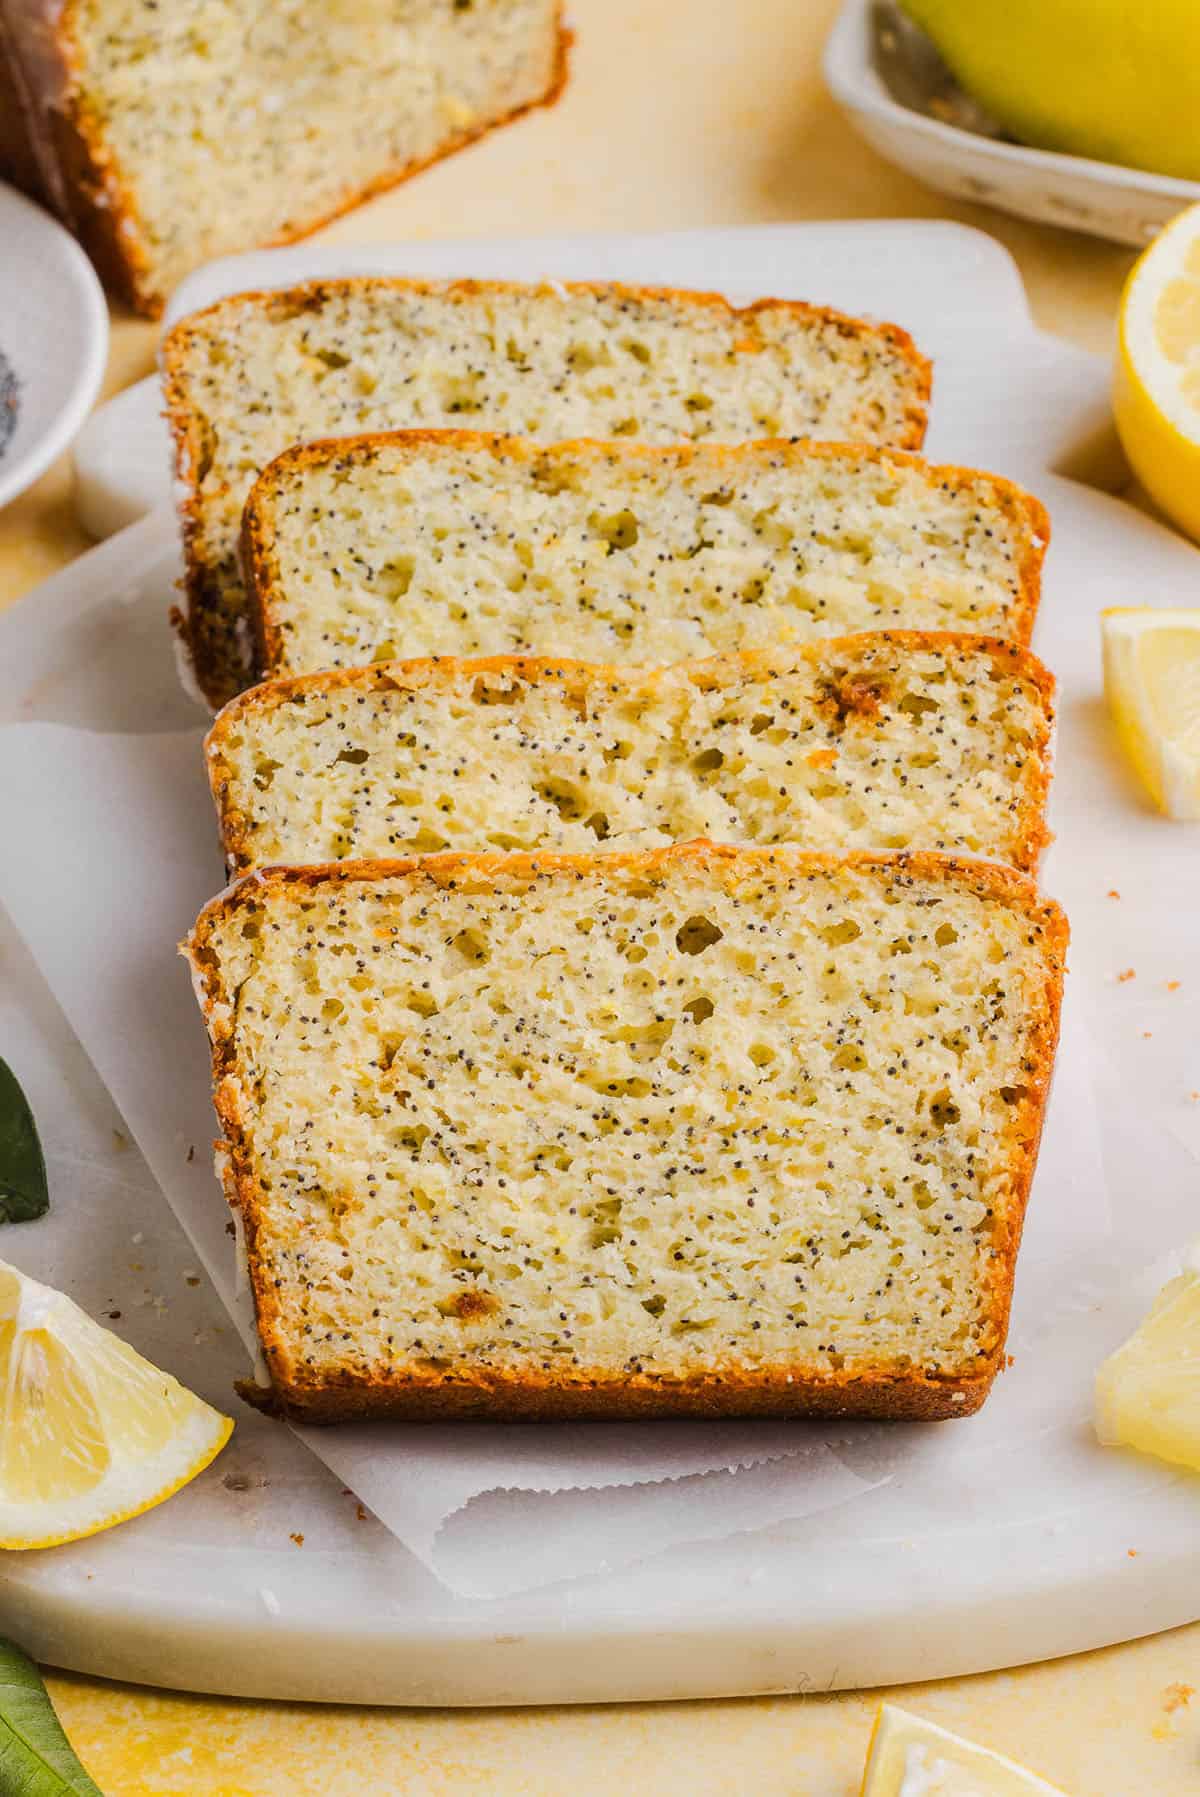
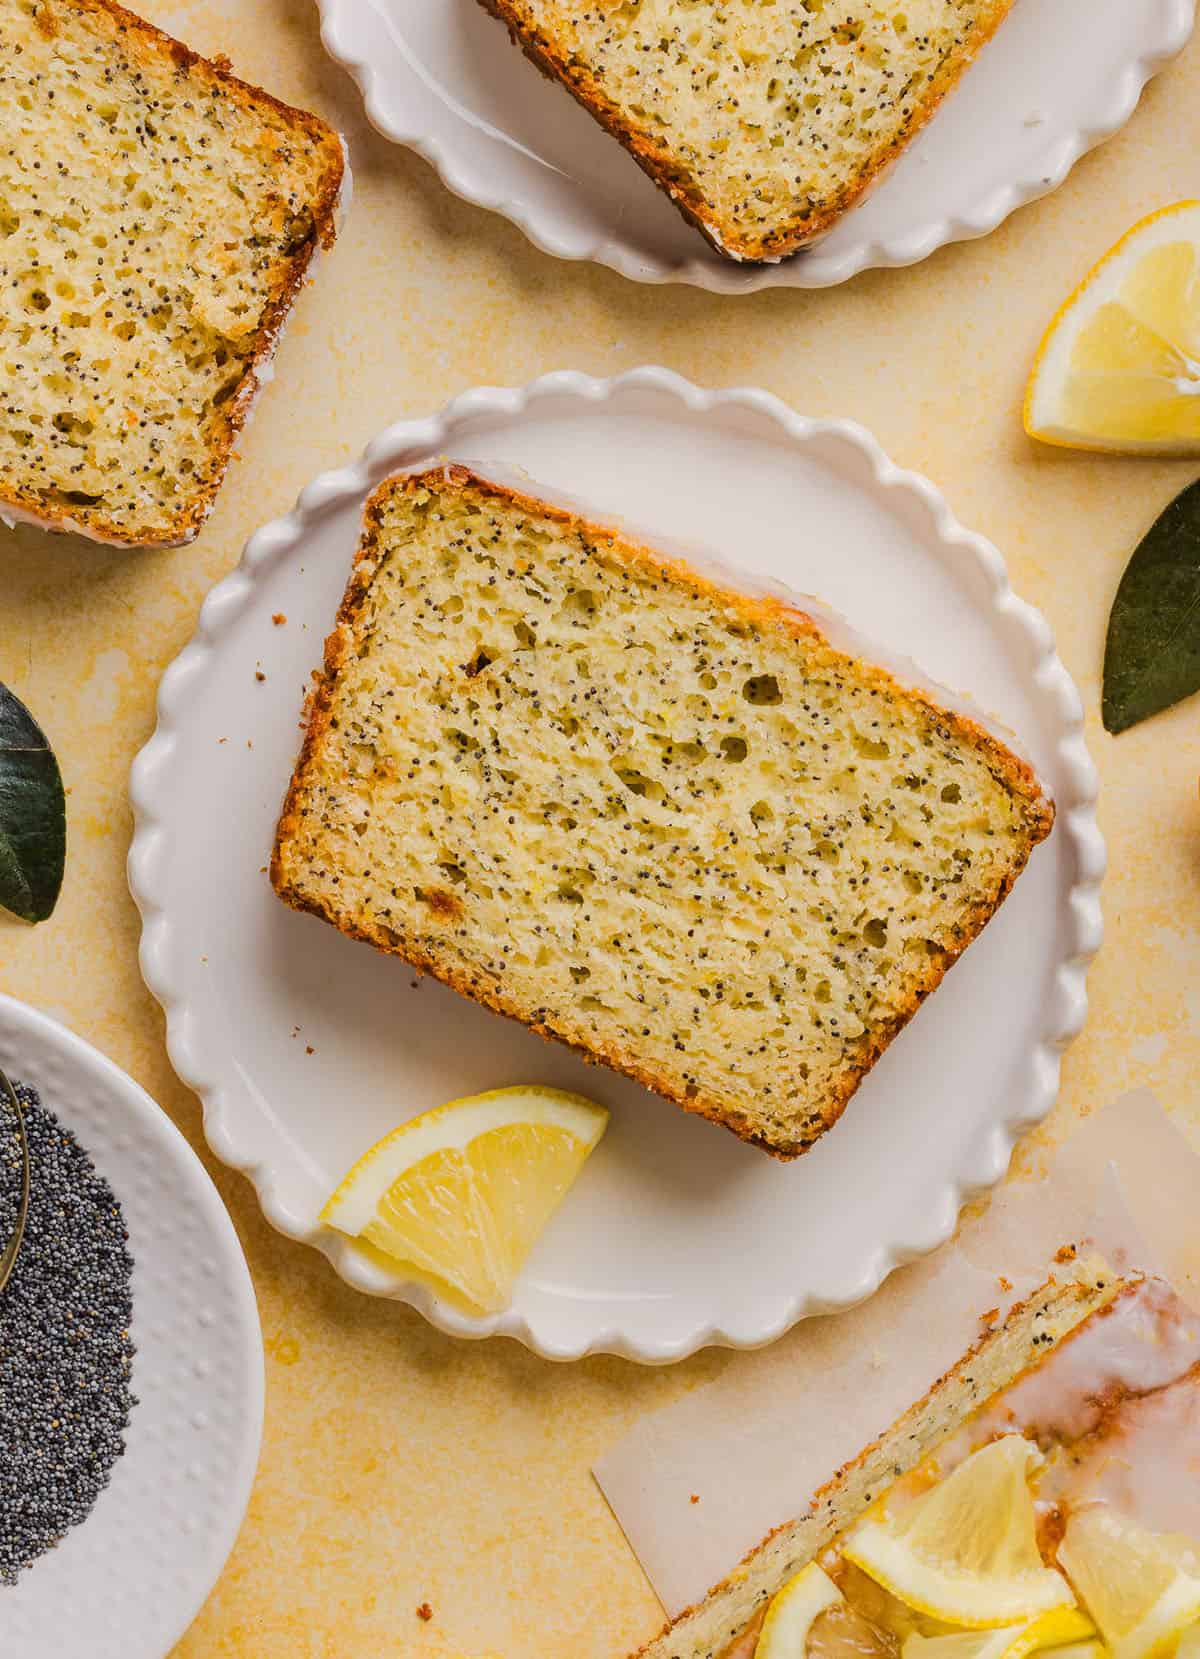
The BEST Healthy Lemon Poppy Seed Bread made with Greek yogurt and honey. Perfectly moist, naturally sweetened, and topped with the most delicious fresh lemon glaze!

The BEST Healthy Lemon Poppy Seed Bread made with Greek yogurt and honey. Perfectly moist, naturally sweetened, and topped with the most delicious fresh lemon glaze!
Want to save this recipe?
Just enter your email and get it sent to your inbox! Plus you’ll get new recipes from us every week!

Please enable JavaScript in your browser to complete this form.

Please enable JavaScript in your browser to complete this form.

Loading

There is just something about Lemon Poppy Seed Bread that feels like sunshine in every bite! Bright, fresh, and perfectly sweet with that irresistible citrus flavor. And this version? This bread is made lighter with wholesome ingredients like Greek yogurt and naturally sweetened with honey, so you can enjoy it any time of day.

Whether you are looking for a quick spring breakfast, an afternoon snack with a cup of coffee, or a simple treat to share, this healthy lemon poppyseed loaf checks all the boxes. It’s incredibly moist, easy to make, and topped with a simple lemon glaze that takes it to the next level.

Why You’ll Love This

  • Lightened up – this lemon poppy seed bread recipe is made with Greek yogurt and naturally sweetened with honey for a healthier twist.
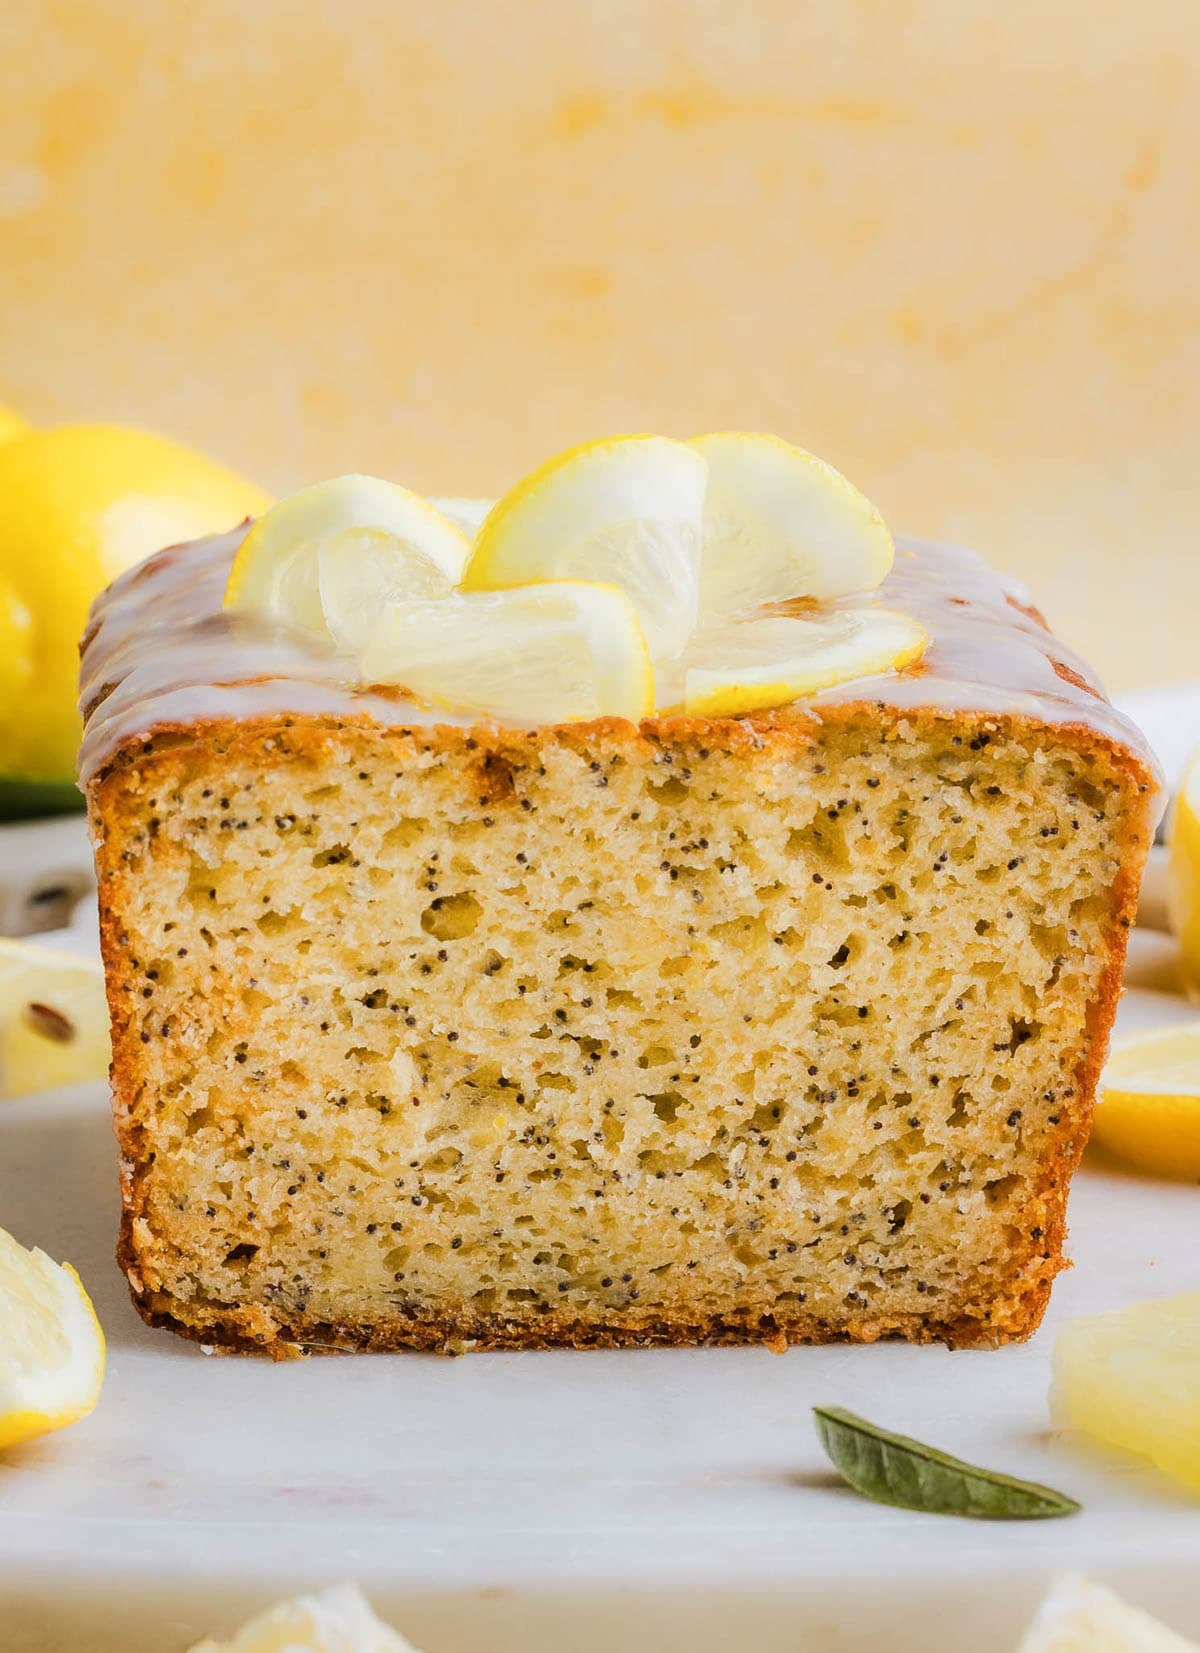
  • Perfectly moist – no dry loaf here thanks to the yogurt and olive oil combination. Deliciously soft and moist with a sweet glaze!
  • Easy to make – this quick lemon loaf couldn’t be easier to make. Just mix the ingredients, pour into the pan and bake!
  • Freezer-friendly – this lemon poppy seed loaf is perfect for meal prep, future snacks, quick breakfasts or dessert.
The BEST Healthy Lemon Poppy Seed Bread made with Greek yogurt and honey. Perfectly moist, naturally sweetened, and topped with the most delicious fresh lemon glaze!

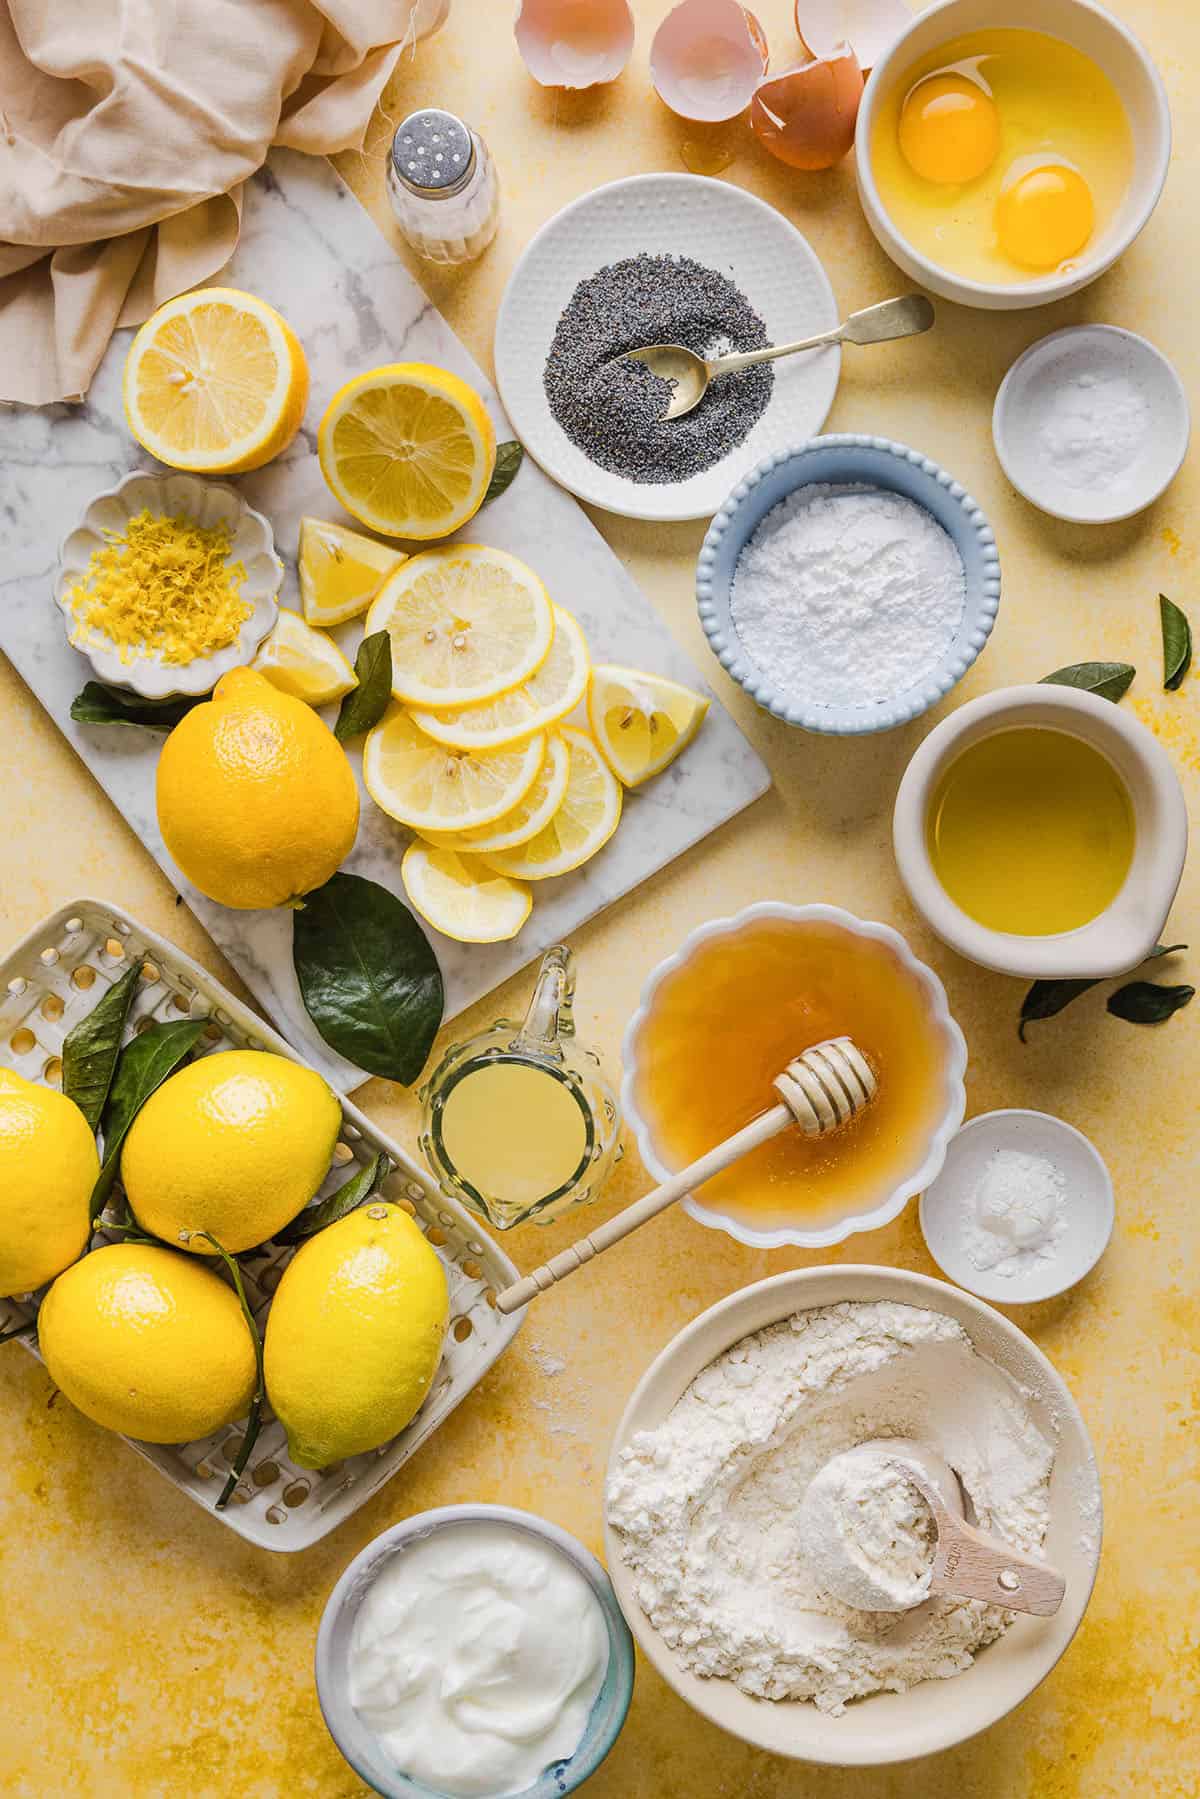
Ingredients You’ll Need

  • flour – I used all-purpose flour to get that soft texture, but you could use whole wheat pastry flour or gluten-free 1 to 1 baking flour.
  • baking powder + baking soda – these act as leavening agents to help the bread rise and keep it soft and fluffy.
  • Greek yogurt – keeps the lemon bread moist and adds a boost of protein. You could also use sour cream or even applesauce.
  • olive oil – adds extra moisture, creates a soft, tender crumb as well as a light texture and enhances the flavor of the other ingredients. You could also use melted coconut oil or melted butter.
  • large eggs – helps bind the loaf and gives this bread its structure and height.
  • fresh lemons – fresh lemon juice adds brightness and tang while the lemon zest brings bold, fresh lemon flavor.
  • honey – naturally sweetens without using any refined sugar. You could also use maple syrup or other natural sweetener.
  • vanilla extract – adds a boost of flavor and warmth.
  • poppy seeds – adds that classic crunch and texture to the bread.
  • salt – enhances all the flavors.
  • lemon glaze – made with a mixture of powdered sugar, lemon juice and lemon zest that adds the perfect sweet-tart finish to the bread!
The BEST Healthy Lemon Poppy Seed Bread made with Greek yogurt and honey. Perfectly moist, naturally sweetened, and topped with the most delicious fresh lemon glaze!

How to Make Lemon Poppy Seed Bread

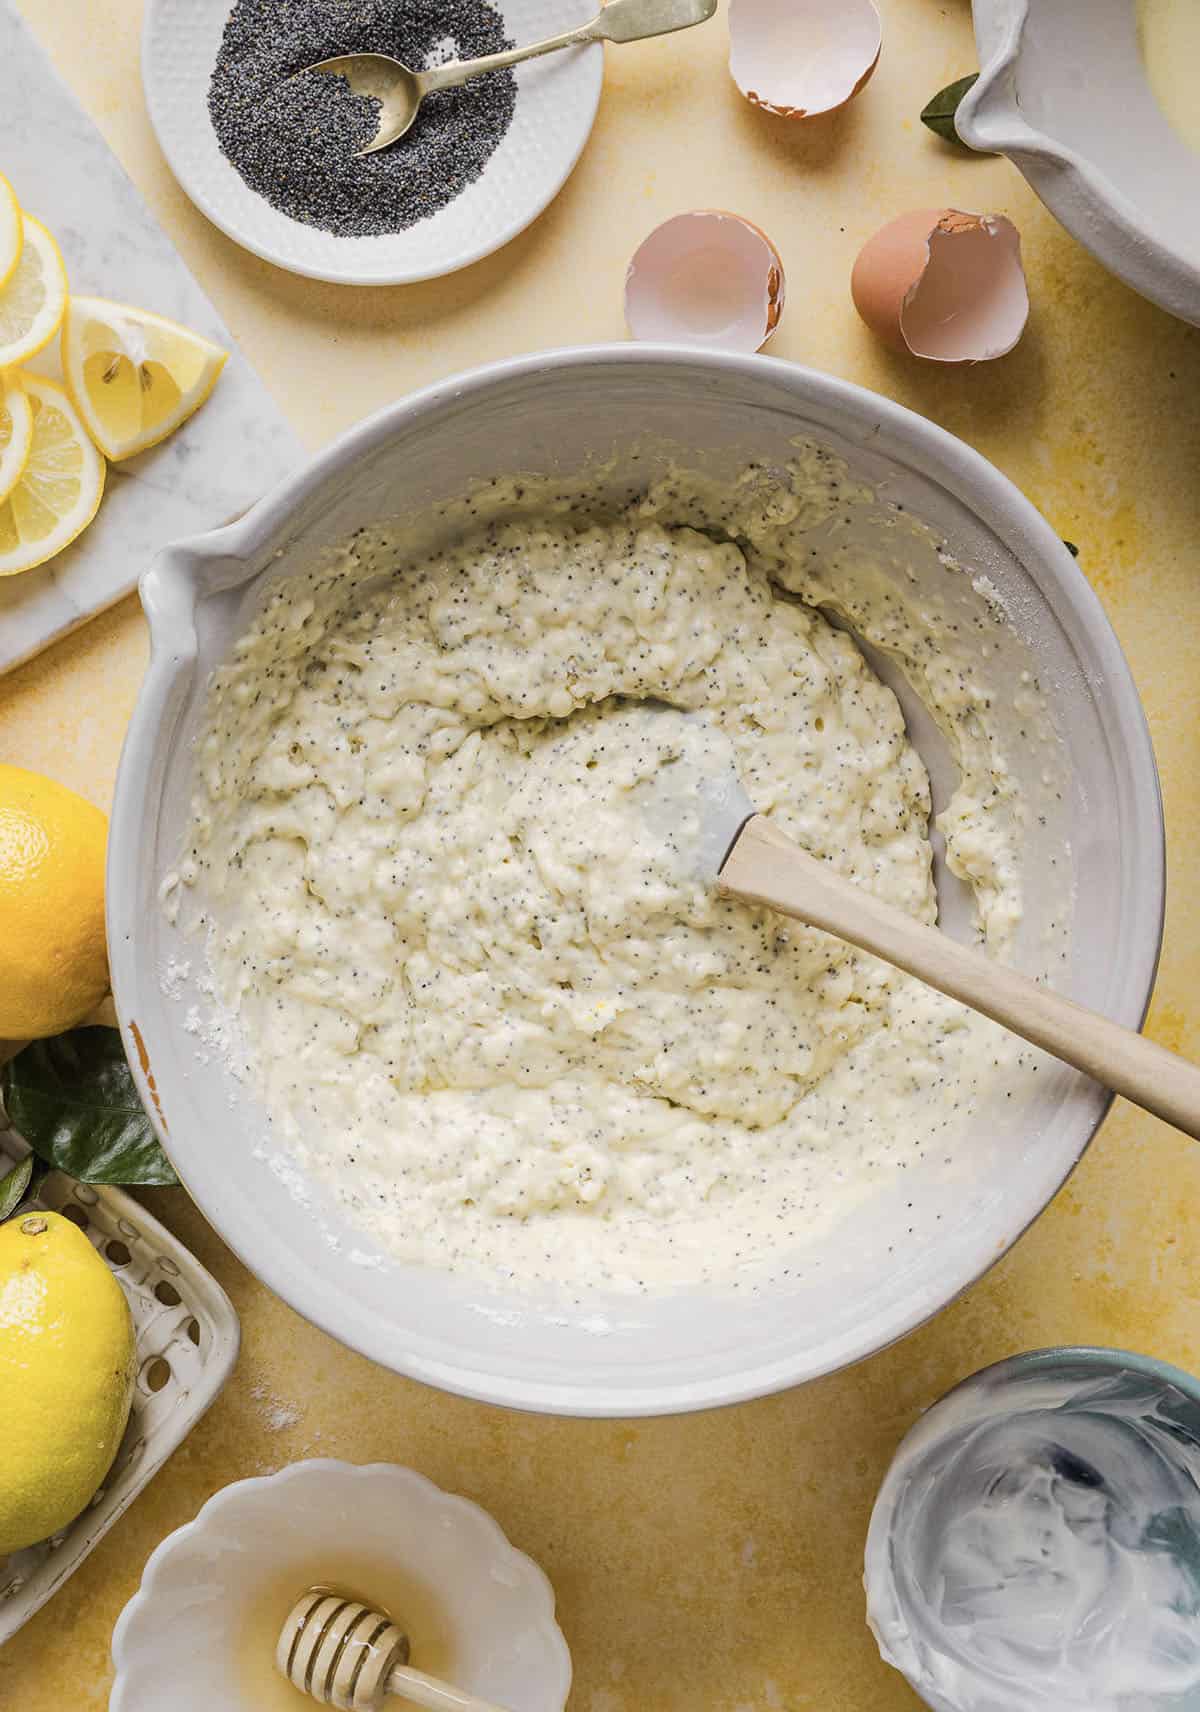
  1. Mix ingredients. In a large bowl, whisk together the flour, baking powder, baking soda, poppy seeds, lemon zest and salt, set aside. In a medium bowl, whisk together the Greek yogurt, eggs, olive oil, honey, lemon juice, and vanilla, mixing until all combined.
  2. Combine the batter. Pour the wet ingredients into the dry ingredients and gently mix with a spatula until just combined. Make sure not to overmix, a few lumps are totally fine and help keep the bread tender.
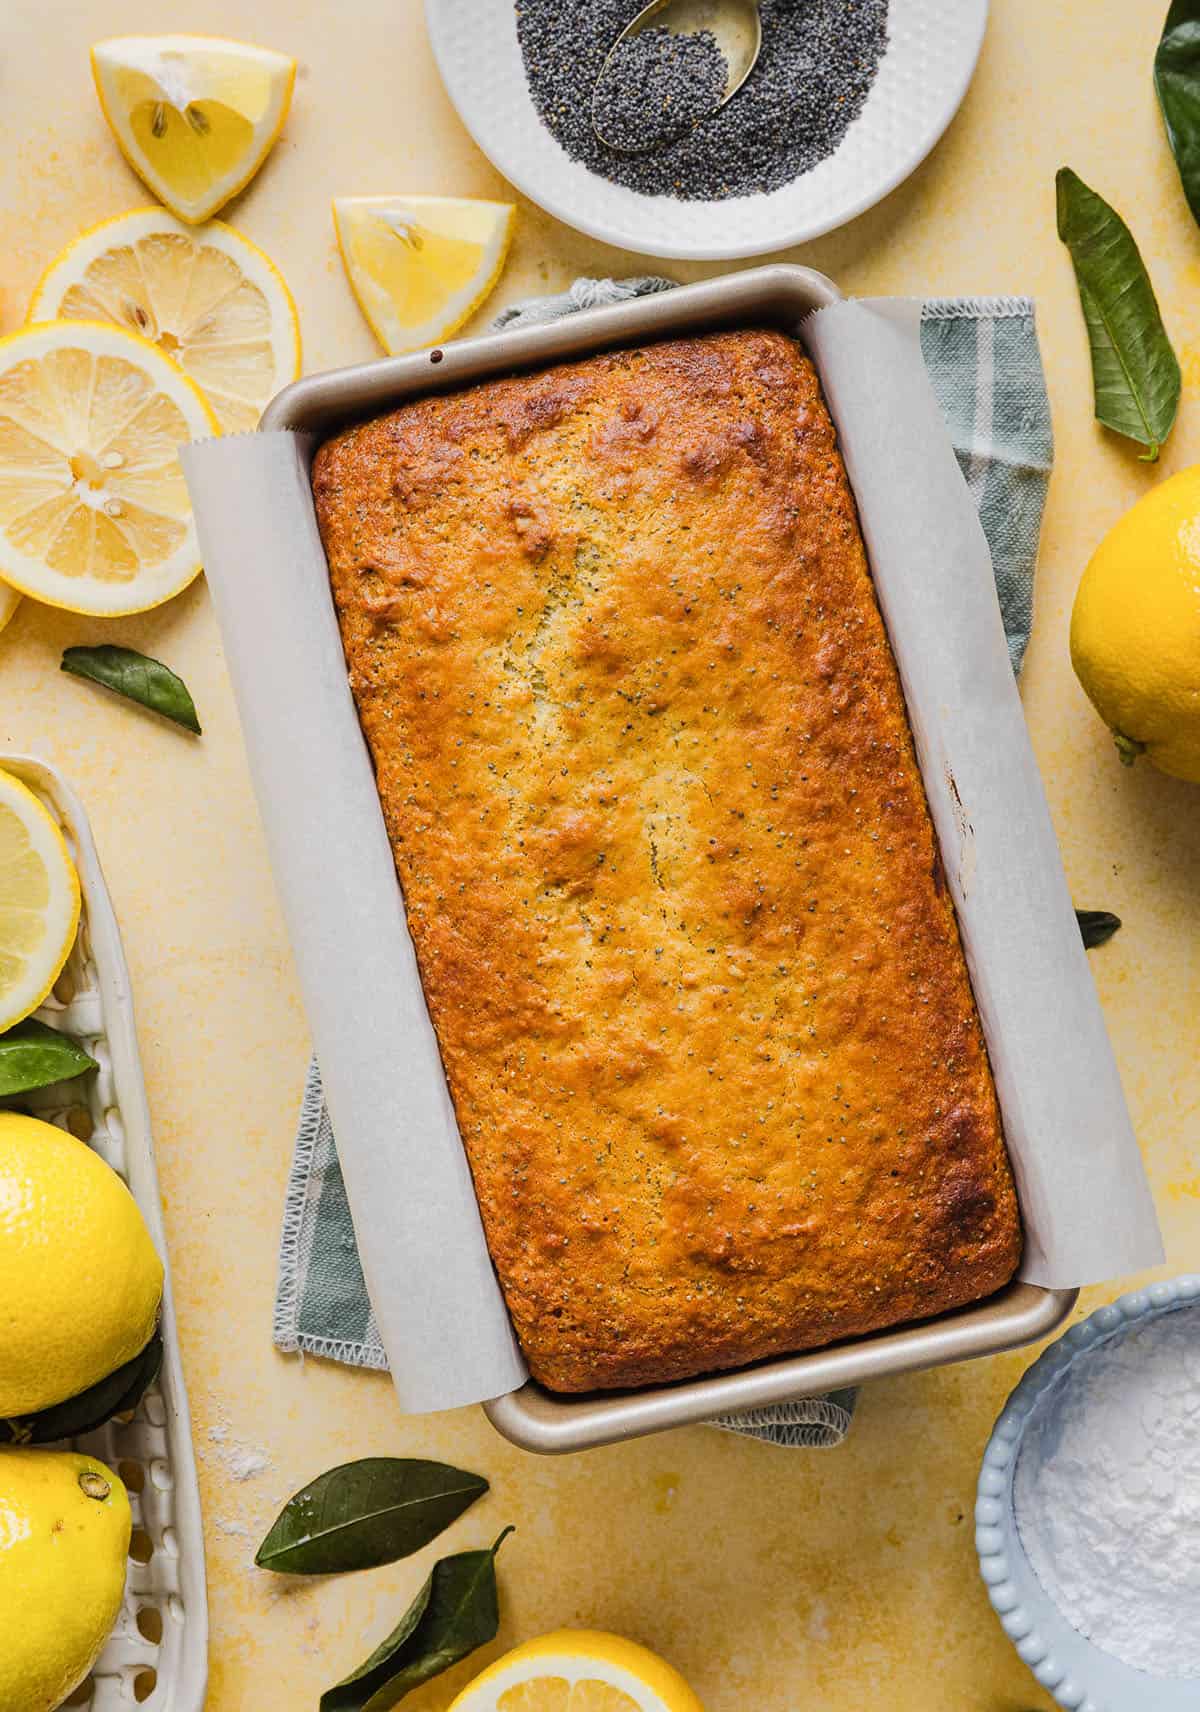
  3. Bake the bread. Pour batter into a prepared 9×5-inch loaf pan line with parchment paper or sprayed with nonstick spray. Bake in the oven at 350 degrees F for 40 to 45 minutes, or until a toothpick inserted in the center comes out clean.
  4. Let the bread cool. Let the bread sit for 10 minutes, then remove from the pan and let it cool completely on a wire rack.
  5. Make the lemon glaze. In a small bowl, whisk together the powdered sugar, lemon juice and zest, mixing until smooth. Drizzle over the cooled bread, slice and enjoy!
The BEST Healthy Lemon Poppy Seed Bread made with Greek yogurt and honey. Perfectly moist, naturally sweetened, and topped with the most delicious fresh lemon glaze!

Tips for Making the Best Lemon Poppy Seed Bread

  • Use fresh lemon juice and zest – this makes a huge difference in the flavor as bottle lemon juice can taste too bitter.
  • Don’t overmix the batter – stir until the flour is just incorporated. Overmixing leads to dense, tough bread.
  • Measure flour correctly – spoon flour into your measuring cup and level it off, don’t scoop! Scooping packs in too much flour and leads to dryness.
  • Use room temperature eggs – this helps everything mix evenly and create a uniform batter, which leads to even baking.
  • Line your pan with parchment paper – this makes removing the bread super easy, especially since there is honey in this recipe that makes it stick more to the pan.
  • Let it cool before glazing – this prevents the glaze from melting and disappearing into the loaf. Letting it cool first makes the glaze stay thick and sets into that slightly firm, glossy layer we want.
  • Add extra zest on top – this boosts the lemon flavor of the bread and makes it look beautiful!
The BEST Healthy Lemon Poppy Seed Bread made with Greek yogurt and honey. Perfectly moist, naturally sweetened, and topped with the most delicious fresh lemon glaze!

Variations

  • Make it dairy-free – swap the Greek yogurt for a dairy-free alternative or even some applesauce, although it might change the flavor of this bread.
  • Add blueberries – lemon and blueberries are the perfect combination and would be such a great addition to this bread.
  • Flour – feel free to swap out the all-purpose flour for whole wheat pastry flour, whole wheat flour or even gluten-free 1 to 1 baking flour if making GF bread. I don’t recommend using almond flour or coconut flour in this recipe.
  • Make muffins instead – divide the batter into 12 muffin cups and reduce the baking time to 18 to 22 minutes.
The BEST Healthy Lemon Poppy Seed Bread made with Greek yogurt and honey. Perfectly moist, naturally sweetened, and topped with the most delicious fresh lemon glaze!

Prepping and Storage

To Store: This lemon poppyseed bread can be stored in an airtight container or wrapped in plastic or foil at room temp for 2 or 3 days. Make sure to refrigerate after that to keep this longer. This bread will last up to a week in the fridge.

To Freeze: This bread freezes really well too! You can either wrap the whole loaf in plastic wrap, aluminum foil or a freezer-safe bag, or you can freeze individual slices. When ready to serve, allow the bread to thaw overnight in the refrigerator and bring to room temperature before slicing. This bread will keep in the freezer for up to 3 months.

The BEST Healthy Lemon Poppy Seed Bread made with Greek yogurt and honey. Perfectly moist, naturally sweetened, and topped with the most delicious fresh lemon glaze!

Pin this now to find it later

Pin It

Follow on Instagram

Follow

More Quick Bread Recipes

Hope you all enjoy this Healthy Lemon Poppy Seed Loaf recipe! If you love this as much as we do, please leave a ⭐⭐⭐⭐⭐ star rating below and don’t forget to tag me on Instagram using the hashtag #eatyourselfskinny!

The BEST Healthy Lemon Poppy Seed Bread made with Greek yogurt and honey. Perfectly moist, naturally sweetened, and topped with the most delicious fresh lemon glaze!

Print

Healthy Lemon Poppy Seed Bread

#wprm-recipe-user-rating-5 .wprm-rating-star.wprm-rating-star-full svg * { fill: #343434; }#wprm-recipe-user-rating-5 .wprm-rating-star.wprm-rating-star-33 svg * { fill: url(#wprm-recipe-user-rating-5-33); }#wprm-recipe-user-rating-5 .wprm-rating-star.wprm-rating-star-50 svg * { fill: url(#wprm-recipe-user-rating-5-50); }#wprm-recipe-user-rating-5 .wprm-rating-star.wprm-rating-star-66 svg * { fill: url(#wprm-recipe-user-rating-5-66); }linearGradient#wprm-recipe-user-rating-5-33 stop { stop-color: #343434; }linearGradient#wprm-recipe-user-rating-5-50 stop { stop-color: #343434; }linearGradient#wprm-recipe-user-rating-5-66 stop { stop-color: #343434; }

The BEST Healthy Lemon Poppy Seed Bread made with Greek yogurt and honey. Perfectly moist, naturally sweetened, and topped with the most delicious fresh lemon glaze!
Course Dessert
Cuisine American
Keyword Healthy Lemon Poppy Seed Bread
Prep Time 5 minutes
Cook Time 40 minutes
Total Time 45 minutes
Servings 12
Calories 216kcal

Ingredients

  • 1 3/4 cups all-purpose flour
  • 1 tsp baking powder
  • 1/2 tsp baking soda
  • 2 Tbsp poppy seeds
  • 1 Tbsp lemon zest
  • 1/4 tsp salt
  • 3/4 cup plain Greek yogurt
  • 2 eggs room temperature
  • 1/4 cup olive oil
  • 3/4 cup honey
  • 1/4 cup fresh lemon juice
  • 2 tsp vanilla extract

For the Lemon Glaze:

  • 1/2 cup powdered sugar
  • 1 Tbsp lemon juice
  • 1 tsp lemon zest plus more for garnish

Instructions

  • Preheat oven to 350 degrees F.
  • In a large bowl, whisk together the flour, baking powder, baking soda, poppy seeds, lemon zest and salt, set aside. In a medium bowl, whisk together the Greek yogurt, eggs, olive oil, honey, lemon juice, and vanilla, mixing until all combined.
  • Pour the wet ingredients into the dry ingredients and gently mix with a spatula until just combined. Make sure not to overmix, a few lumps are totally fine and help keep the bread tender.
  • Pour the batter into a prepared 9×5-inch loaf pan line with parchment paper or sprayed with nonstick spray. Bake in the oven for 40 to 45 minutes, or until a toothpick inserted in the center comes out clean.
  • Let the bread sit for 10 minutes, then remove from the pan and let it cool completely on a wire rack.
  • In a small bowl, whisk together the powdered sugar, lemon juice and zest, mixing until smooth. Drizzle over the cooled bread, slice and enjoy!

Nutrition

Serving: 1slice | Calories: 216kcal | Carbohydrates: 36.7g | Protein: 5g | Fat: 5.6g | Saturated Fat: 0.9g | Cholesterol: 31mg | Sodium: 95.6mg | Fiber: 0.7g | Sugar: 23.3g