Skip the takeout with this Easy Pineapple Teriyaki Chicken Stir Fry! Made with juicy chicken, fresh pineapple, crisp veggies, and a healthy homemade teriyaki sauce in under 30 minutes.
Please enable JavaScript in your browser to complete this form.
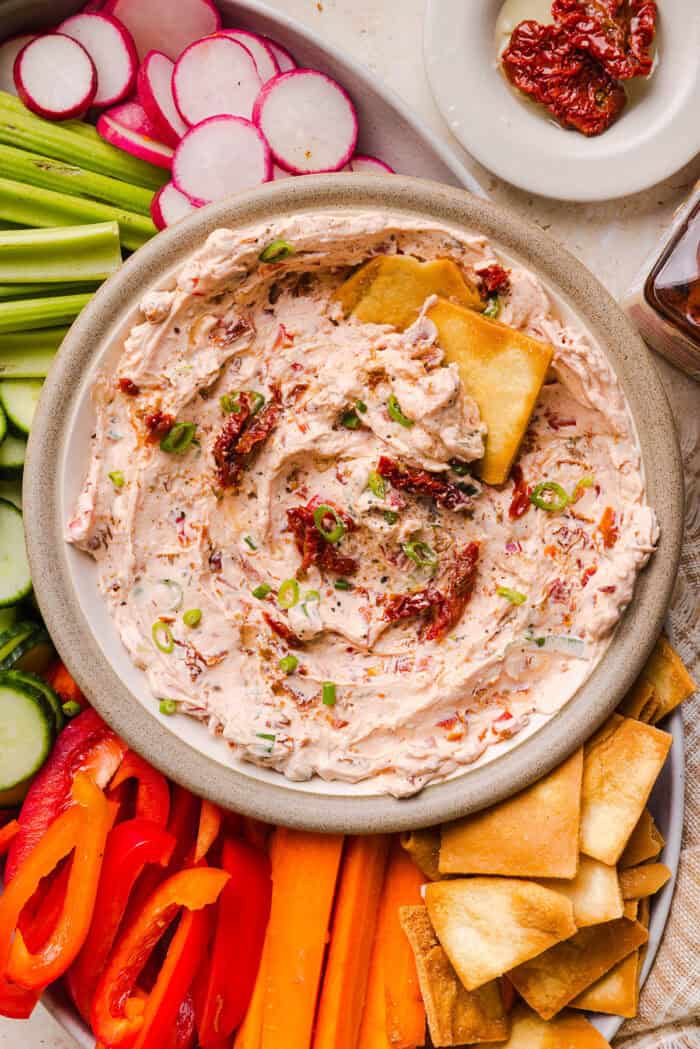
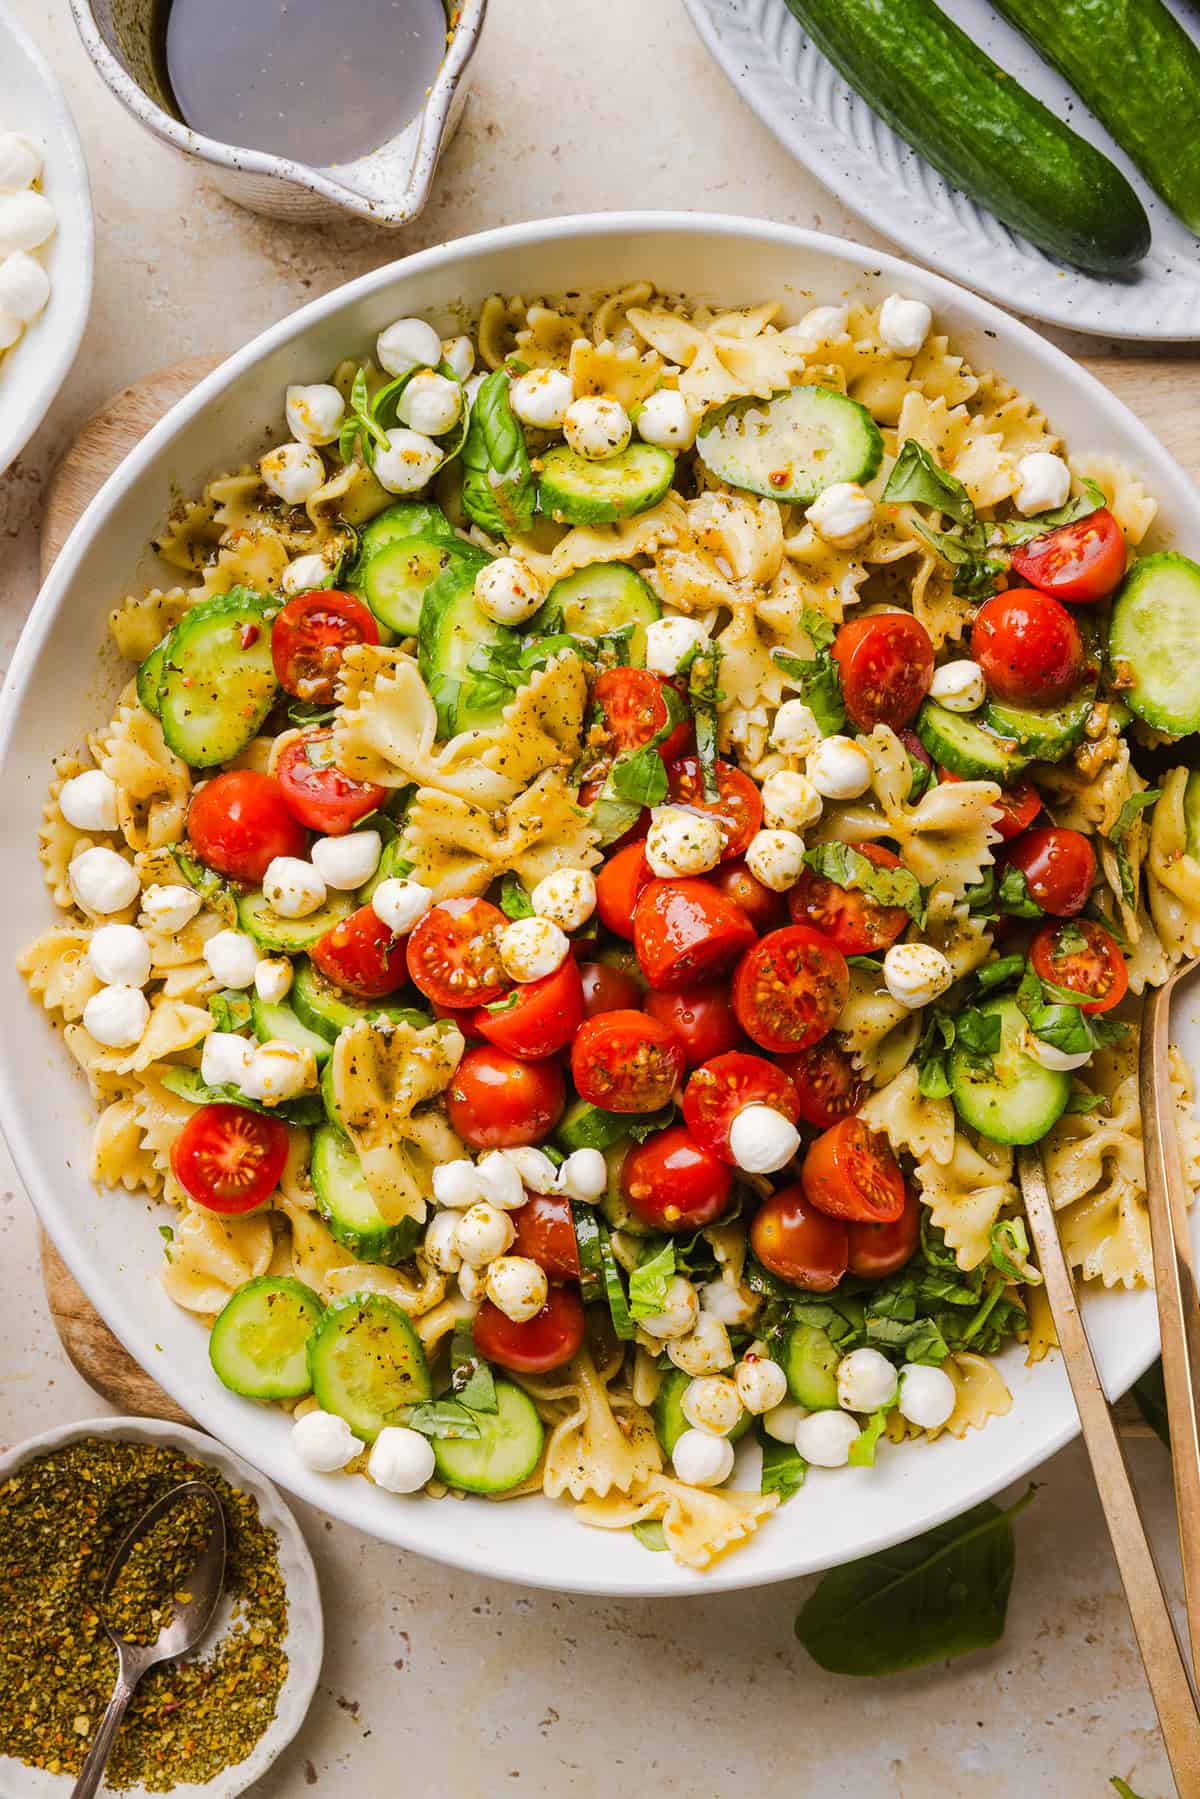
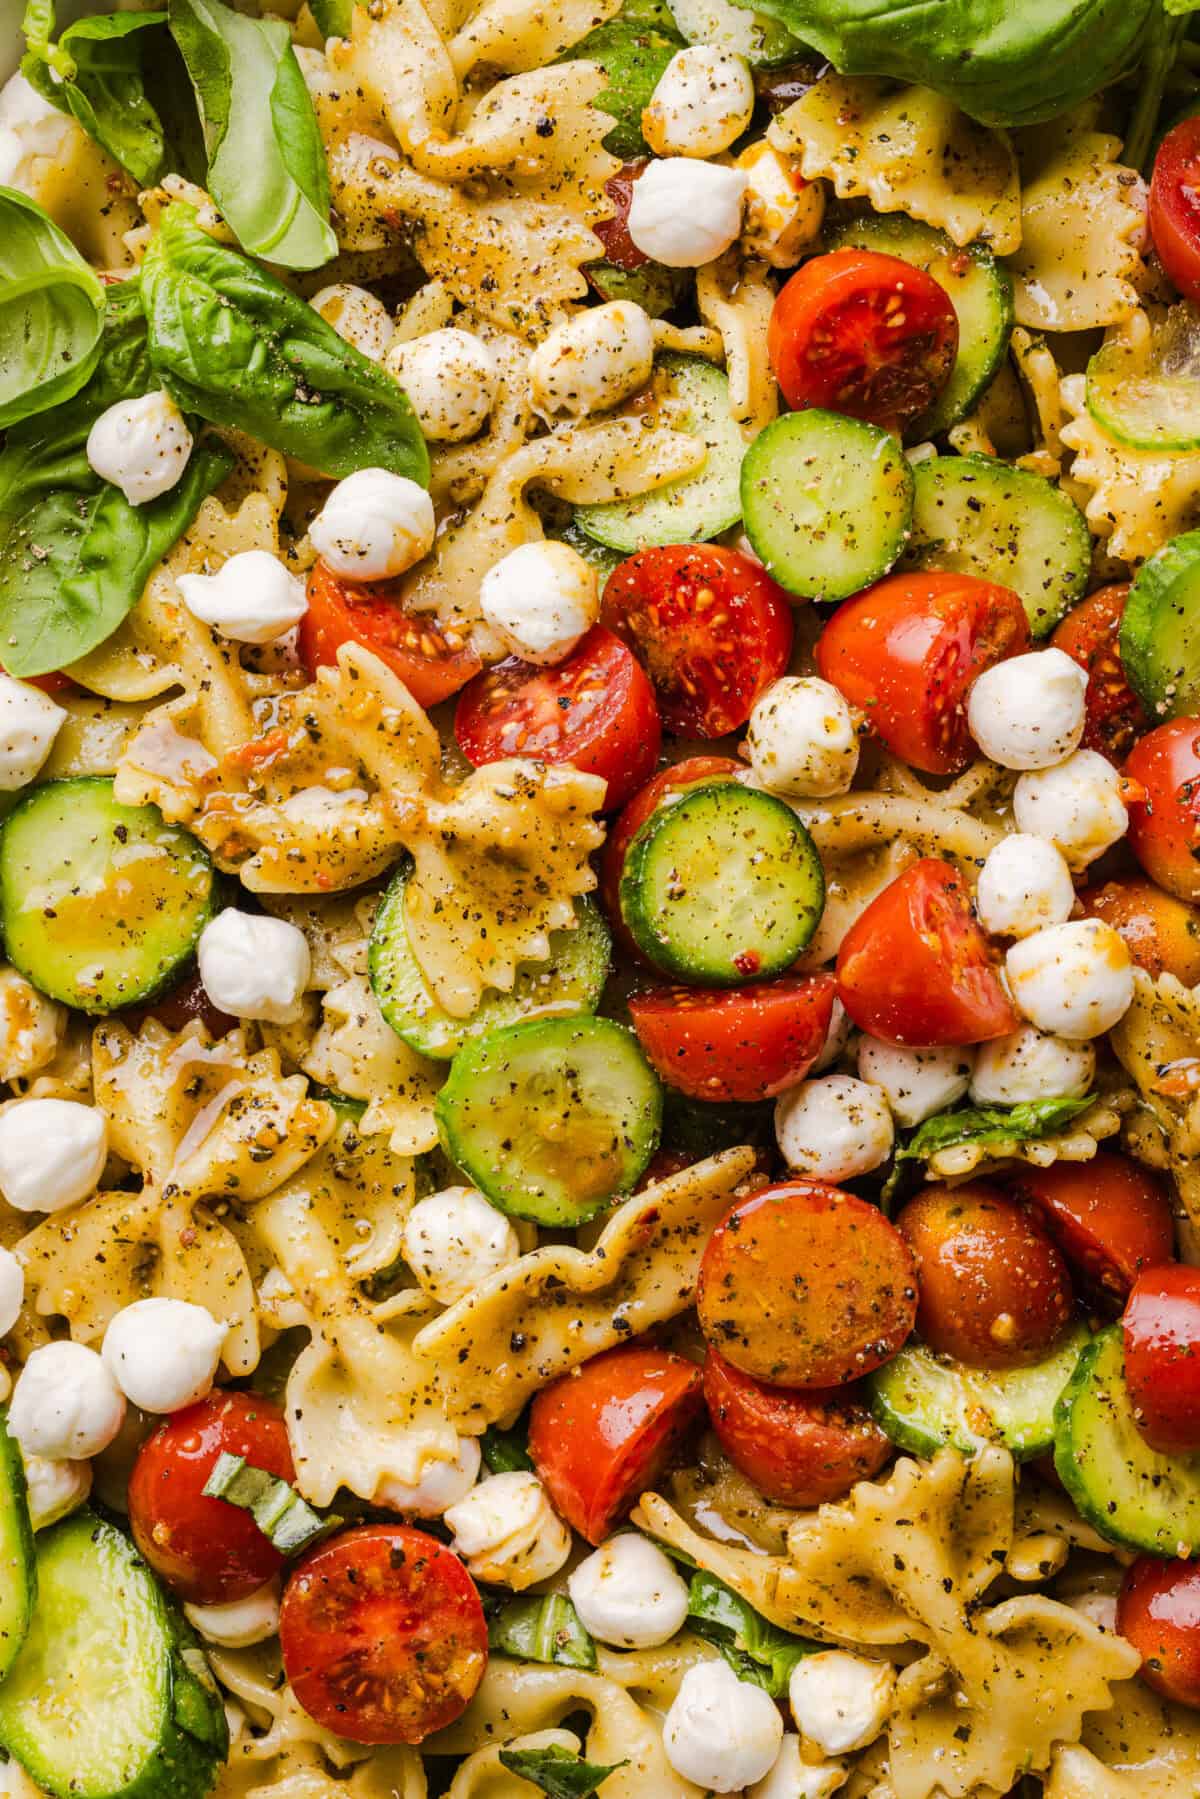
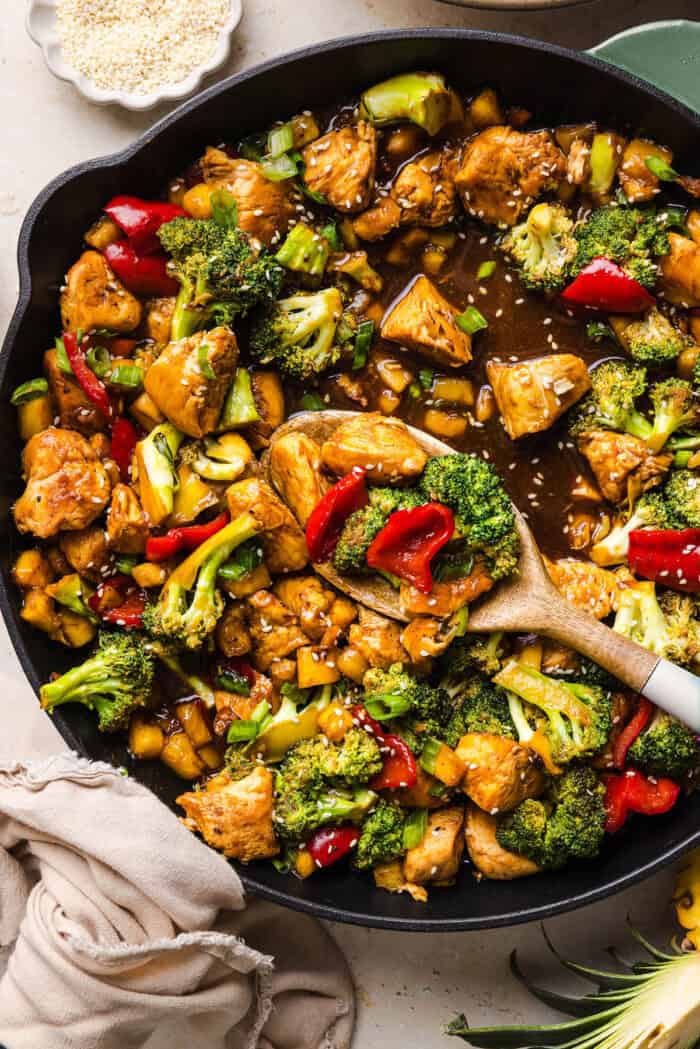
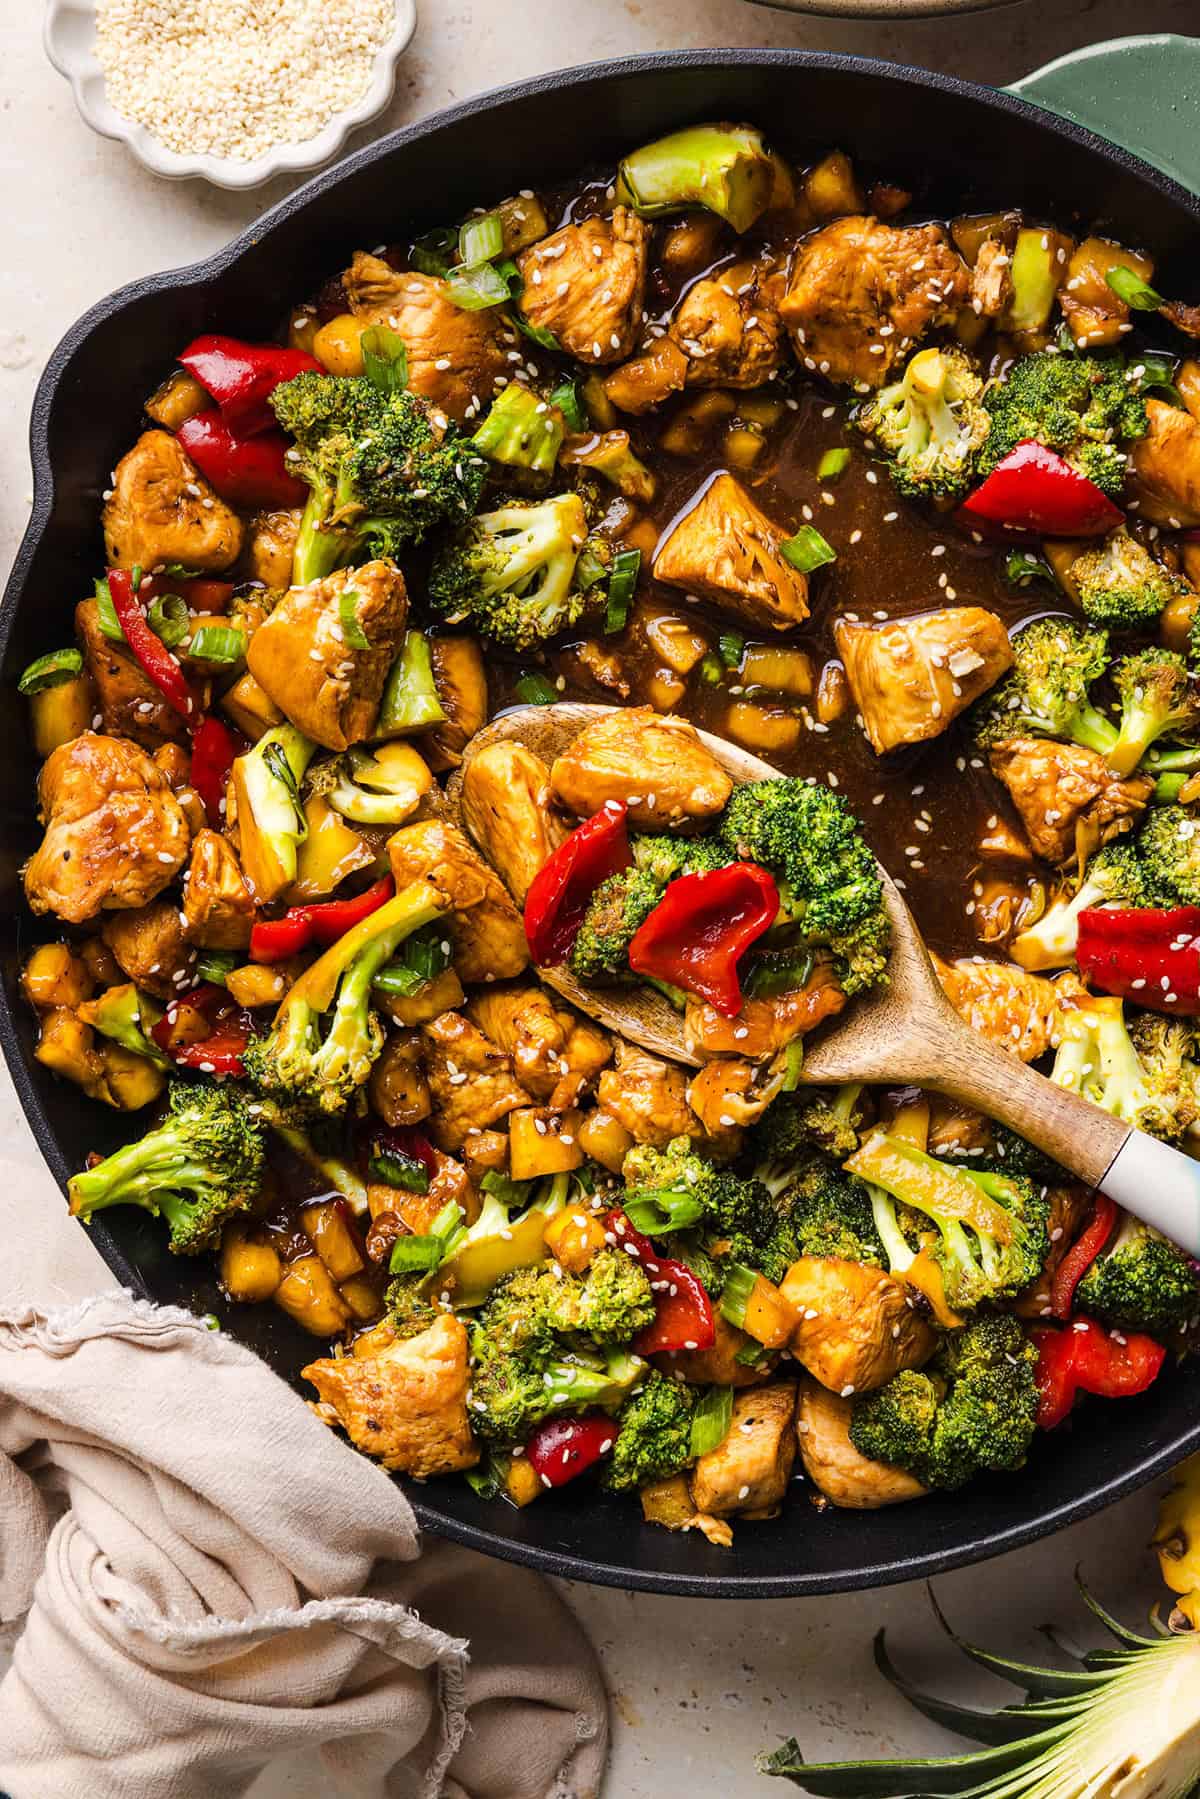
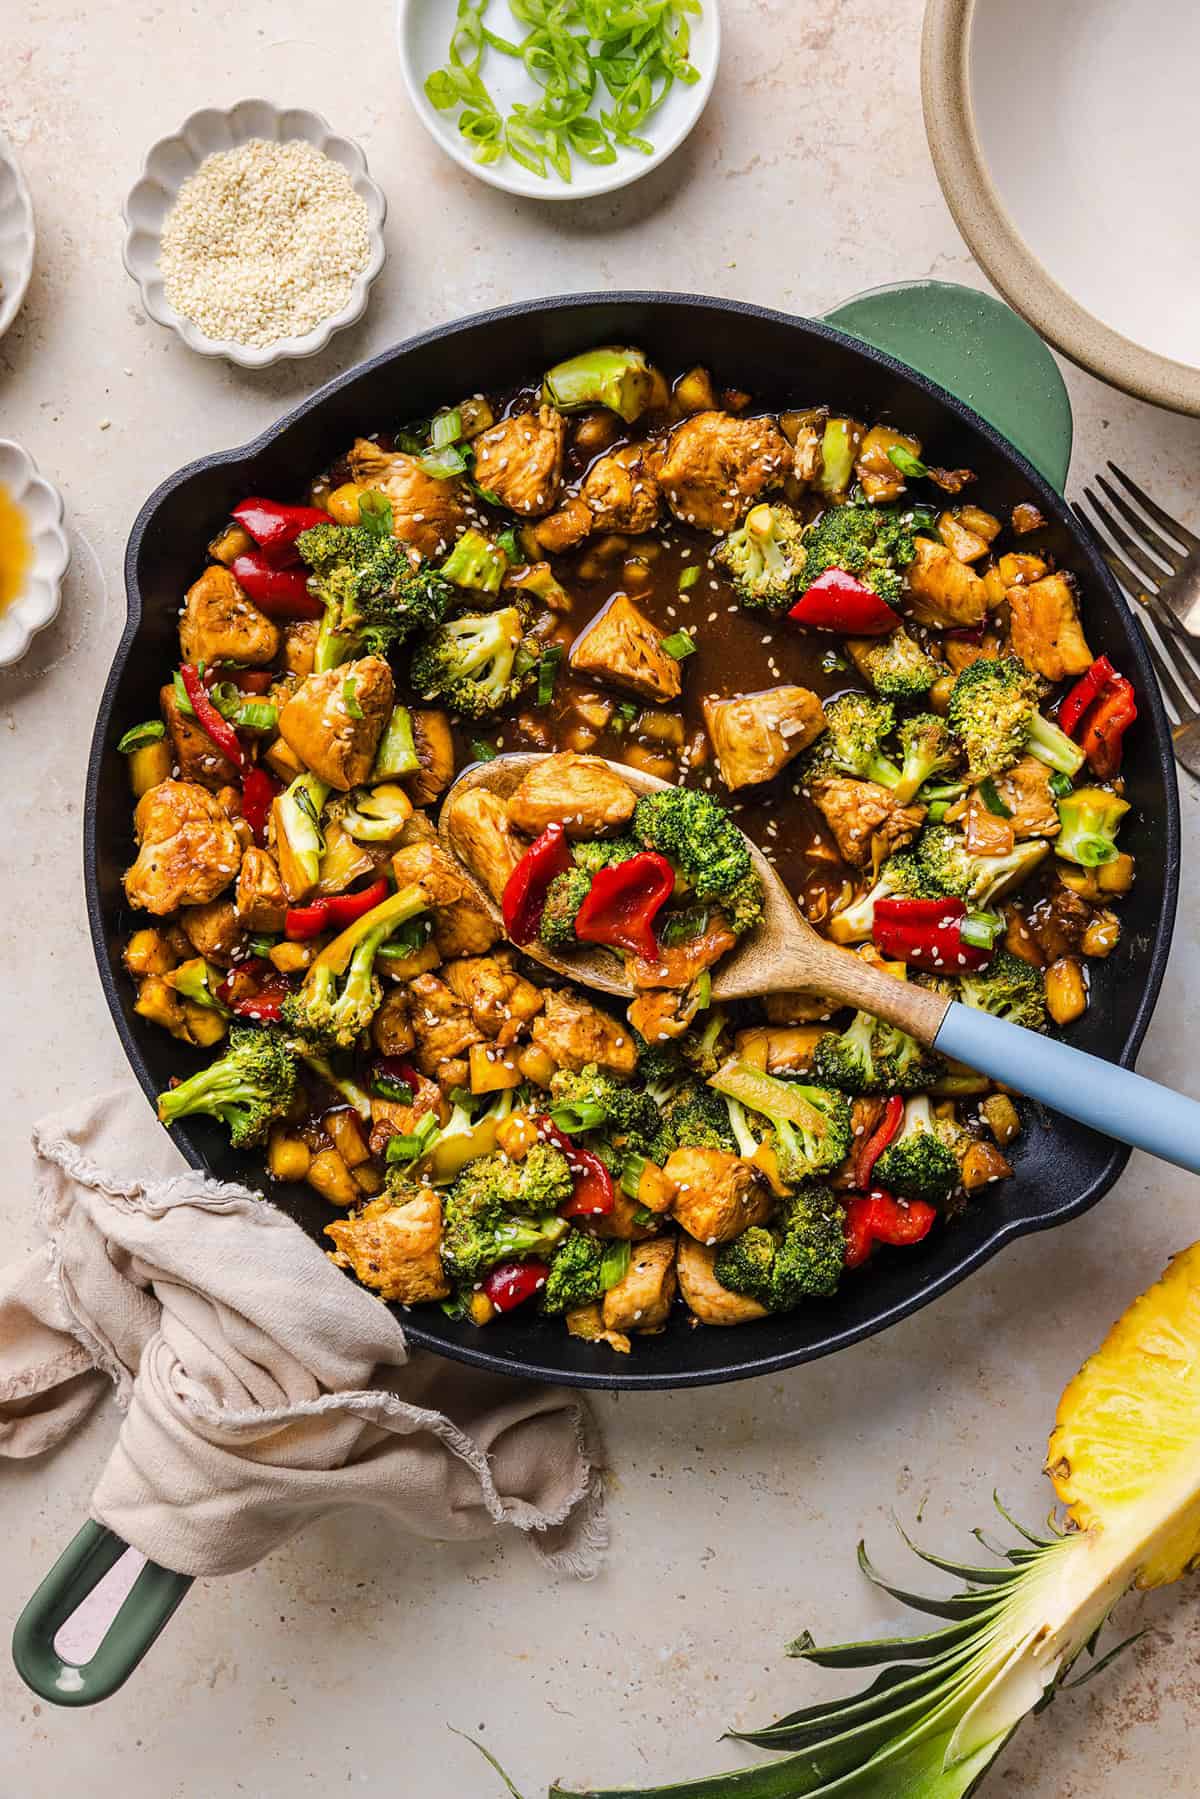
Skip the takeout and make this fresh, flavor-packed Pineapple Teriyaki Chicken Stir Fry right at home! Tender bites of juicy, tender chicken are tossed with crisp broccoli, sweet red bell peppers, fresh pineapple, and a delicious teriyaki sauce that is perfectly sweet, savory, and just a little tangy. The easiest recipe that comes together in one skillet in under 30 minutes, making this the perfect weeknight dish the entire family will love. The perfect summer dinner!
Why You’ll Love This
- Quick and easy – this entire meal is ready in under 30 minutes and made all in one pan, making it perfect for busy weeknights.
- Packed with flavor – the delicious homemade teriyaki sauce is sweet, savory and tangy with juicy pineapple in every bite.
- Great for meal prep – leftovers taste even better the next day and reheats beautifully for easy lunches.
- Family-approved – this meal is healthy, packed with fresh veggies and loaded with flavors the whole family will love.
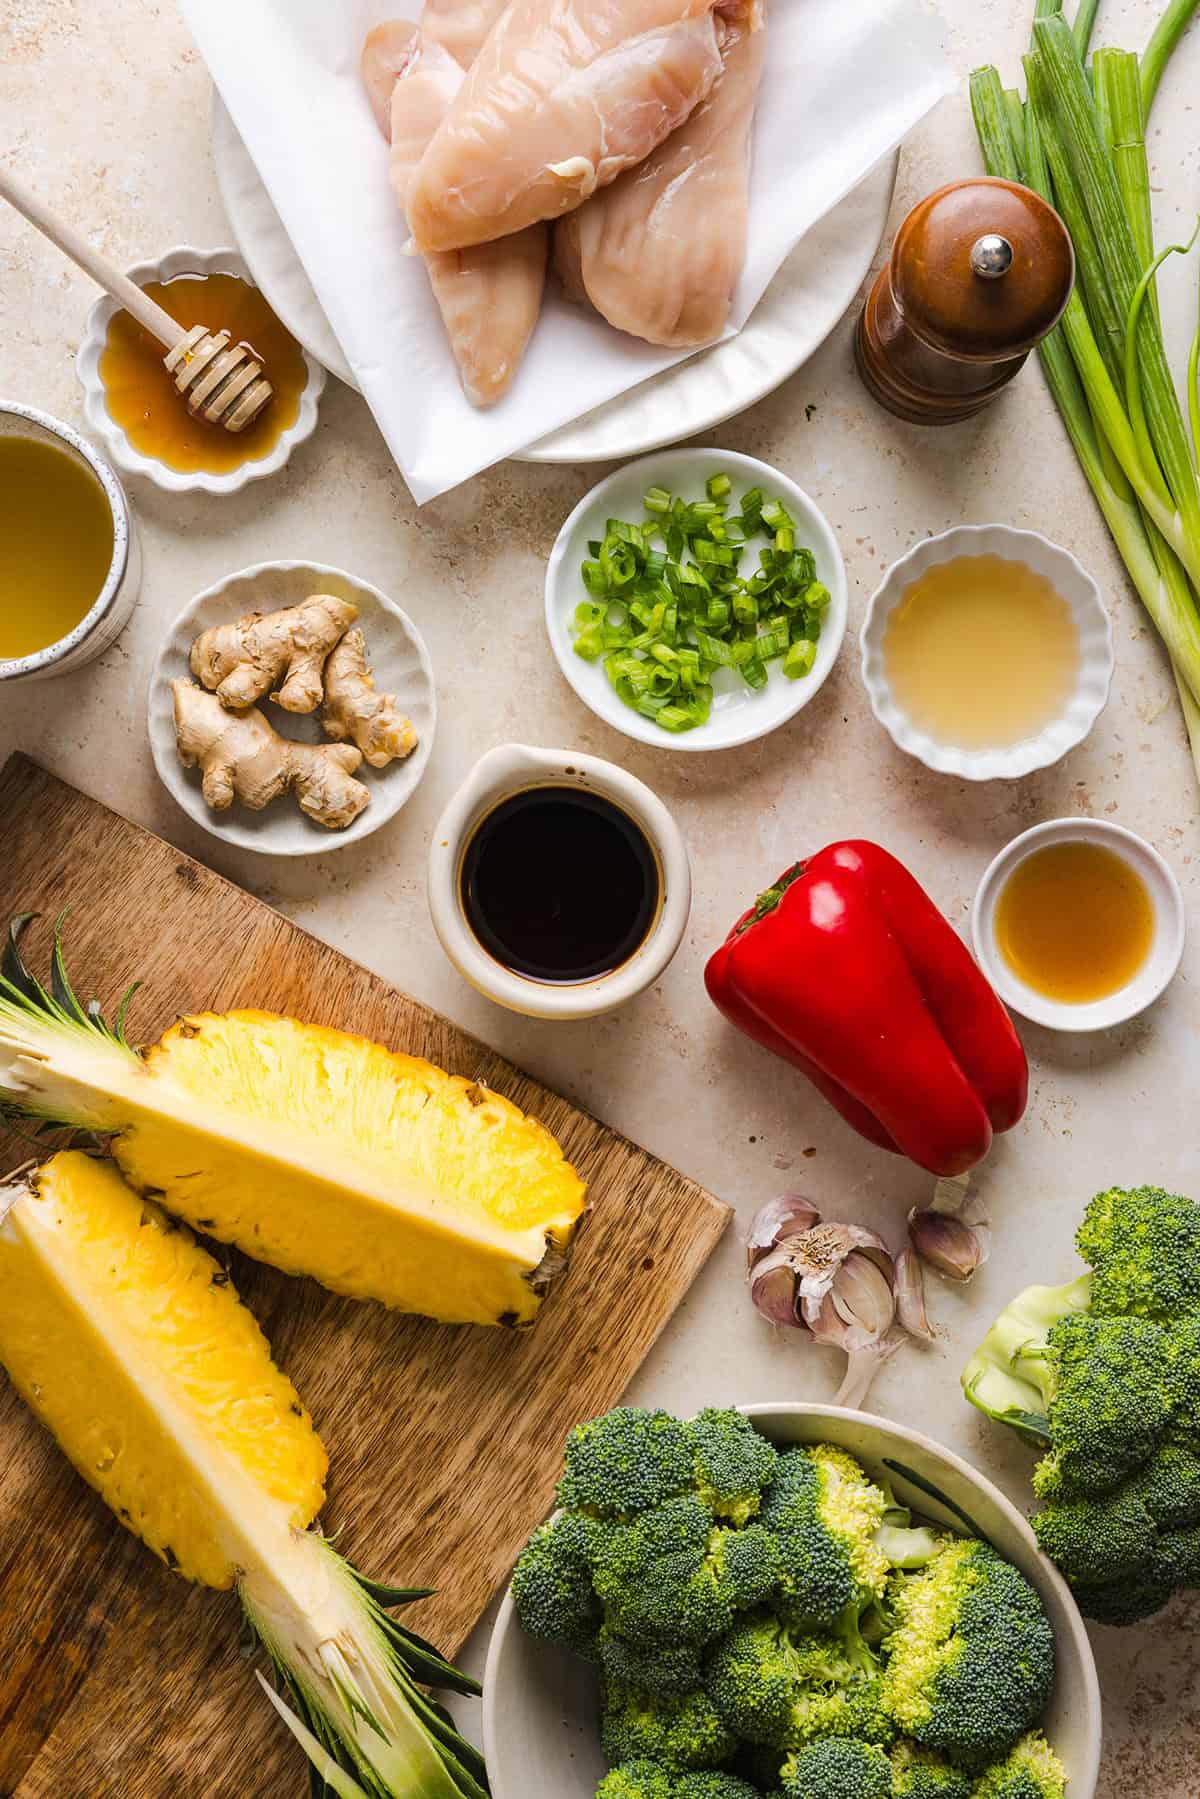
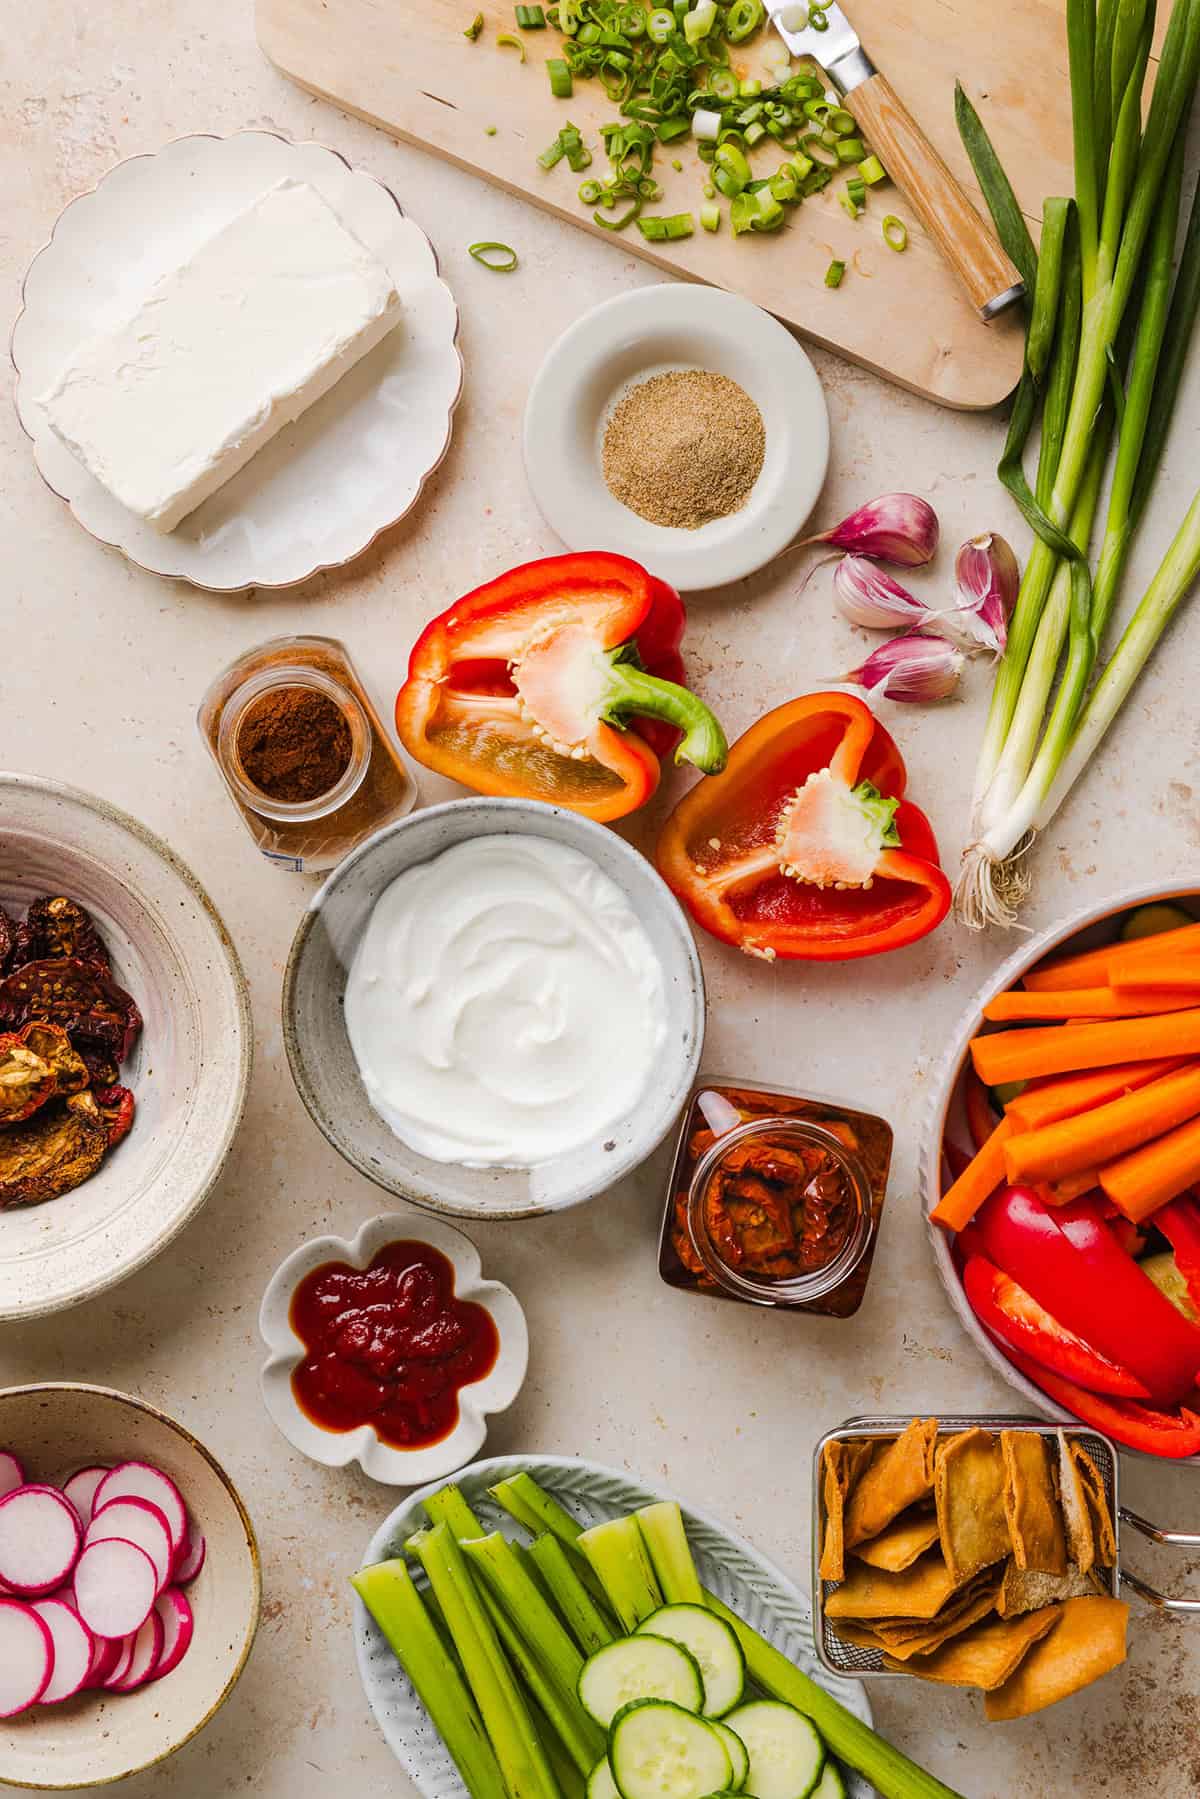
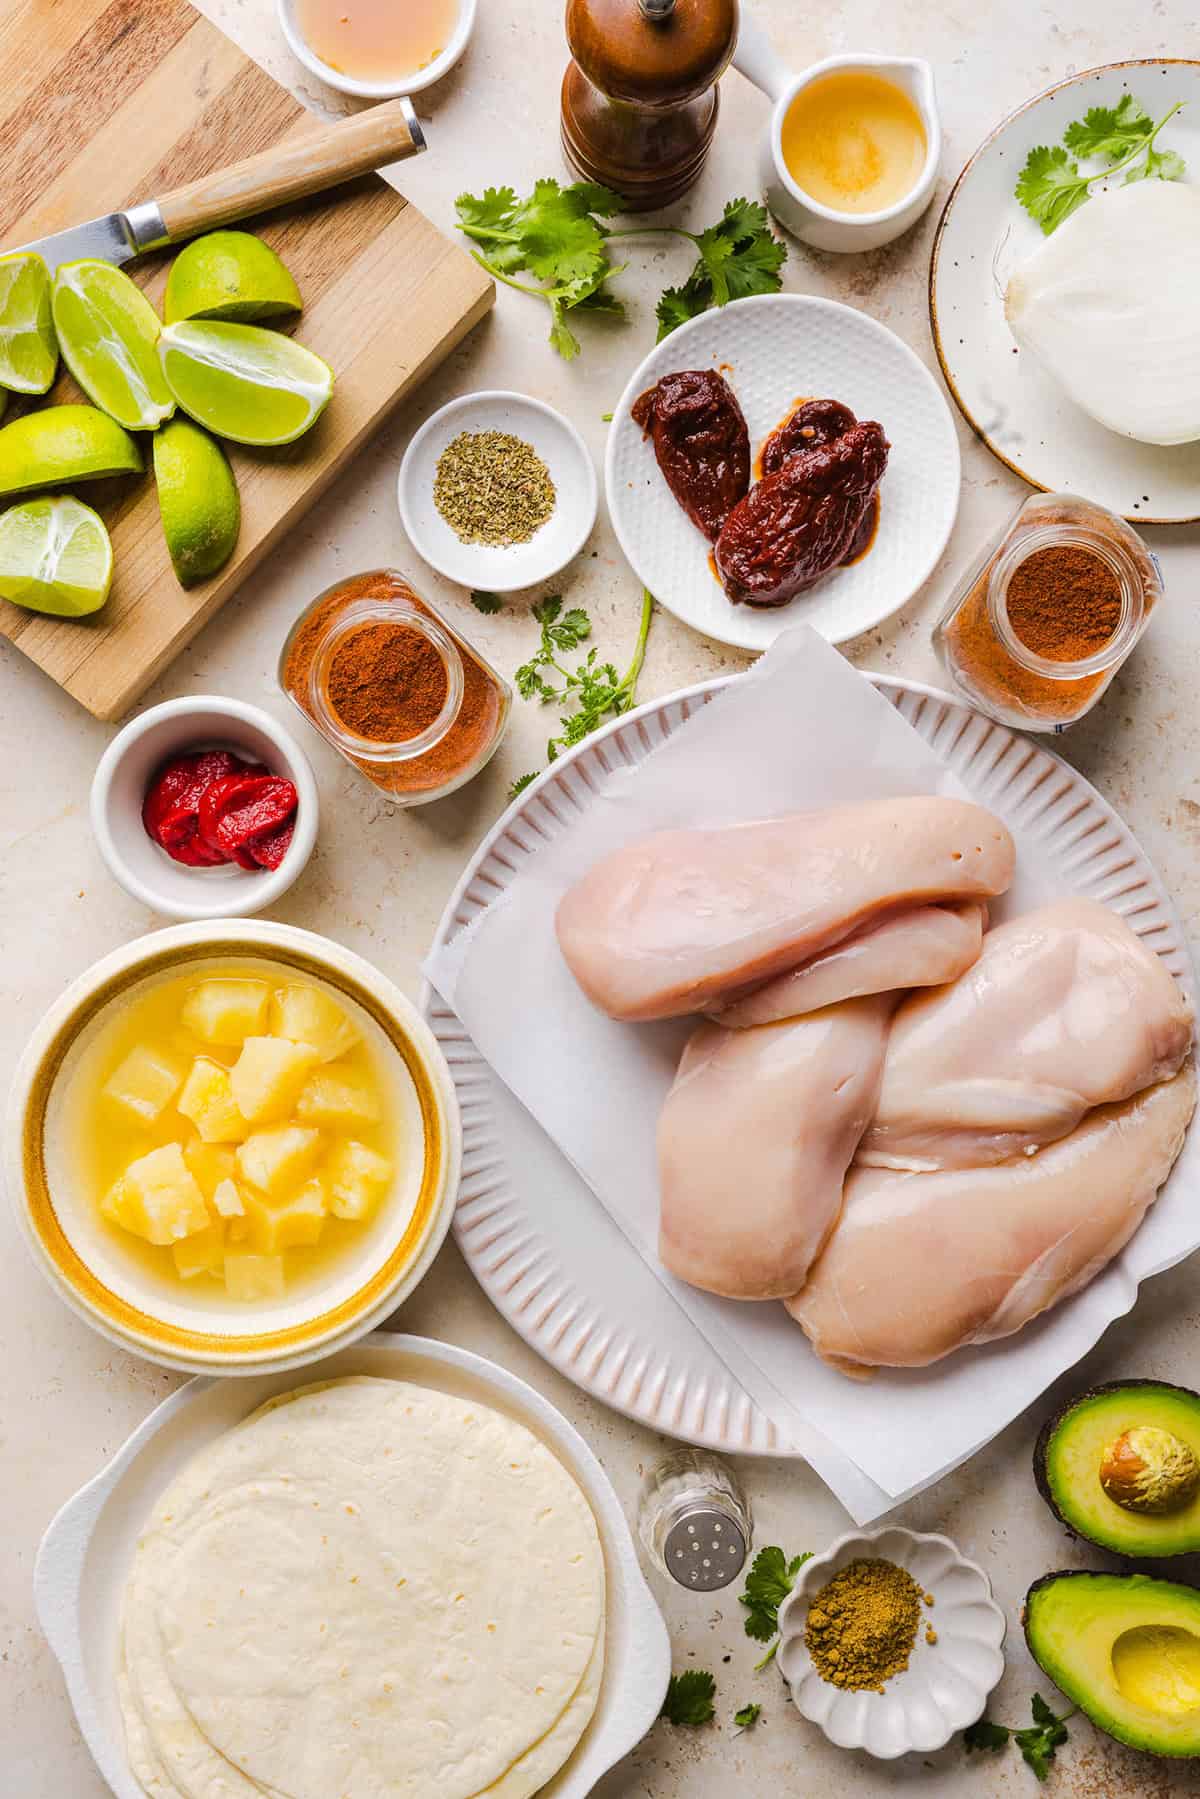
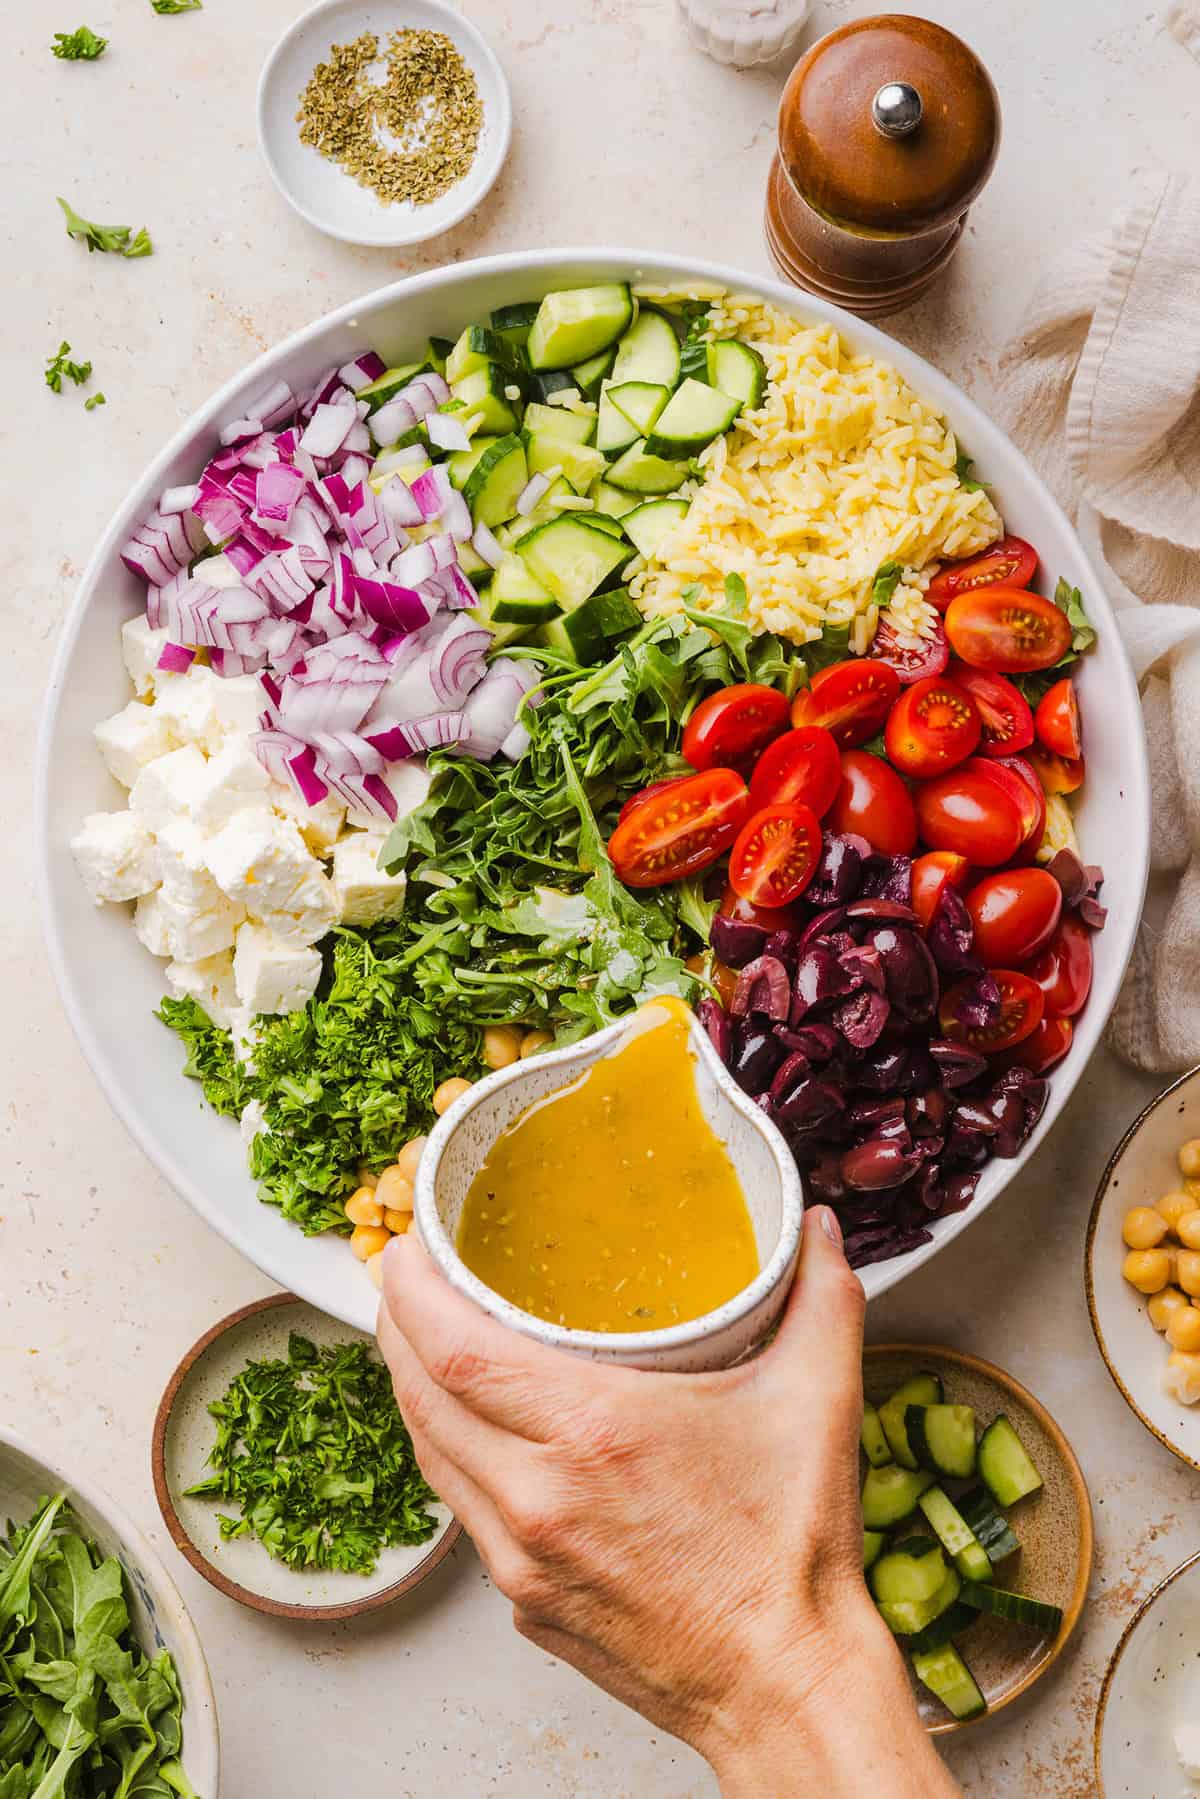
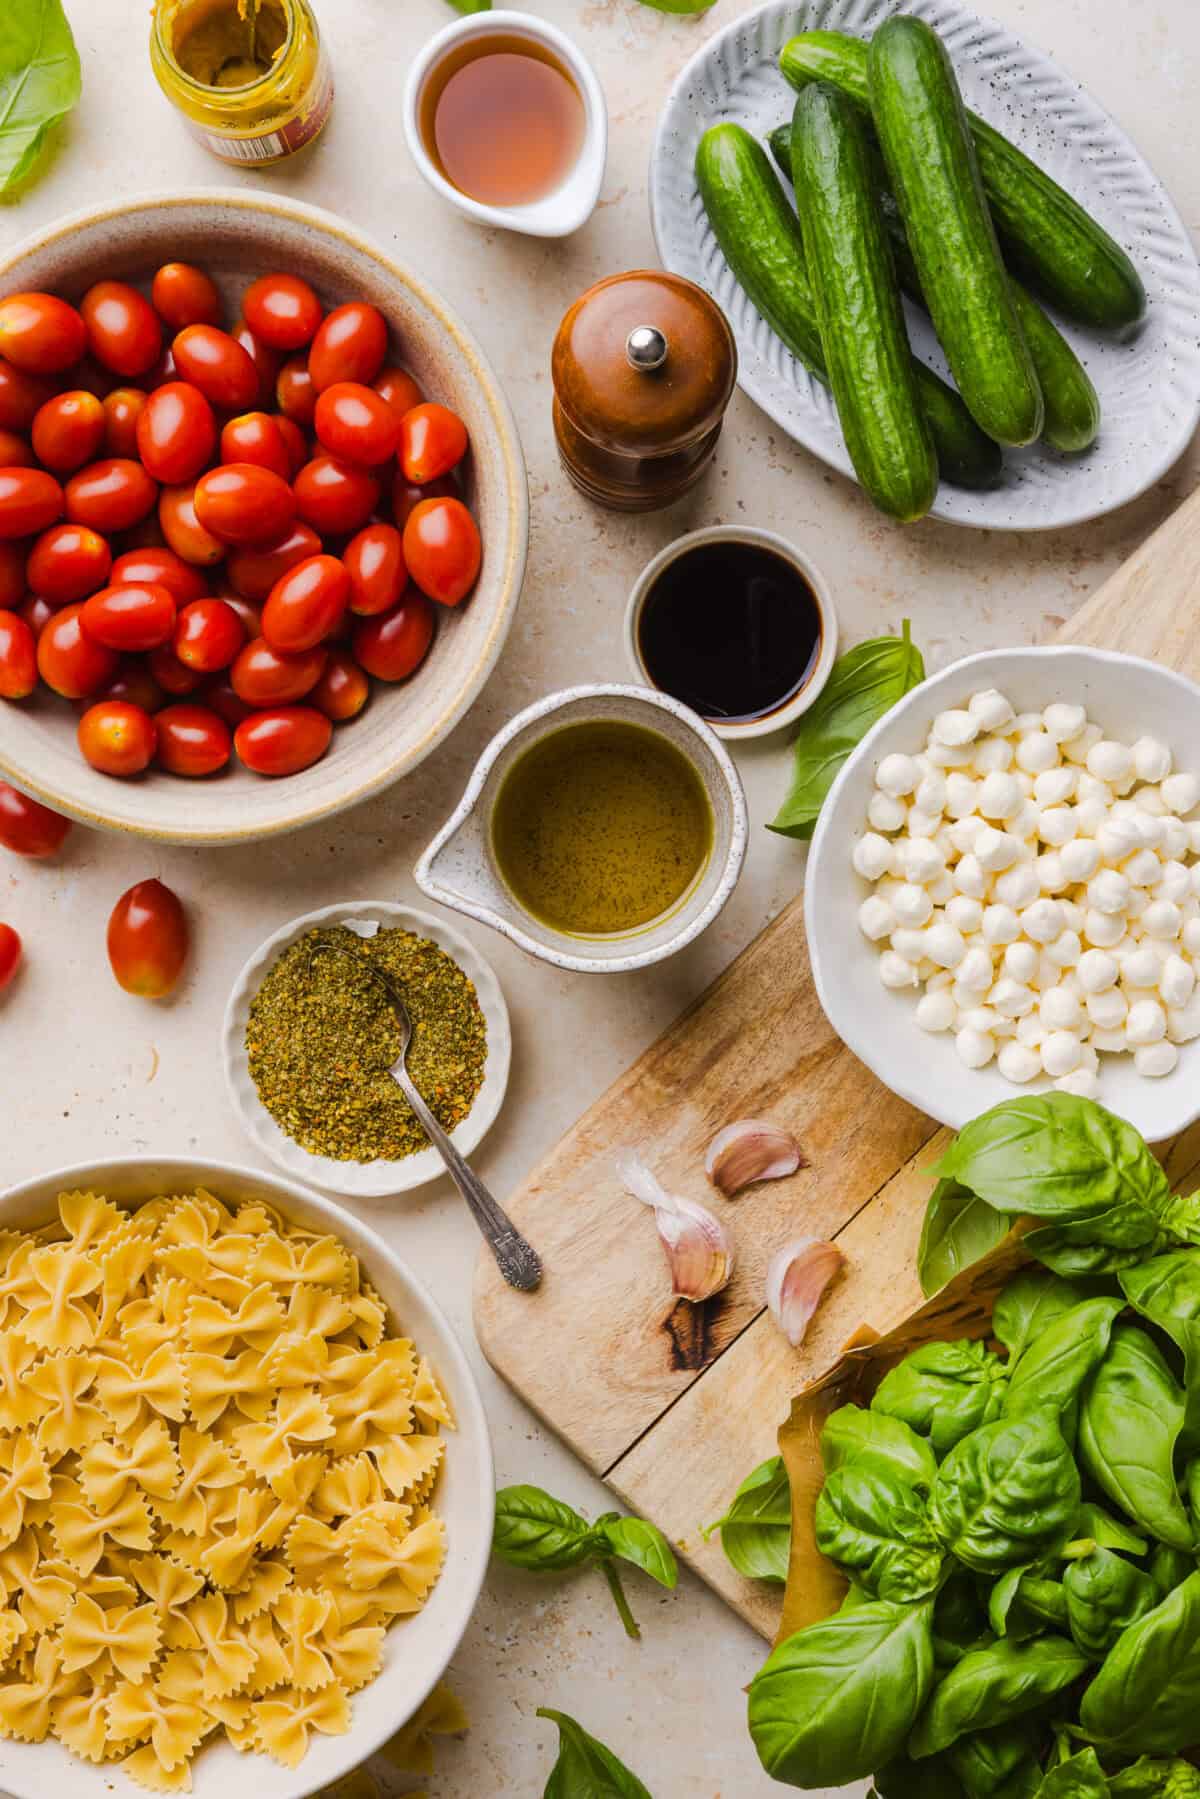
Ingredients You’ll Need
- chicken – boneless, skinless chicken breasts cook quickly and stay tender when cut into bite-sized pieces. Chicken thighs also work well if you prefer darker meat.
- olive oil – a small amount of olive oil helps brown the chicken while keeping everything light.
- broccoli – fresh broccoli florets adds color, texture, and plenty of nutrients while holding up beautifully in stir fries.
- red bell pepper – adds natural sweetness, vibrant color, and a slight crunch.
- fresh pineapple – provides juicy sweetness that balances the savory teriyaki sauce. It also caramelizes slightly as it cooks, adding even more flavor.
- teriyaki sauce – the homemade teriyaki sauce is made with low sodium soy sauce, fresh pineapple juice, honey (or maple syrup), rice vinegar, sesame oil, garlic, fresh ginger and a little cornstarch to thicken the sauce.
- green onions – added at the end for a fresh pop of color and mild onion flavor.
- salt and pepper – needed to season the chicken before cooking and add flavor.
How to Make Pineapple Teriyaki Chicken
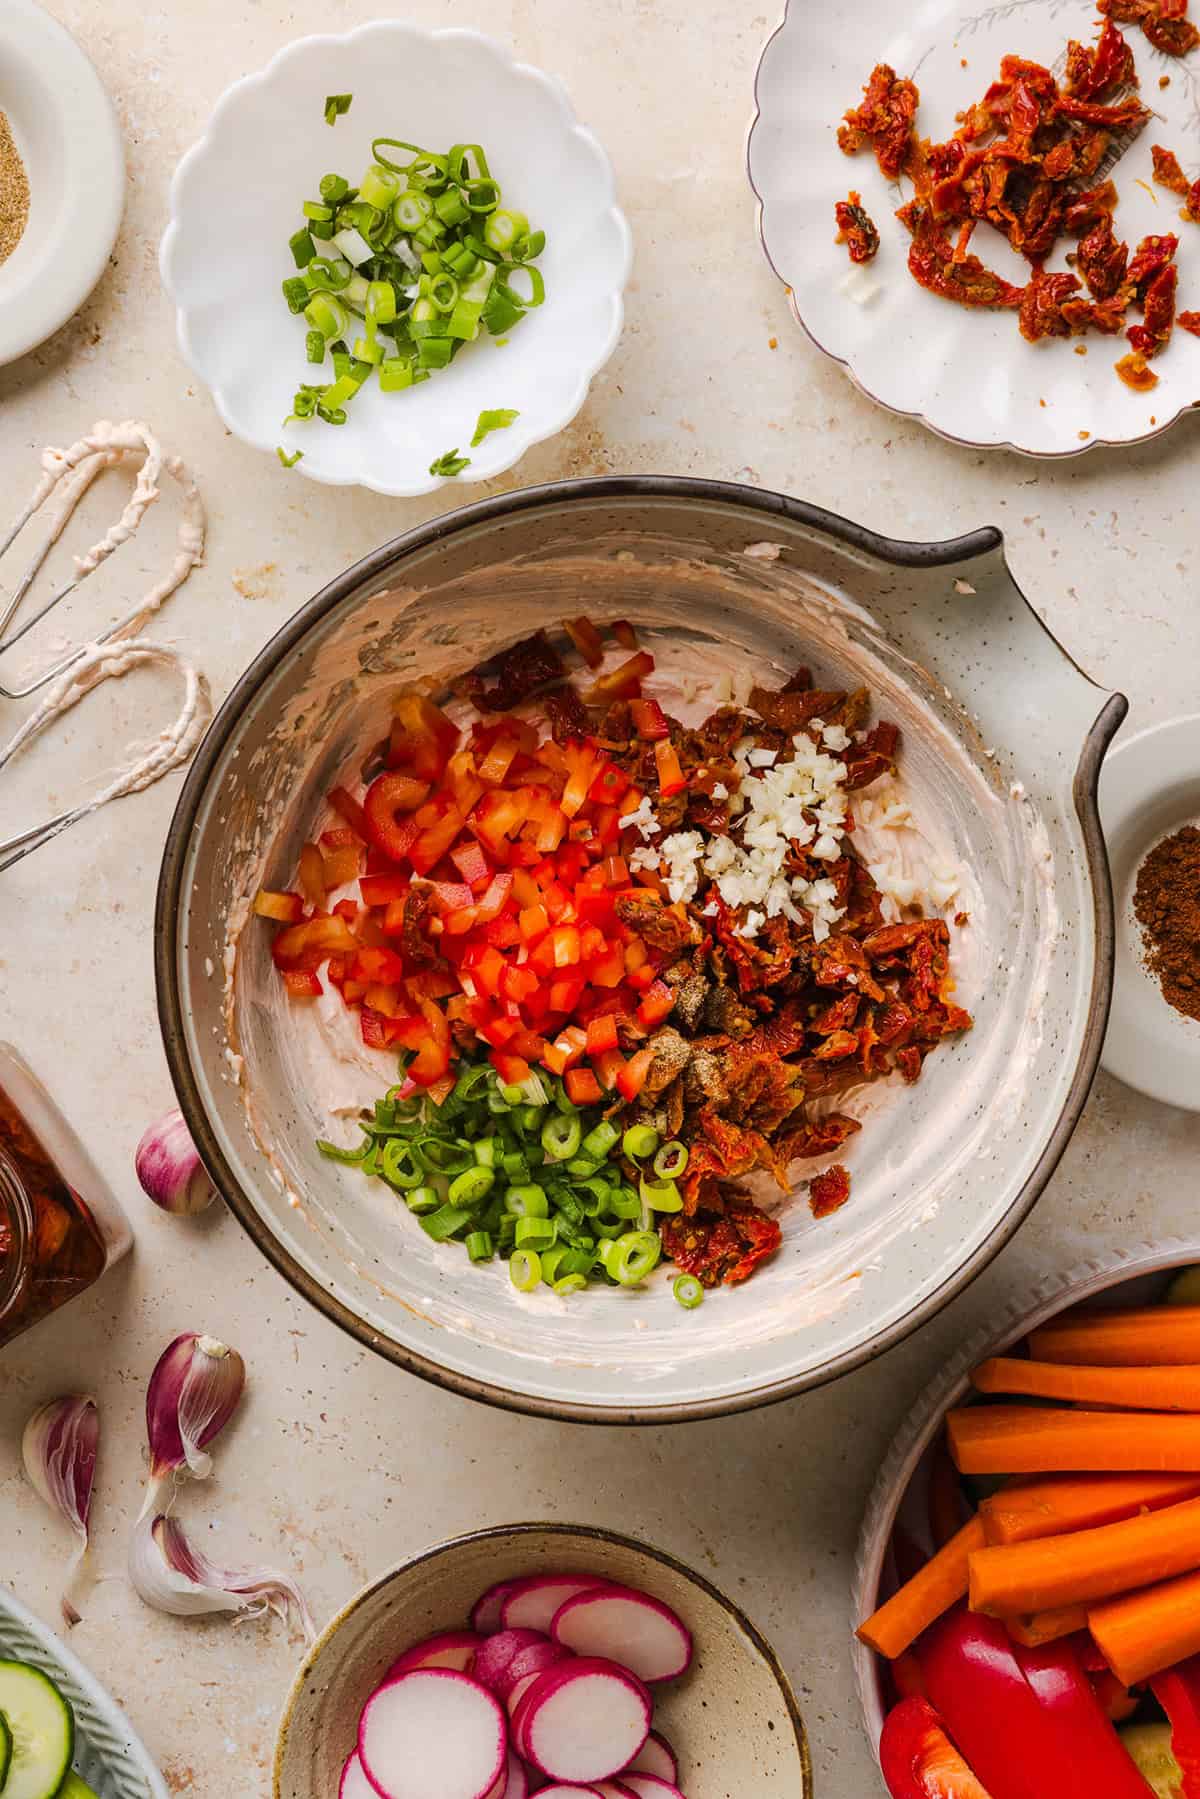
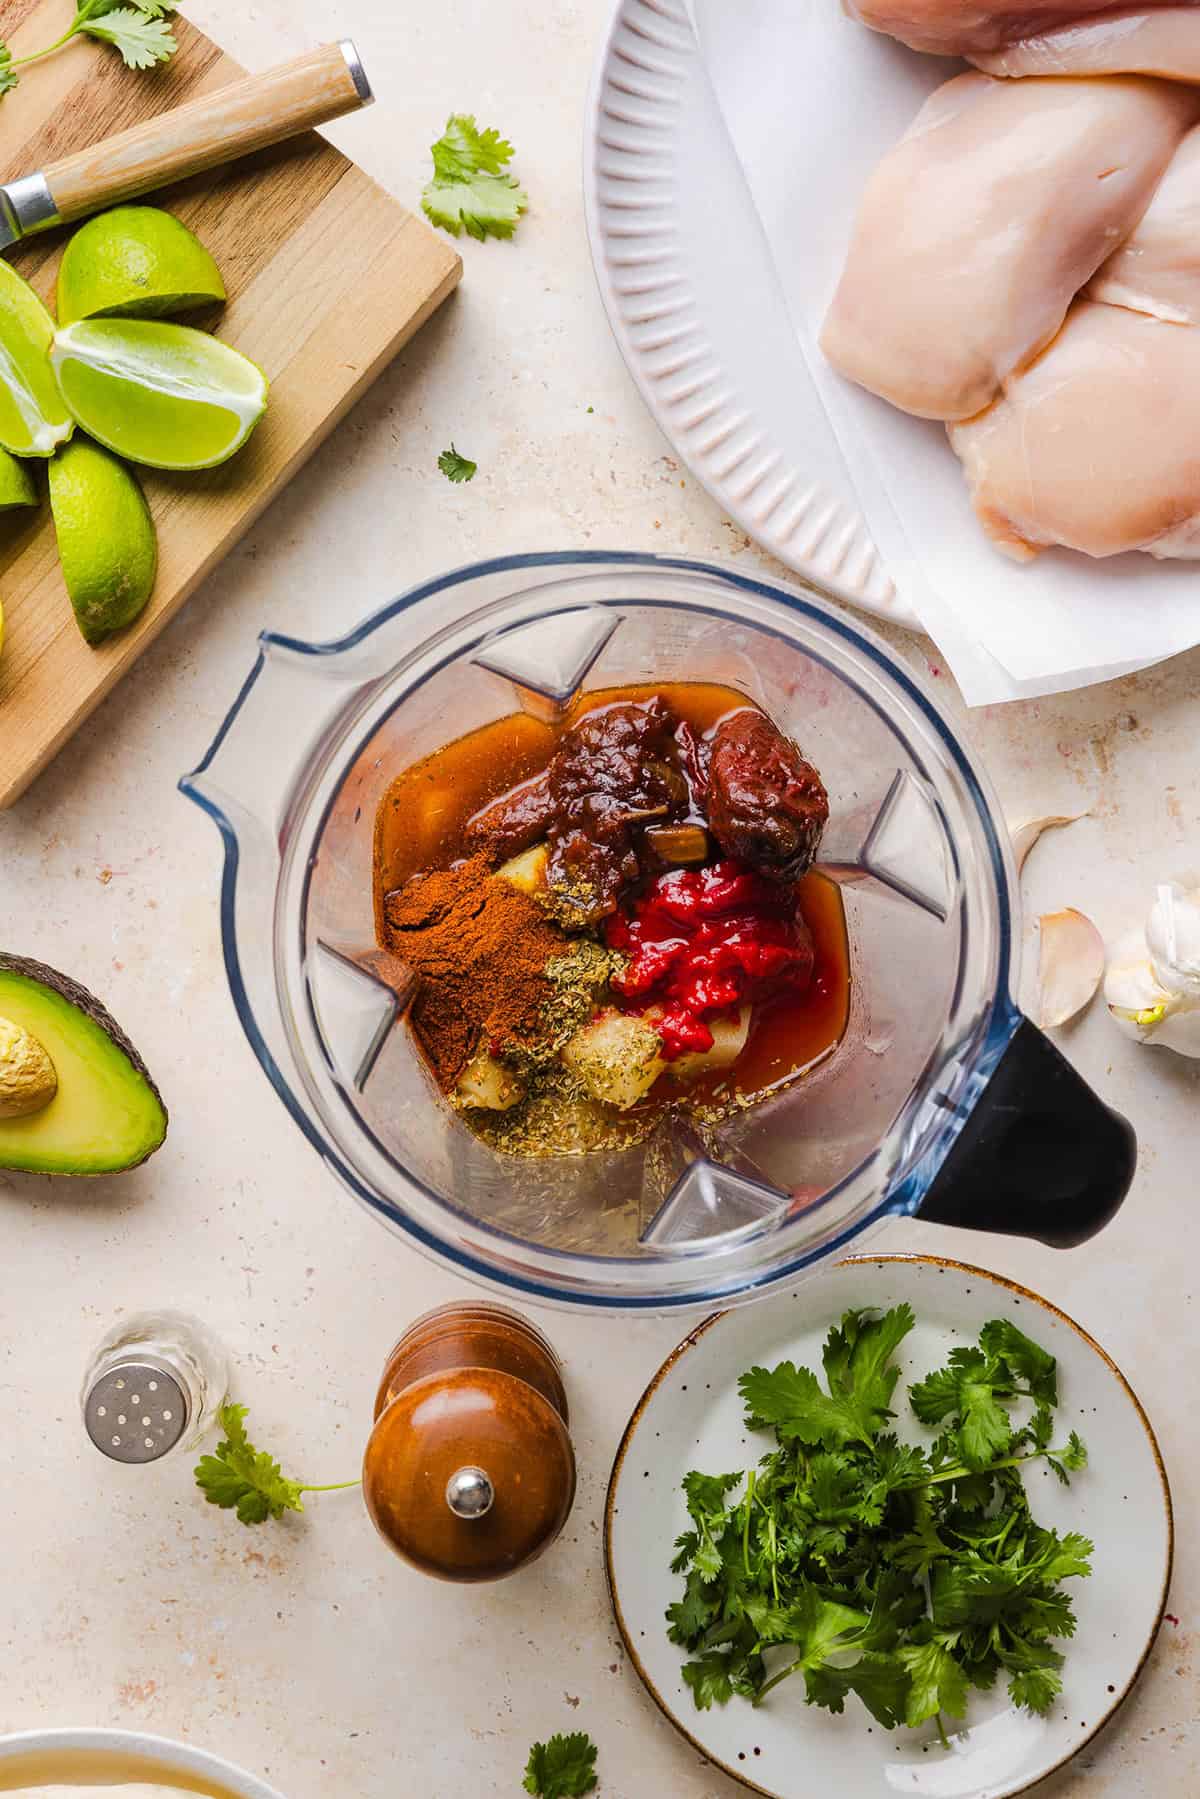
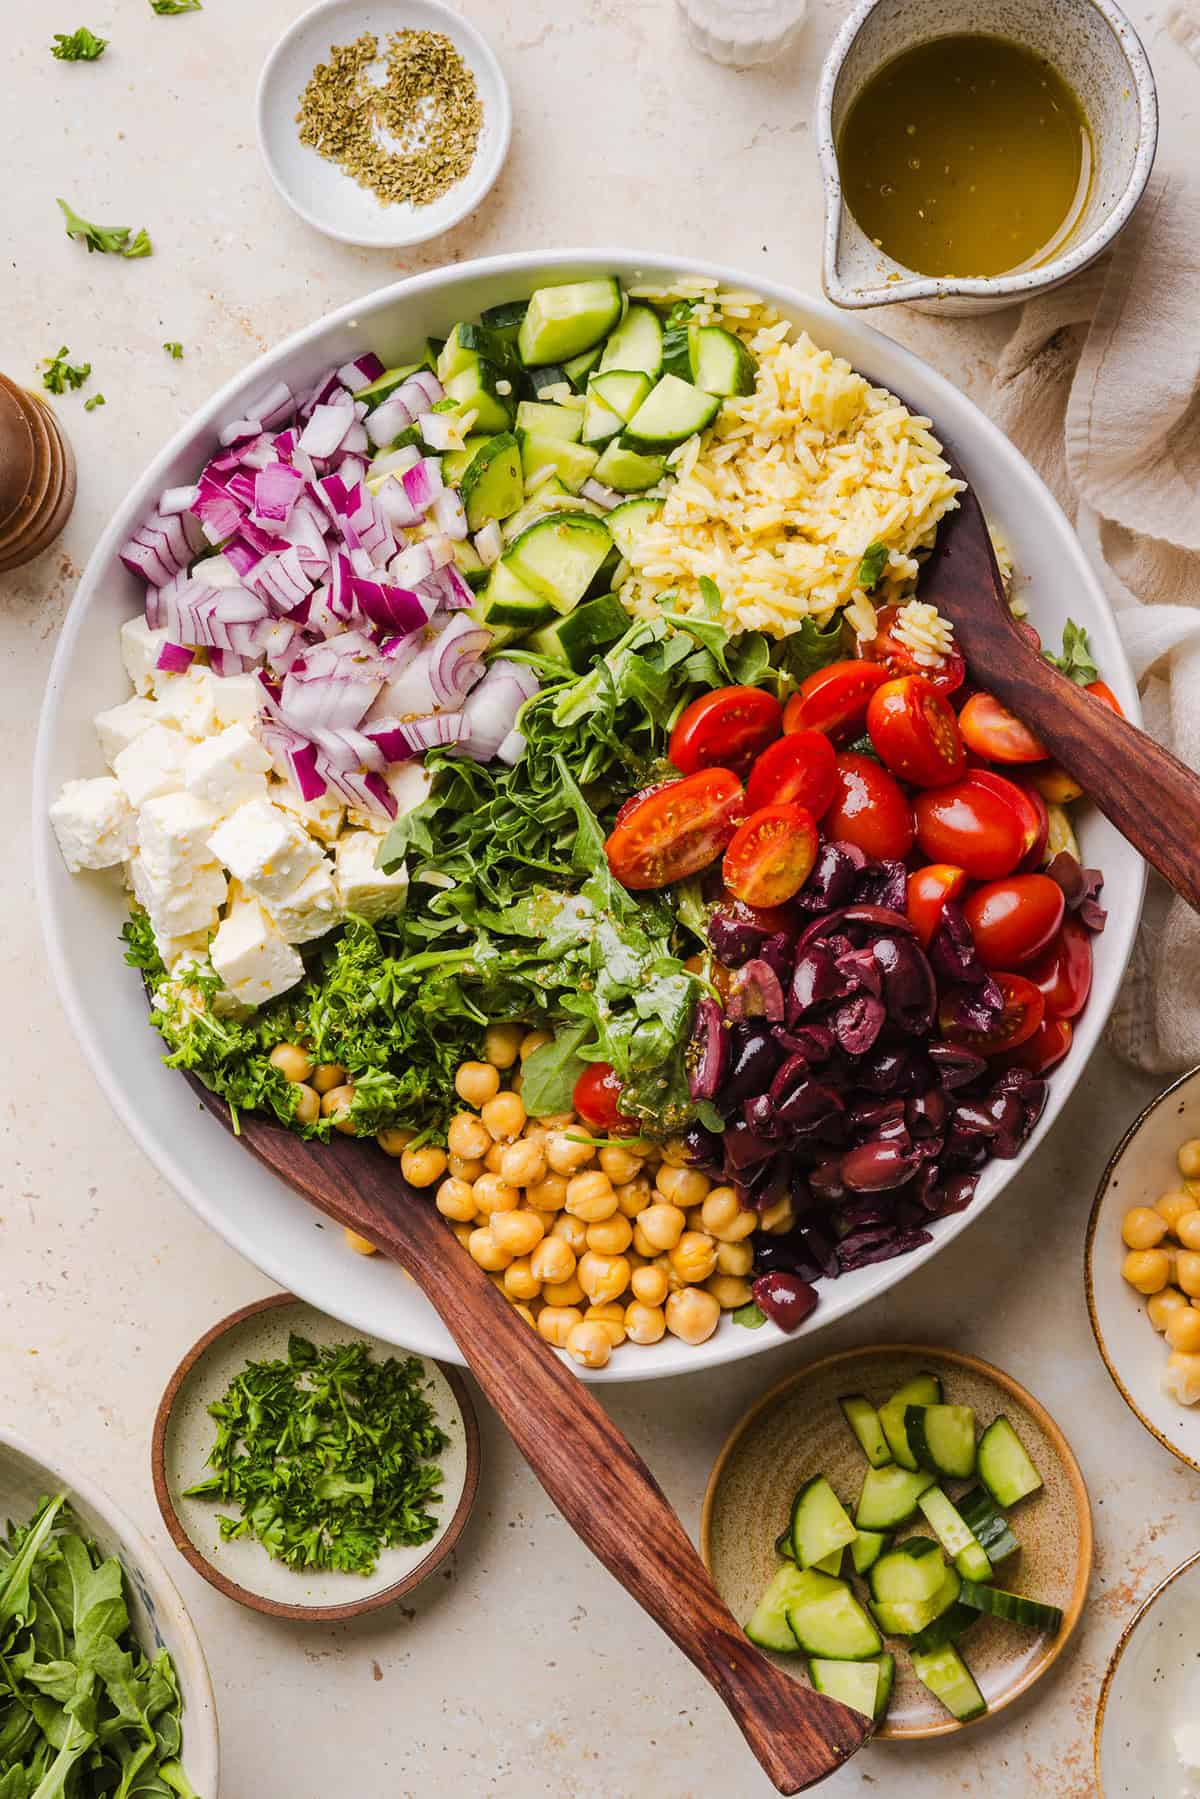
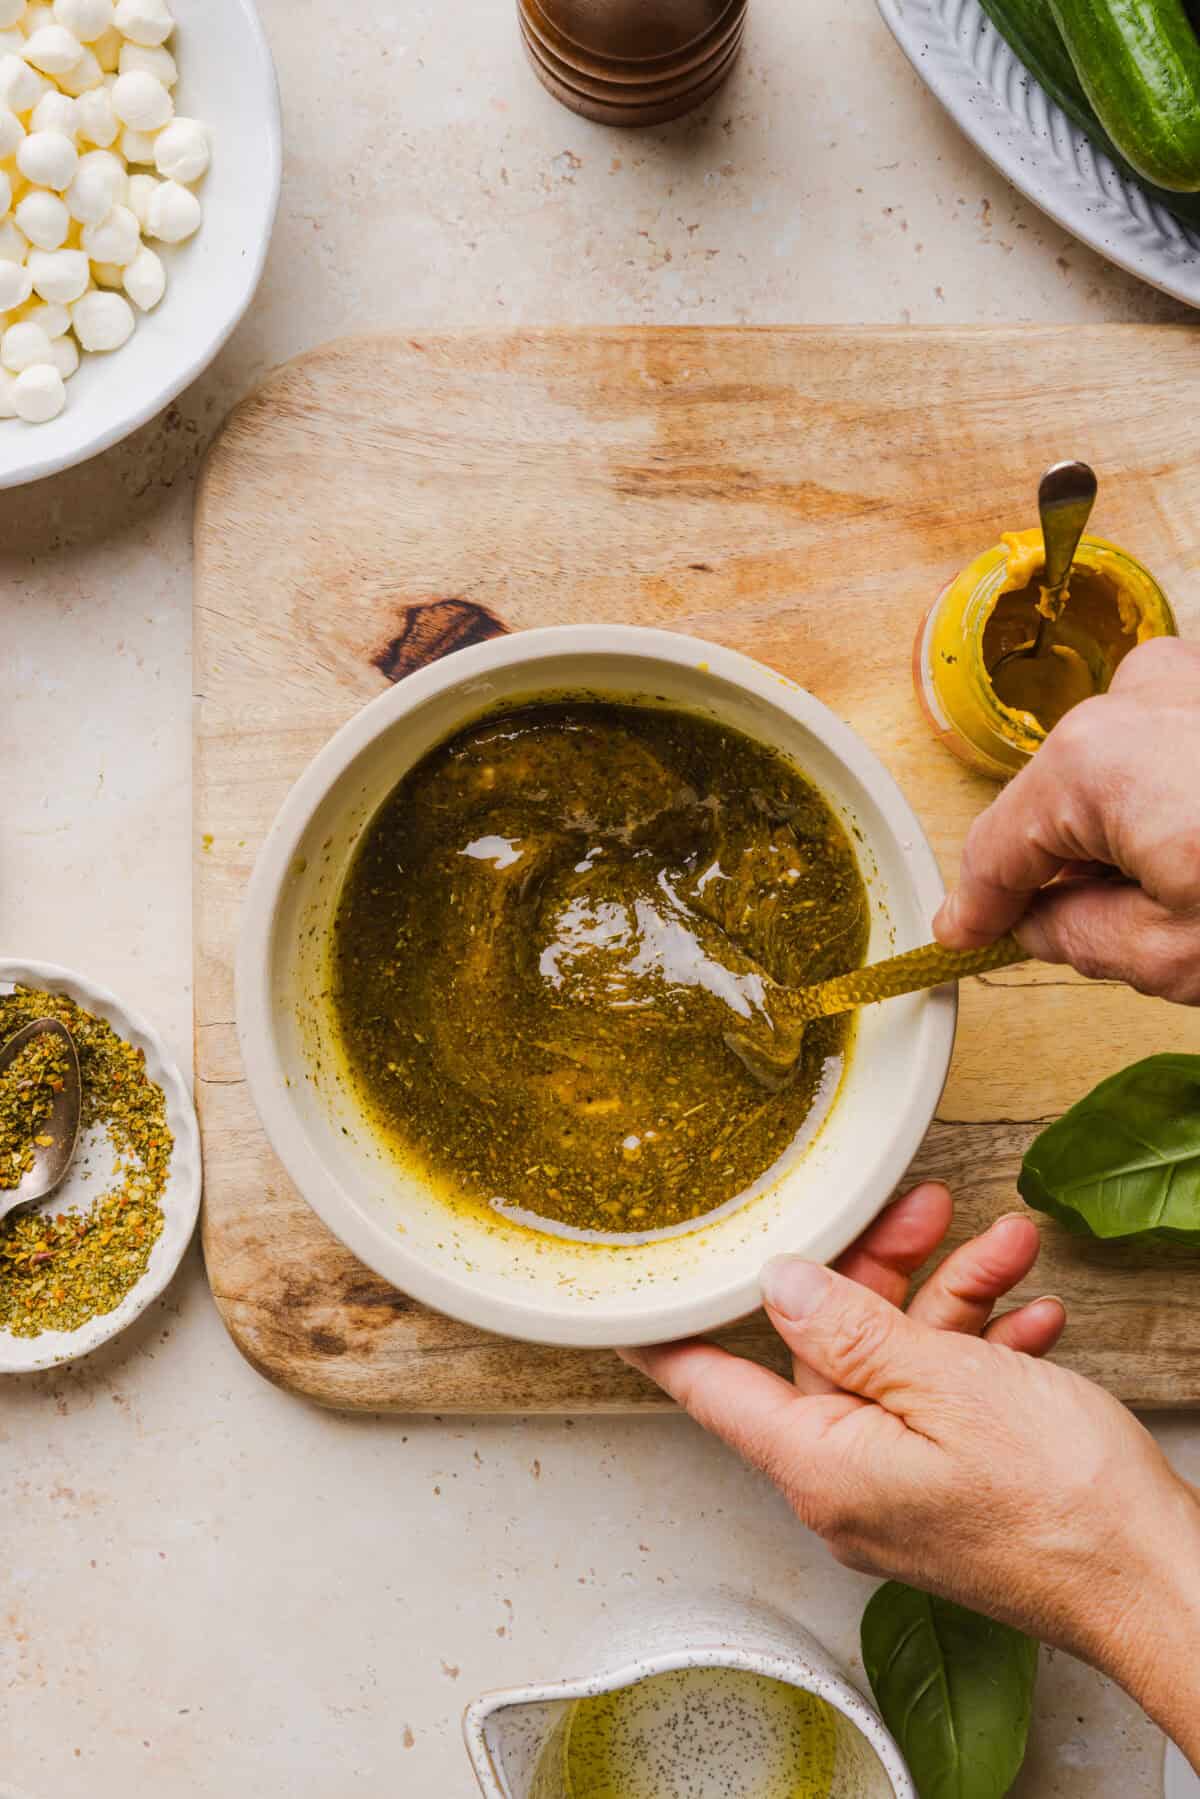
- Make the sauce. In a medium bowl, whisk together the soy sauce, pineapple juice, honey, rice vinegar, sesame oil, garlic, ginger, and black pepper. In a separate small bowl, whisk together the cornstarch and water until smooth, then stir it into the sauce. Set aside.
- Cook the chicken. Heat olive oil in a large skillet or wok over medium-high heat. Season the chicken with salt and pepper, then cook for 5 to 6 minutes until golden brown and cooked through. Transfer to a plate.
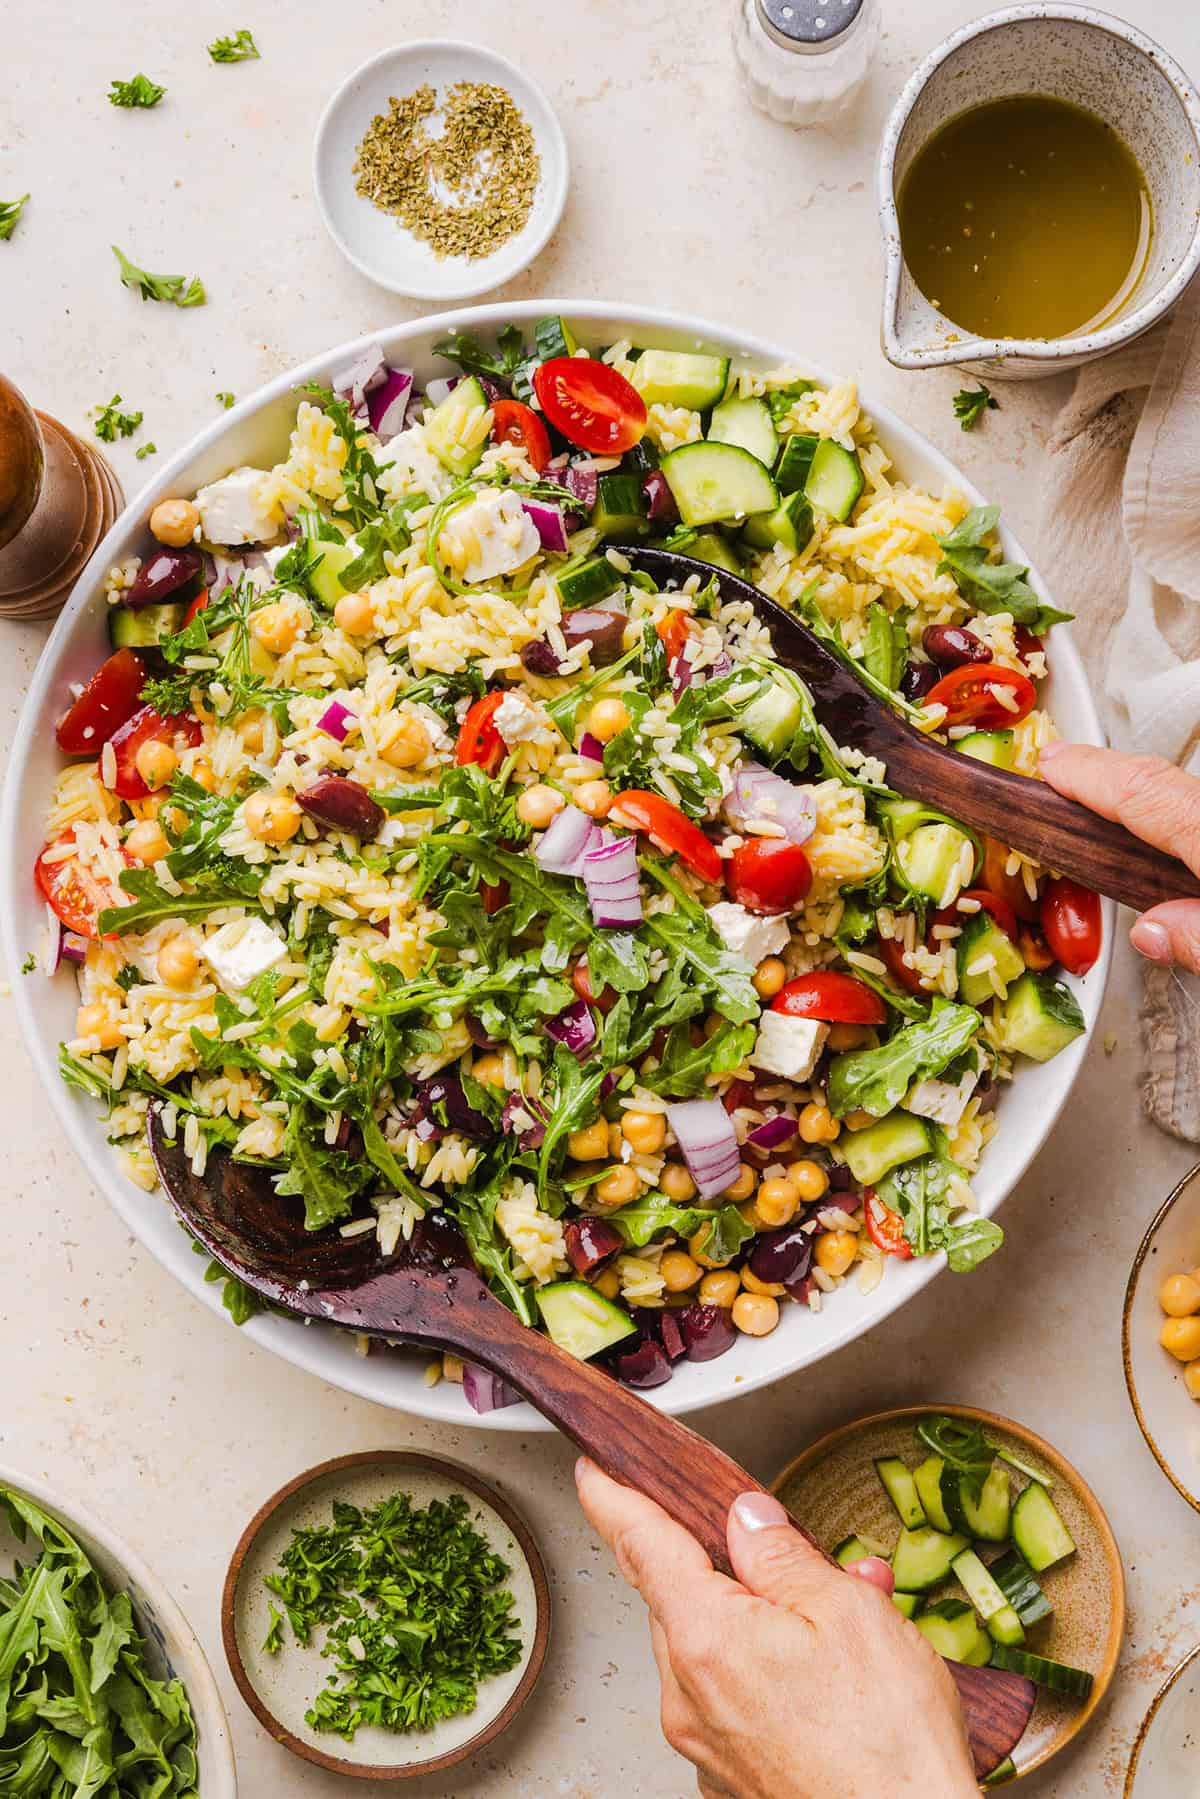
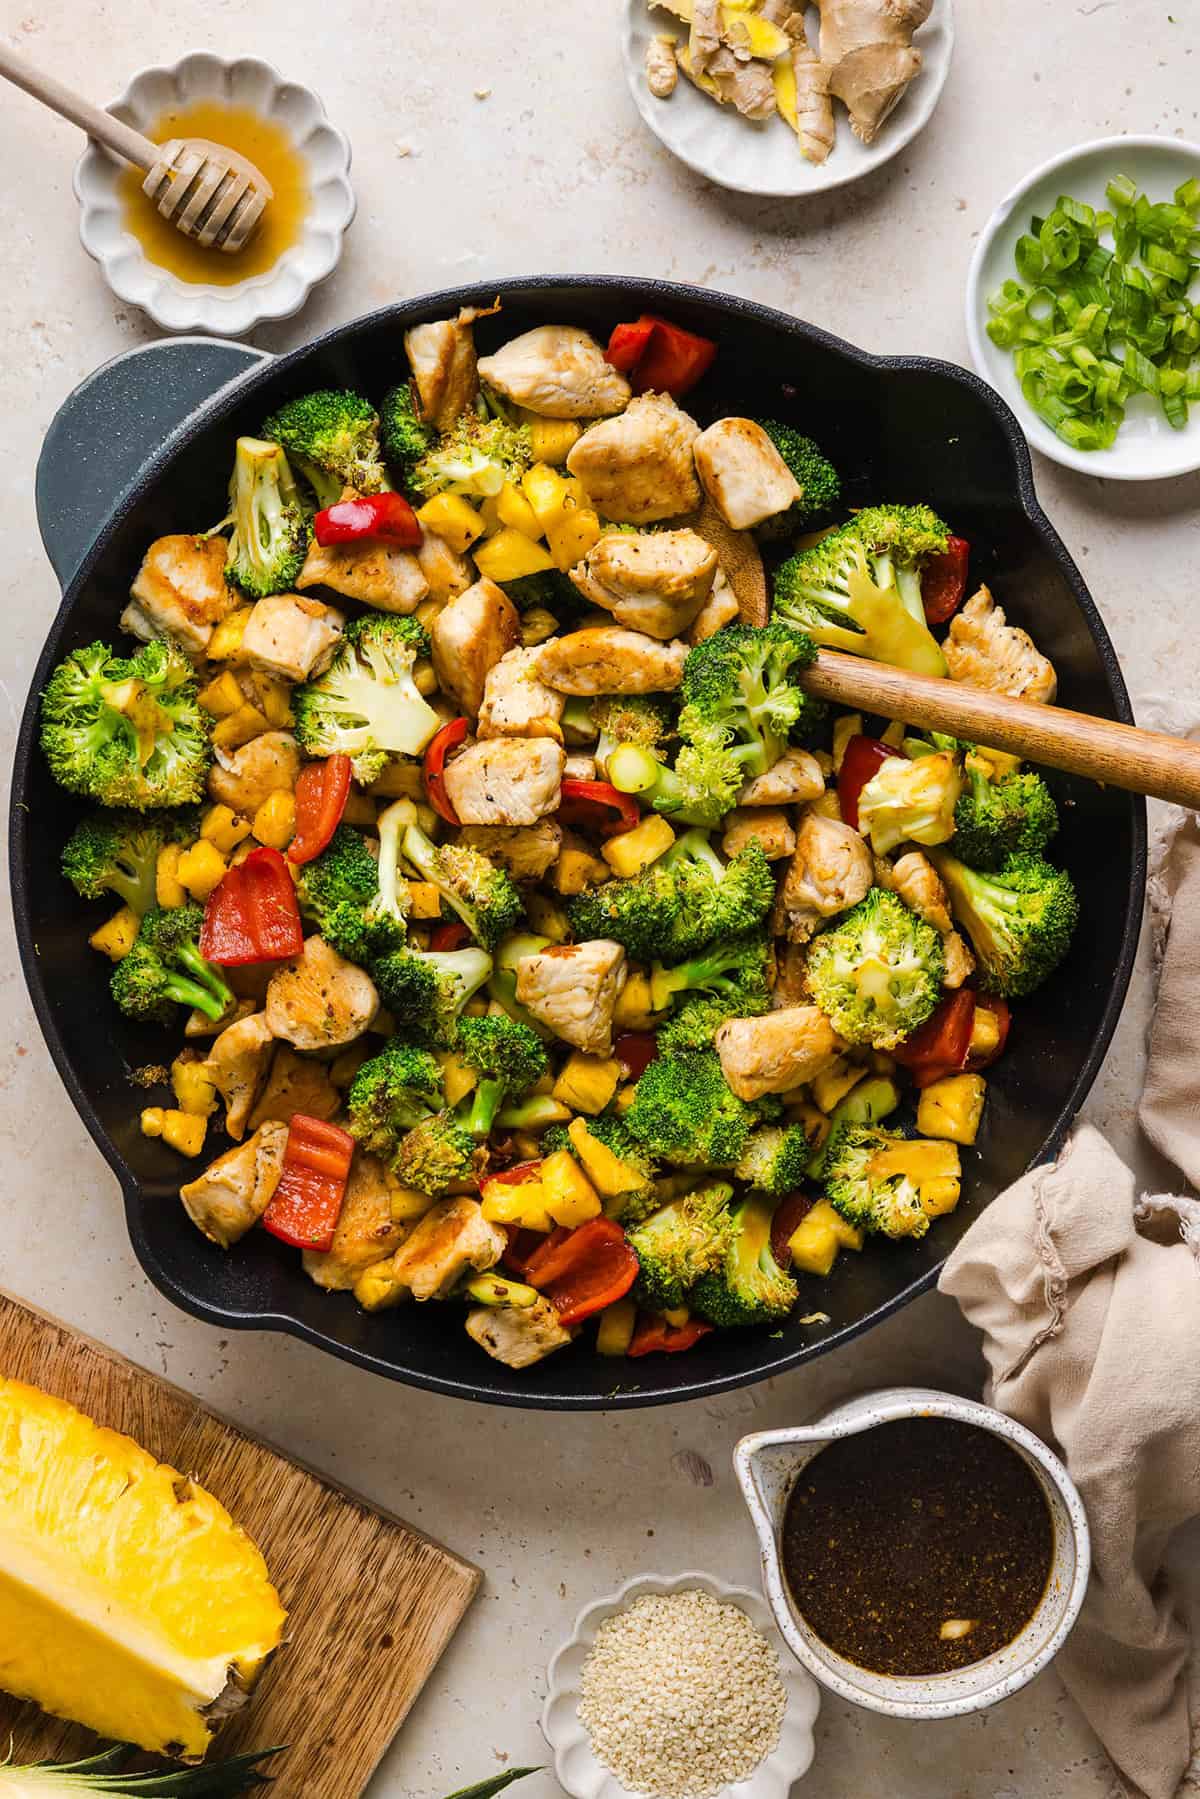
- Cook the vegetables. Add the broccoli and bell pepper to the same skillet. Cook for 5 to 6 minutes, stirring often, until crisp-tender. Stir in the sweet pineapple chunks and return the cooked chicken to the pan.
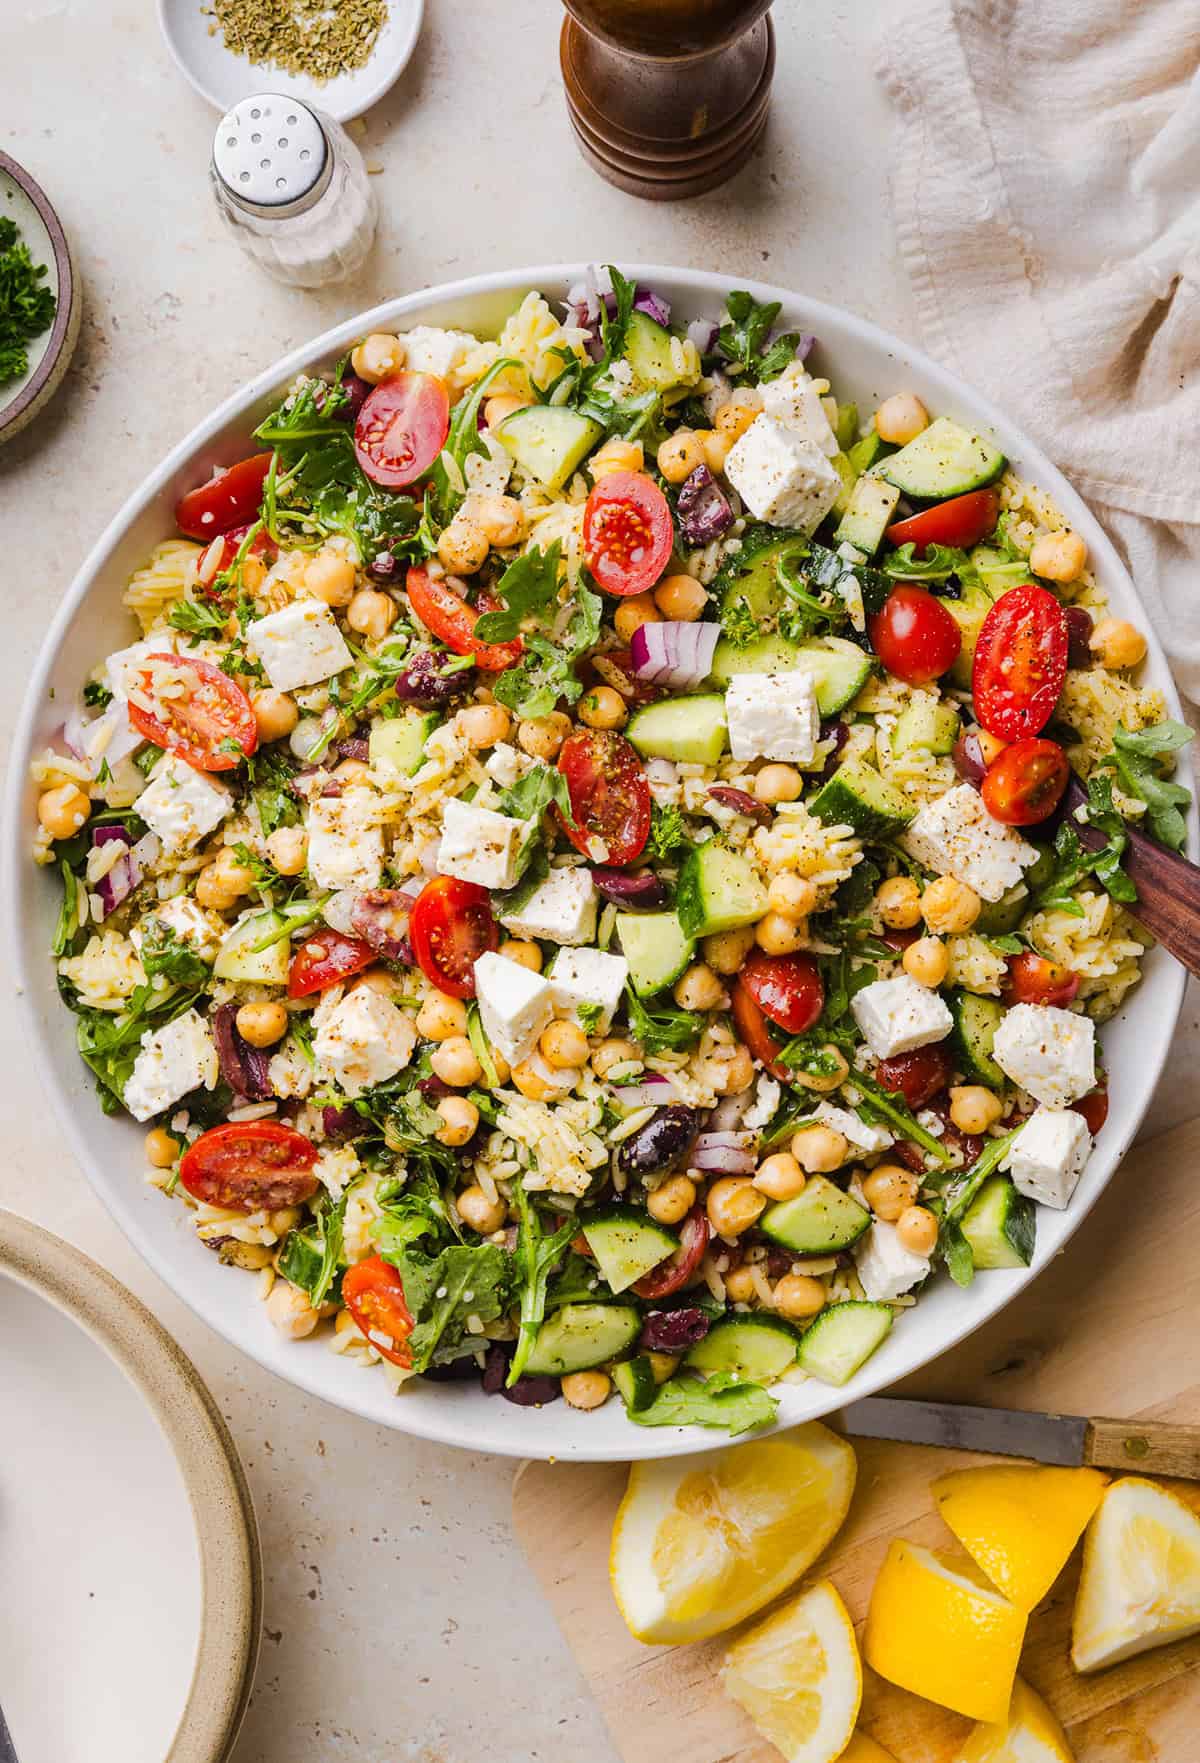
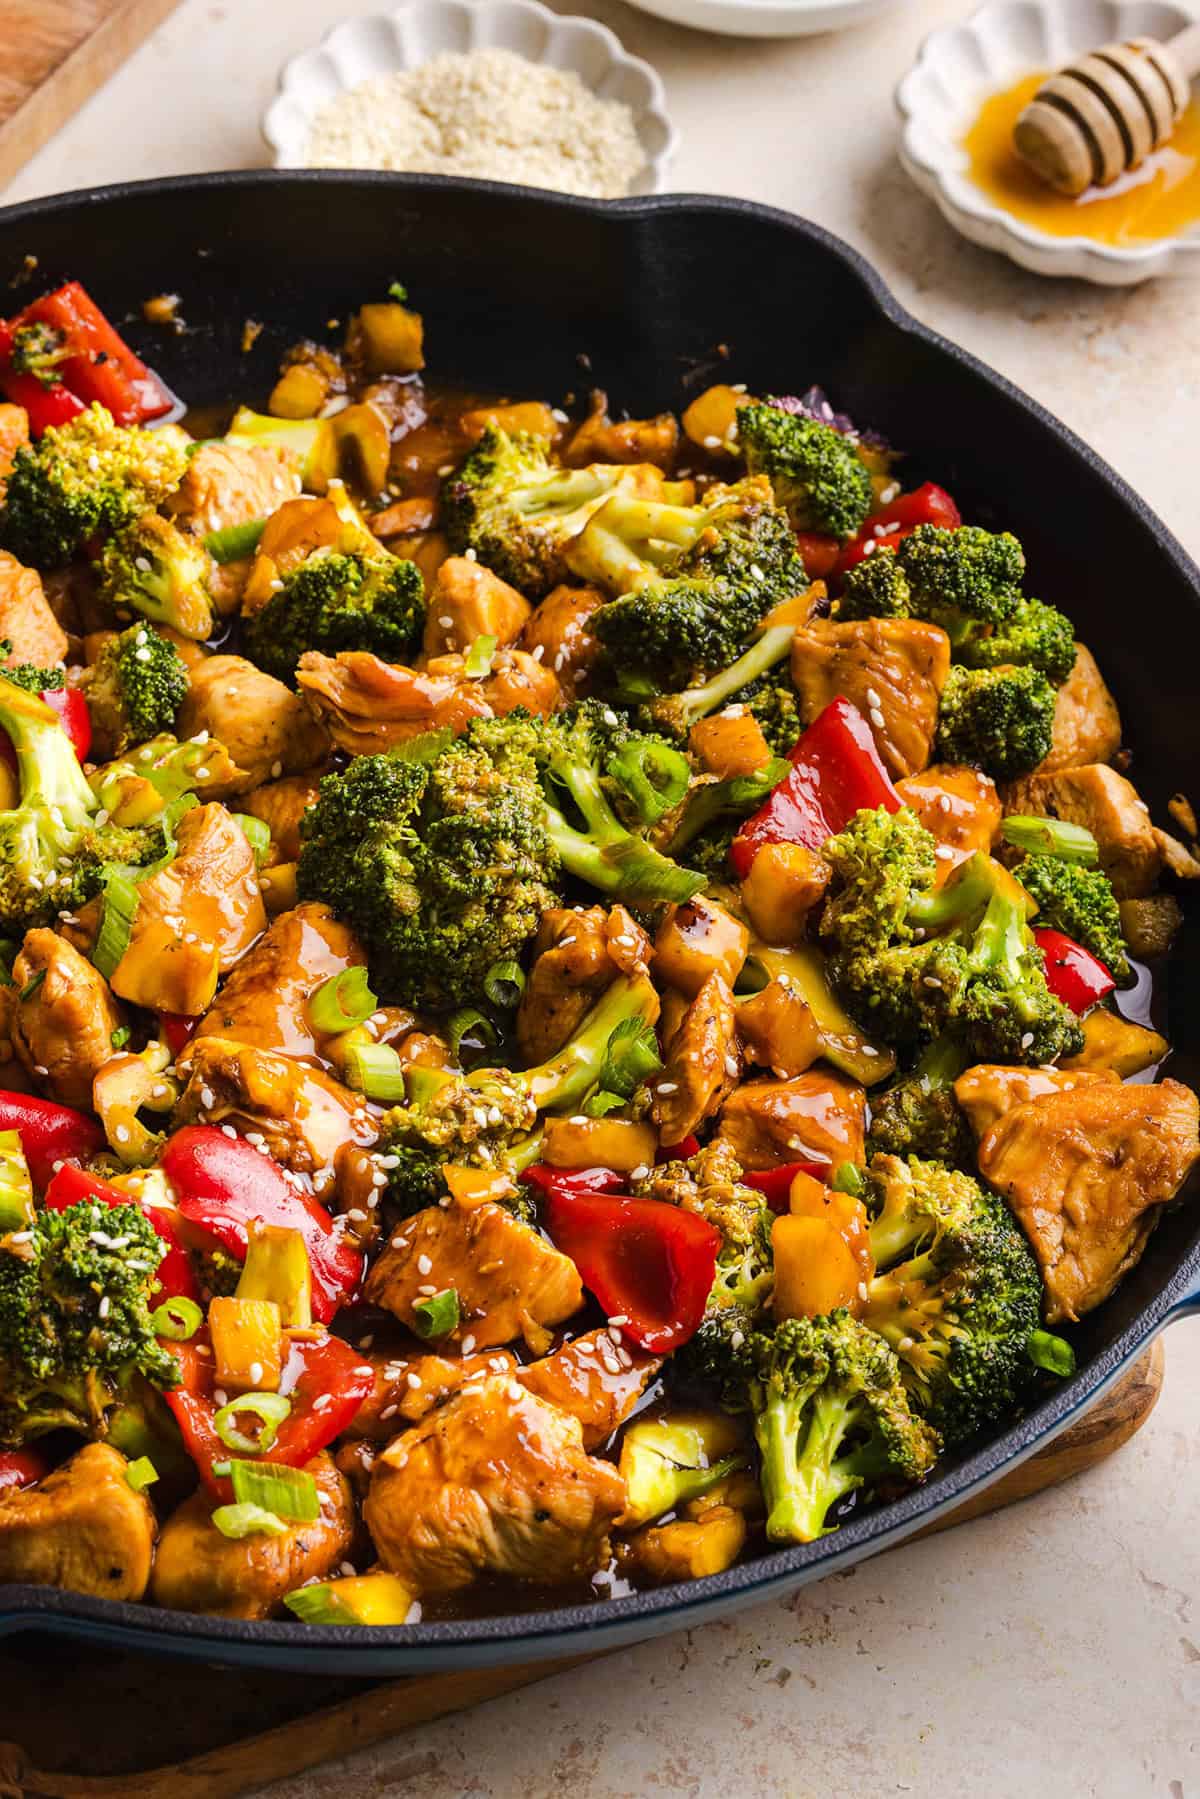
- Add the sauce. Whisk the sauce one more time and pour sauce into the skillet. Cook for 2 to 3 minutes, stirring constantly, until the sauce thickens and coats the chicken and vegetables.
- Garnish and serve. Remove from the heat and stir in the green onions. Serve over cooked white rice, brown rice, jasmine rice, quinoa, or cauliflower rice and garnish with sesame seeds and extra green onions.
Make sure to check out my fool-proof method for making brown rice right in the Instant Pot that comes out perfect every time! Great for meal prep and for making pineapple teriyaki chicken bowls!

Tips for the Best Pineapple Teriyaki Chicken
- Cut everything into similar-sized pieces – this helps the chicken and vegetables cook evenly and gives every bite the perfect balance of ingredients.
- Don’t overcrowd the pan – cook the chicken in a single layer so it browns instead of steaming. If needed, cook it in two batches.
- Cook the veggies until crisp-tender – you want the broccoli and peppers to retain a little crunch for the best texture.
- Stir the cornstarch slurry before adding it – cornstarch settles quickly, so give the pineapple teriyaki sauce one last whisk before pouring it into the skillet.
- Let the sauce simmer – when making your own teriyaki sauce, allowing it to gently bubble for a few minutes helps it become thick, glossy, and perfectly coats every bite.
- Add pineapple near the end – fresh pineapple cooks quickly and stays juicy if added during the final few minutes.
Variations and Substitutions
- Swap the protein – instead of chicken breasts, try chicken thighs, shrimp, thinly sliced beef, pork tenderloin, tofu or tempeh.
- Add more vegetables – snap peas, snow peas, mushrooms, carrots, baby corn, zucchini, bok choy, water chestnuts, and edamame all make great options.
- Make it spicy – add more spice by mixing in sriracha, red pepper flakes, chili garlic sauce or diced jalapeños.
- Naturally sweet – feel free to swap the honey for maple syrup or other natural sweetener. Brown sugar would be a great substitute too.
- Gluten-free option – swap the soy sauce with gluten-free tamari or coconut aminos to make this easy meal gluten-free.
Frequently Asked Questions
Yes! Fresh pineapple gives the best flavor and texture, but canned pineapple chunks packed in juice (not syrup) work well too. Drain them well before adding to the skillet.
Absolutely. Frozen broccoli and stir-fry vegetable blends are great time-savers. You may need to cook them a minute or two longer to evaporate excess moisture.
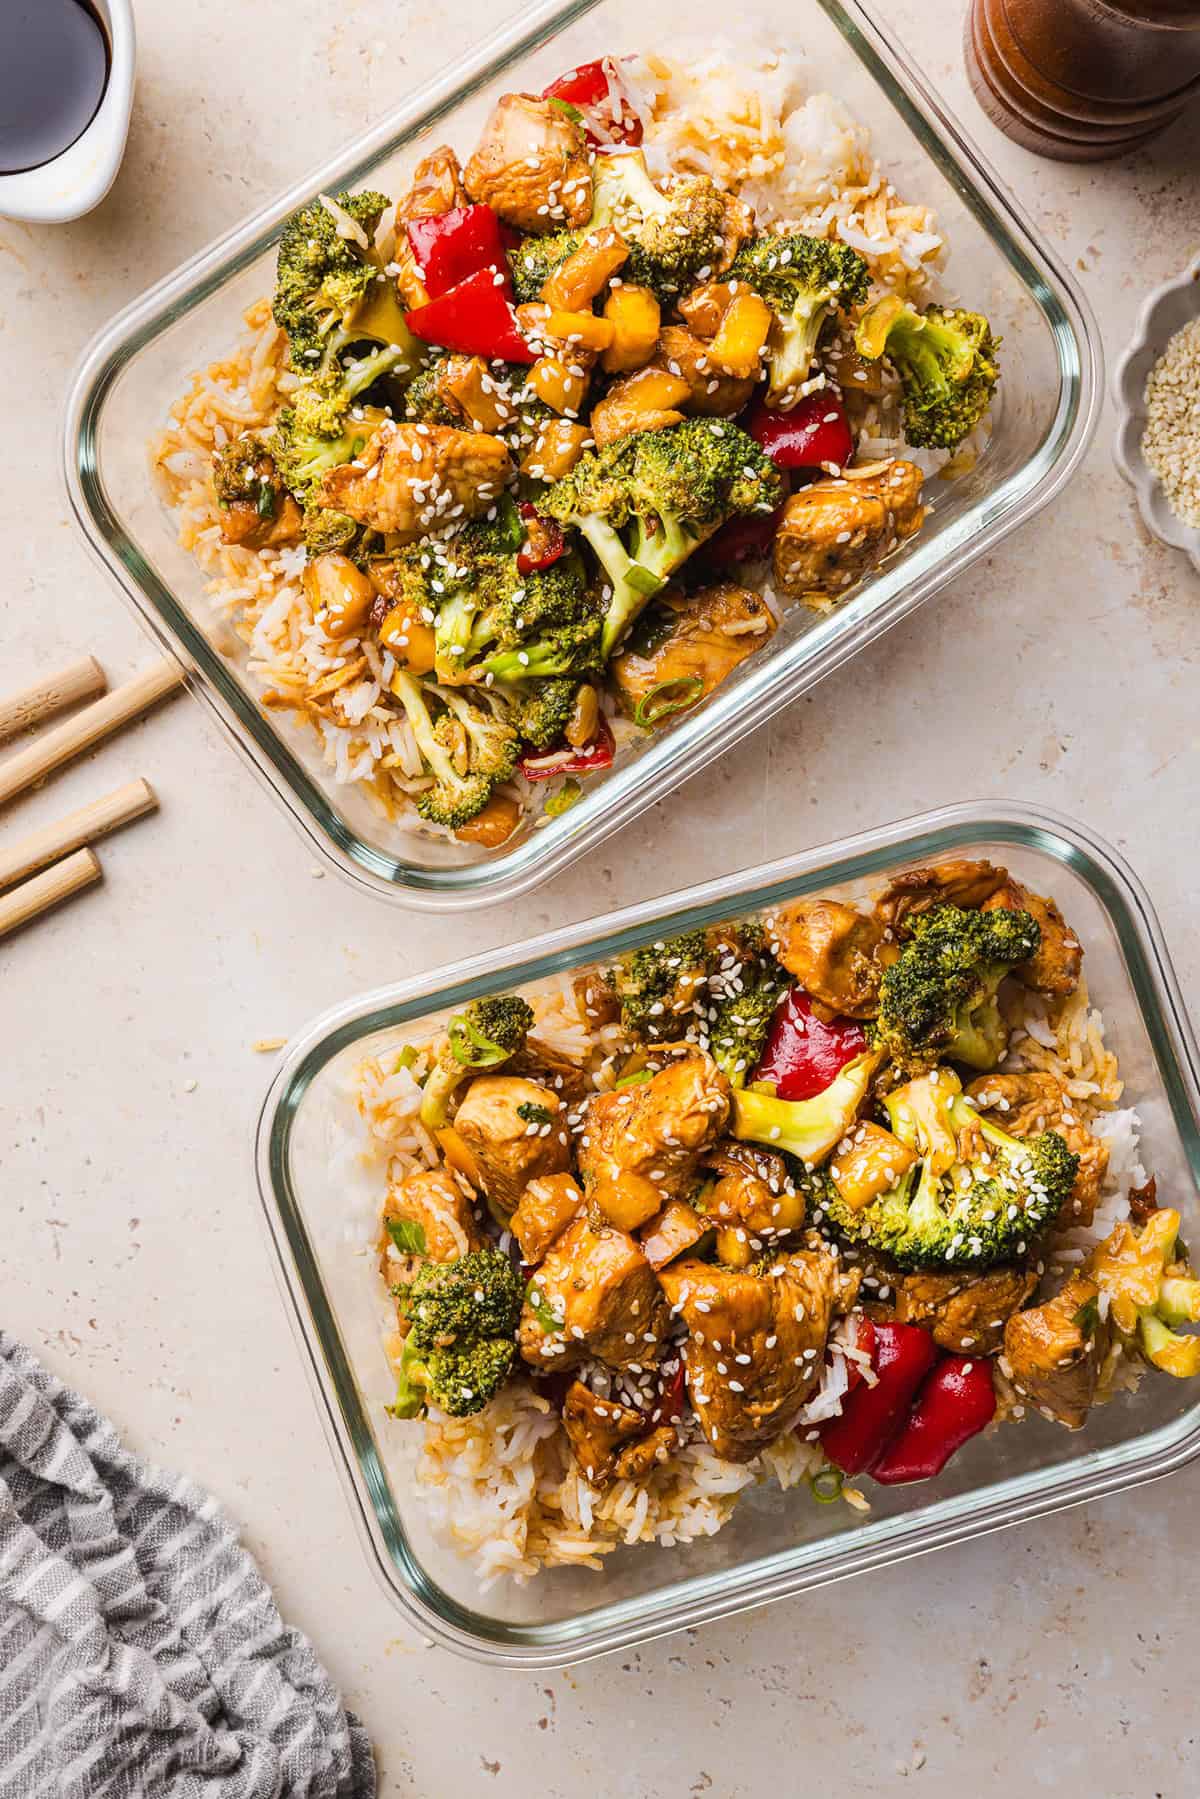
Yes! This recipe is perfect for meal prep. Store the stir fry in glass containers and reheat throughout the week.
You can, but homemade sauces have a fresher flavor and lets you control the sweetness and sodium as opposed to the store-brought version.
It should coat the back of a spoon and cling to the chicken and vegetables without being watery.
Yes! It’s packed with lean protein, fresh vegetables, and fruit, while using a lighter homemade teriyaki sauce than many restaurant versions.

Storage and Meal Prep
- To Store – you can store leftover pineapple teriyaki chicken bowls in an airtight container in the refrigerator for up to 4 days. I love these glass containers for meal prep.
- To Reheat – reheat in a skillet over medium heat with a splash of pineapple juice or water to loosen the sauce, or microwave in 30-second intervals until warmed through.
- To Freeze – place leftovers in a sealed airtight freezer-safe container and freeze for up to 3 months. Thaw overnight in the refrigerator before reheating.
Pin this now to find it later
Follow on Instagram
More Healthy Stir Fry Recipes
- Healthy Beef and Broccoli
- Cashew Chicken Stir Fry
- Honey Garlic Shrimp Stir Fry
- Firecracker Chicken Stir Fry
- Teriyaki Chicken Stir Fry
- Asian Ground Turkey and Green Bean Stir Fry
Hope you all enjoy this Pineapple Teriyaki Chicken recipe! If you love this as much as we do, please leave a  star rating below and don’t forget to tag me on Instagram using the hashtag #eatyourselfskinny!

Easy Pineapple Teriyaki Chicken Stir Fry
#wprm-recipe-user-rating-0 .wprm-rating-star.wprm-rating-star-full svg * { fill: #343434; }#wprm-recipe-user-rating-0 .wprm-rating-star.wprm-rating-star-33 svg * { fill: url(#wprm-recipe-user-rating-0-33); }#wprm-recipe-user-rating-0 .wprm-rating-star.wprm-rating-star-50 svg * { fill: url(#wprm-recipe-user-rating-0-50); }#wprm-recipe-user-rating-0 .wprm-rating-star.wprm-rating-star-66 svg * { fill: url(#wprm-recipe-user-rating-0-66); }linearGradient#wprm-recipe-user-rating-0-33 stop { stop-color: #343434; }linearGradient#wprm-recipe-user-rating-0-50 stop { stop-color: #343434; }linearGradient#wprm-recipe-user-rating-0-66 stop { stop-color: #343434; }
Ingredients
- 1 Tbsp olive oil
- 1 1/2 lbs boneless, skinless chicken breasts cut into 1-inch pieces
- Salt and pepper to taste
- 1 large red bell pepper cut into 1-inch pieces
- 2 cups broccoli florets
- 2 cups fresh pineapple chunks
- 1/4 cup green onions sliced thinly
- Garnish with sesame seeds and extra green onions
For the Sauce:
- 1/3 cup low-sodium soy sauce
- 1/4 cup pineapple juice
- 3 Tbsp honey
- 1 Tbsp rice vinegar
- 3 cloves garlic minced
- 2 tsp fresh grated ginger
- 1/4 tsp black pepper
- 1 Tbsp cornstarch + 2 Tbsp water
Instructions
-
Make the sauce. In a medium bowl, whisk together the soy sauce, pineapple juice, honey, rice vinegar, sesame oil, garlic, ginger, and black pepper. In a separate small bowl, whisk together the cornstarch and water until smooth, then stir it into the sauce. Set aside.
-
Cook the chicken. Heat olive oil in a large skillet or wok over medium-high heat. Season the chicken with salt and pepper, then cook for 5 to 6 minutes until golden brown and cooked through. Transfer to a plate.
-
Cook the vegetables. Add the broccoli and bell pepper to the same skillet. Cook for 5 to 6 minutes, stirring often, until crisp-tender. Stir in the pineapple chunks and return the cooked chicken to the pan.
-
Add the sauce. Whisk the sauce one more time and pour it into the skillet. Cook for 2 to 3 minutes, stirring constantly, until the sauce thickens and coats the chicken and vegetables.
-
Garnish and serve. Remove from the heat and stir in the green onions. Serve over cooked white rice, brown rice, jasmine rice, quinoa, or cauliflower rice and garnish with sesame seeds and extra green onions.