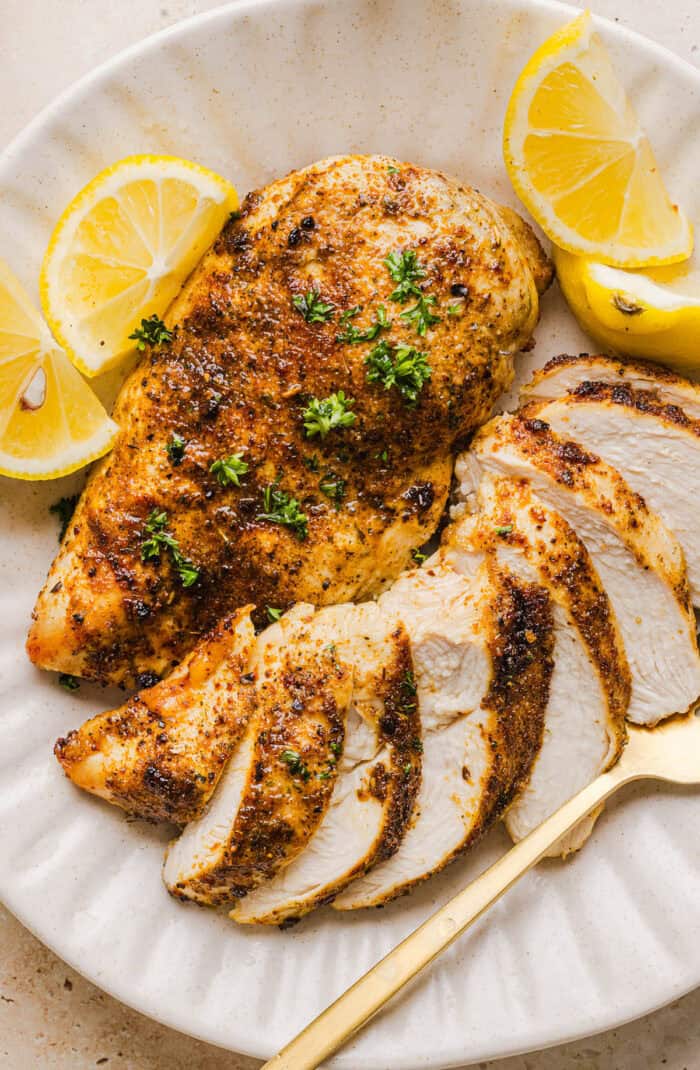
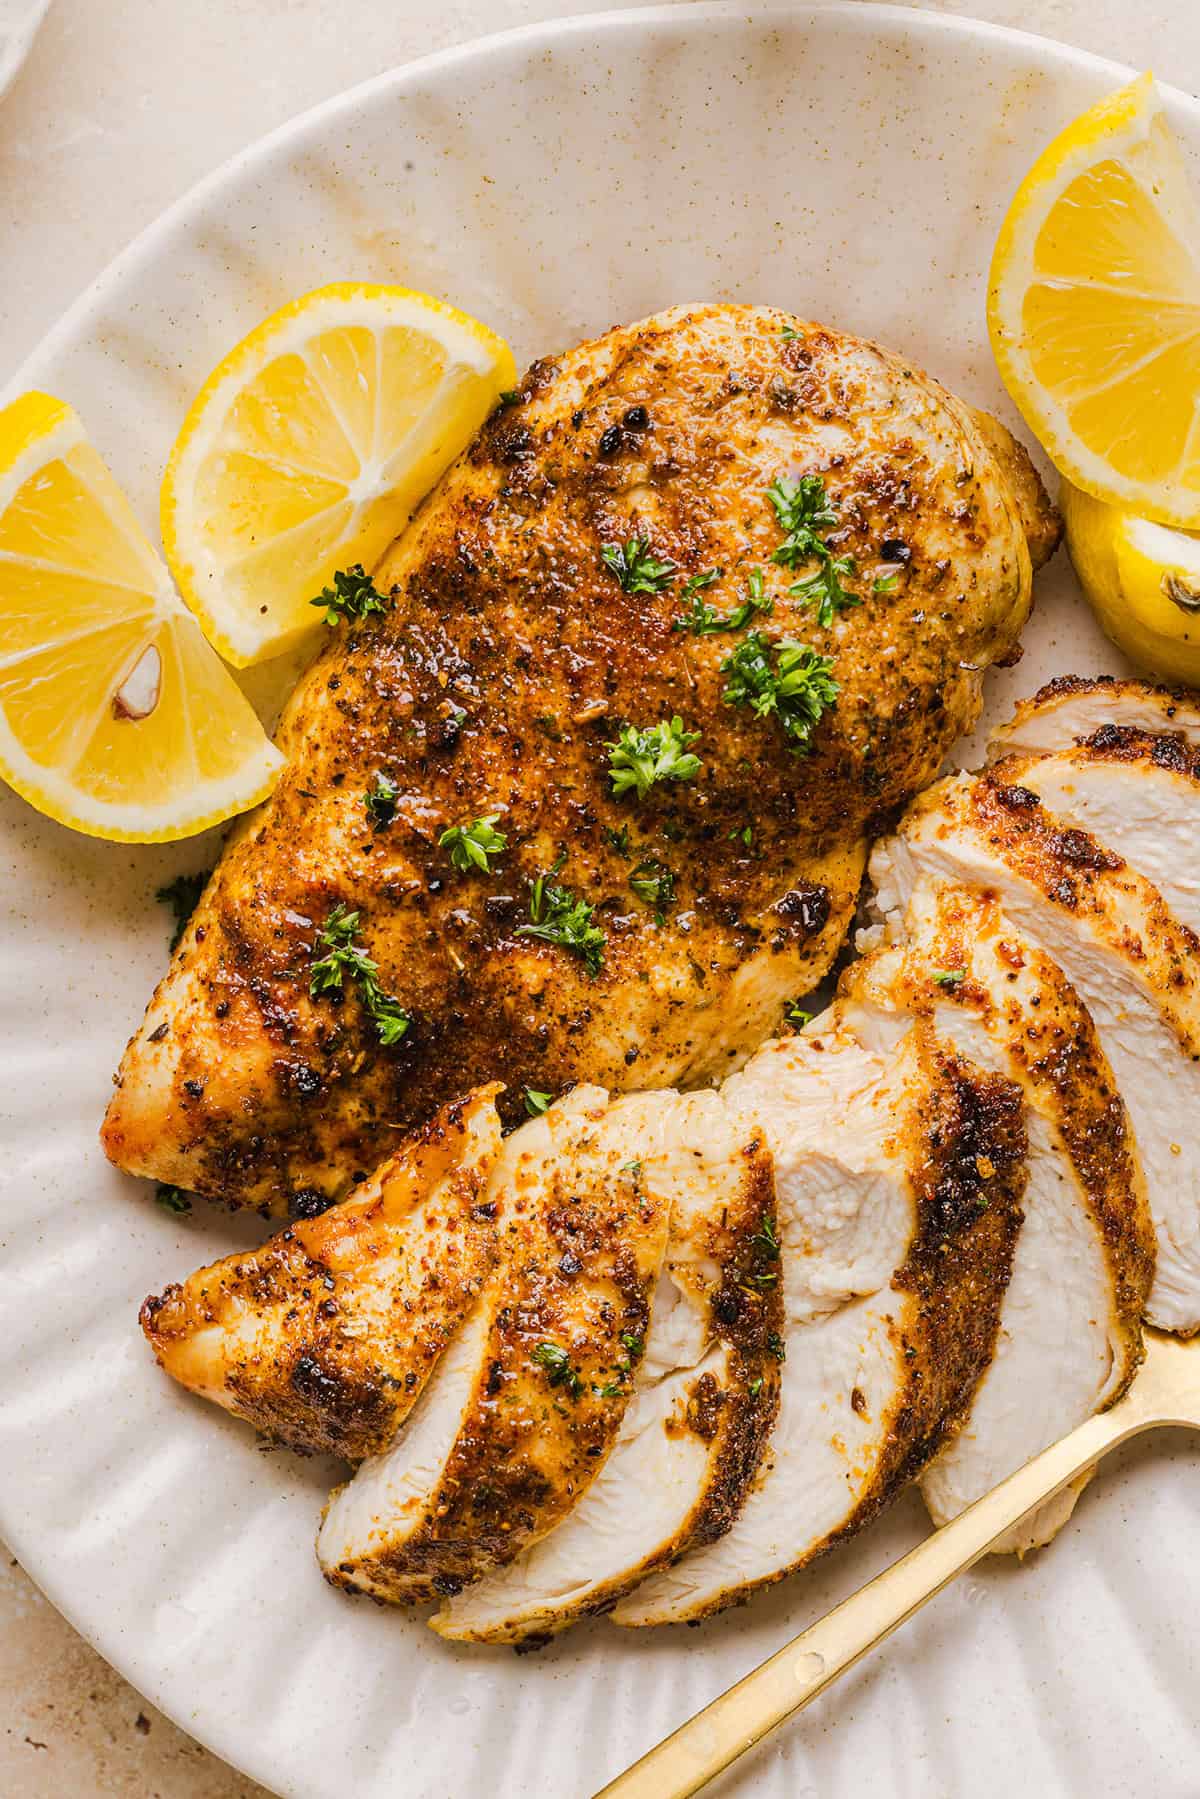
Juicy Air Fryer Chicken Breast recipe that comes out perfectly every time in just 20 minutes! Seasoned with a blend of herbs and spices for a delicious, healthy meal great for busy weeknights or when you need to meal prep.
Please enable JavaScript in your browser to complete this form.
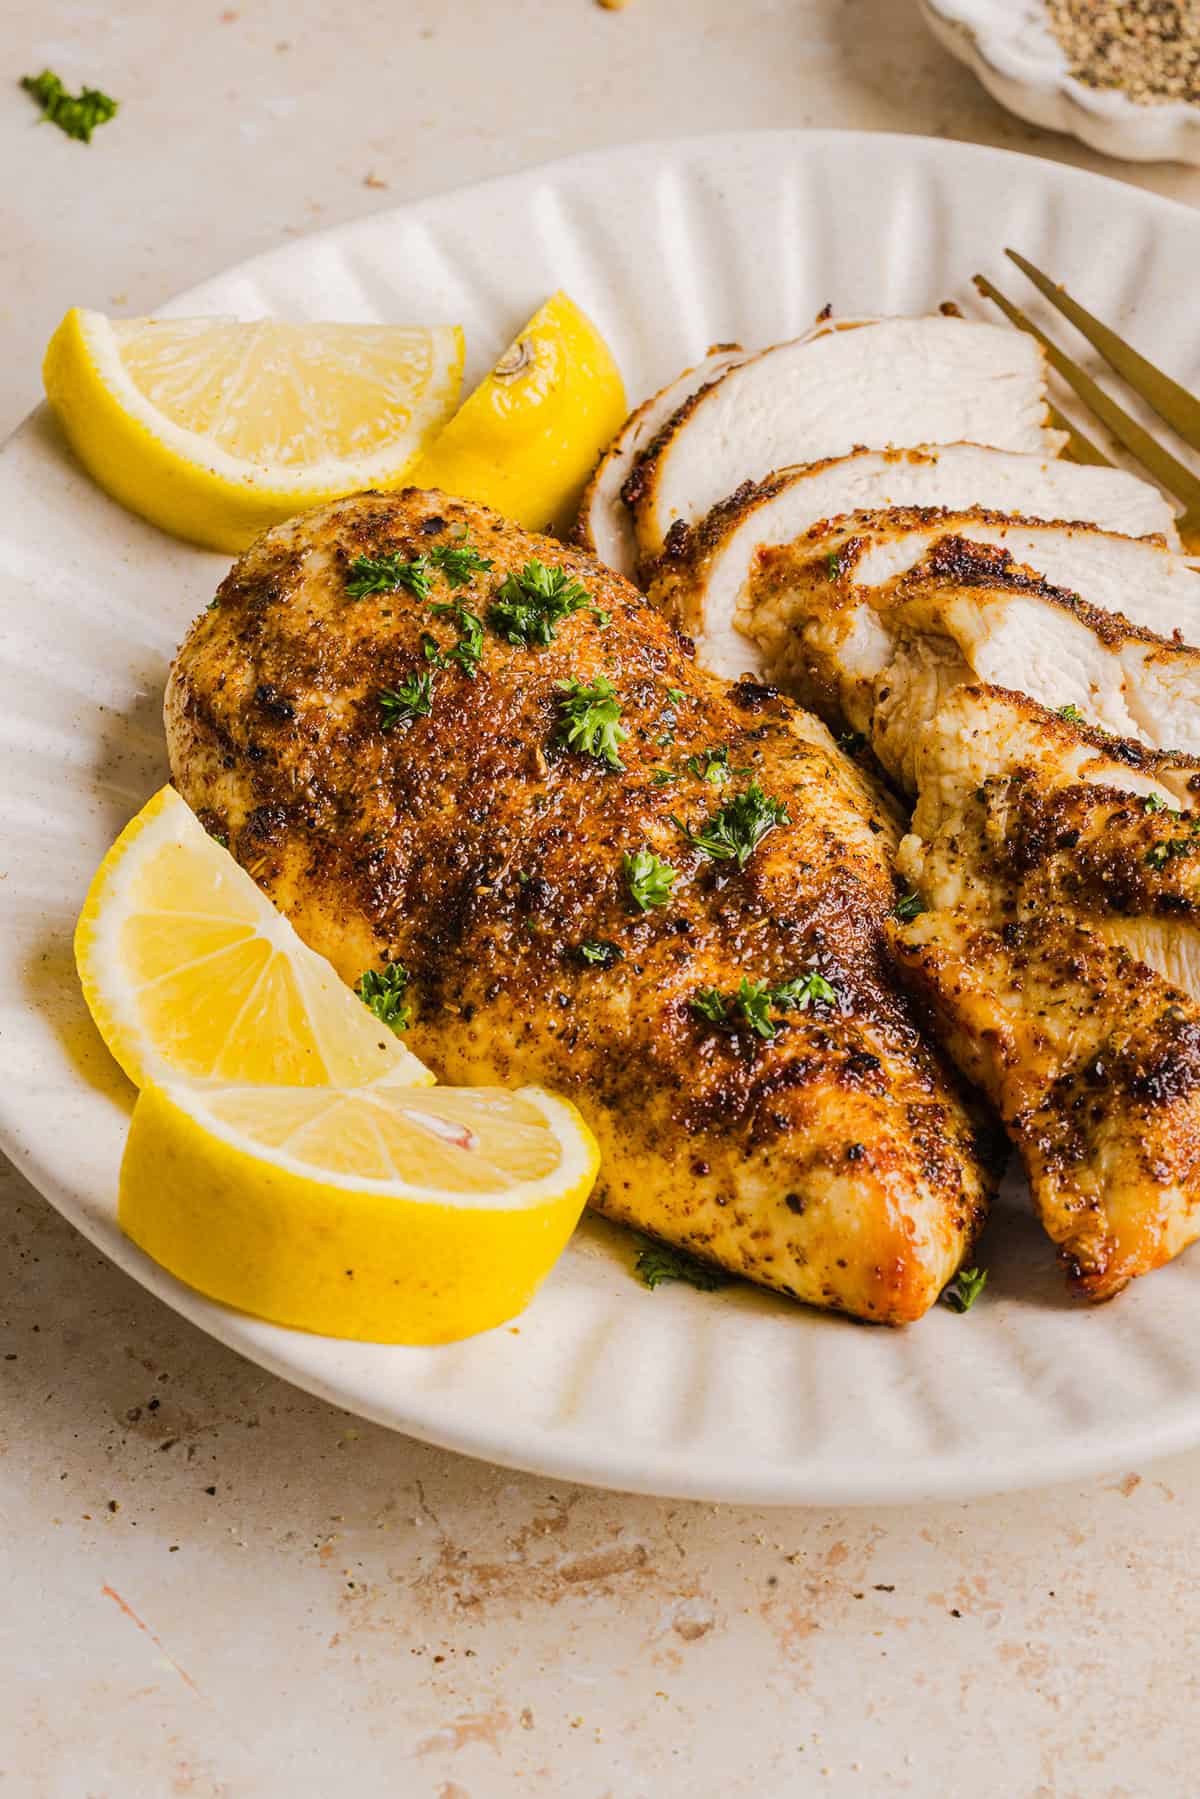
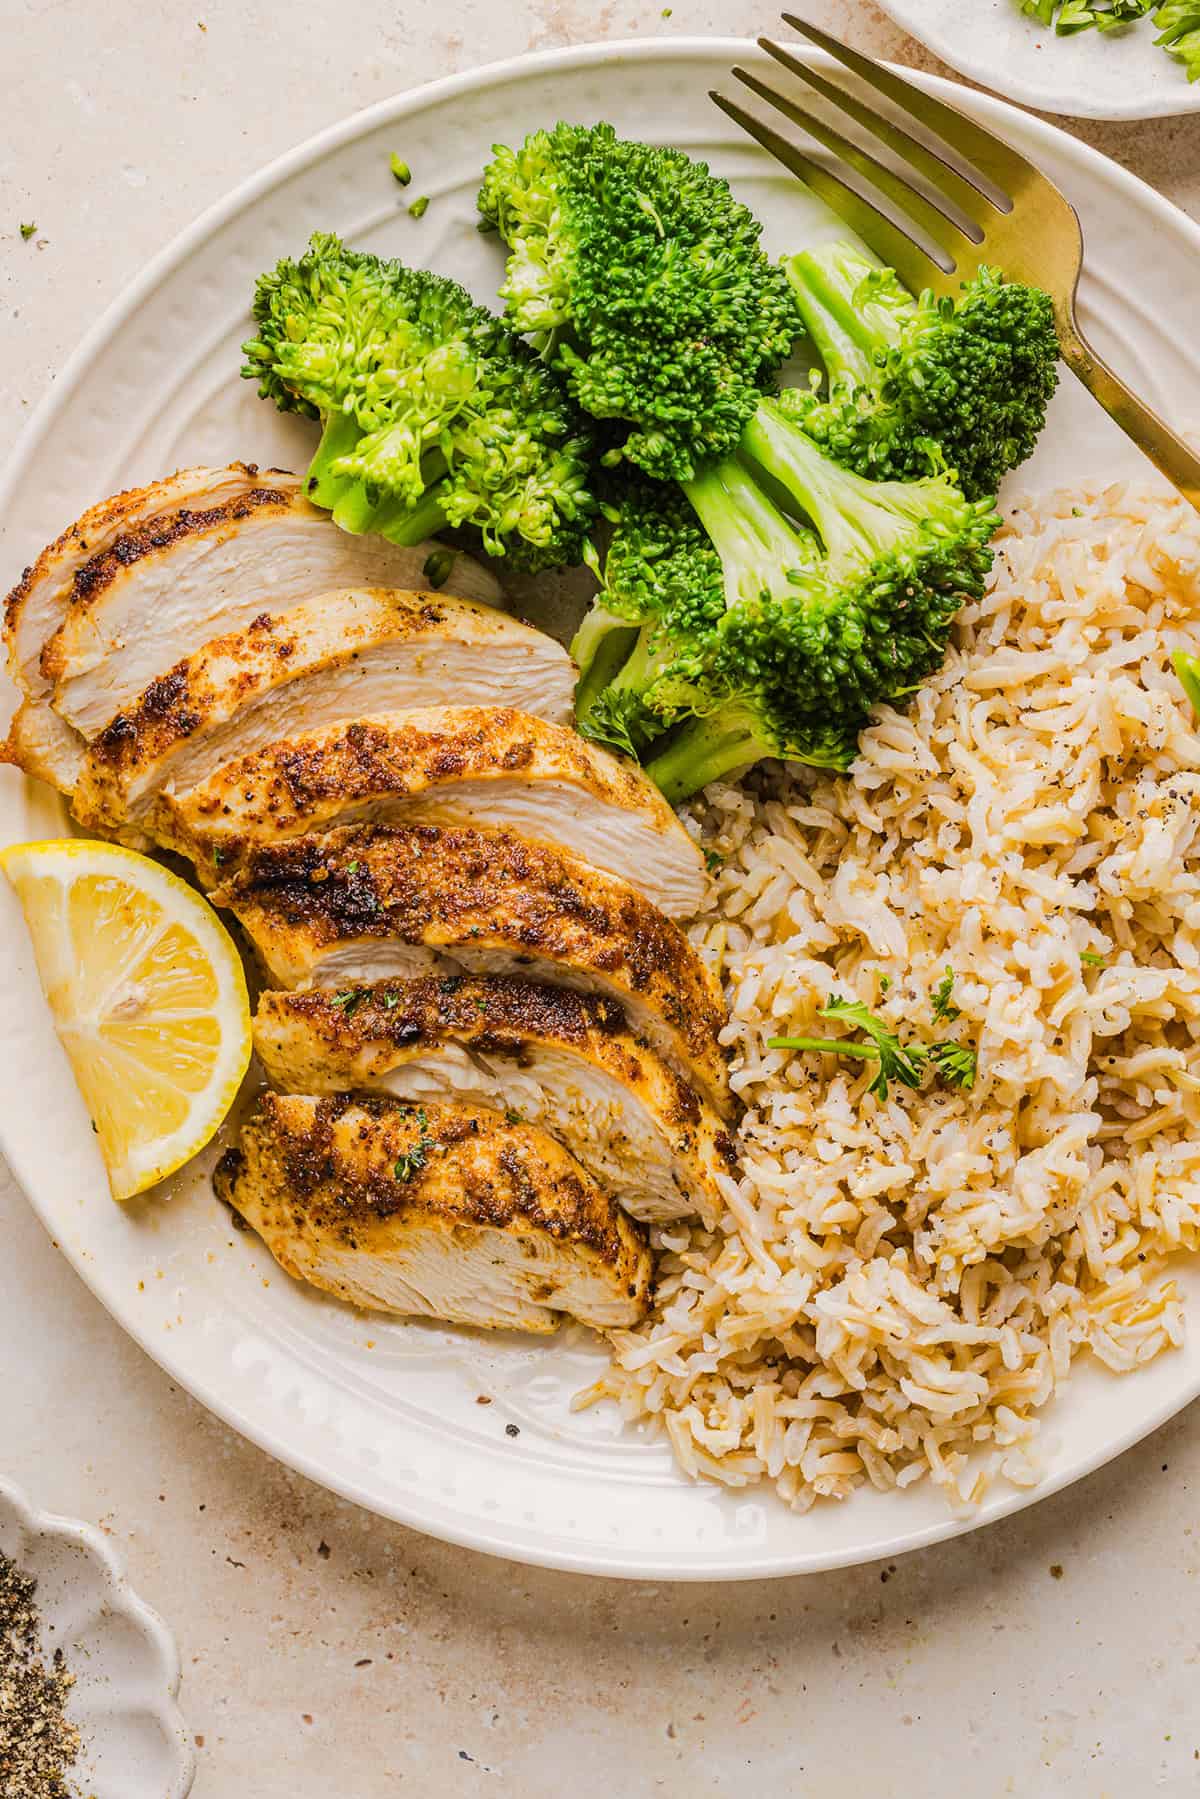
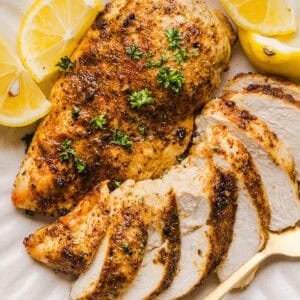
Tired of dry, boring chicken breasts? I have your solution. Once you try this simple Air Fryer Chicken Breast recipe you will be making this on repeat! Tender chicken breasts seasoned with a mix of herbs and spices that are perfectly cooked using this no-fail, foolproof recipe. Juicy, flavorful chicken every single time! Great for busy weeknights or when you need some cooked chicken quickly. Pair with brown rice and cooked veggies for a healthy, quick dinner the whole family will love!
Why You’ll Love This
- Perfect every time – the air fryer locks in moisture while creating a lightly crisp exterior on the juicy chicken breast. No more dry, chewy chicken!
- Quick and easy – this recipe only takes about 20 minutes from start to finish for a protein-packed, easy weeknight dinner you can make in a pinch.
- Customizable – such a versatile protein so use whatever seasoning blend you like best on this chicken. You can also try a variety of sauces or marinades to switch things up.
- Great for meal prep – this chicken reheats beautifully making it perfect for lunches or dinners throughout the week. Slice it up for grain bowls, salads, wraps and more!
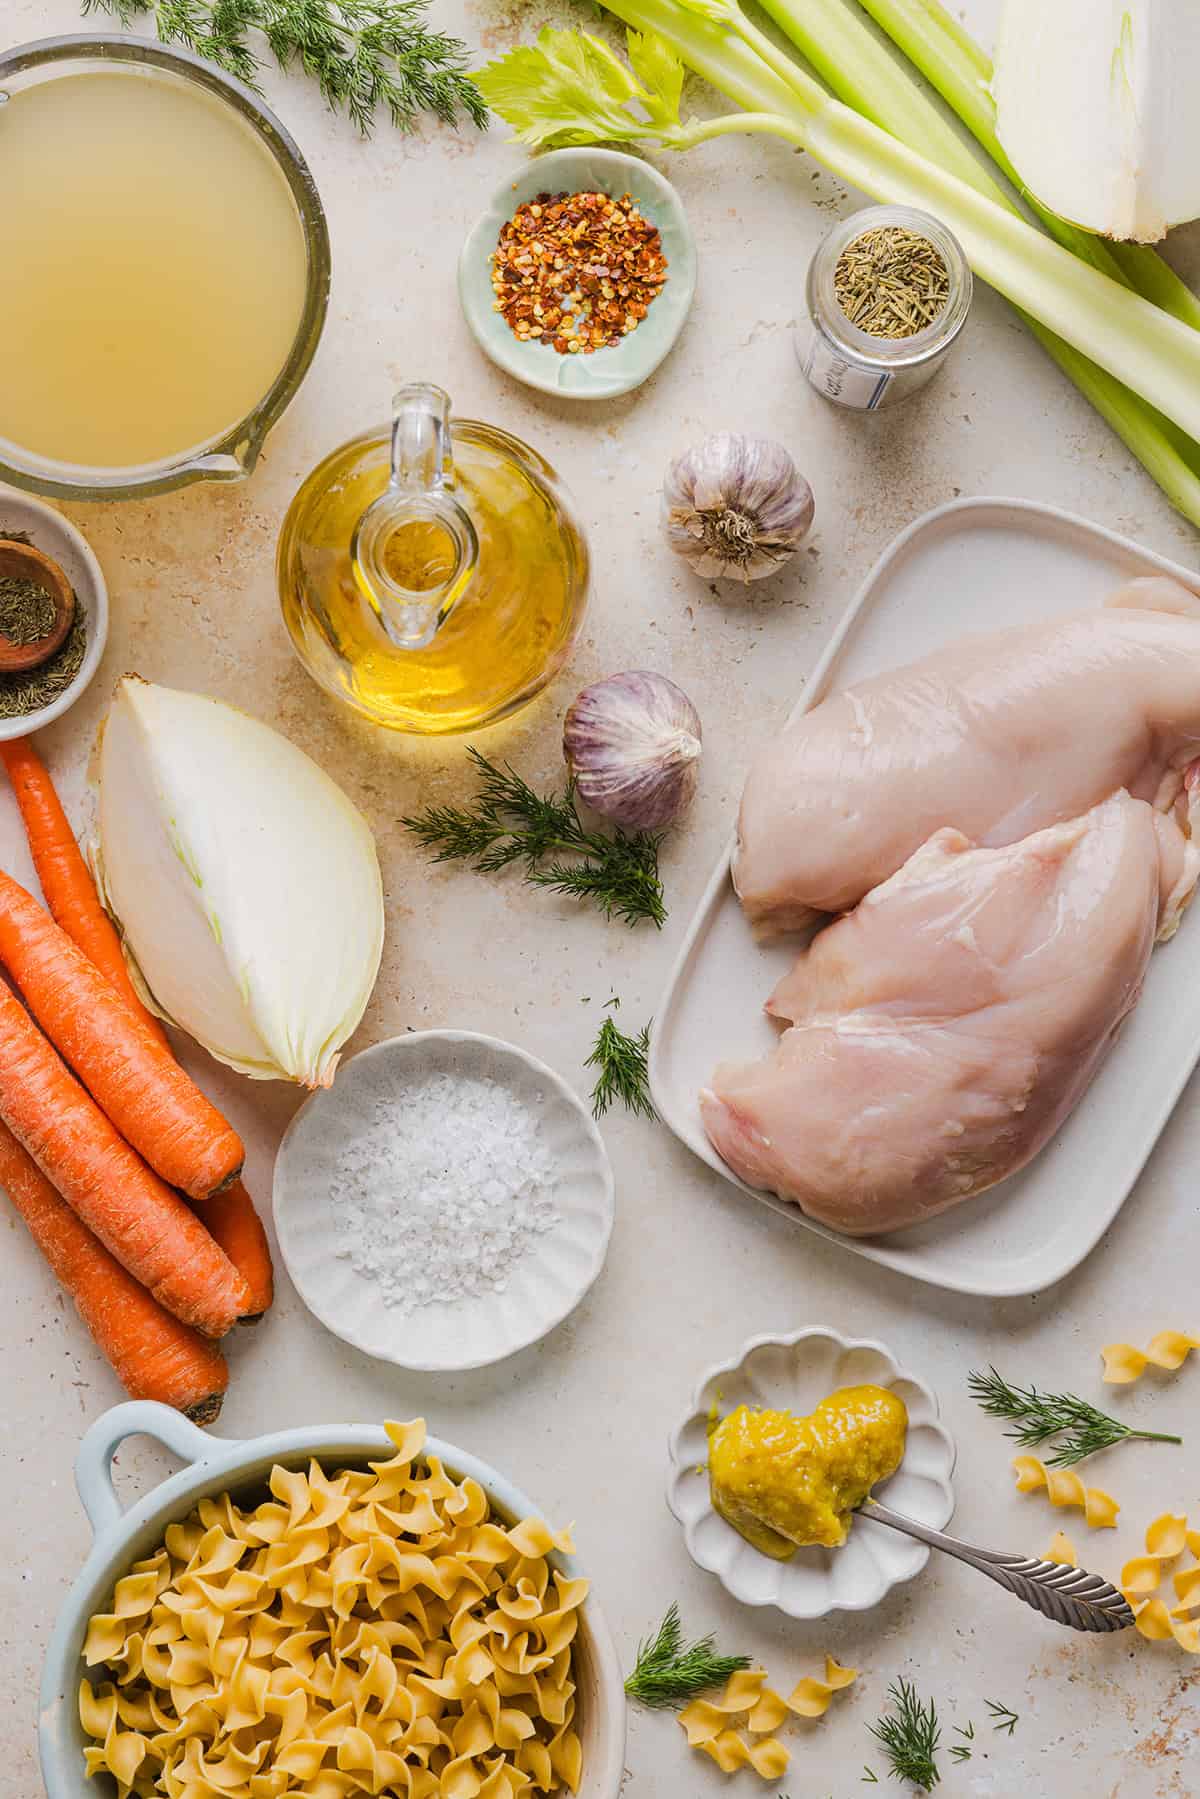
Ingredients You’ll Need
- chicken breasts – you’ll need boneless skinless chicken breasts for this recipe, but chicken thighs would work as well.
- olive oil – I like to use a good olive oil or other neutral oil to brush over the chicken, just make sure it’s cold-pressed and organic for the most flavor.
- seasoning blend – a mixture of Italian seasoning, garlic powder, onion powder, paprika, kosher salt and black pepper to season the chicken.
- fresh parsley – garnish at the end to add a pop of color and fresh taste to the chicken.
How Long to Cook Chicken in Air Fryer
Not all chicken breasts are created equal and the cook time will vary depending on the size of your chicken. Below are the cook times when air frying at 375 degrees F, just make sure to flip the chicken halfway through.
- Smaller breasts (5 to 7 ounces) – 12 to 16 minutes
- Medium breasts (8 to 10 ounces) – 14 to 18 minutes
- Large breasts (11 ounces or more) – 18 to 20 minutes
How to Make Air Fryer Chicken Breast
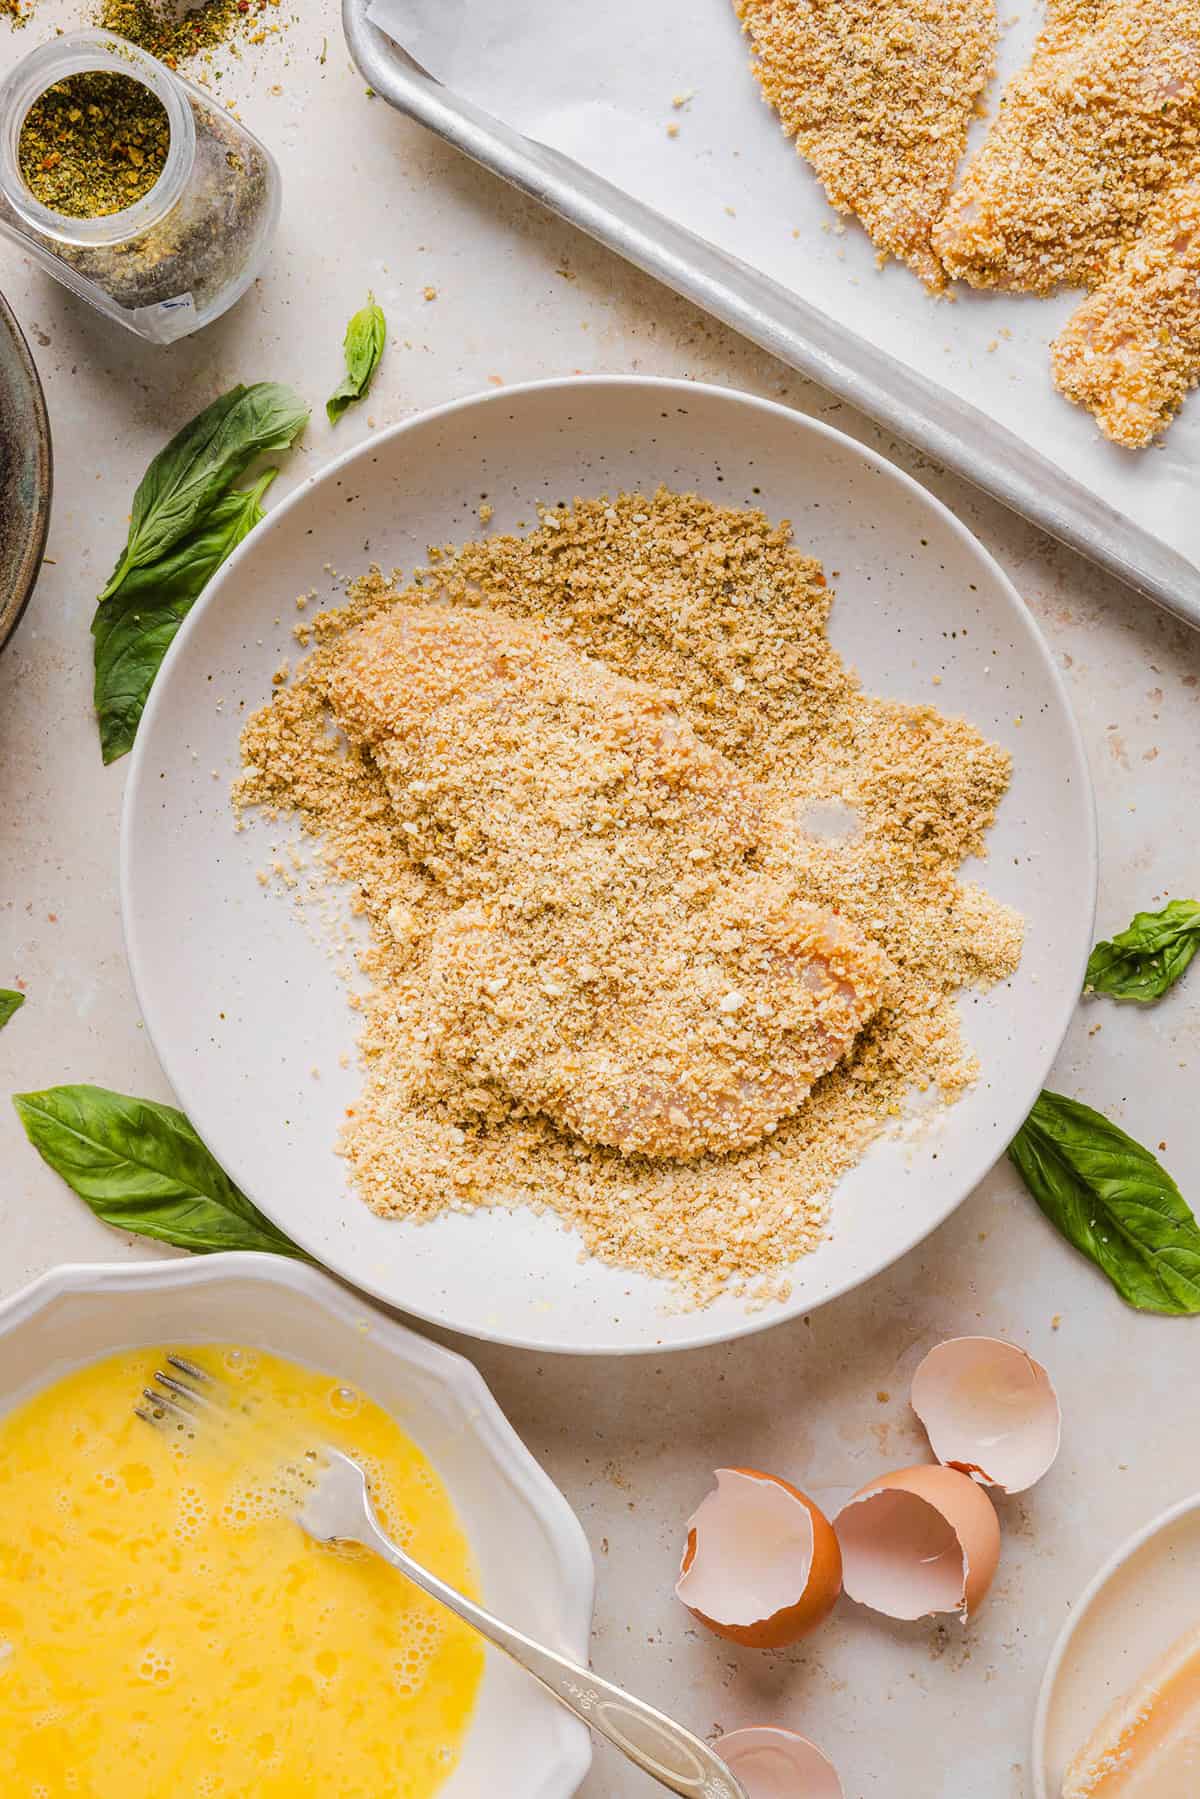
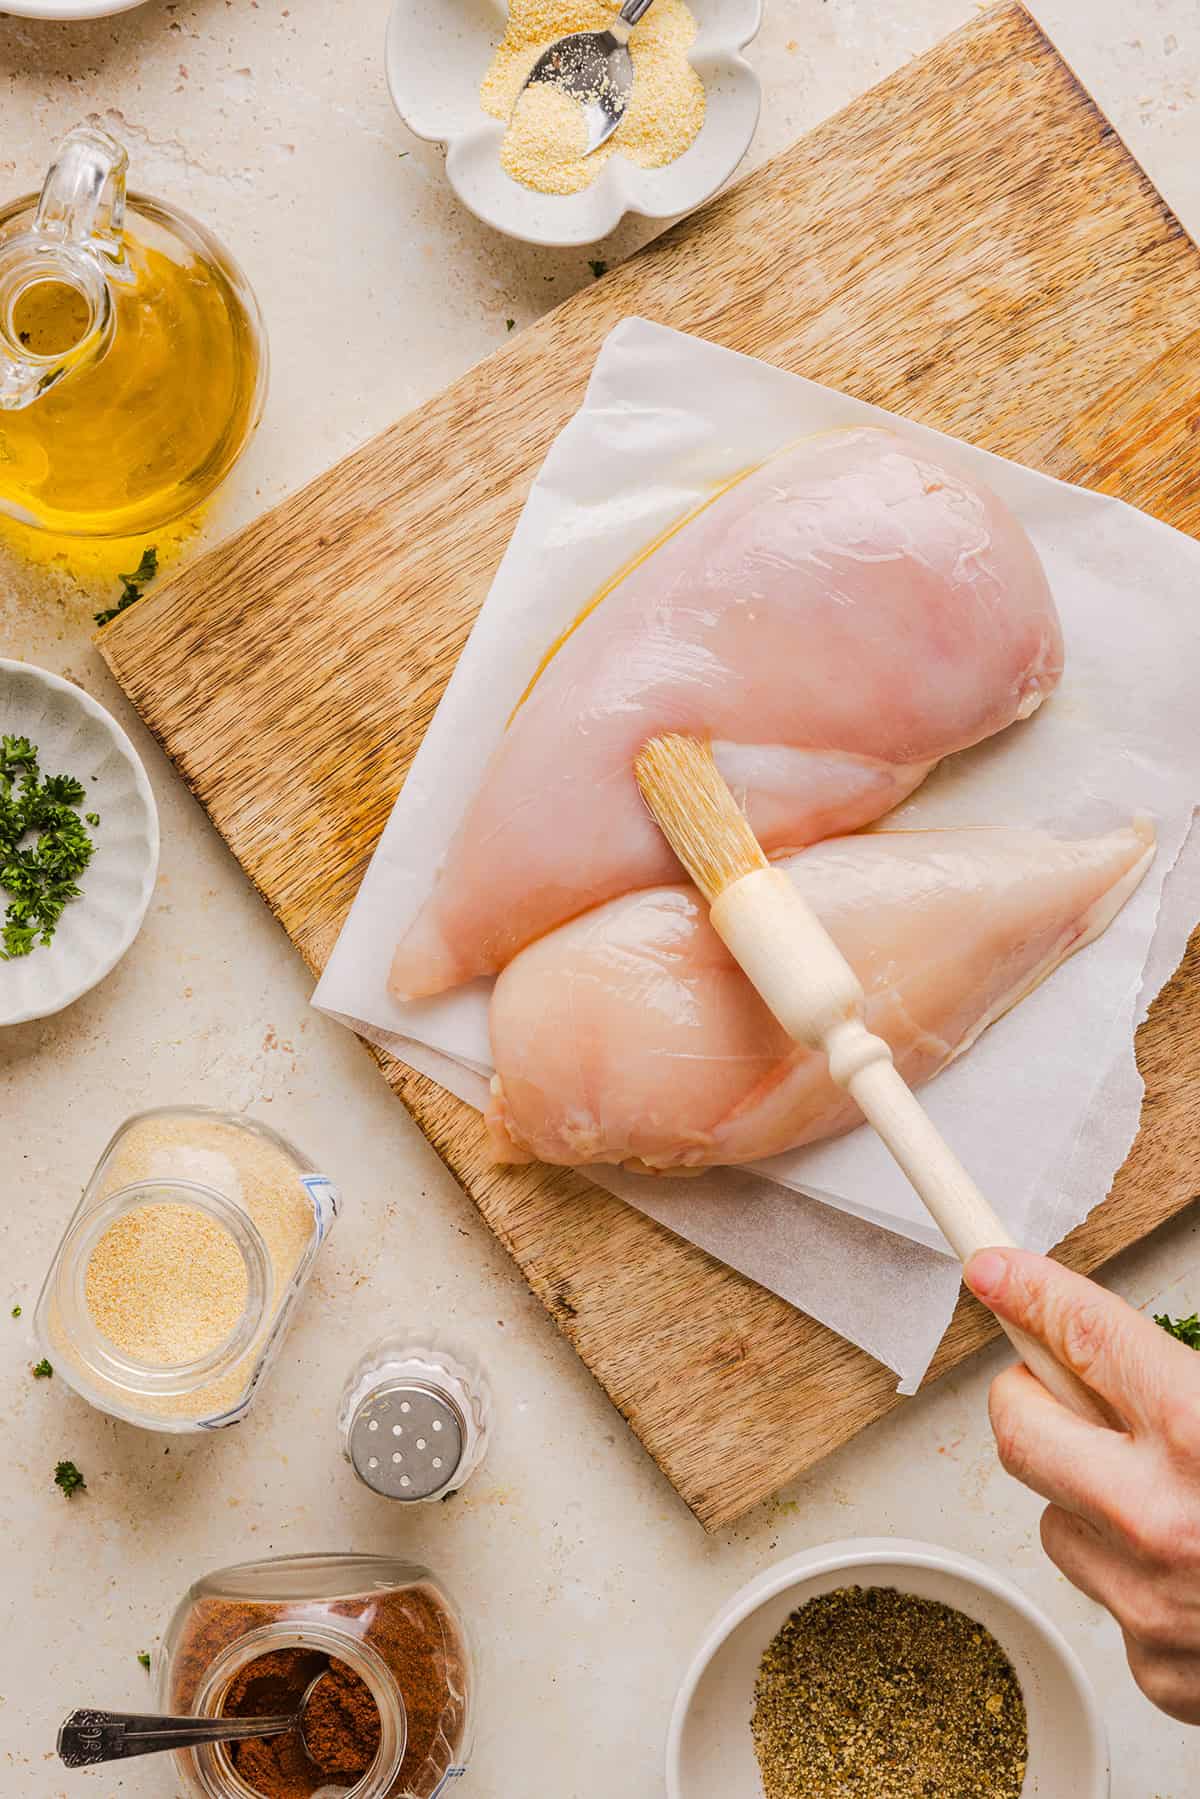
- Prep the chicken. Pound out the chicken to even thickness between plastic wrap (if the chicken is very thick) and pat them dry with paper towels.
- Season generously. In a small bowl, mix together the Italian seasoning, garlic powder, onion powder, paprika, salt and pepper. Brush both sides of chicken with olive oil and season chicken evenly with the spice mixture, pressing gently so it sticks.
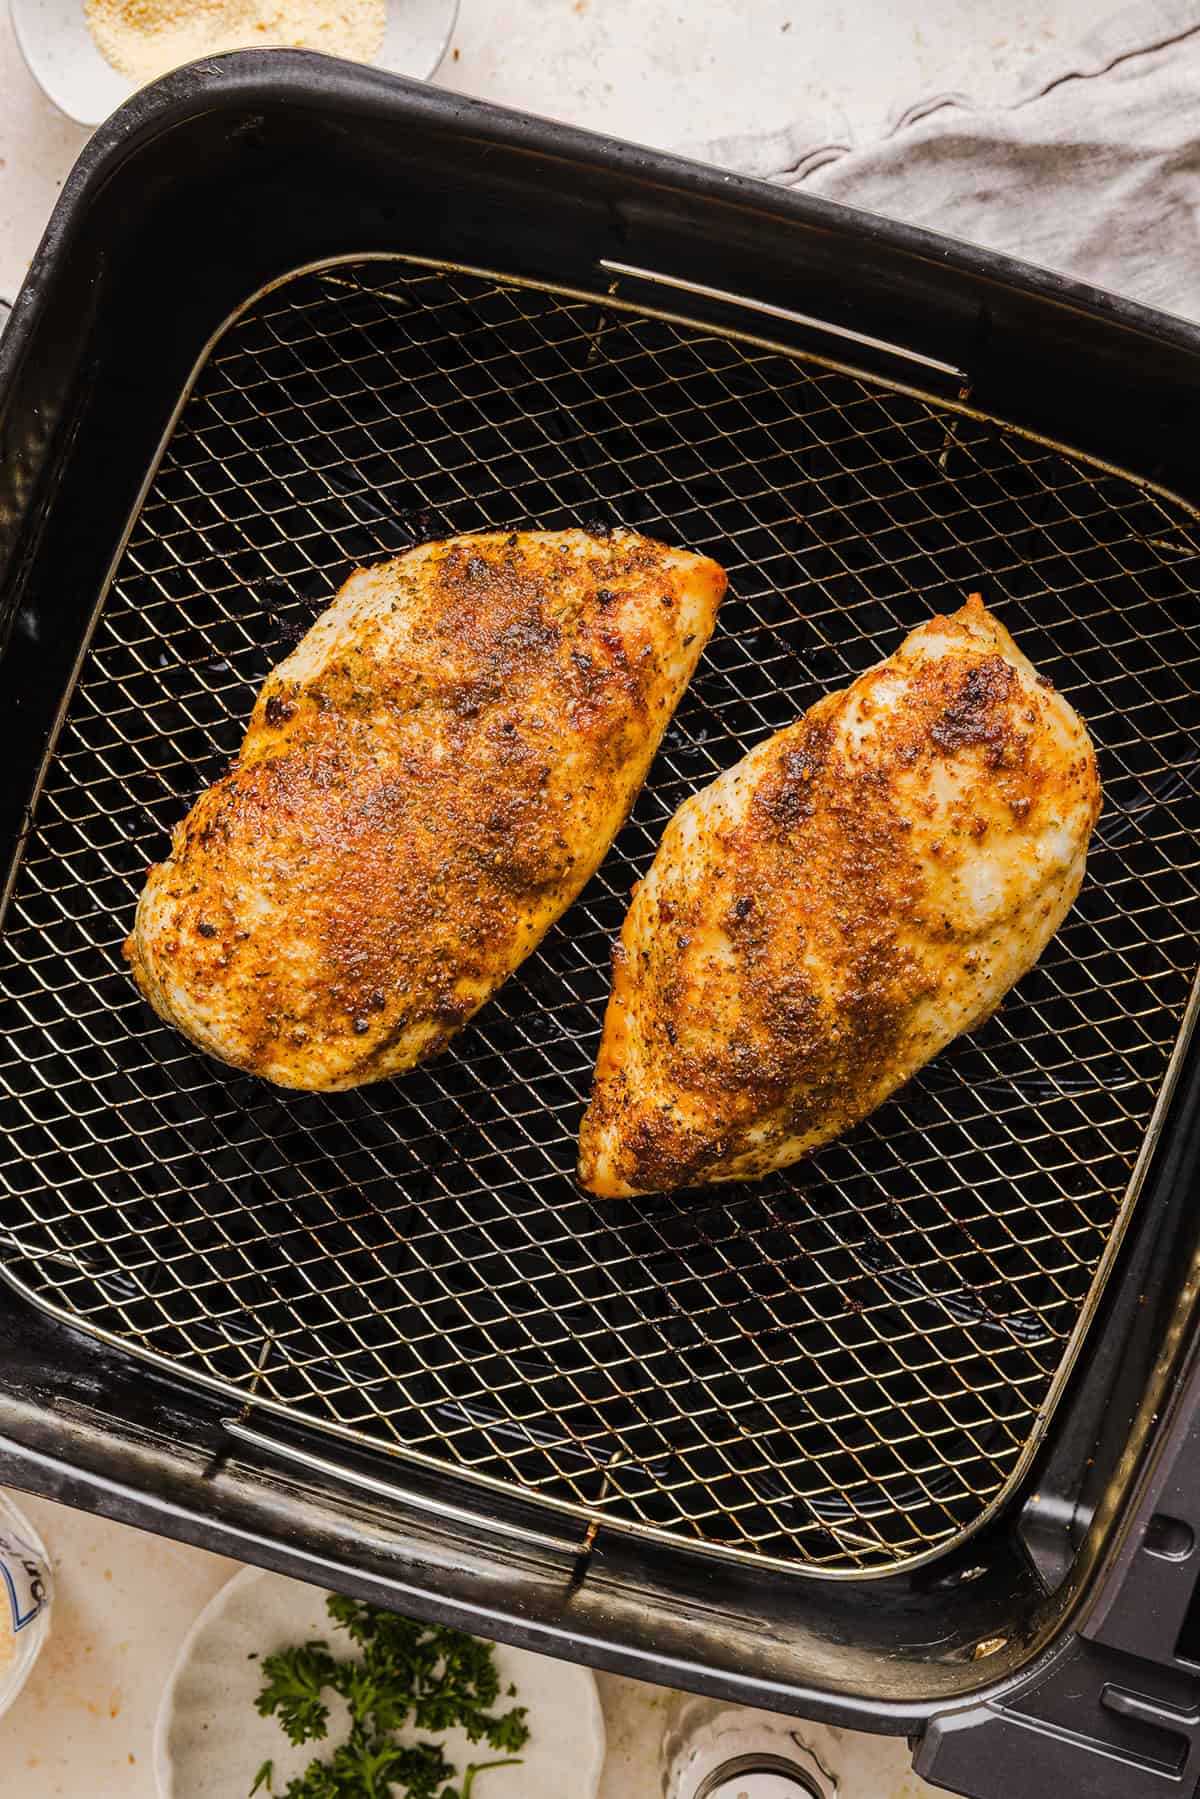
- Air fry. Place chicken in a single layer in the air fryer basket (don’t overlap) and cook for 10 minutes. Flip the chicken at the halfway point and cook for an additional 6 to 10 minutes, depending on the size of your chicken breasts. The internal temperature should reach 165 degrees F using a meat thermometer and juices run clear.
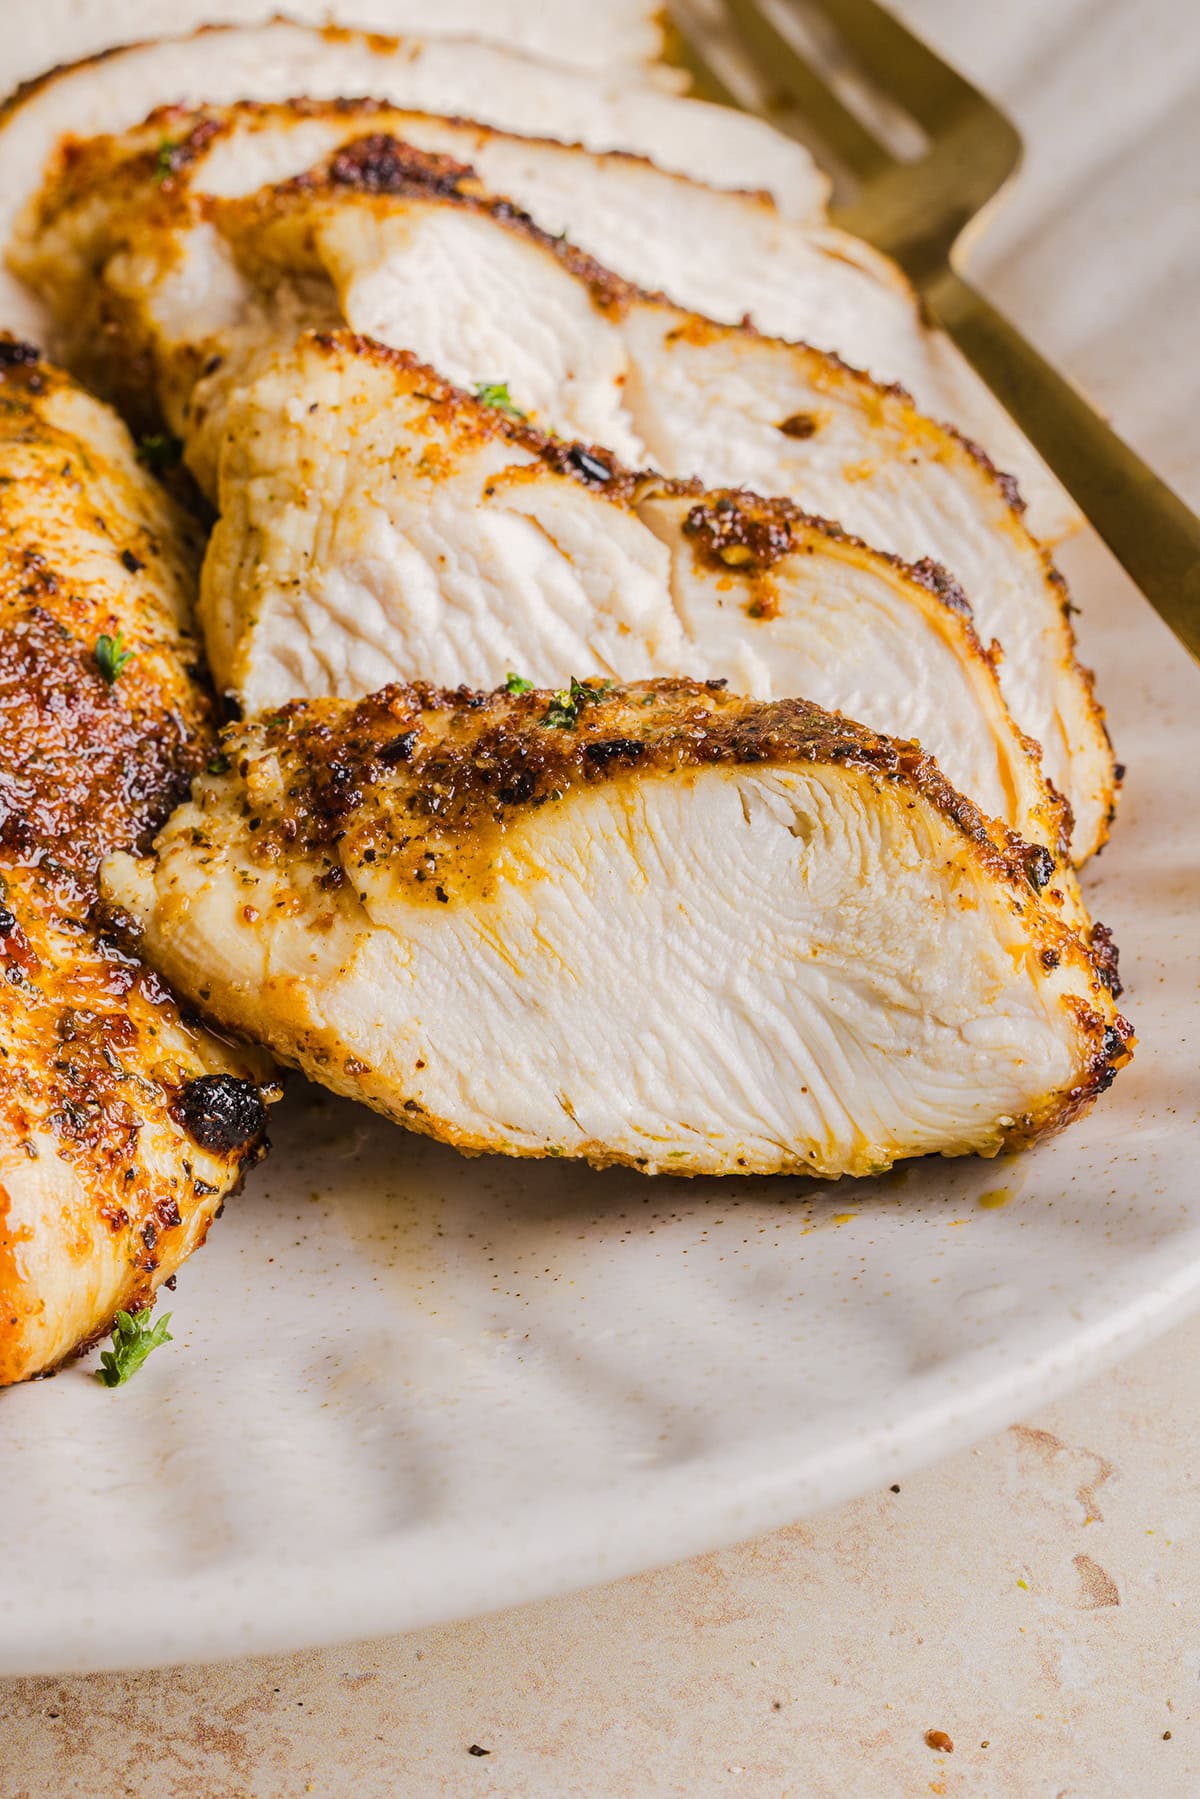
- Rest the chicken. Using tongs, transfer the chicken pieces to a plate. Cover and let rest for 5 minutes before slicing. Don’t skip this step! Resting locks in those juices inside, keeping the chicken moist and flavorful.
How to Brine the Chicken
Brining chicken breasts is a great way to make them juicy, tender and extra flavorful, especially when air frying. It’s a simple step that takes an extra 15 to 30 minutes, but is so worth it in my opinion!
- Place raw chicken breasts in a mixture of 4 cups water and 4 tablespoons of salt, making sure the chicken is fully submerged.
- Let the chicken sit in the brine for 15 to 30 minutes (no longer than 1 hour) then rinse the chicken under cold water. Pat with paper towels and season the chicken with the spice mix as directed!
Can You Put Frozen Chicken Breasts in the Air Fryer?
Yes, you sure can! Cooking frozen chicken breasts straight from the freezer is super easy and quick, without drying them out. The seasoning won’t stick right away, but you can season the chicken halfway through.
- Preheat the air fryer to 360 degrees F and let it preheat for 3 to 5 minutes. This helps the chicken cook more evenly.
- Place frozen chicken breasts in the basket in a single layer and cook for 10 minutes. This softens the surface so that you can season the chicken properly. Remove the chicken, pat with paper towels and season as directed.
- Continue cooking the chicken for 8 to 12 more minutes, flipping once halfway through. Chicken breasts are fully cooked at 165 degrees F in the thickest part.
Tips for the Best Air Fryer Chicken
- Size matters – make sure both chicken breasts are even in size as this makes sure they cook evenly in the air fryer.
- Don’t skip the oil – this helps the seasoning stick, ensures proper browning and keeps the outside of the chicken from becoming dry in the high heat of the air fryer.
- Preheat the air fryer – starting with a hot basket helps the chicken sear on contact, which boosts browning and prevents overcooking.
- Don’t overcrowd the basket – make sure to give the chicken enough space so the hot air can circulate. If they are touching, you’ll get steaming instead of crisping, as well as uneven cooking.
- Use a meat thermometer – pull your chicken out as soon as the internal temperature reaches 165 degree F, as overcooking the chicken will cause it to dry out.
- Let chicken rest – letting the chicken rest for 5 minutes keeps the juices from pouring out onto the cutting board and keeps it nice and moist.
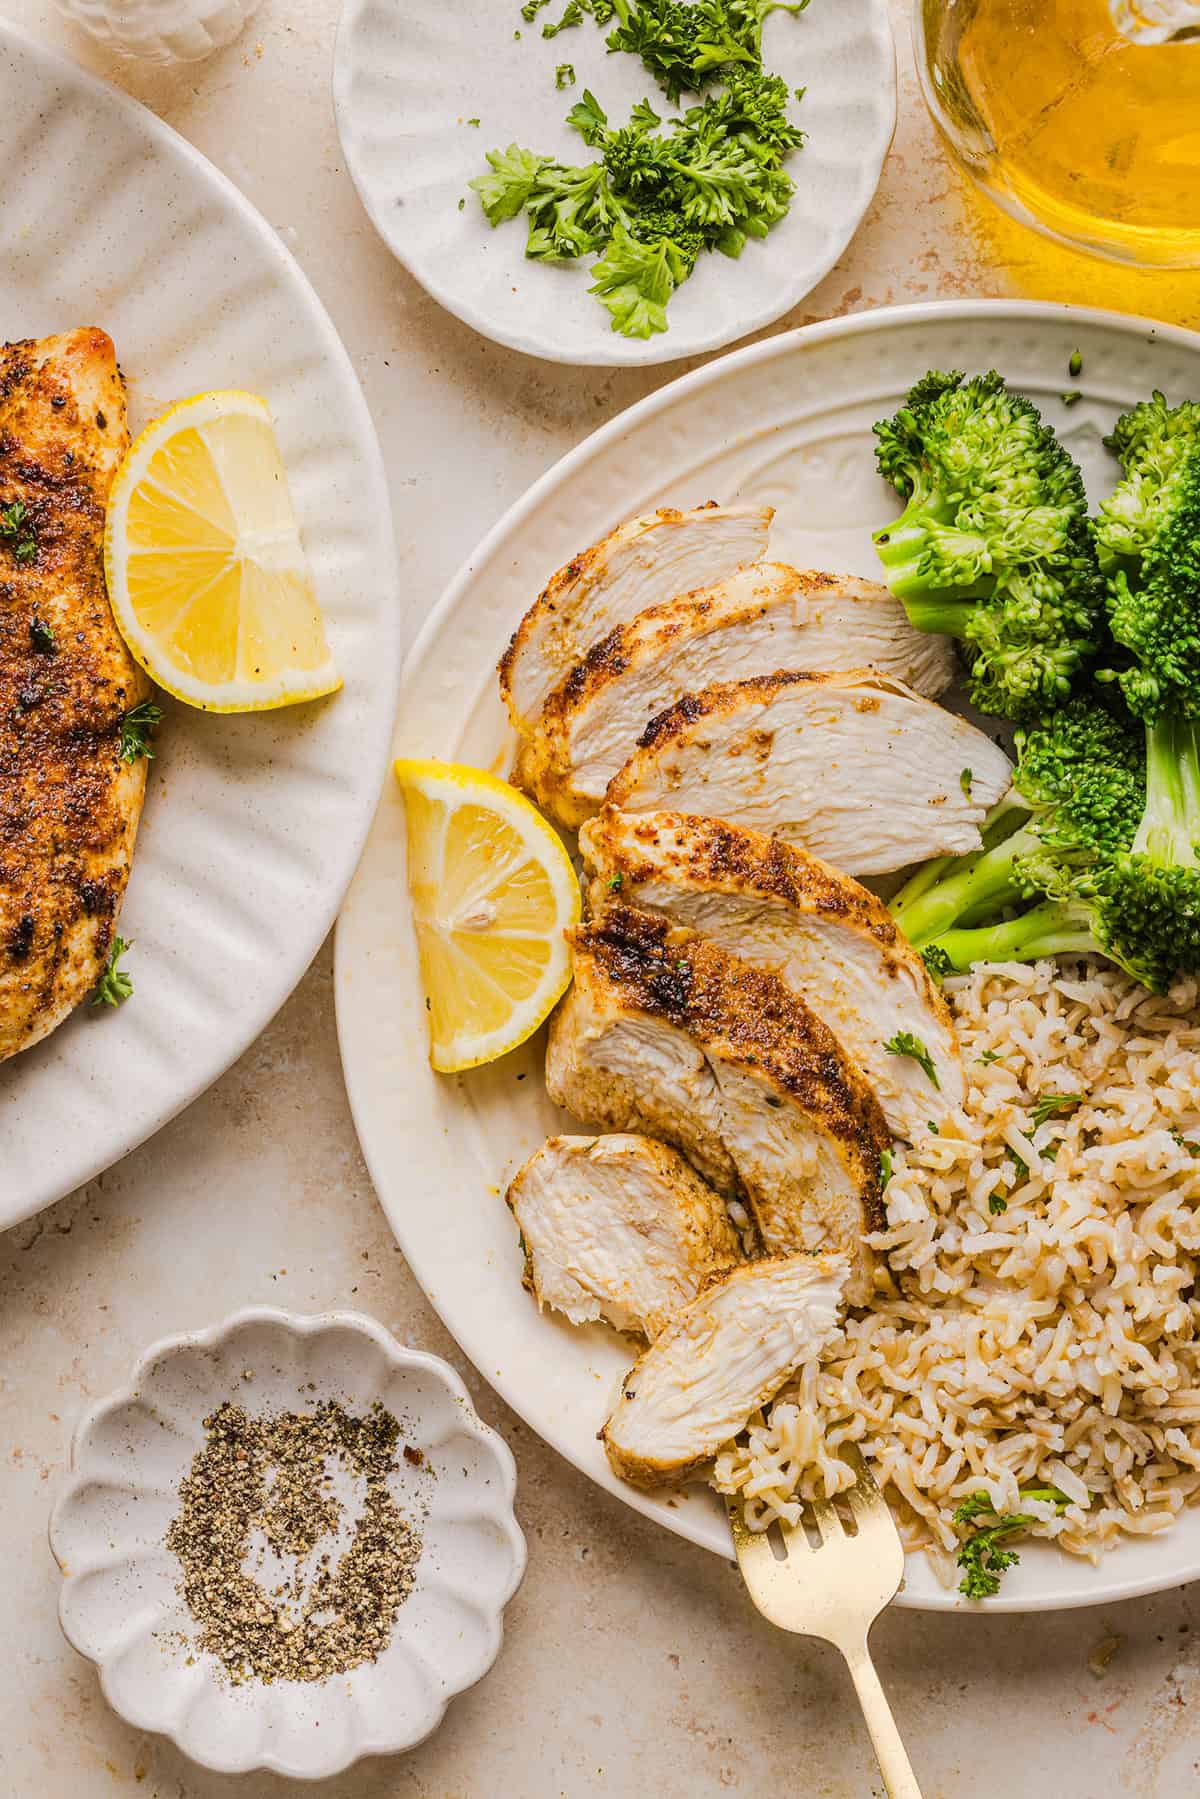
How to Serve
- Sides – serve with a variety of side dishes like these balsamic roasted brussels sprouts, these simple sautéed vegetables, our favorite sweet potato fries, or these green beans with caramelized shallots.
- Grain bowls – serve over rice, quinoa or cauliflower rice with some cooked veggies for an easy meal to enjoy during the week.
- Salad – serve this air fryer chicken on top of a fresh green salad. Some great options include this Chinese chicken salad, this chicken caesar salad or this raspberry walnut chicken salad.
- Sandwiches or wraps – stuff this chicken into pita bread or a wrap or make delicious sandwiches topped with avocado, cheese or crispy lettuce for a quick lunch.
- Add to soups – shred the chicken and add it to chicken noodle soup, chicken and wild rice soup, or this chicken tortilla soup.
- Other meal options – this chicken would taste great shredded in these healthy chicken enchiladas, tacos or mixed into this healthy chicken salad.
Variations
- Seasonings – other seasoning variations you can try are my homemade taco seasoning or this cajun seasoning for a different flavor.
- Marinades – try marinating your chicken overnight in this lemon herb marinade, cilantro lime is another favorite, or this maple balsamic marinade.
Pin this now to find it later
Follow on Instagram
Prepping and Storage
To Store: Leftovers can be stored in a sealed, airtight container in the refrigerator for up to 4 days making this great for meal prep. To reheat, warm the chicken in the oven at 350 degrees F until warmed through.
To Freeze: Freeze leftover chicken in an airtight, freezer-safe container for up to 3 months. Thaw overnight in the fridge overnight before reheating.
More Chicken Recipes
- Lemon Herb Grilled Chicken
- Cilantro Lime Grilled Chicken
- Easy Baked Chicken Parmesan
- Grilled Bruschetta Chicken
- Maple Balsamic Herb Chicken
- Greek Chicken Kabobs
- Chili Lime Grilled Chicken
More Air Fryer Recipes
- Crispy Air Fryer Coconut Shrimp
- Air Fryer Garlic Parmesan Brussels Sprouts
- Air Fryer Eggplant Parmesan
- Air Fryer Sweet Potato Chicken Bites
- Sticky Honey Garlic Cauliflower Wings
Hope you all enjoy this Air Fryer Chicken recipe! If you love this as much as we do, please leave a  star rating below and don’t forget to tag me on Instagram using the hashtag #eatyourselfskinny!
Air Fryer Chicken Breast
#wprm-recipe-user-rating-1 .wprm-rating-star.wprm-rating-star-full svg * { fill: #343434; }#wprm-recipe-user-rating-1 .wprm-rating-star.wprm-rating-star-33 svg * { fill: url(#wprm-recipe-user-rating-1-33); }#wprm-recipe-user-rating-1 .wprm-rating-star.wprm-rating-star-50 svg * { fill: url(#wprm-recipe-user-rating-1-50); }#wprm-recipe-user-rating-1 .wprm-rating-star.wprm-rating-star-66 svg * { fill: url(#wprm-recipe-user-rating-1-66); }linearGradient#wprm-recipe-user-rating-1-33 stop { stop-color: #343434; }linearGradient#wprm-recipe-user-rating-1-50 stop { stop-color: #343434; }linearGradient#wprm-recipe-user-rating-1-66 stop { stop-color: #343434; }
Ingredients
- 2 boneless, skinless chicken breasts
- 1 Tbsp olive oil
- 1/2 tsp Italian seasoning
- 1/2 tsp garlic powder
- 1/2 tsp onion powder
- 1/2 tsp salt
- 1/4 tsp paprika
- 1/4 tsp black pepper
- Garnish with fresh chopped parsley (optional)
Instructions
-
Preheat air fryer to 375 degrees F.
-
Pound out the chicken breasts to an even thickness (if the chicken is very thick) and pat them dry with paper towels.
-
In a small bowl, mix together Italian seasoning, garlic powder, onion powder, salt, paprika and black pepper.
-
Brush both sides of chicken with olive oil and sprinkle evenly with spice mix, pressing gently so it sticks.
-
Place chicken in a single layer in the basket of the air fryer (don’t overlap) and cook for 10 minutes. Flip chicken and cook for an additional 6 to 10 minutes, or until the internal temperature reaches 165 degrees F using a meat thermometer and juices run clear.
-
Transfer chicken to a plate, cover and let rest for 5 minutes before slicing. Enjoy!
Nutrition
The post Air Fryer Chicken Breast appeared first on Eat Yourself Skinny.