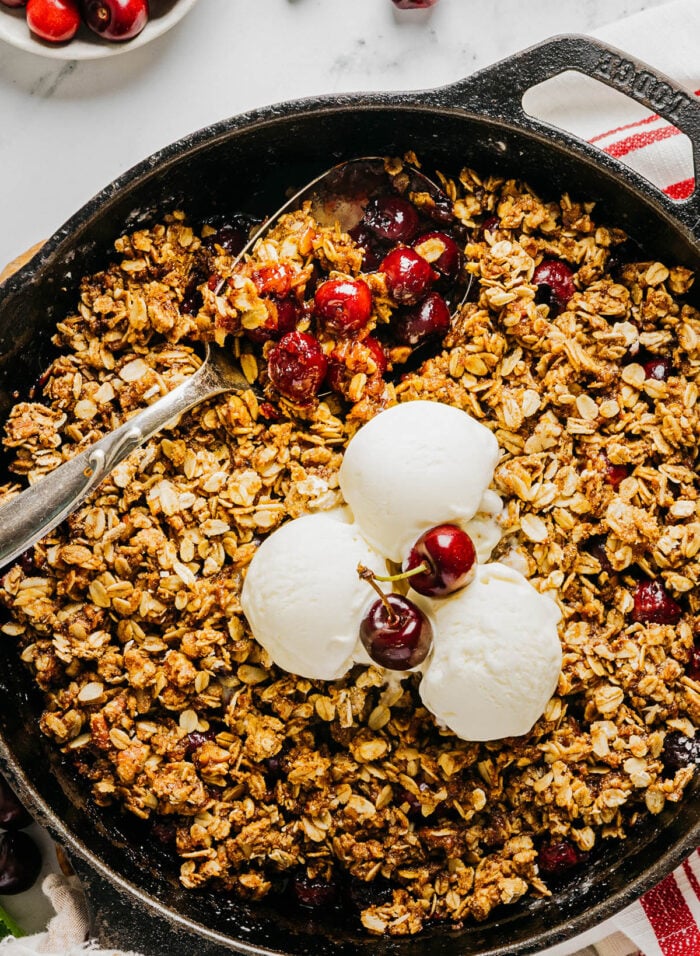
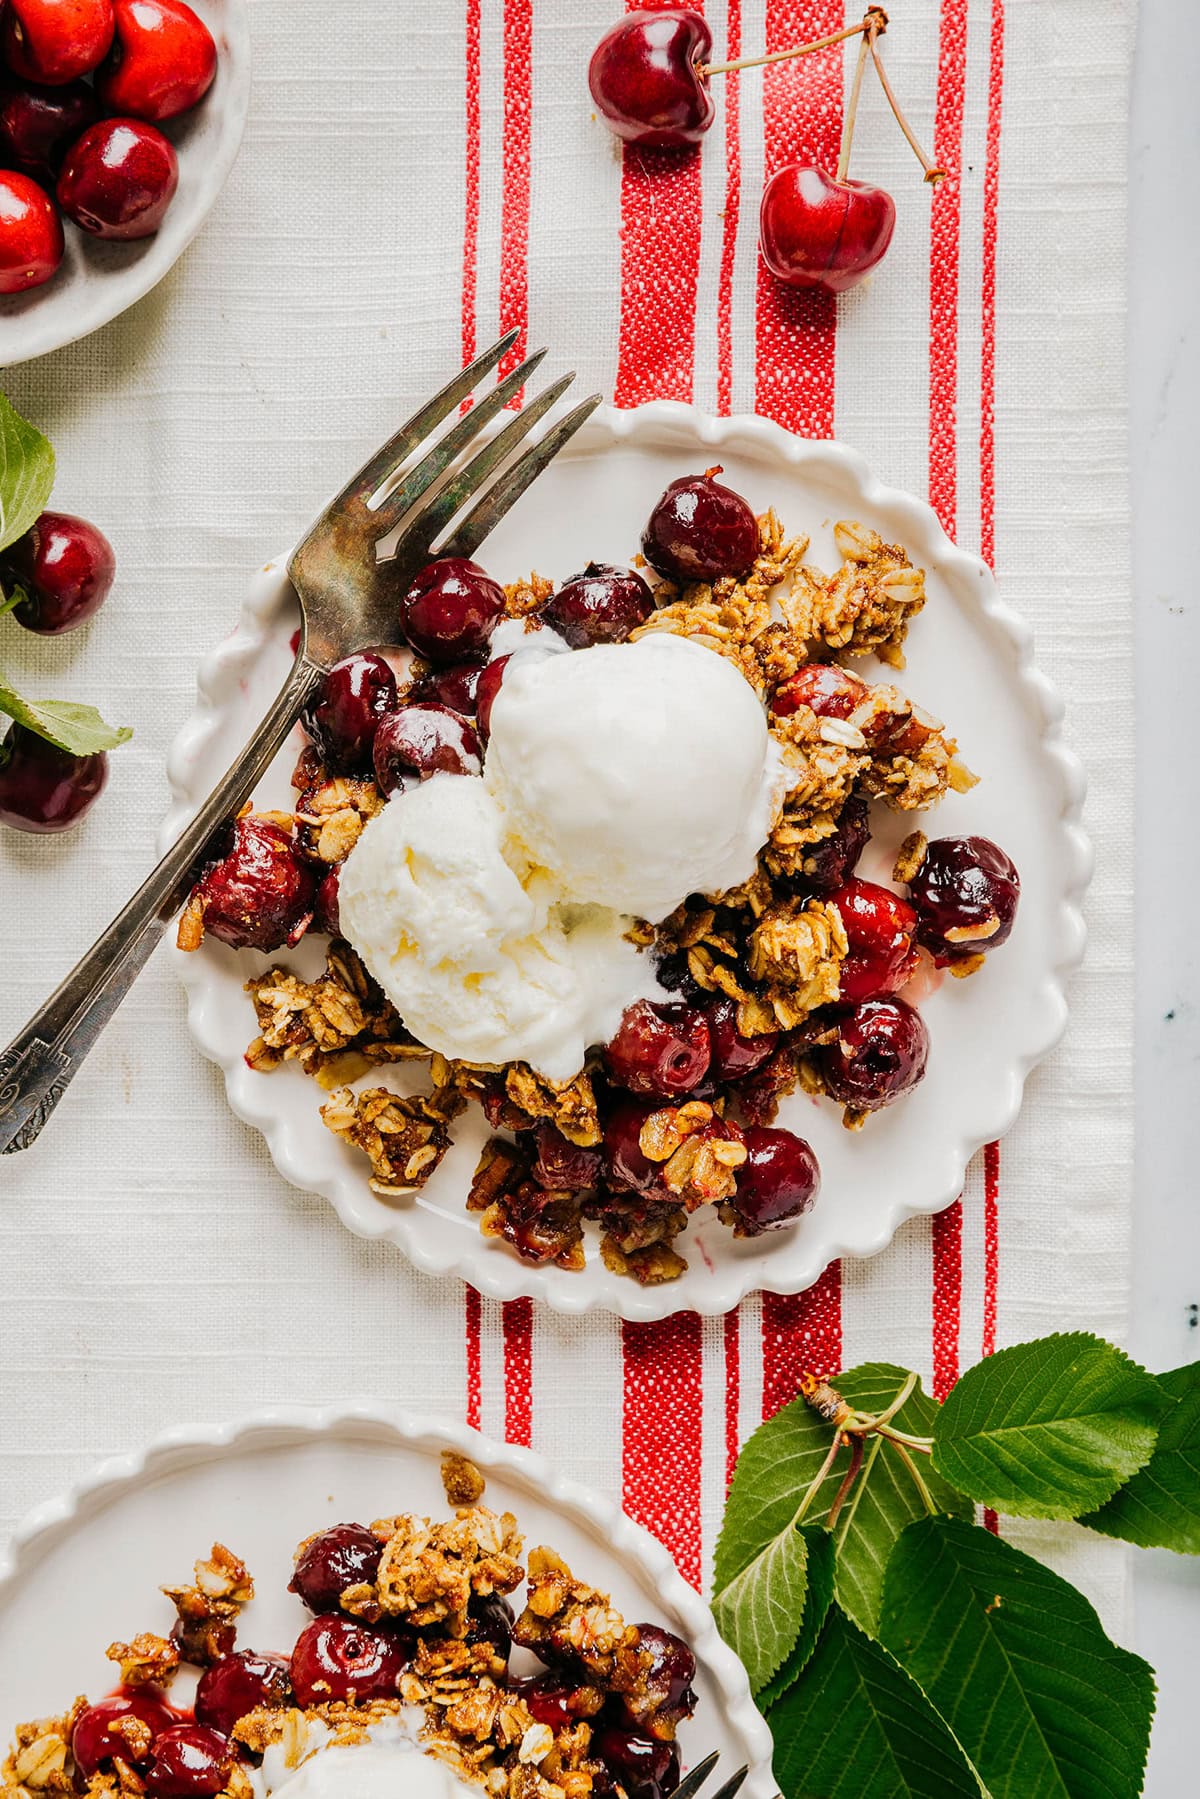
This Healthy Cherry Crisp recipe is the ultimate summer dessert! Bursting with sweet cherries and a wholesome oat topping, this warm cherry crisp easily comes together with just a few simple ingredients!
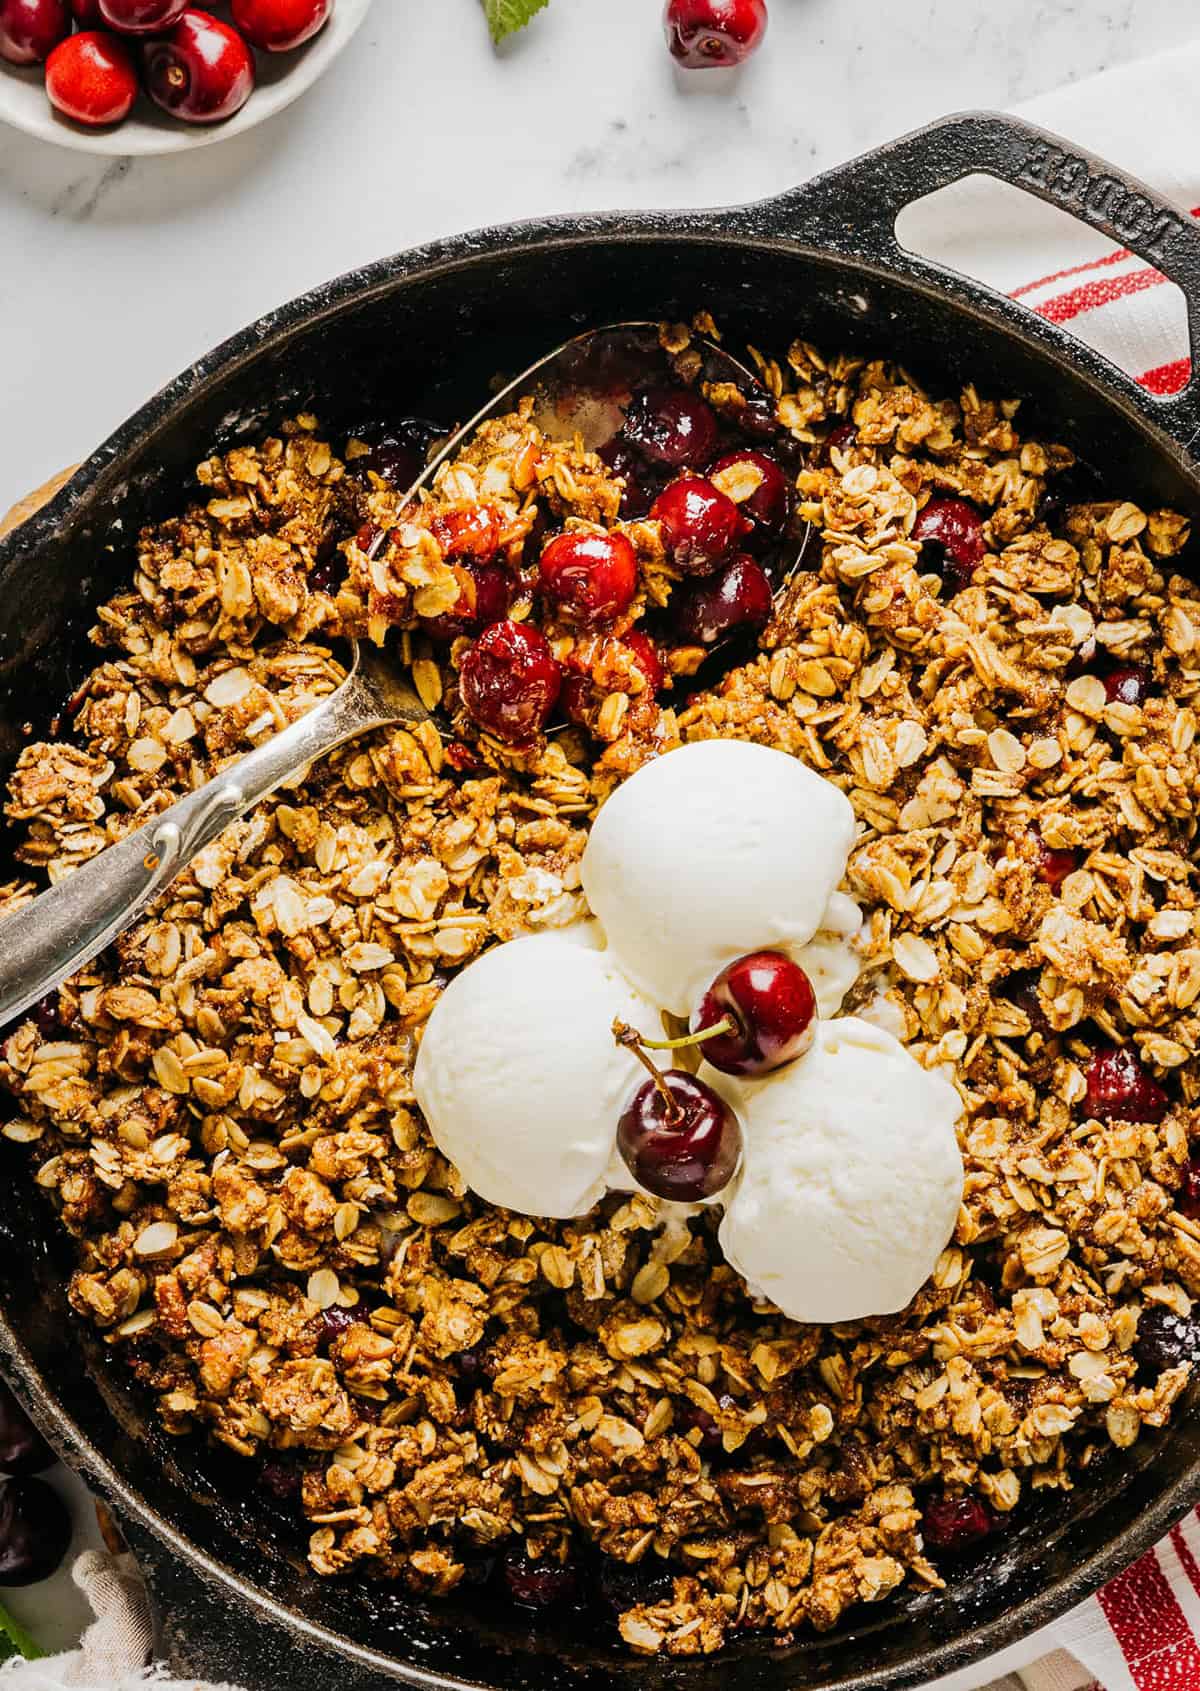
It’s officially cherry season and what better way to use up all these beauties than with this Healthy Cherry Crisp recipe! Juicy cherries bursting with sweetness all topped with a golden, crumbly crisp and scoops of vanilla ice cream for the perfect summer dessert. This cherry crisp is naturally sweetened with maple syrup, uses less butter than traditional crisps, and topped with wholesome oats in place of refined flour for a healthier dessert that tastes amazing!
Why You’ll Love This
- Quick and easy – this healthy cherry crisp is ready to bake in under 15 minutes with minimal prep.
- Healthier – cherries are packed with fiber and antioxidants while the crisp topping is made with wholesome oats, half the amount of butter, and zero refined sugar.
- Customizable – this fresh cherry crisp is easily adaptable to different dietary needs whether you are gluten-free, dairy-free or vegan.
- Perfect for summer – this recipe makes the most delicious sweet dessert or healthy breakfast that you can enjoy all summer long!
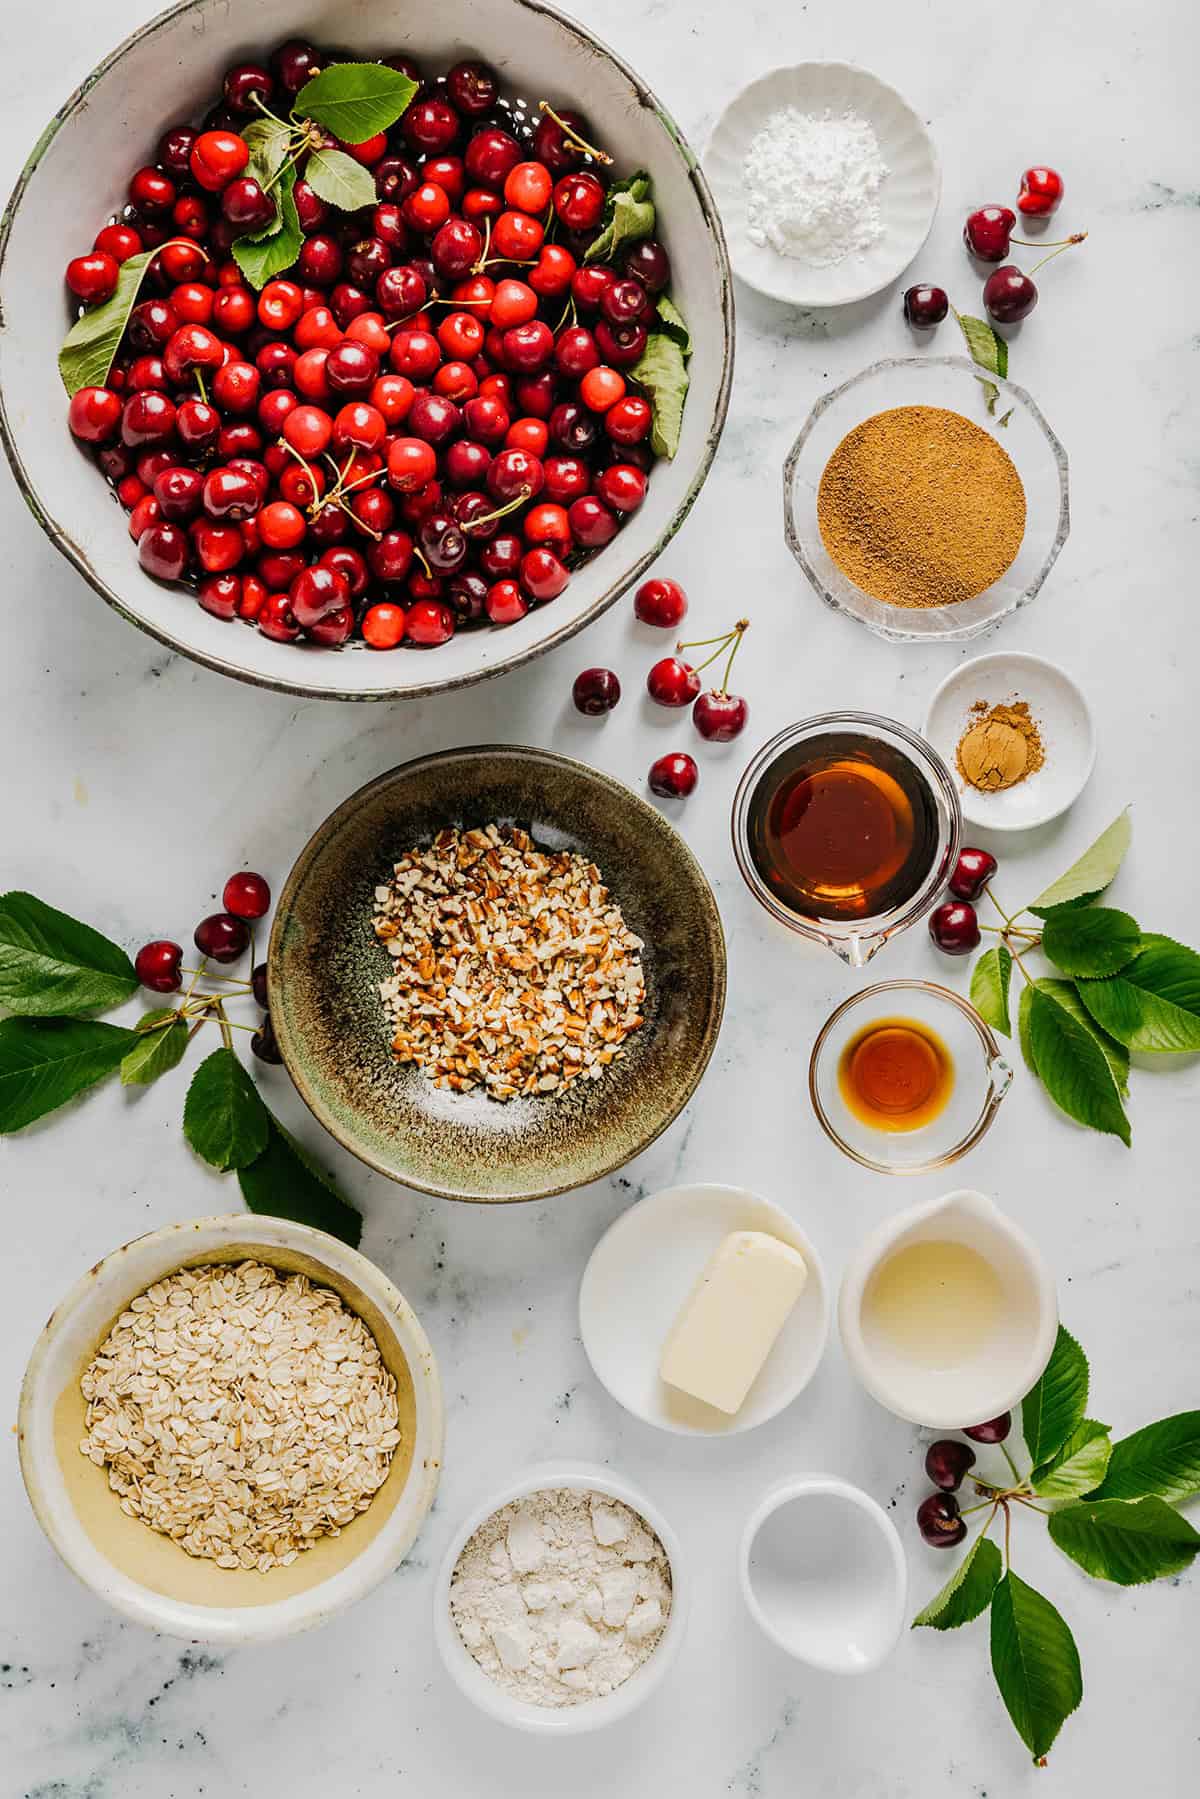
Ingredients You’ll Need
- cherries – the star of this recipe! I recommend using fresh cherries in this crisp, but you can use frozen cherries if that’s all you have. No canned cherries here! Both sweet and tart cherries will work in this recipe.
- rolled oats – wholesome whole grain old fashioned oats make this topping nice and crunchy.
- oat flour – flour helps the topping come together and you can easily make your own oat flour right at home by blending rolled oats in your food processor or blender. Almond flour makes a great option too, but any flour will work.
- maple syrup – naturally sweetens this cherry crisp and we are using this in both the cherry filling and the oat topping. You could also use honey, coconut sugar, brown sugar or other sweetener of choice.
- lemon juice – this enhances the flavor and helps balance out the sweetness. You could also substitute the lemon juice with a little apple cider vinegar.
- cornstarch – this thickens the sauce and prevents it from becoming watery. You could also use arrowroot powder in place of the cornstarch.
- pecans – chopped nuts make the topping even crunchier and adds a boost of protein, but feel free to leave them out if you are nut-free.
- coconut sugar – I like using coconut sugar in place of brown sugar in my recipes and this adds some extra sweetness to the oat topping.
- butter (or coconut oil) – I’ve been making this cherry crisp for years and both butter and coconut oil work great! Coconut oil has more nutritional value and is a great option if you are vegan or dairy-free, but in my opinion, butter just tastes the best.
- vanilla + almond extract – gives this cherry crisp a boost of flavor.
- cinnamon + salt – enhances the overall flavor of this cherry crisp.
How to Make Cherry Crisp
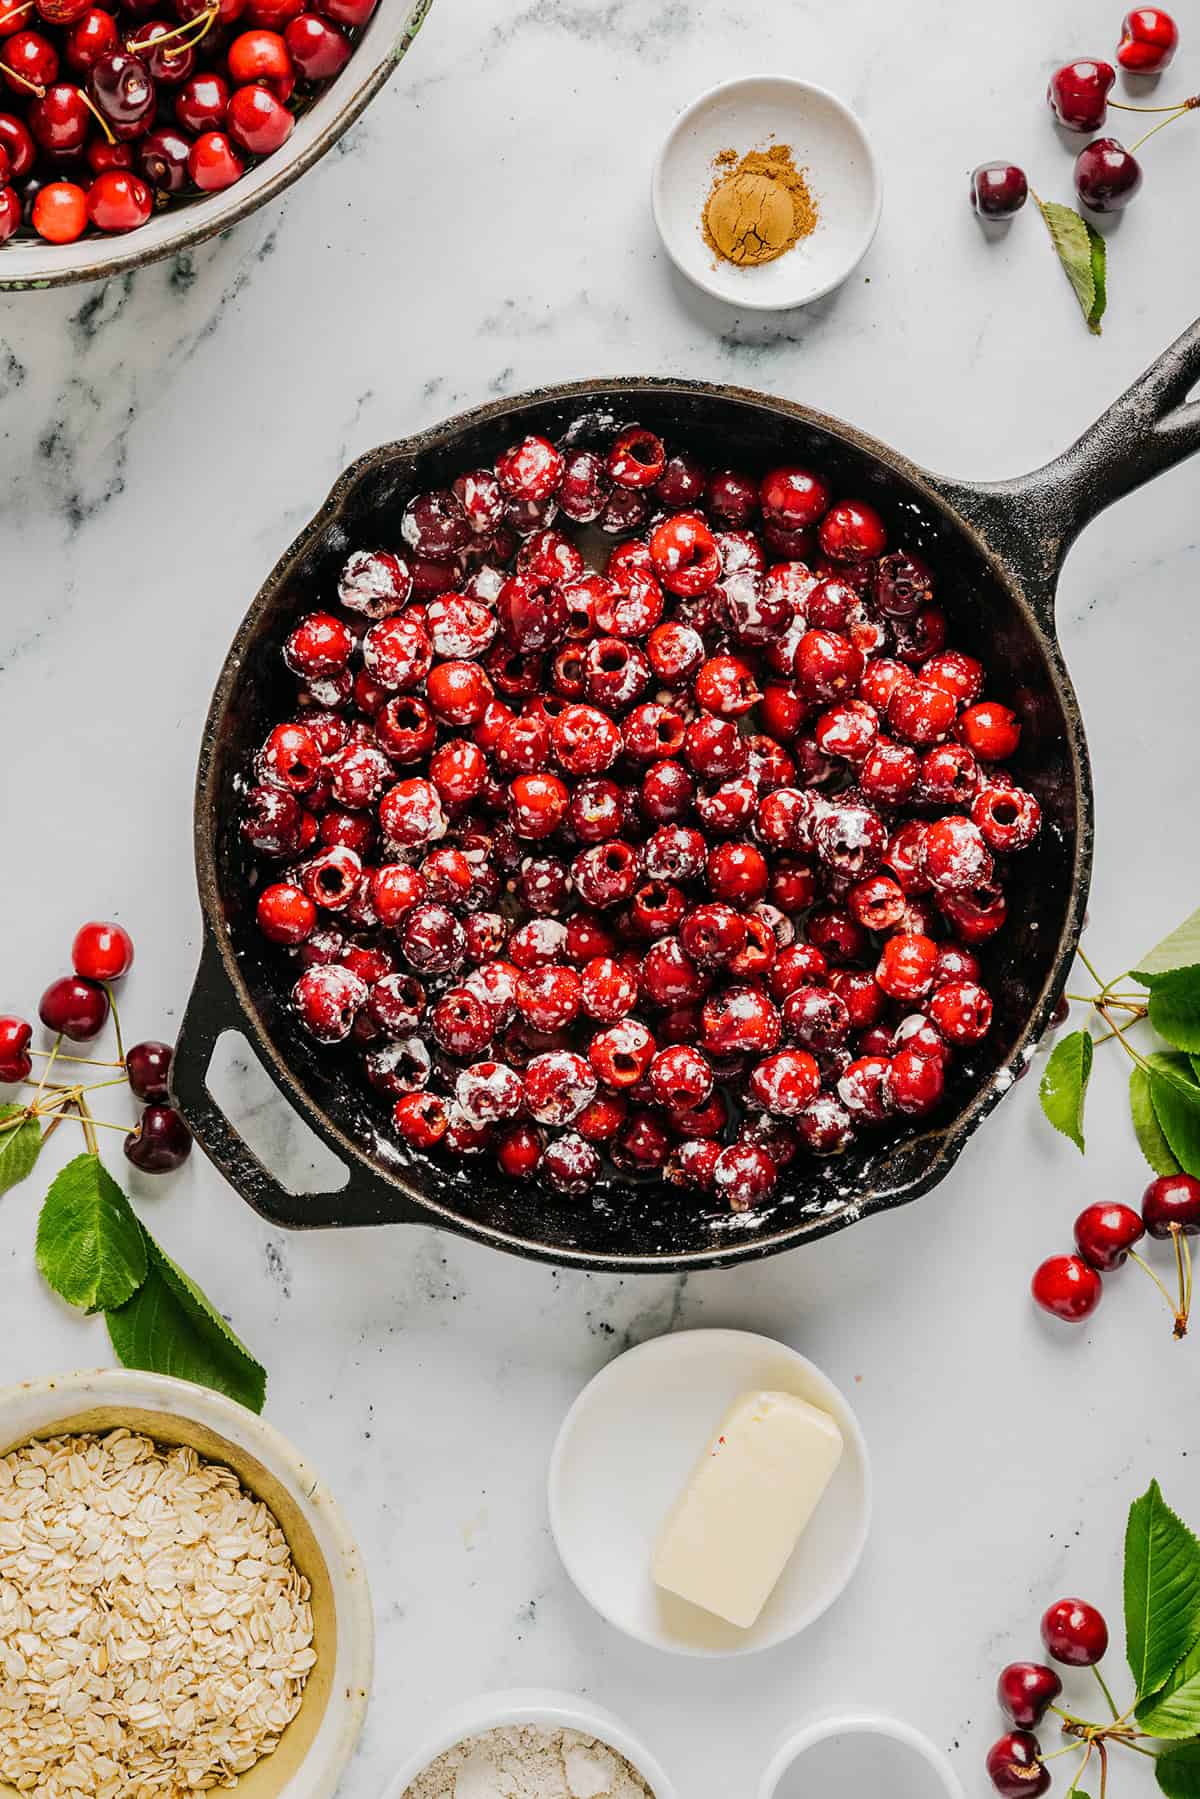
- Pit the cherries. Wash the cherries, remove the stems and leaves, and pit the cherries using a cherry pitter or a straw.
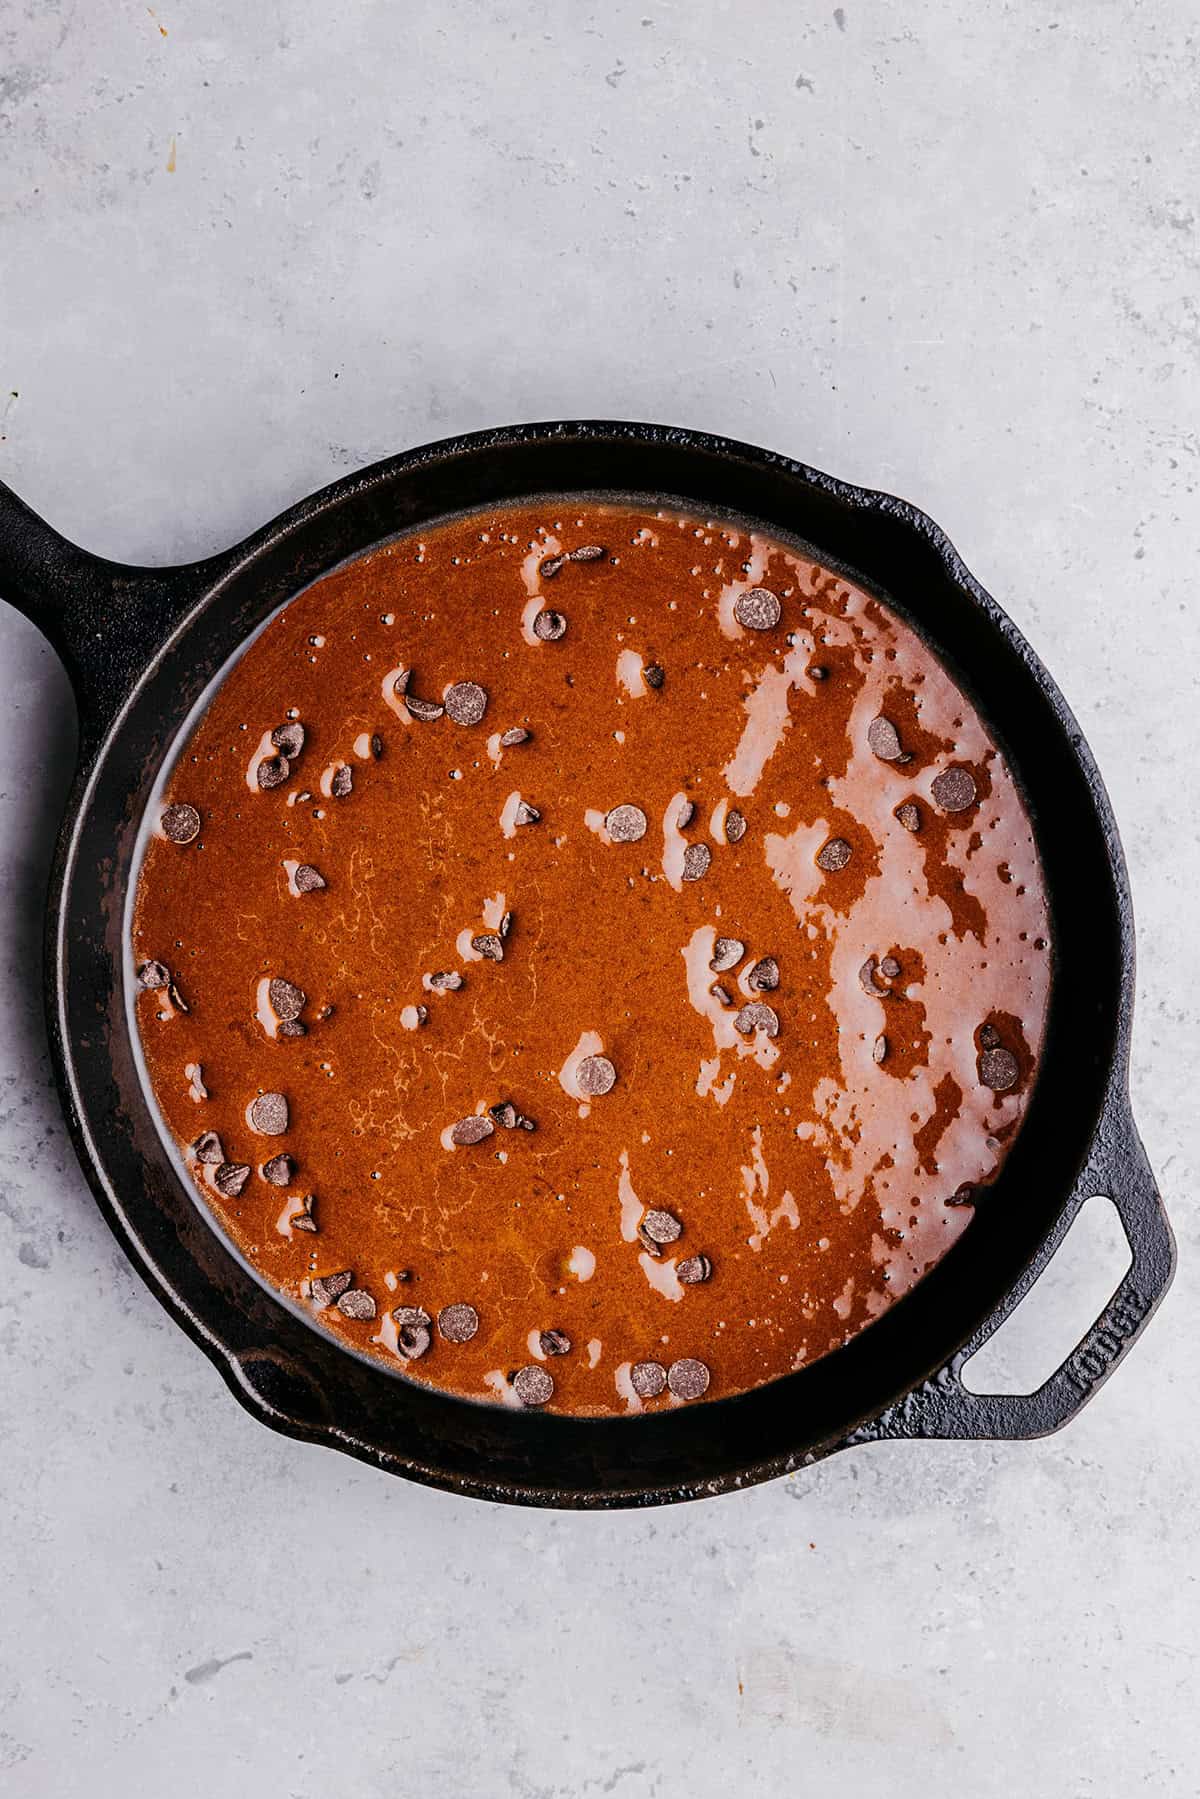
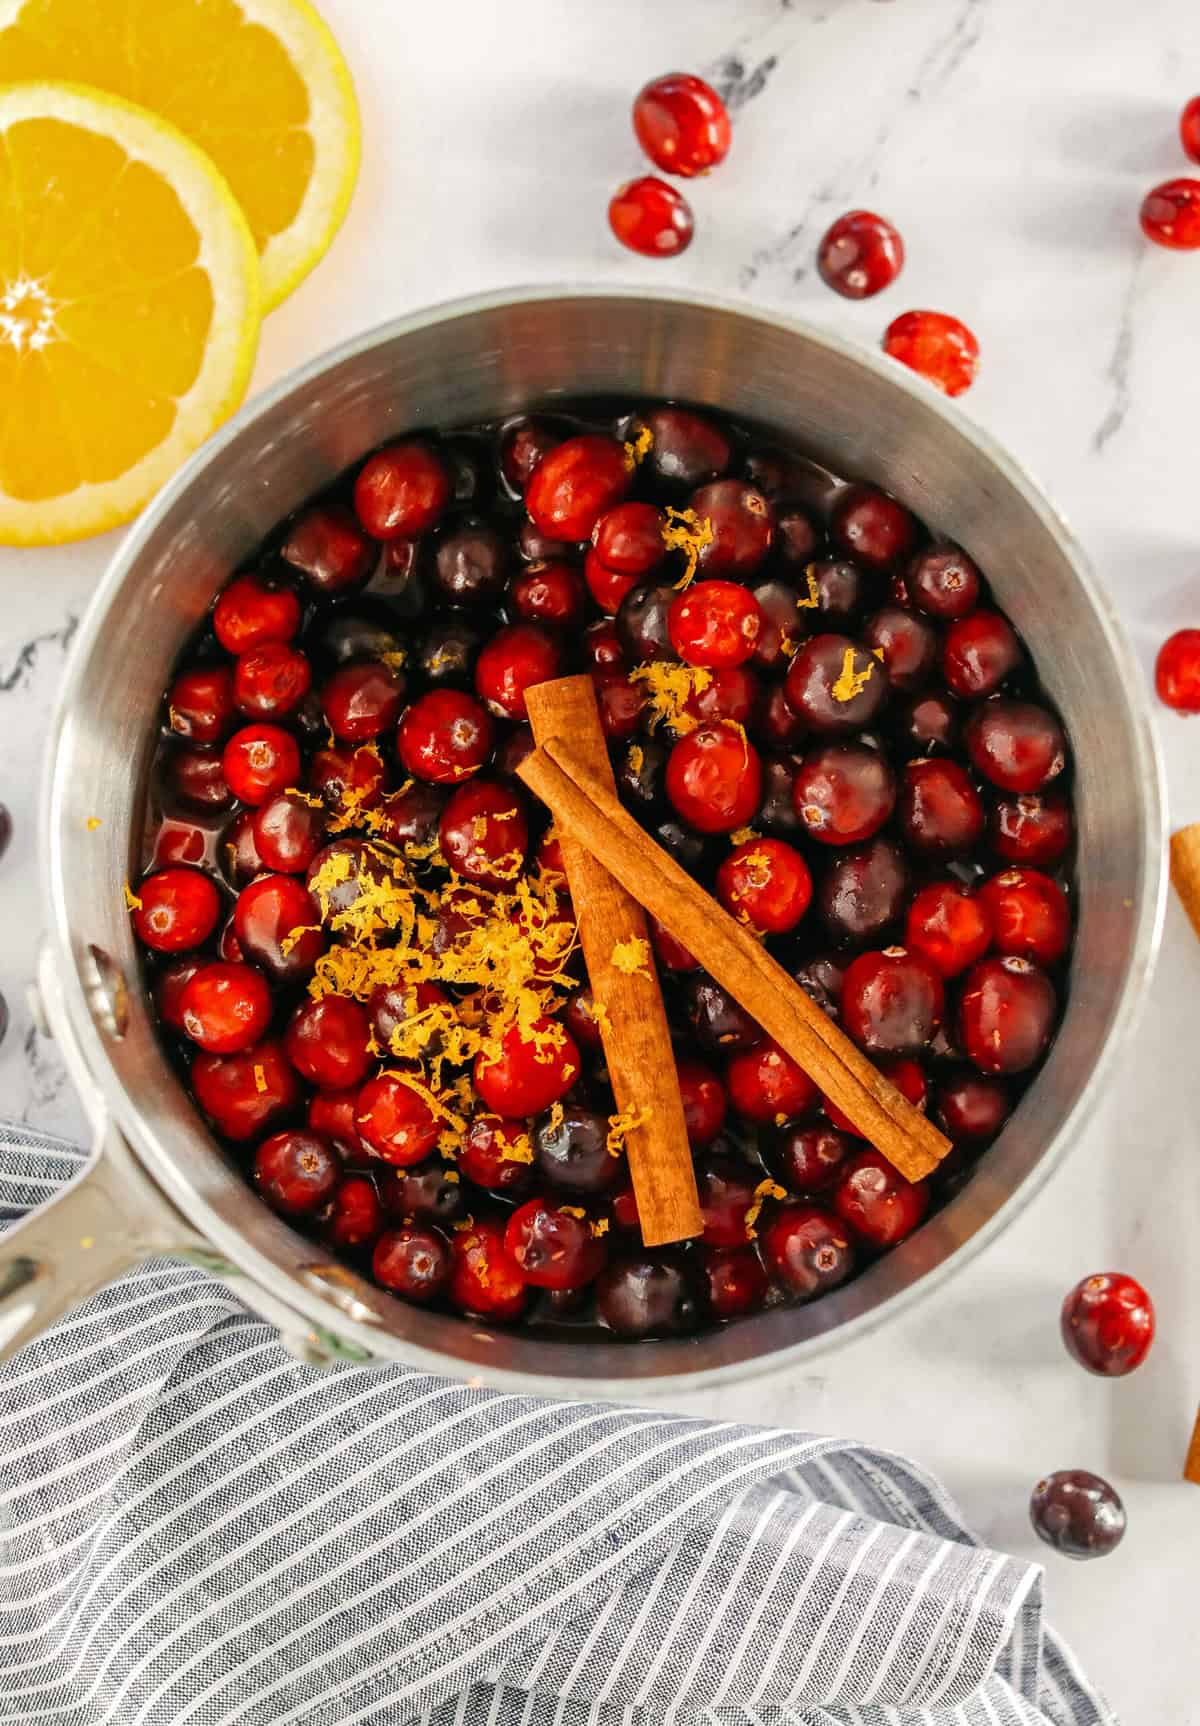
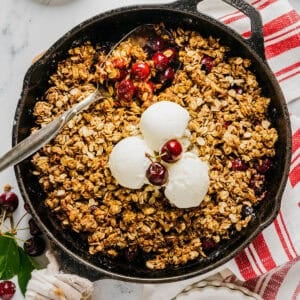
- Prep the cherry filling. Transfer the cherries to an 8×8 baking dish, 9×9 baking dish or cast iron skillet coated in non-stick spray along with the pure maple syrup, corn starch, lemon juice, vanilla and almond extract. Mix well until everything is fully incorporated and cherries are completely coated.
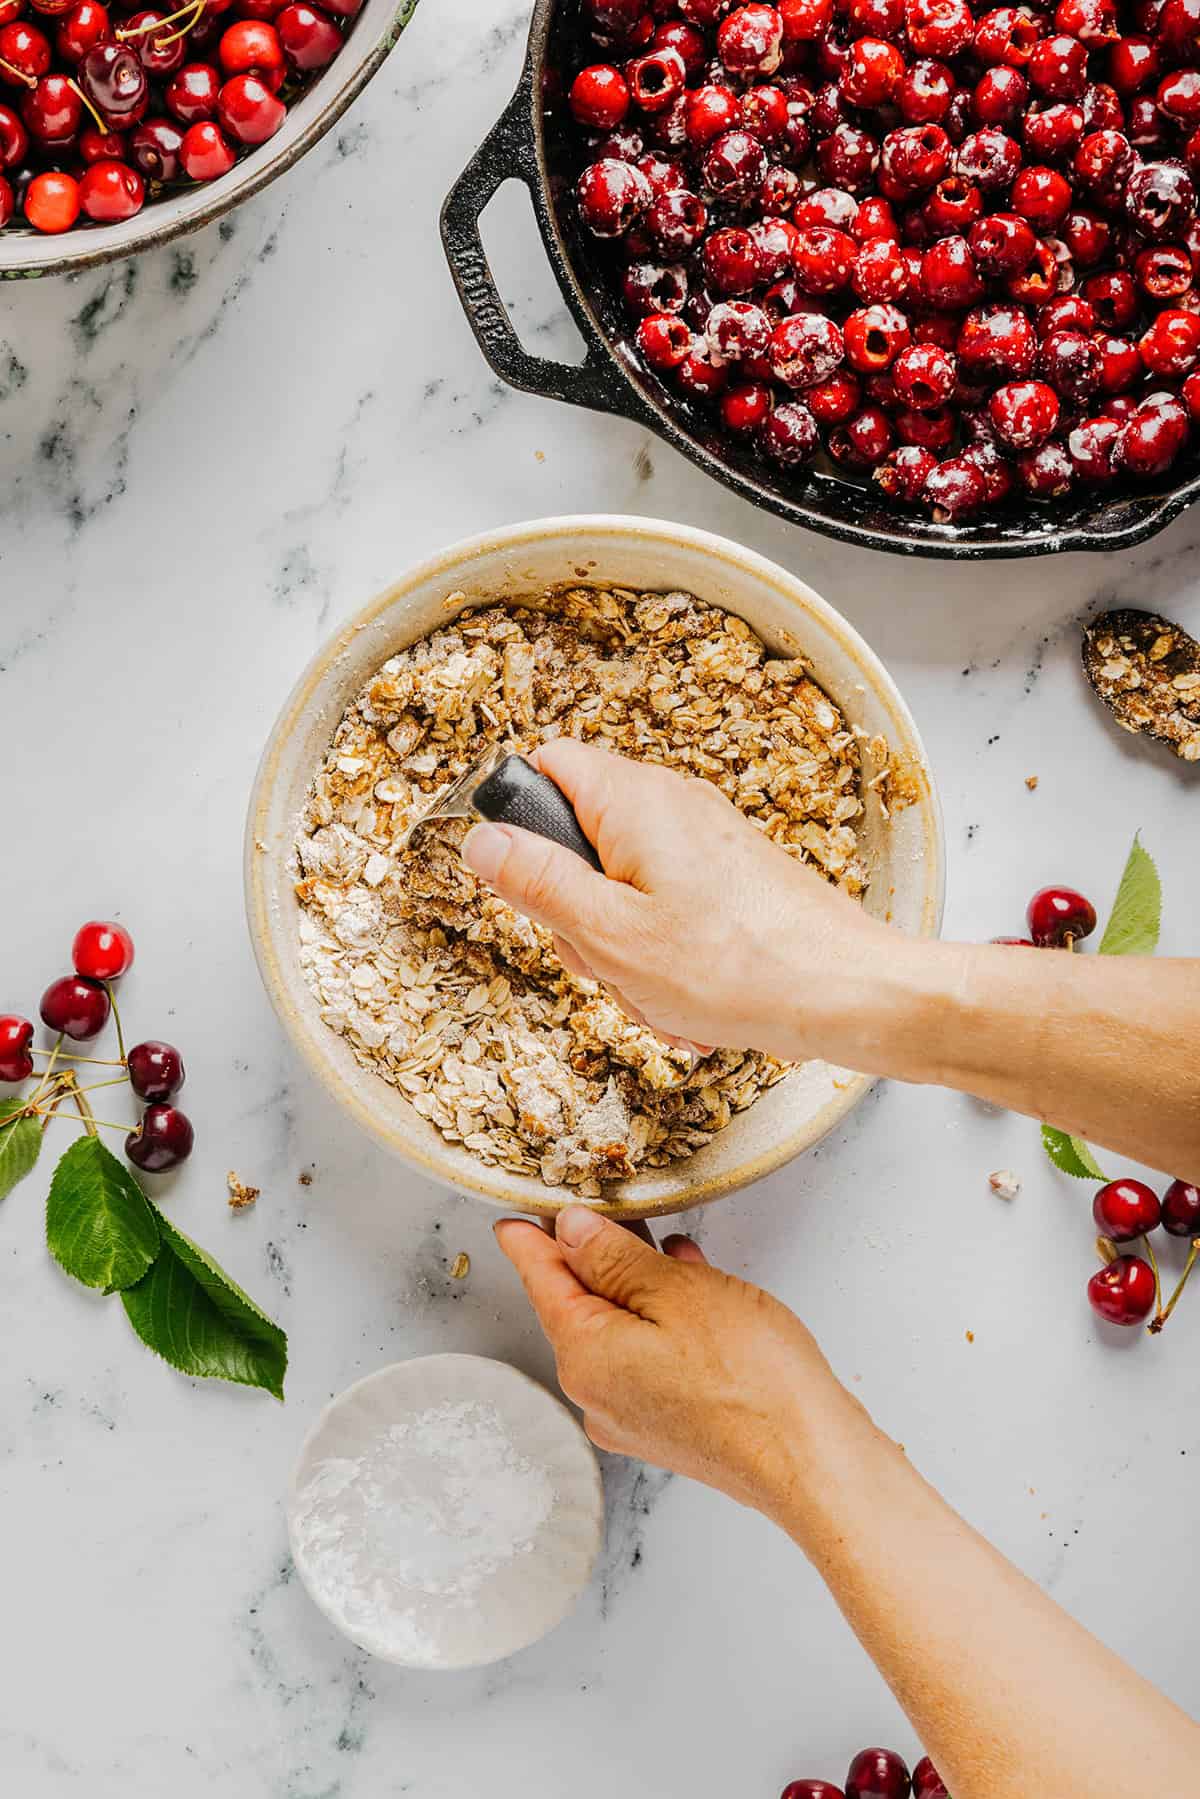
- Make the crumble topping. In a small bowl, mix together rolled oats, oat flour, pecans, coconut sugar, and maple syrup. Next add the butter (or solid coconut oil) and mix well using a pastry cutter (or your hands) to really get everything incorporated and the mixture resembles a nice crumble topping.
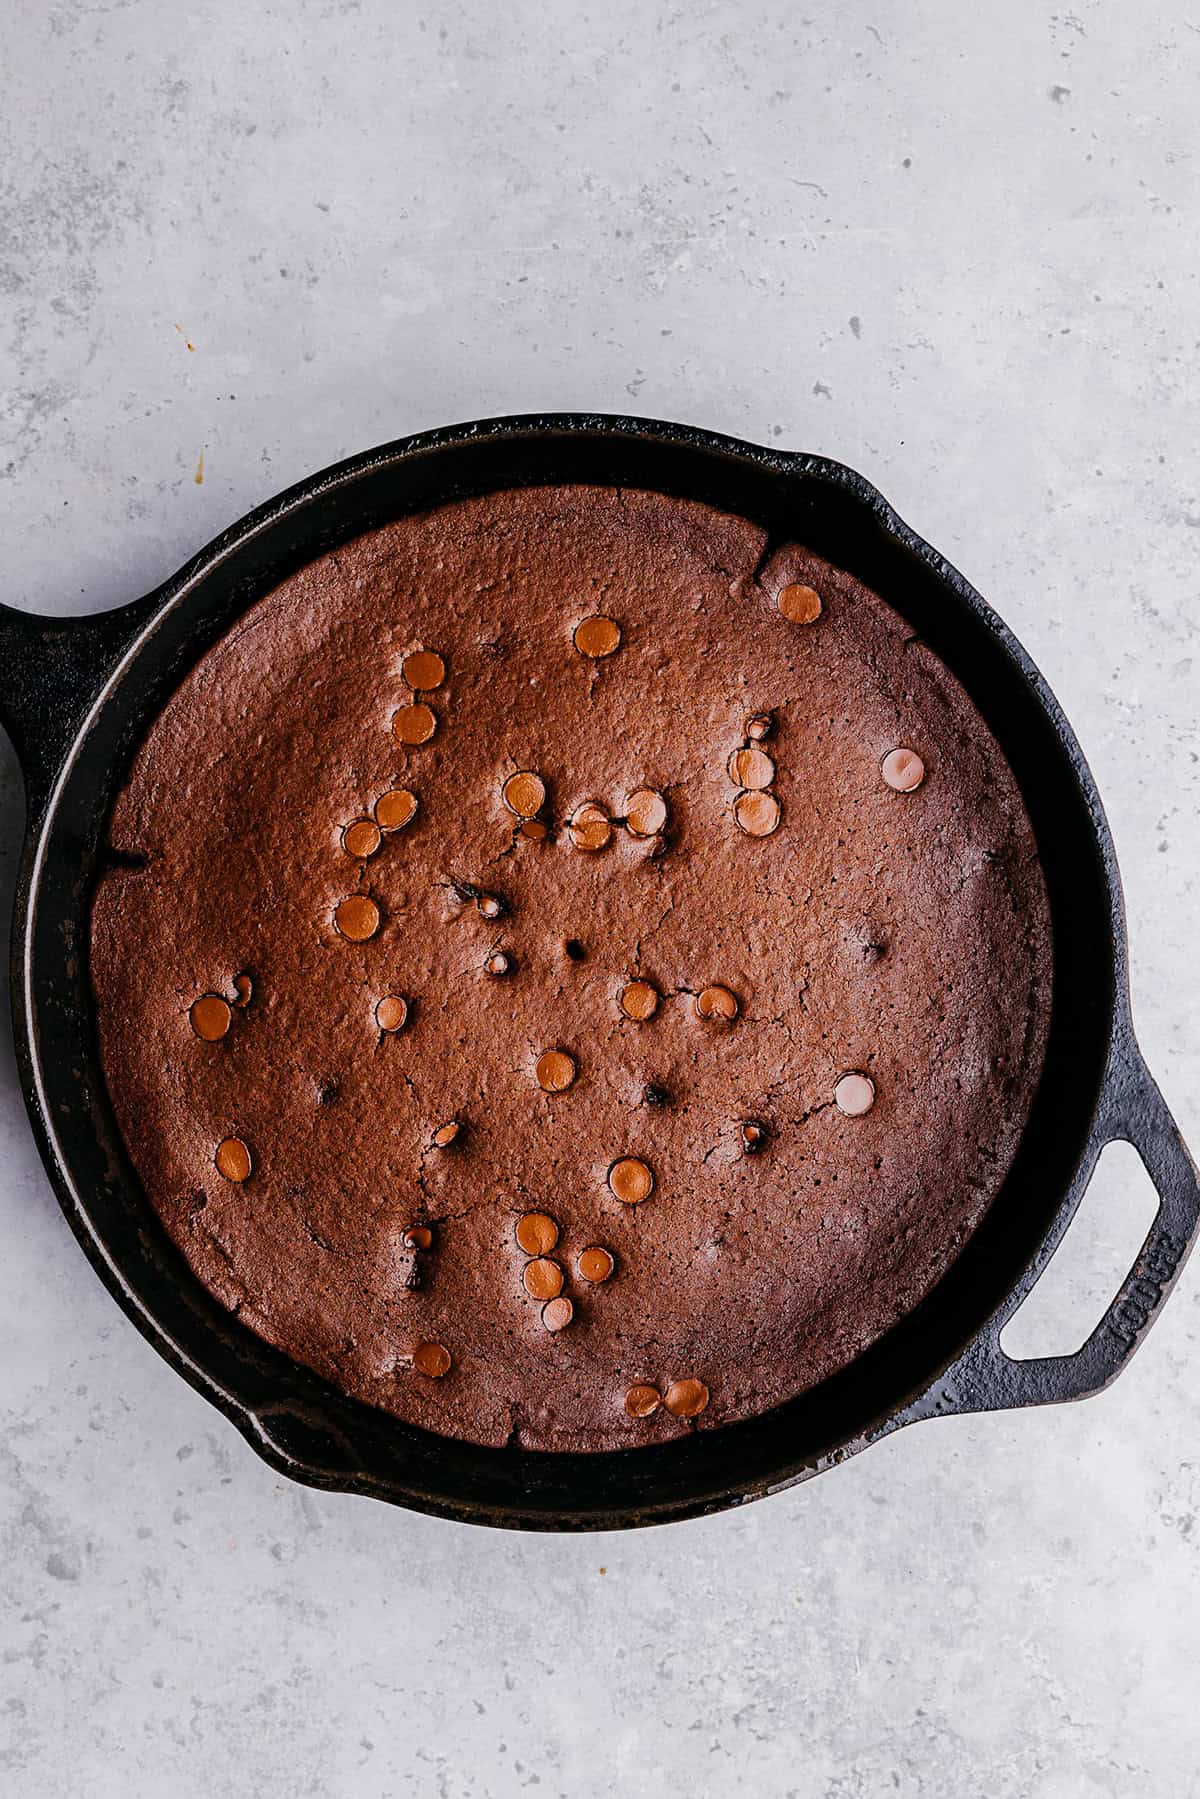
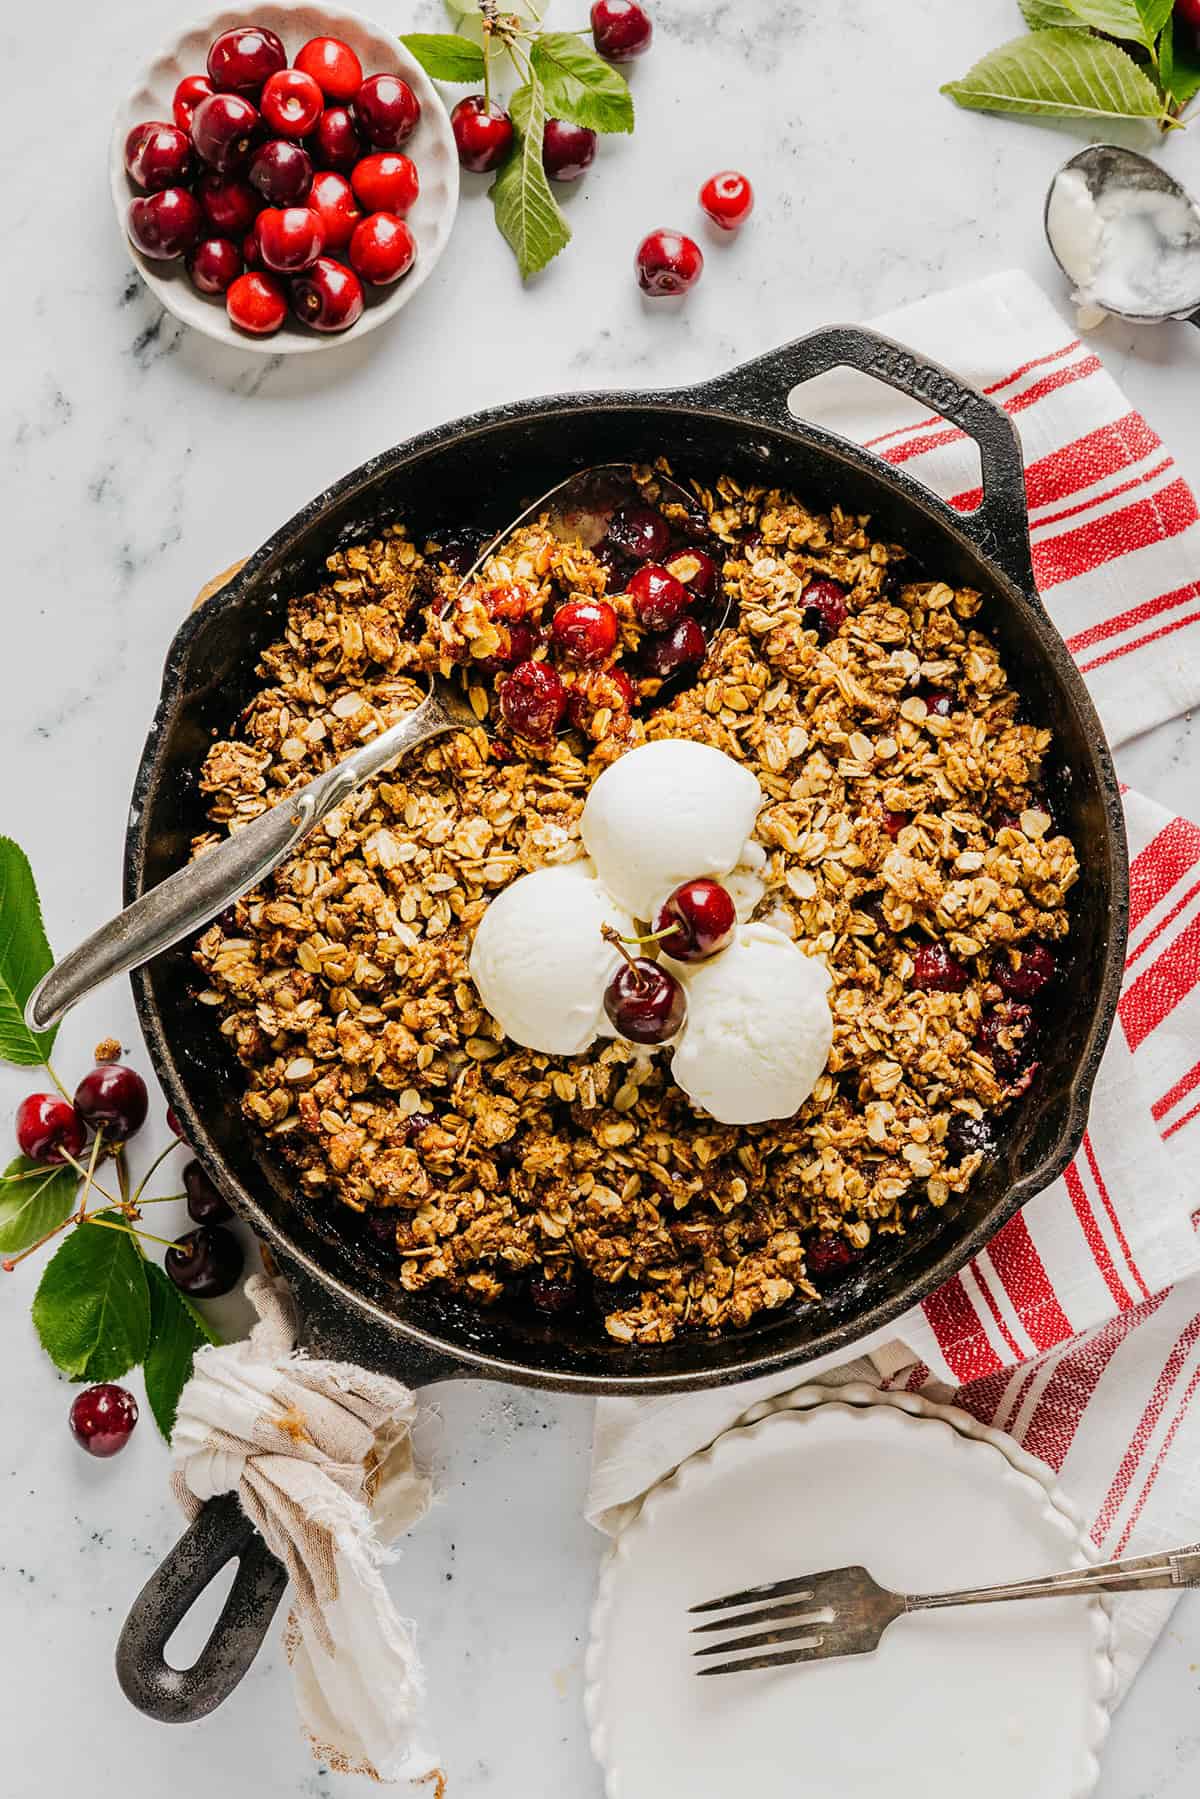
- Assemble and bake. Sprinkle the oat crumble over top of the cherry mixture until evenly covered and bake the cherry crisp in the oven at 350 degrees F for about 40 to 45 minutes. The cherry crisp will look golden brown and cherries should be soft and tender. If the oat topping starts browning too quickly, feel free to cover the baking pan with foil.
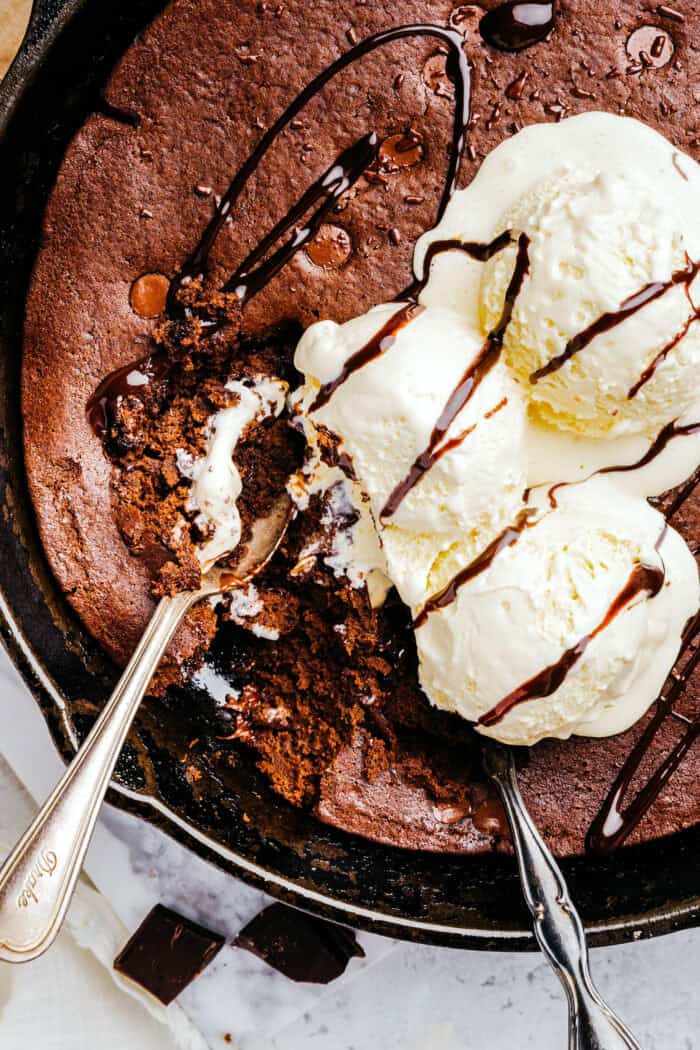
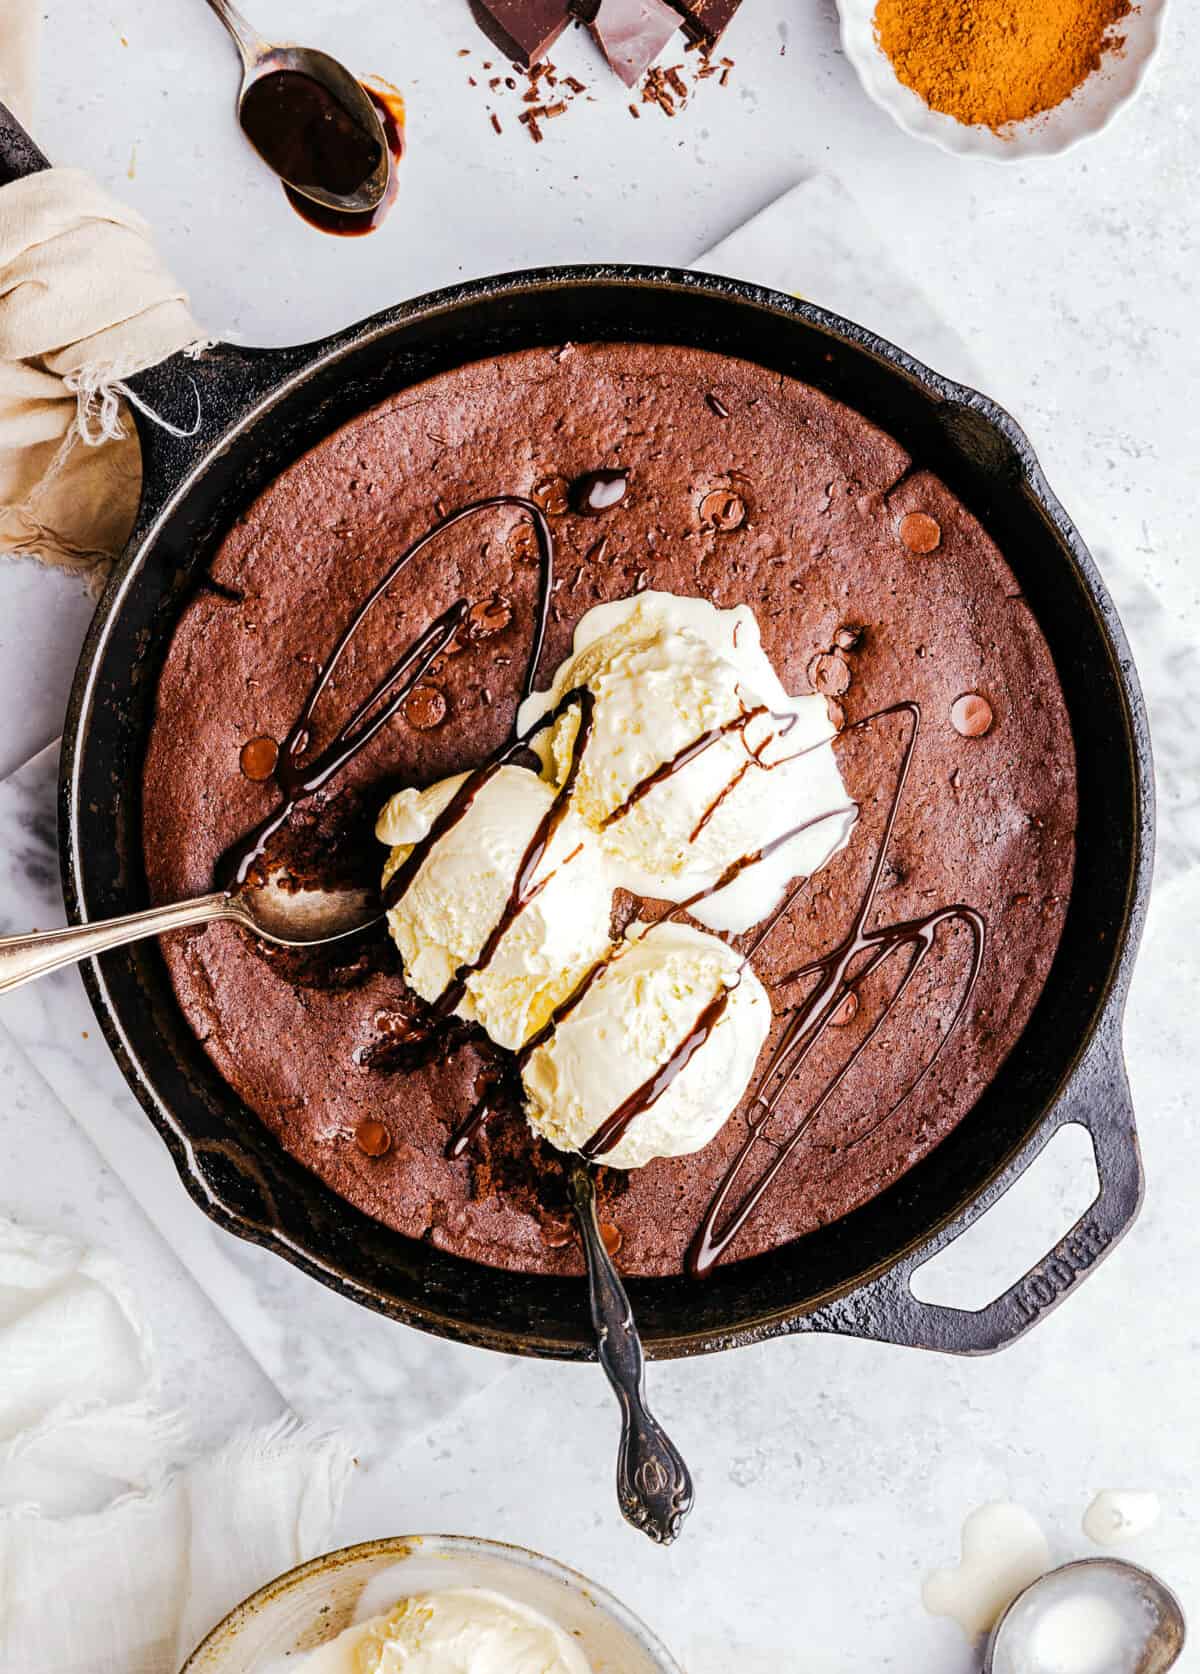
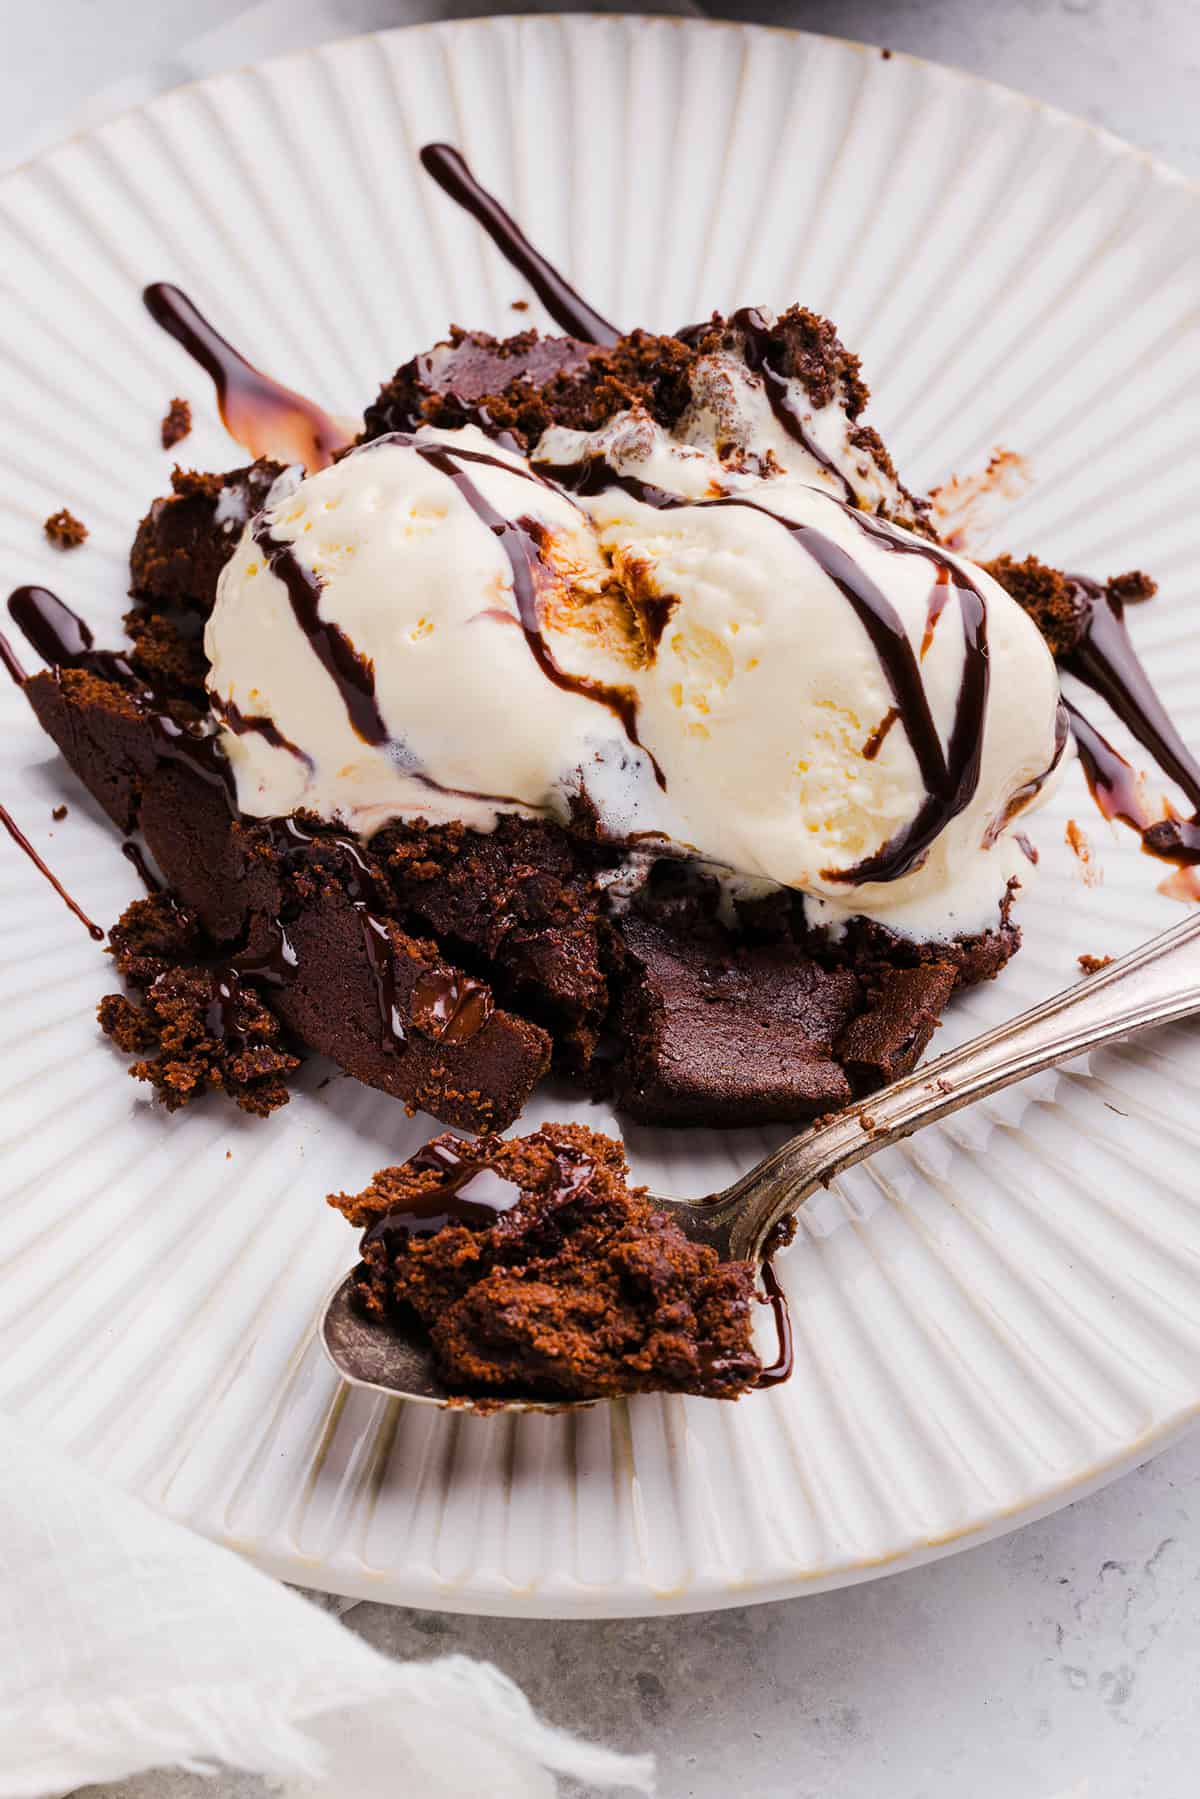
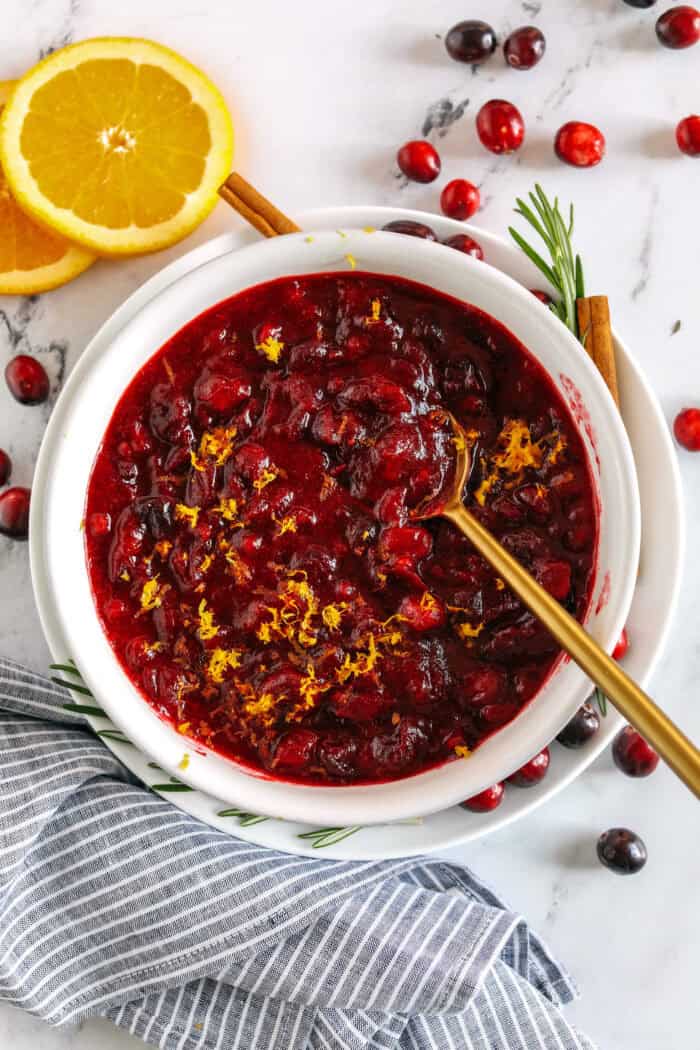
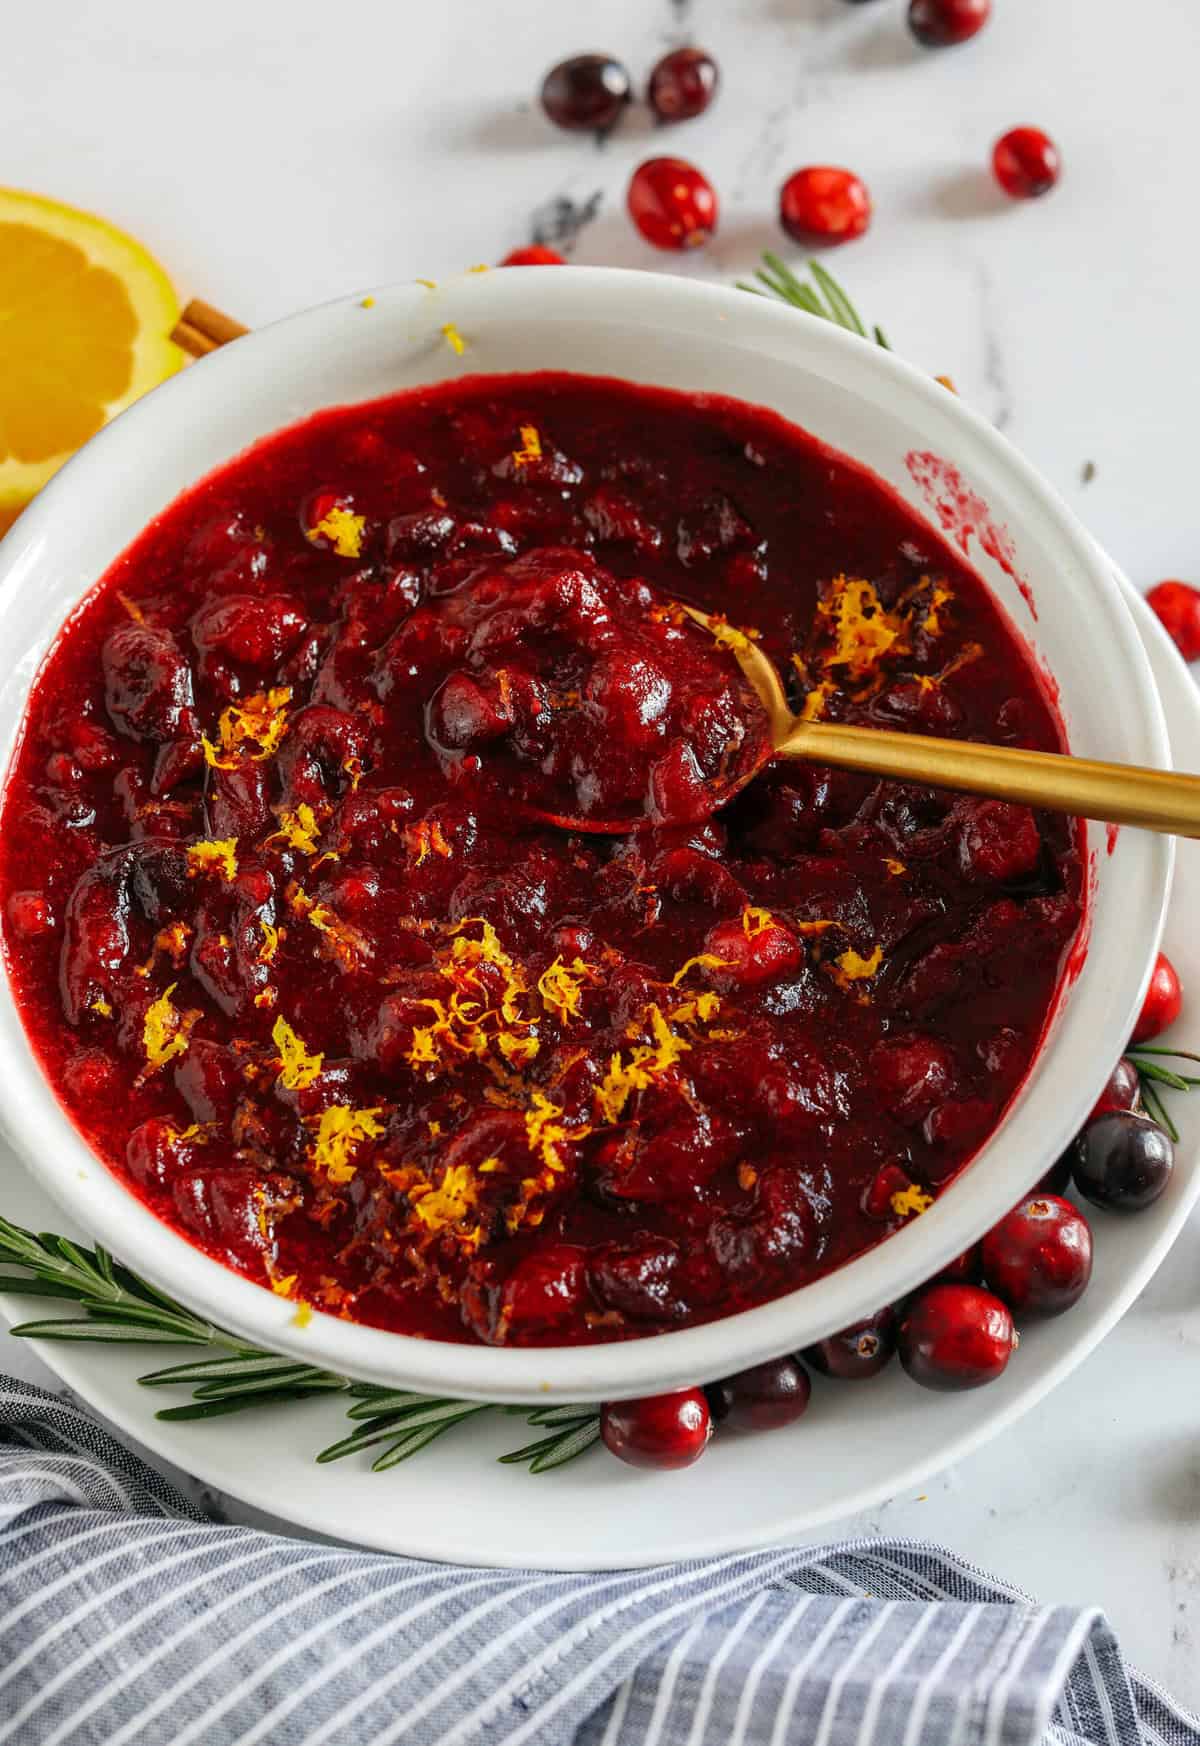
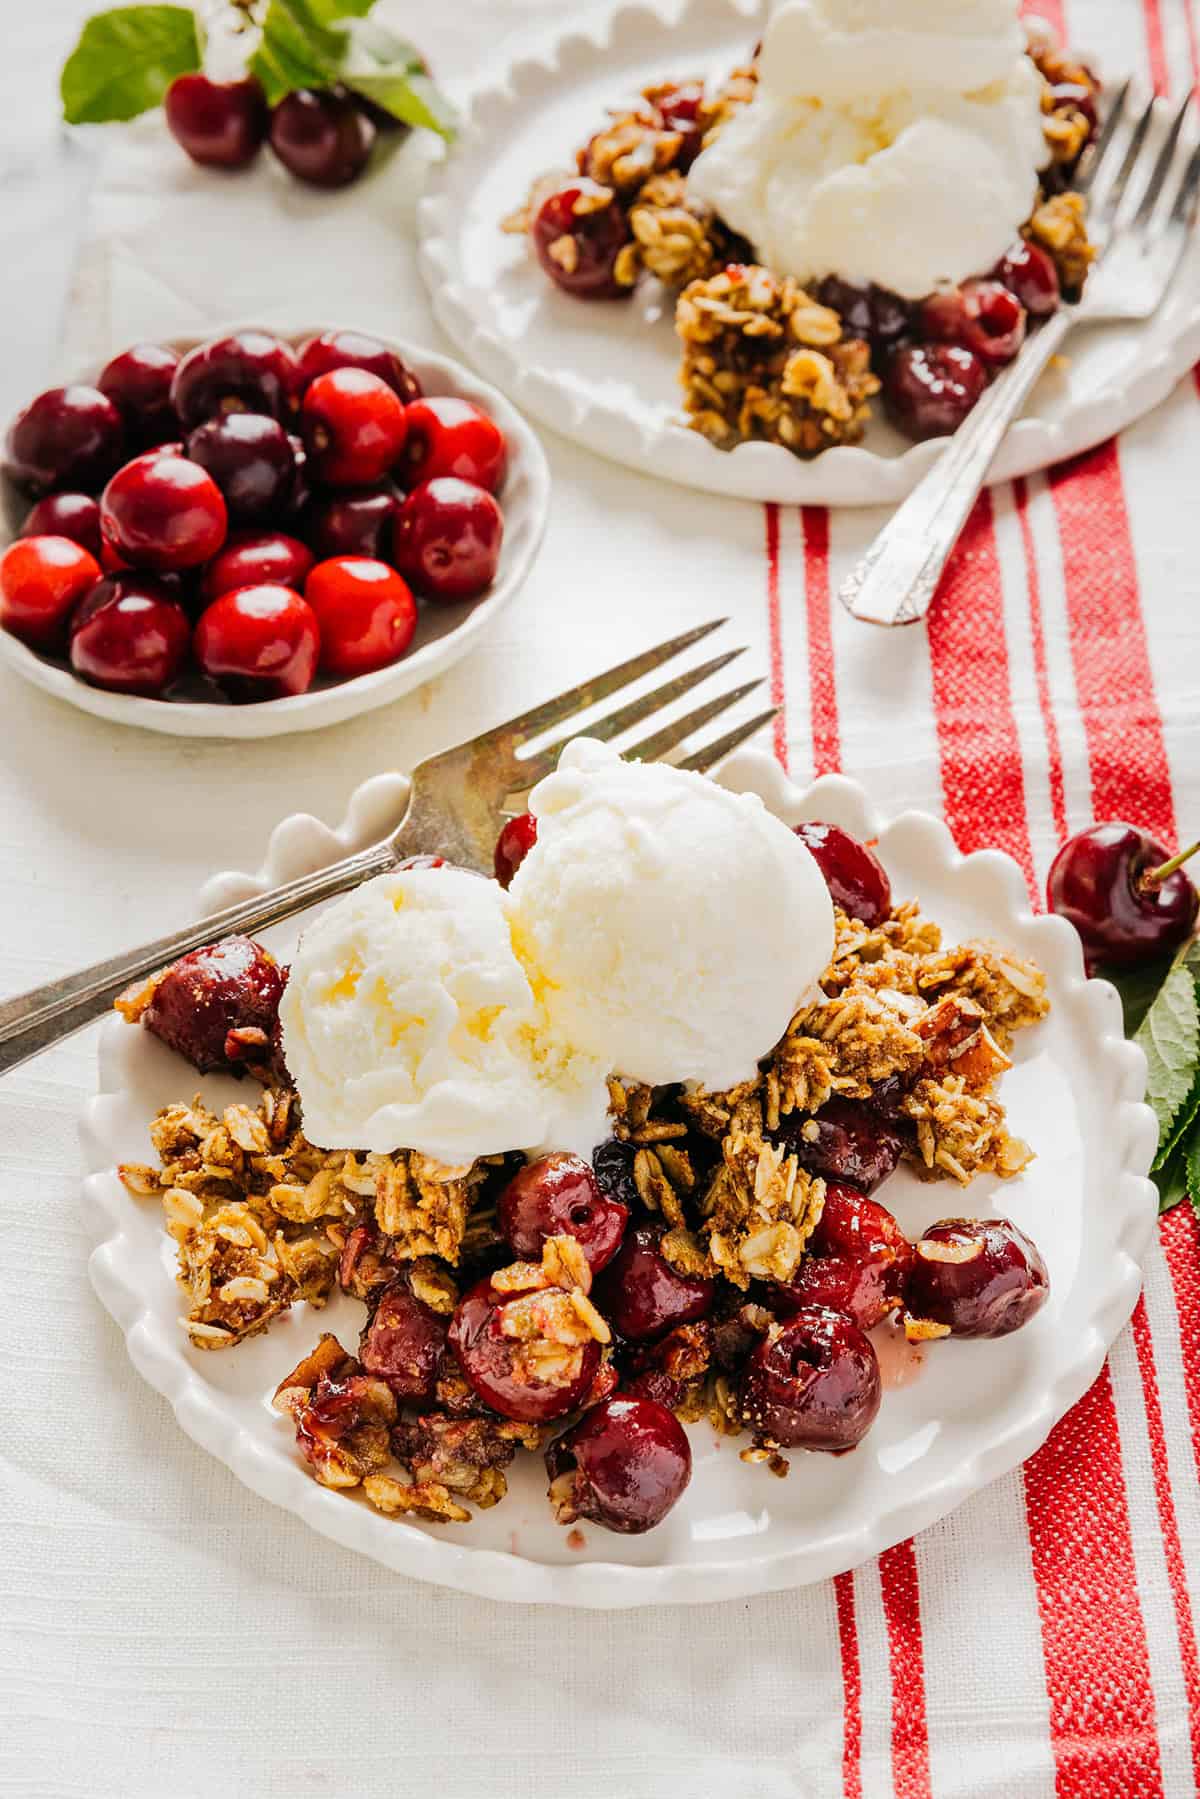
- Serve and enjoy! Serve immediately while the crisp is warm and I highly recommend topping with a scoop of vanilla ice cream!
If you are a chocolate lover, melt a little chocolate and drizzle it over top of the warm cherry crisp just before serving for some extra goodness! Who doesn’t love chocolate covered cherries?!
Tips, Tricks and Substitutions
- Frozen cherries work great – while I highly recommend using fresh cherries in this recipe, especially while they are in season, frozen cherries will work too. Just make sure to let the frozen cherries thaw a bit to avoid the cherry filling from becoming too liquidy.
- Swap the fruit – swap out the cherries for strawberries, raspberries, blueberries, blackberries, peaches, or other fresh fruit. Check out my apple crisp recipe!
- Keep the topping crispy – make sure to use old fashioned rolled oats and not quick cooking oats as they tend to get mushy when baking.
- Swap the butter for coconut oil – if using coconut oil in place of butter, make sure it’s in solid form, not melted, to really get a good crumbly topping that will bake nicely.
- To prevent browning – you do not need to cover this cherry crisp when baking, but if you notice the oat topping browning too quickly, feel free to cover with foil until cherries are soft and tender.
- Make it gluten-free – just make sure to use certified gluten-free oats and gluten-free oat flour or other gluten-free flour.
- Make it vegan – use coconut oil instead of butter and top with your favorite dairy-free vanilla ice cream.
- Nut-free option – omit the pecans or swap with sunflower seeds or extra oats.
How to Serve Cherry Crisp
- Healthy breakfast – top this warm cherry crisp with a dollop of Greek yogurt and a drizzle of honey for the perfect morning breakfast.
- Dessert – serve with a scoop of your favorite vanilla ice cream or frozen yogurt for a delicious after dinner healthy dessert.
- Chocolate drizzle – melt a few tablespoons of chocolate chips and drizzle over the cherry crisp for some extra goodness!
Prepping and Storage
- To Prep: You can easily prep this recipe a day ahead by assembling the cherry crisp in the pan before baking and covering with aluminum foil or plastic wrap. Store in the refrigerator until ready to bake.
- To Store: This cherry crisp will last for up to 4 to 5 days covered in the fridge stored in a sealed, airtight container. Reheat leftovers by popping the whole crisp back in the oven at 350 for 5 to 10 minutes or warm up in the microwave.
- To Freeze: Leftover cherry crisp can also be kept in the freezer (either baked or unbaked) for up to 3 months. Just make sure to thaw the crisp completely in the fridge before baking.
Pin this now to find it later
Follow on Instagram
More Summer Desserts
- Fudgy Zucchini Brownies
- Strawberry Ice Cream
- Blueberry Lemon Bread Pudding
- Chocolate Chip Ice Cream Sandwiches
- Strawberry Jam Filled Oat Muffins
- Watermelon Ice Pops
Hope you all enjoy this Healthy Cherry Crisp recipe! If you love this as much as we do, please leave a  star rating below and don’t forget to tag me on Instagram using the hashtag #eatyourselfskinny!
Healthy Cherry Crisp
#wprm-recipe-user-rating-0 .wprm-rating-star.wprm-rating-star-full svg * { fill: #343434; }#wprm-recipe-user-rating-0 .wprm-rating-star.wprm-rating-star-33 svg * { fill: url(#wprm-recipe-user-rating-0-33); }#wprm-recipe-user-rating-0 .wprm-rating-star.wprm-rating-star-50 svg * { fill: url(#wprm-recipe-user-rating-0-50); }#wprm-recipe-user-rating-0 .wprm-rating-star.wprm-rating-star-66 svg * { fill: url(#wprm-recipe-user-rating-0-66); }linearGradient#wprm-recipe-user-rating-0-33 stop { stop-color: #343434; }linearGradient#wprm-recipe-user-rating-0-50 stop { stop-color: #343434; }linearGradient#wprm-recipe-user-rating-0-66 stop { stop-color: #343434; }
Ingredients
For the Cherry Filling:
- 5 cups cherries pitted
- 1/4 cup maple syrup
- 1 Tbsp cornstarch (or arrowroot powder)
- 1 Tbsp lemon juice
- 1 tsp vanilla extract
- 1/2 tsp almond extract
For the Oat Topping:
- 1 cup rolled oats
- 1/3 cup oat flour
- 1/2 cup pecans finely chopped
- 1/4 cup coconut sugar
- 1/4 cup maple syrup
- 1/2 tsp cinnamon
- 1/4 tsp salt
- 4 Tbsp cold butter cut into cubes
Instructions
-
Preheat the oven to 350 degrees F and spray an 8×8-inch pan with nonstick spray.
-
Pit the cherries. Wash the cherries, remove the stems and leaves, and pit the cherries using a cherry pitter or a straw.
-
Prep the cherry filling. Transfer the cherries to an 8×8 baking dish, 9×9 baking dish or cast iron skillet coated in non-stick spray along with the maple syrup, cornstarch, lemon juice, vanilla and almond extract. Mix well until everything is fully incorporated and cherries are completely coated.
-
Make the crumble topping. In a medium bowl, mix together rolled oats, oat flour, pecans, coconut sugar, and maple syrup. Next add the butter (or solid coconut oil) and mix well using a pastry cutter (or your hands) to really get everything incorporated and the mixture resembles a nice crumble topping.
-
Assemble and bake. Sprinkle the oat crumble over top of the cherry mixture until evenly covered and bake the cherry crisp for 40 to 45 minutes. The cherry crisp will look golden brown and cherries should be soft and tender. If the oat topping starts browning too quickly, feel free to cover it with foil.
-
Serve immediately while the crisp is warm and I highly recommend topping with your favorite vanilla ice cream!
Nutrition
The post Healthy Cherry Crisp Recipe appeared first on Eat Yourself Skinny.