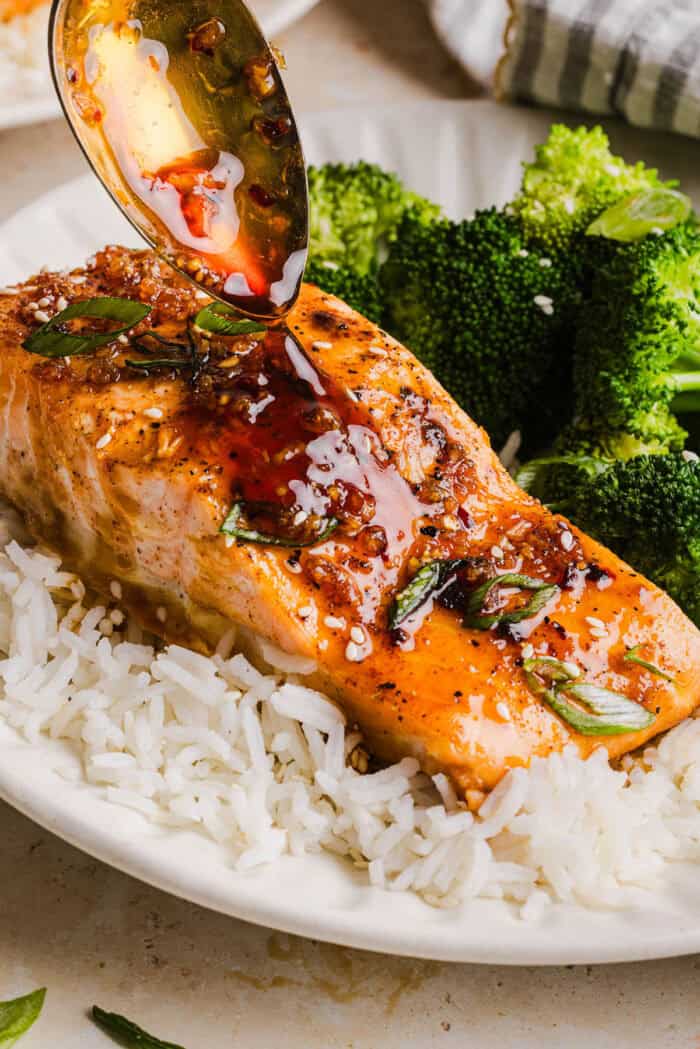
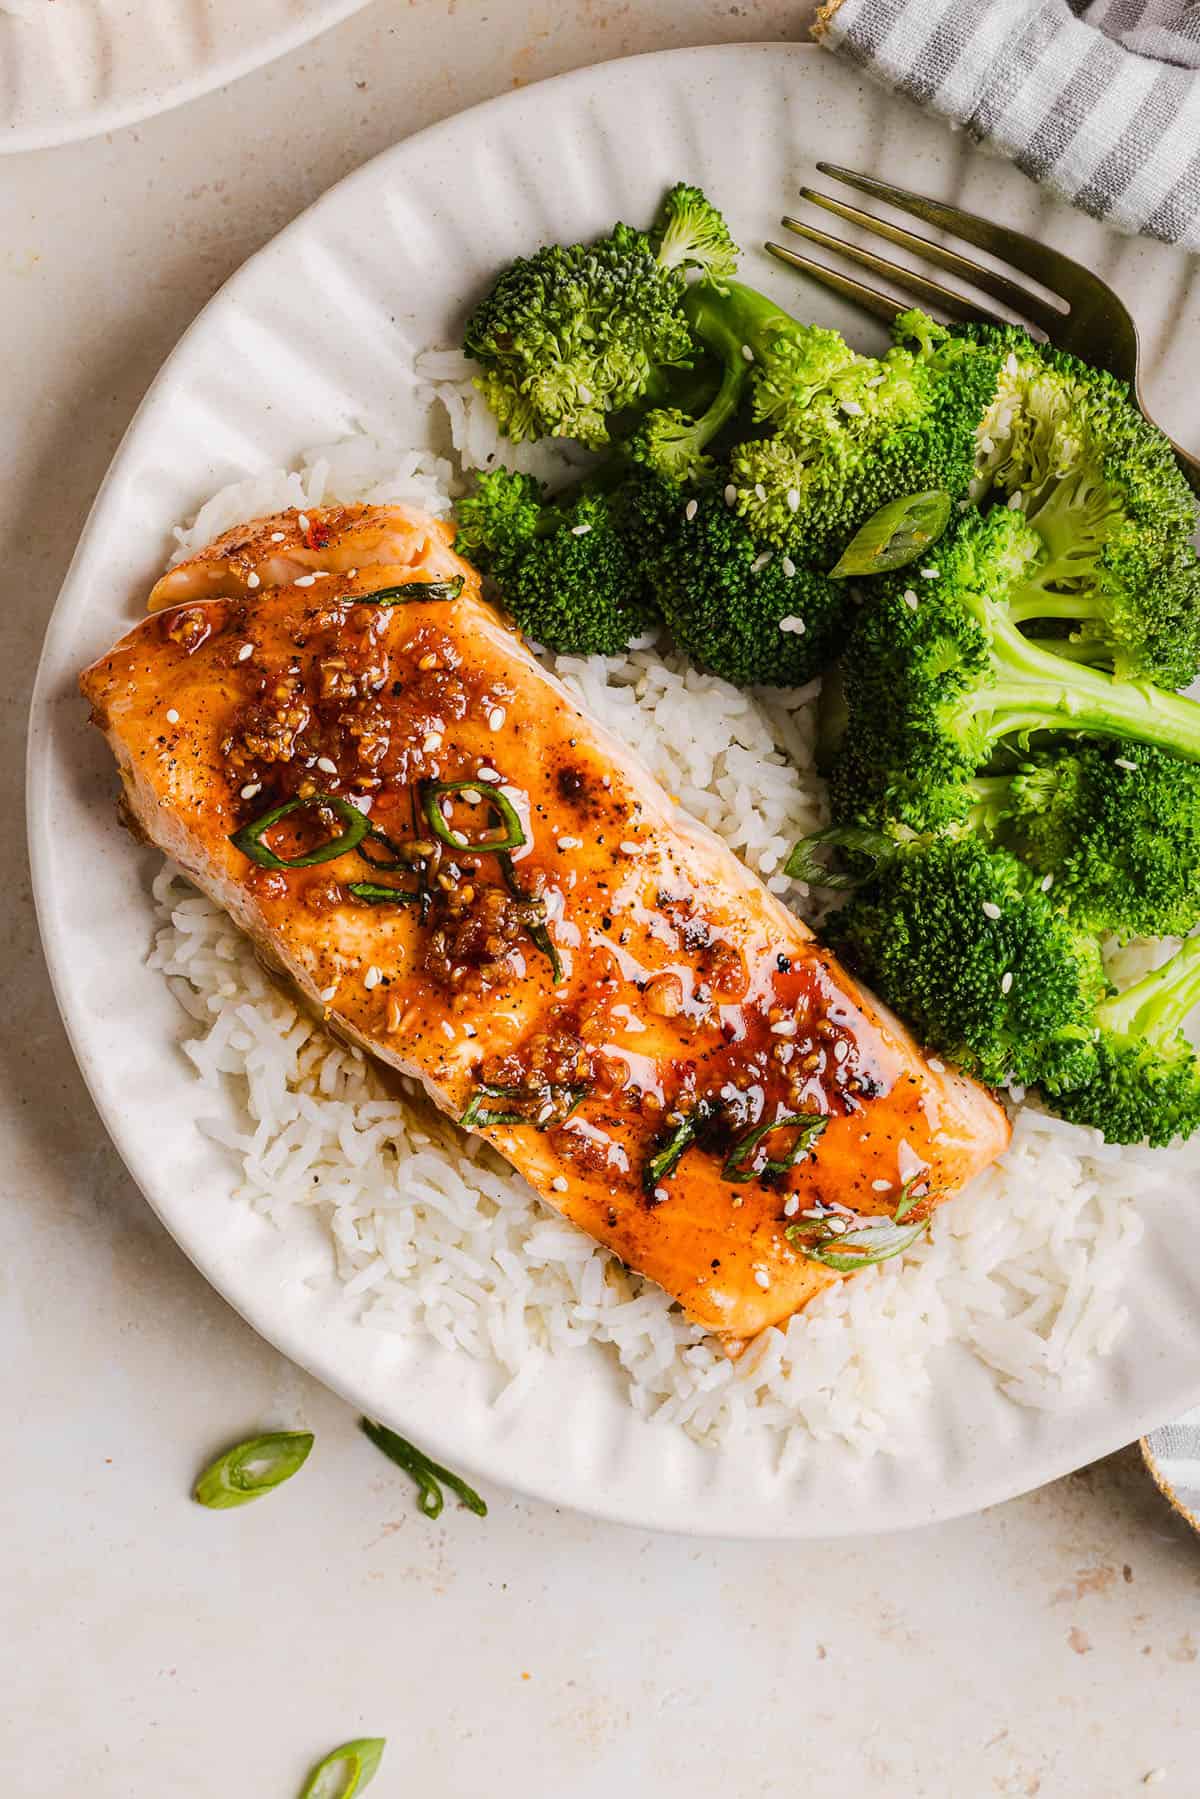
The most flavorful Hot Honey Glazed Salmon that is tender, flaky and coated in a sweet and savory homemade hot honey sauce. This simple healthy recipe easily comes together in under 20 minutes!

Please enable JavaScript in your browser to complete this form.
If you’re a fan of an easy salmon recipe, then look no further. This Hot Honey Glazed Salmon is sweet and savory with the perfect amount of heat that gives this salmon the best flavor! The perfect recipe for those busy weeknights when you want something quick, but dinner-worthy that the whole family will love. I like to pair this salmon with rice, roasted vegetables or a crisp salad for a delicious, healthy meal that feels indulgent, but really is simple to make!
Why You’ll Love This
- Quick and easy – this baked salmon dish easily comes together in under 20 minutes using simple pantry ingredients. One of our go-to recipes for the weeknights.
- Healthy – salmon is packed with protein and heart-healthy omega-3 fats making this a nourishing meal that feels elevated and indulgent.
- Versatile – this honey garlic salmon recipe pairs well with so many sides like roasted vegetables, green beans, rice or a side salad.
- Great for meal prep – leftovers reheat beautifully and can be served on salads, grain bowls or wraps the next day.
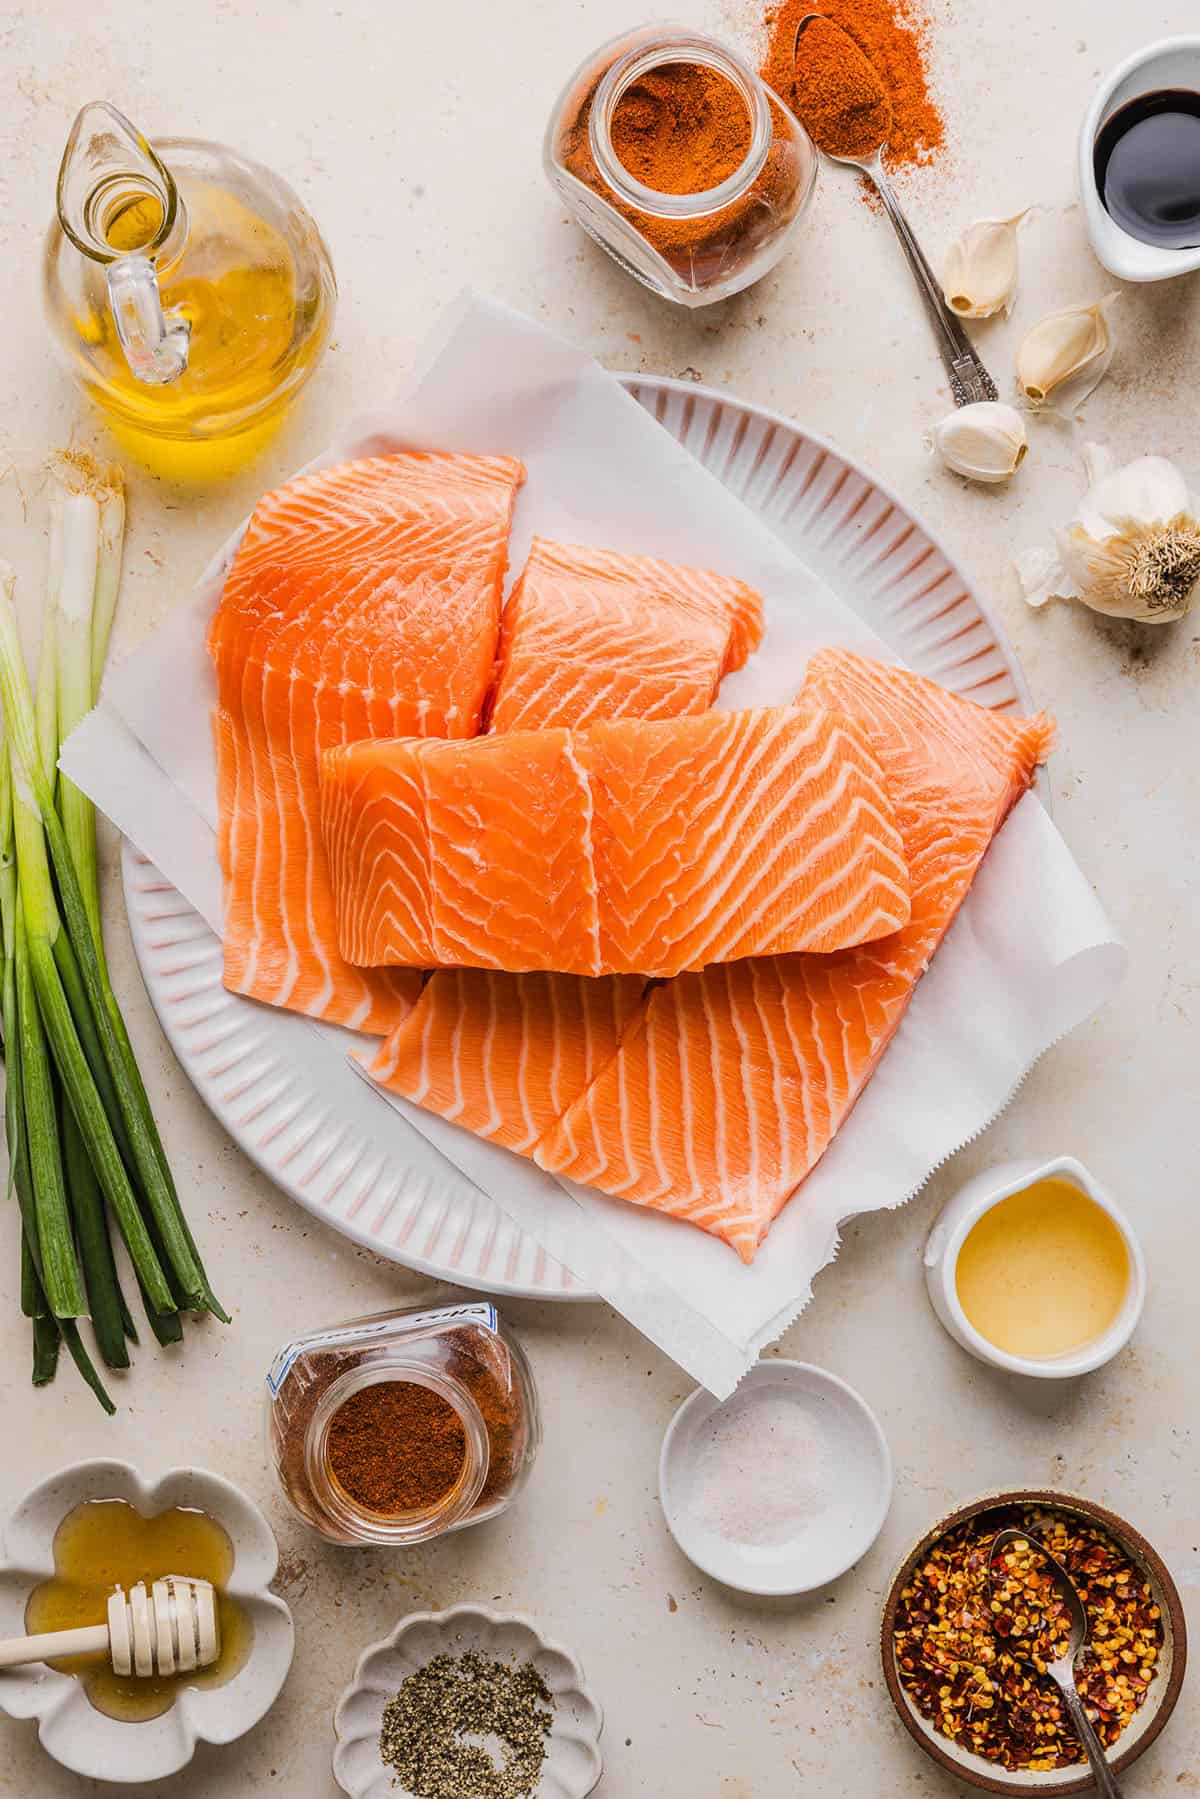
Ingredients
- salmon – you’ll want four 6 oz evenly sized filets of wild salmon with the skin on. I usually get my salmon fresh from the grocer, but feel free to use frozen filets too. Just make sure the salmon is thawed if you are using frozen filets.
- olive oil – I like to use a good olive oil that doesn’t have to be expensive, just make sure it’s cold-pressed and organic for the most flavor.
- honey – adds sweetness to the sauce without using refined sugars, and makes a nice glaze. Feel free to use maple syrup or other natural sweetener in place of the honey.
- soy sauce – I always use lower sodium soy sauce as I personally think regular soy sauce is just too salty for my taste. You can also use tamari or coconut aminos to make this gluten-free.
- apple cider vinegar – the acidity really helps to balance out the sweetness of the honey, you could also use rice vinegar or white wine vinegar.
- garlic – you can use fresh chopped cloves garlic cloves or minced garlic from the jar.
- seasonings – combination of paprika, chili powder, red pepper flakes, salt and black pepper.
- green onions – the perfect garnish to top the salmon that adds color and flavor.
The red pepper flakes in this sauce really help bring some heat to this hot honey glaze, but for an extra kick and even more spicy flavor, try adding a little bit of sriracha or a pinch of cayenne pepper in with the other sauce ingredients!
How to Make Hot Honey Glazed Salmon
- Prepare the salmon. Preheat the oven to 400 degrees F and let the salmon come to room temperature. Pat dry with paper towels and arrange salmon fillets skin-side down on a baking sheet lined with parchment paper or aluminum foil sprayed with nonstick spray.
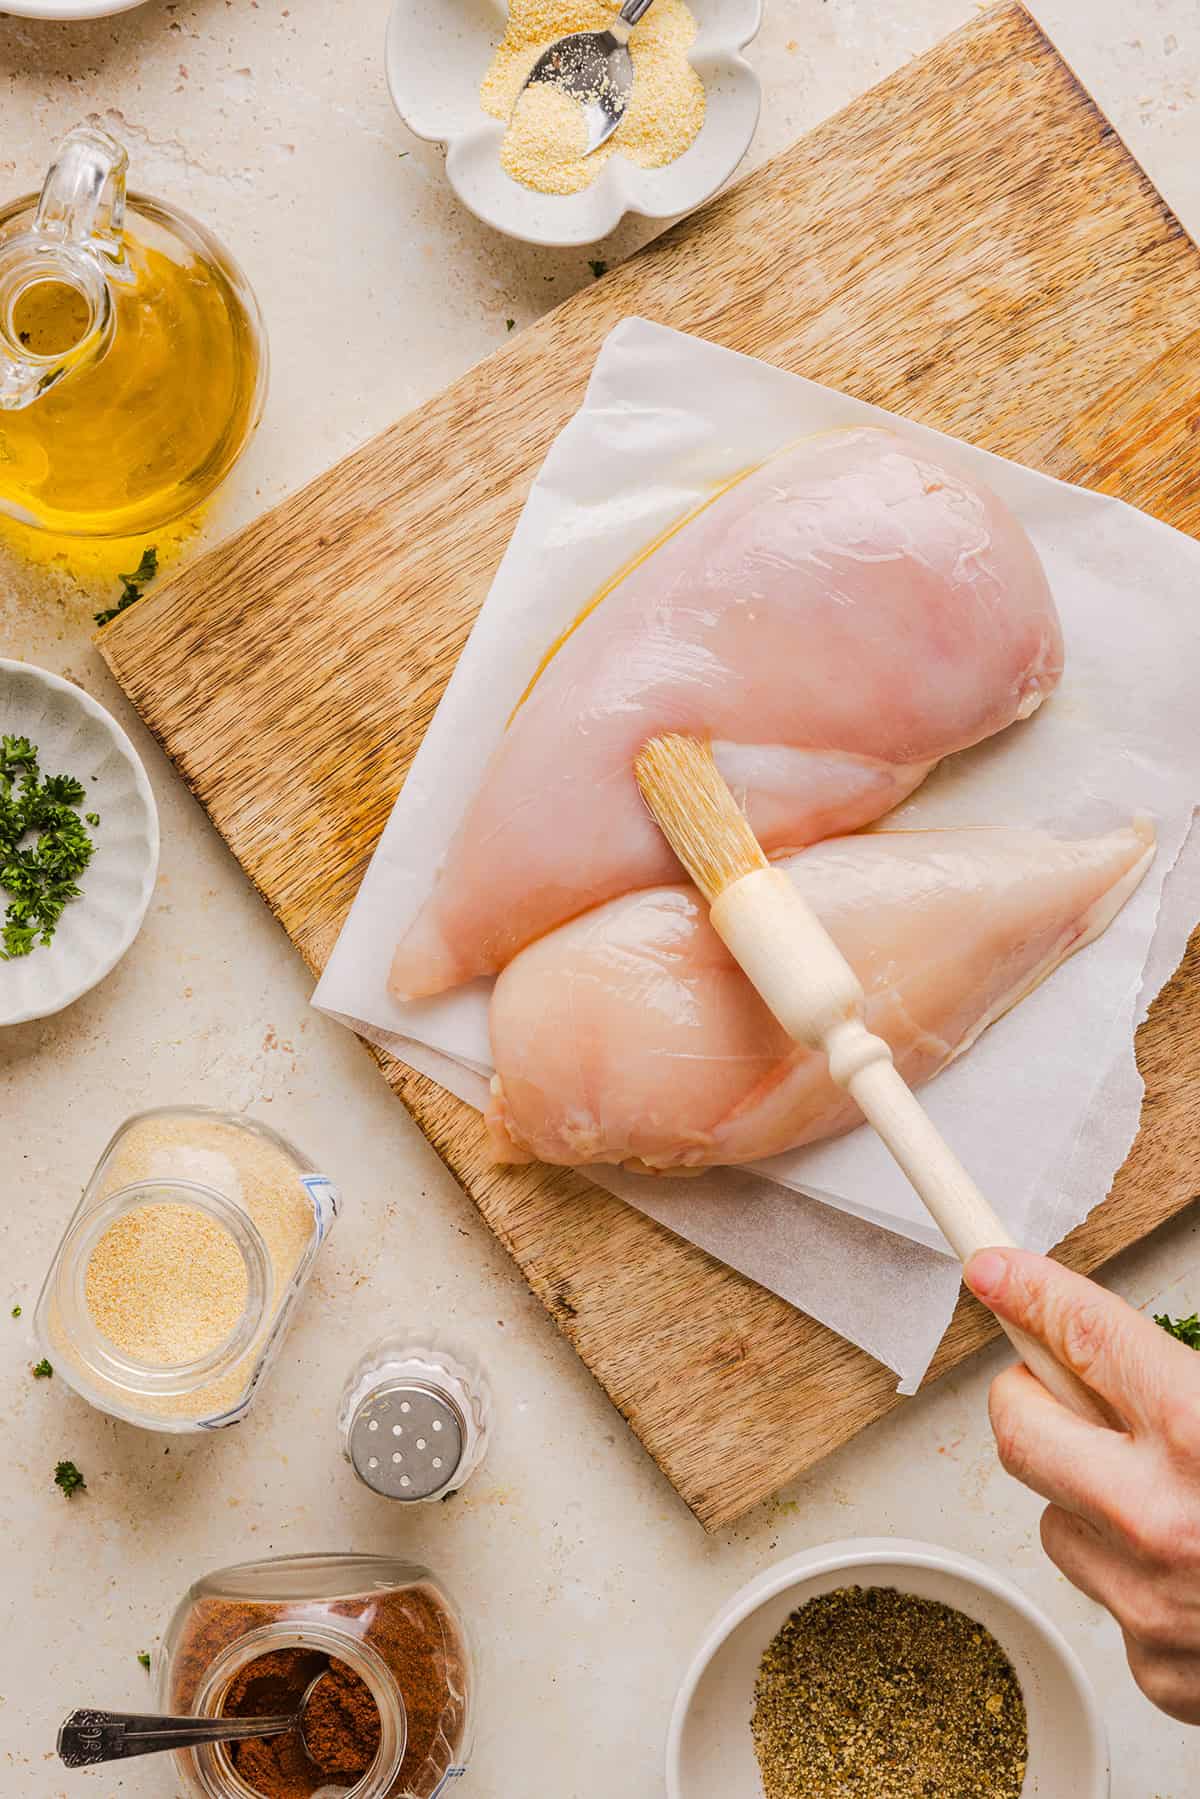
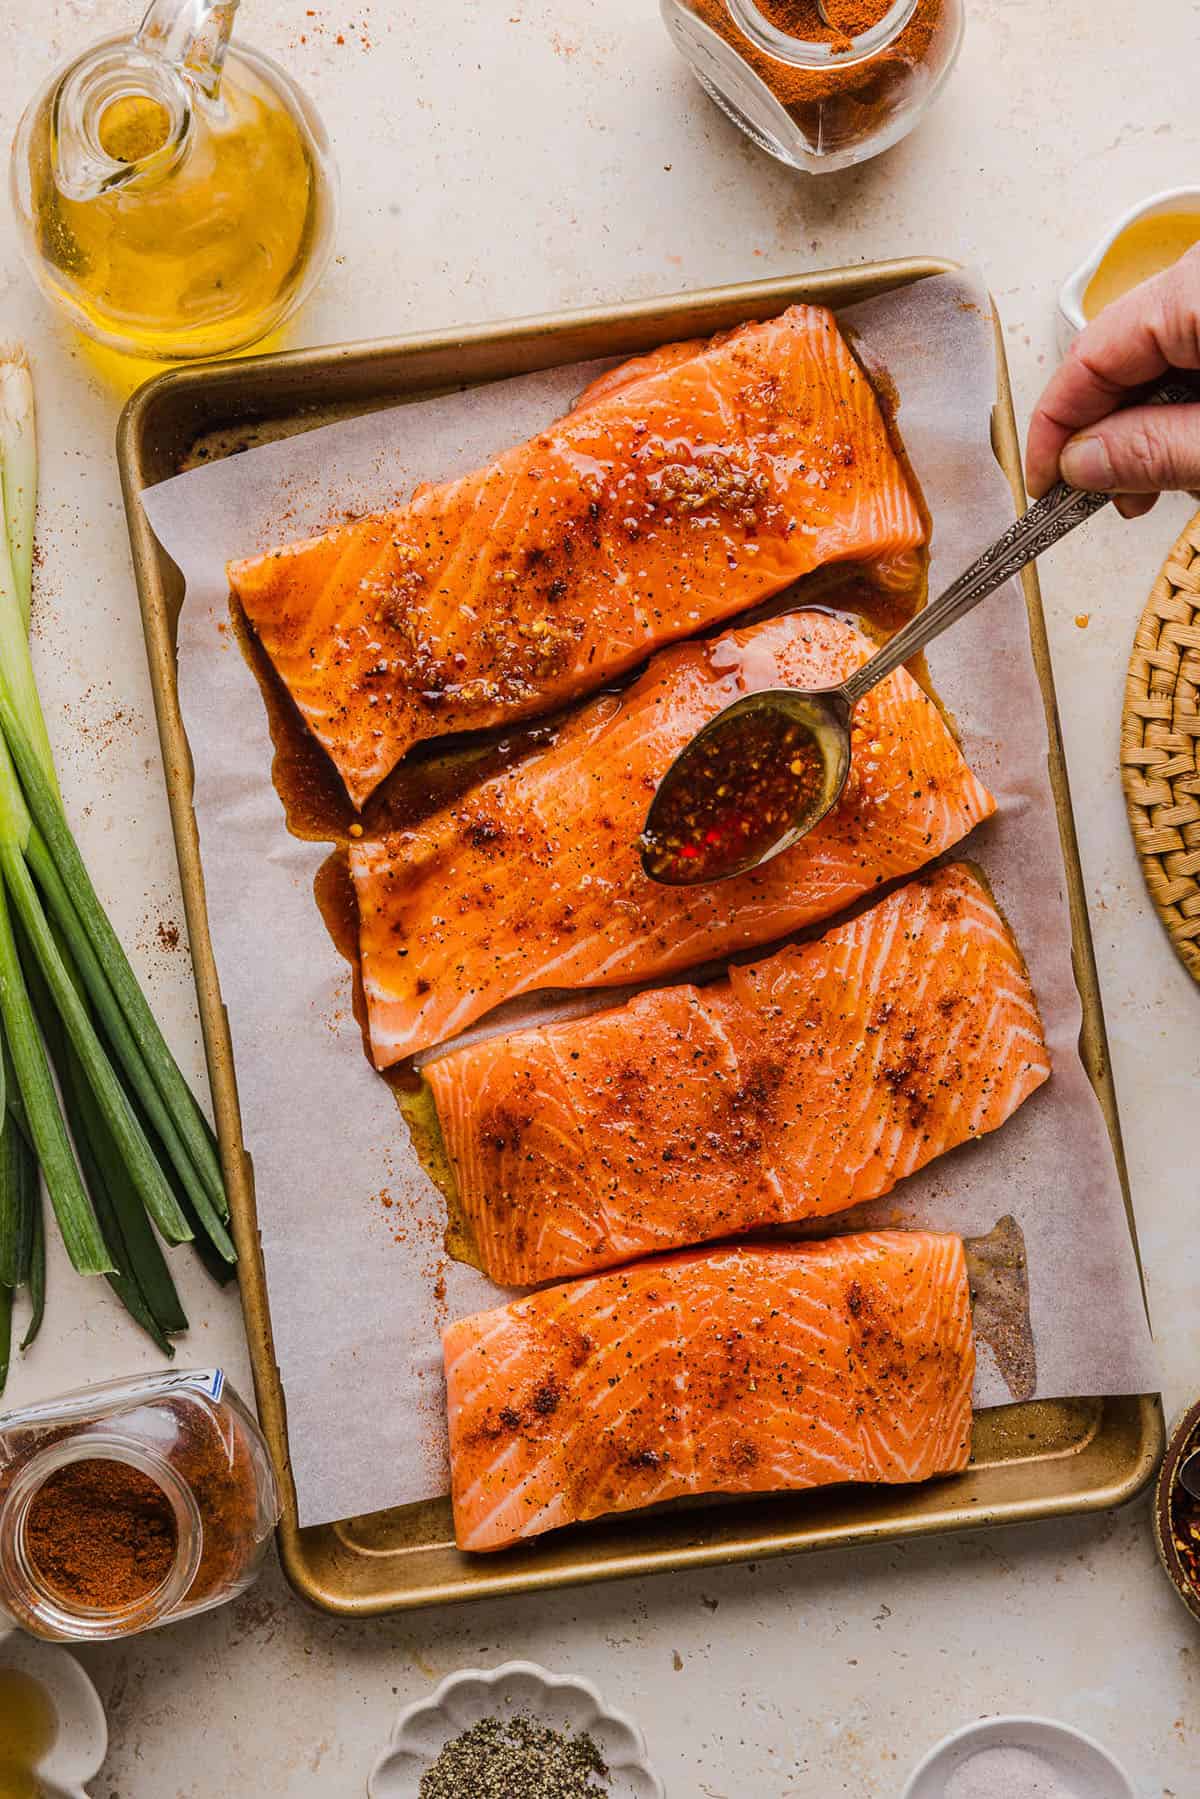
- Season salmon. Brush the salmon with olive oil and evenly season with salt, pepper, paprika and chili powder.
- Make the sauce. In a small saucepan, combine honey, soy sauce, vinegar, garlic and red pepper flakes. Bring to a boil, then turn the heat down to medium low and simmer for about 2 to 3 minutes, stirring often, until sauce has thickened.
- Coat the salmon. Top the salmon with half of the hot honey glaze, reserving the rest of the sauce for later.
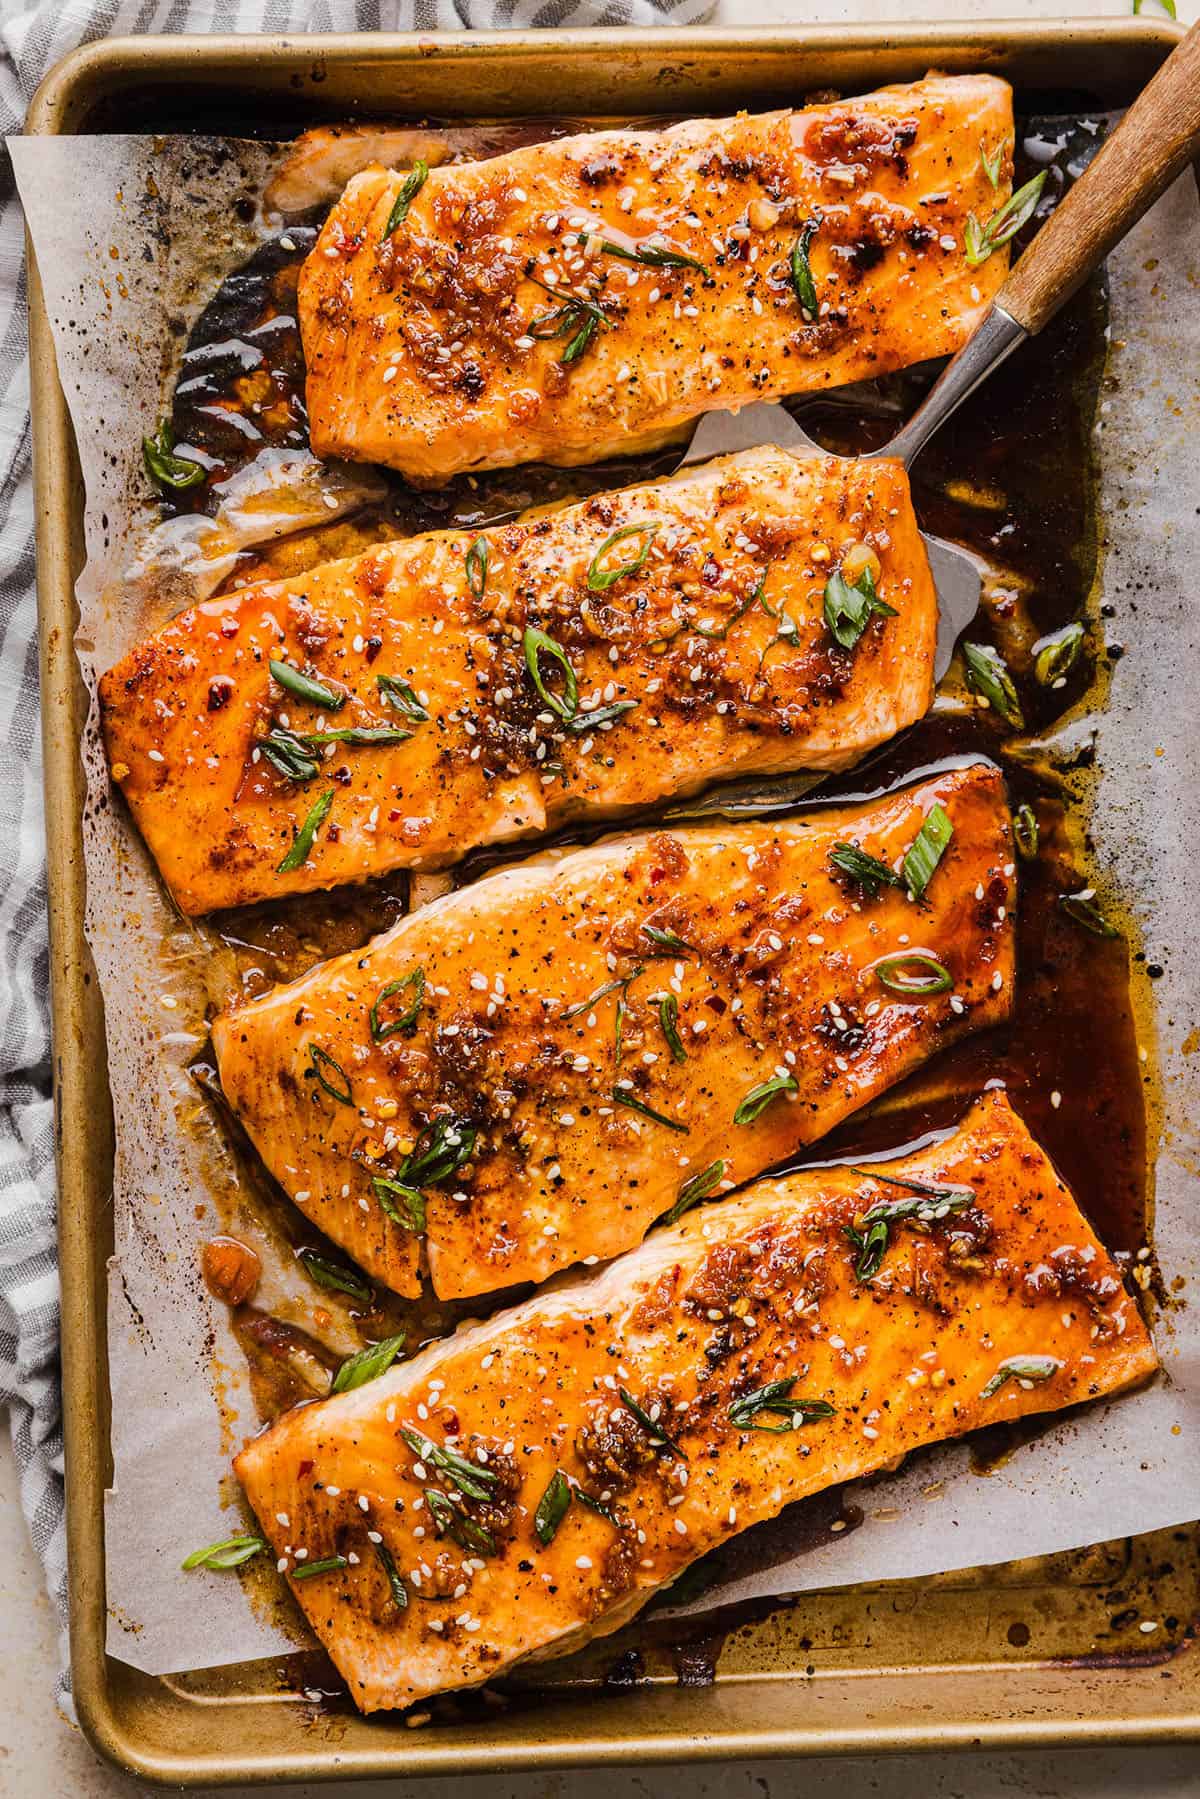
- Bake salmon. Bake in the oven for 12 to 15 minutes, adding more glaze on top of the salmon halfway through. Salmon is cooked when it is opaque and flakes easily with a fork. The internal temperature should read 125-130 degrees F for medium and 140 degrees F for fully cooked salmon.
- Serve and enjoy! Remove from oven with a spatula and spoon any remaining glaze on top right before serving. Sprinkle green onions and sesame seeds on top and I also like to drizzle a little extra sauce on top of the veggies as well!
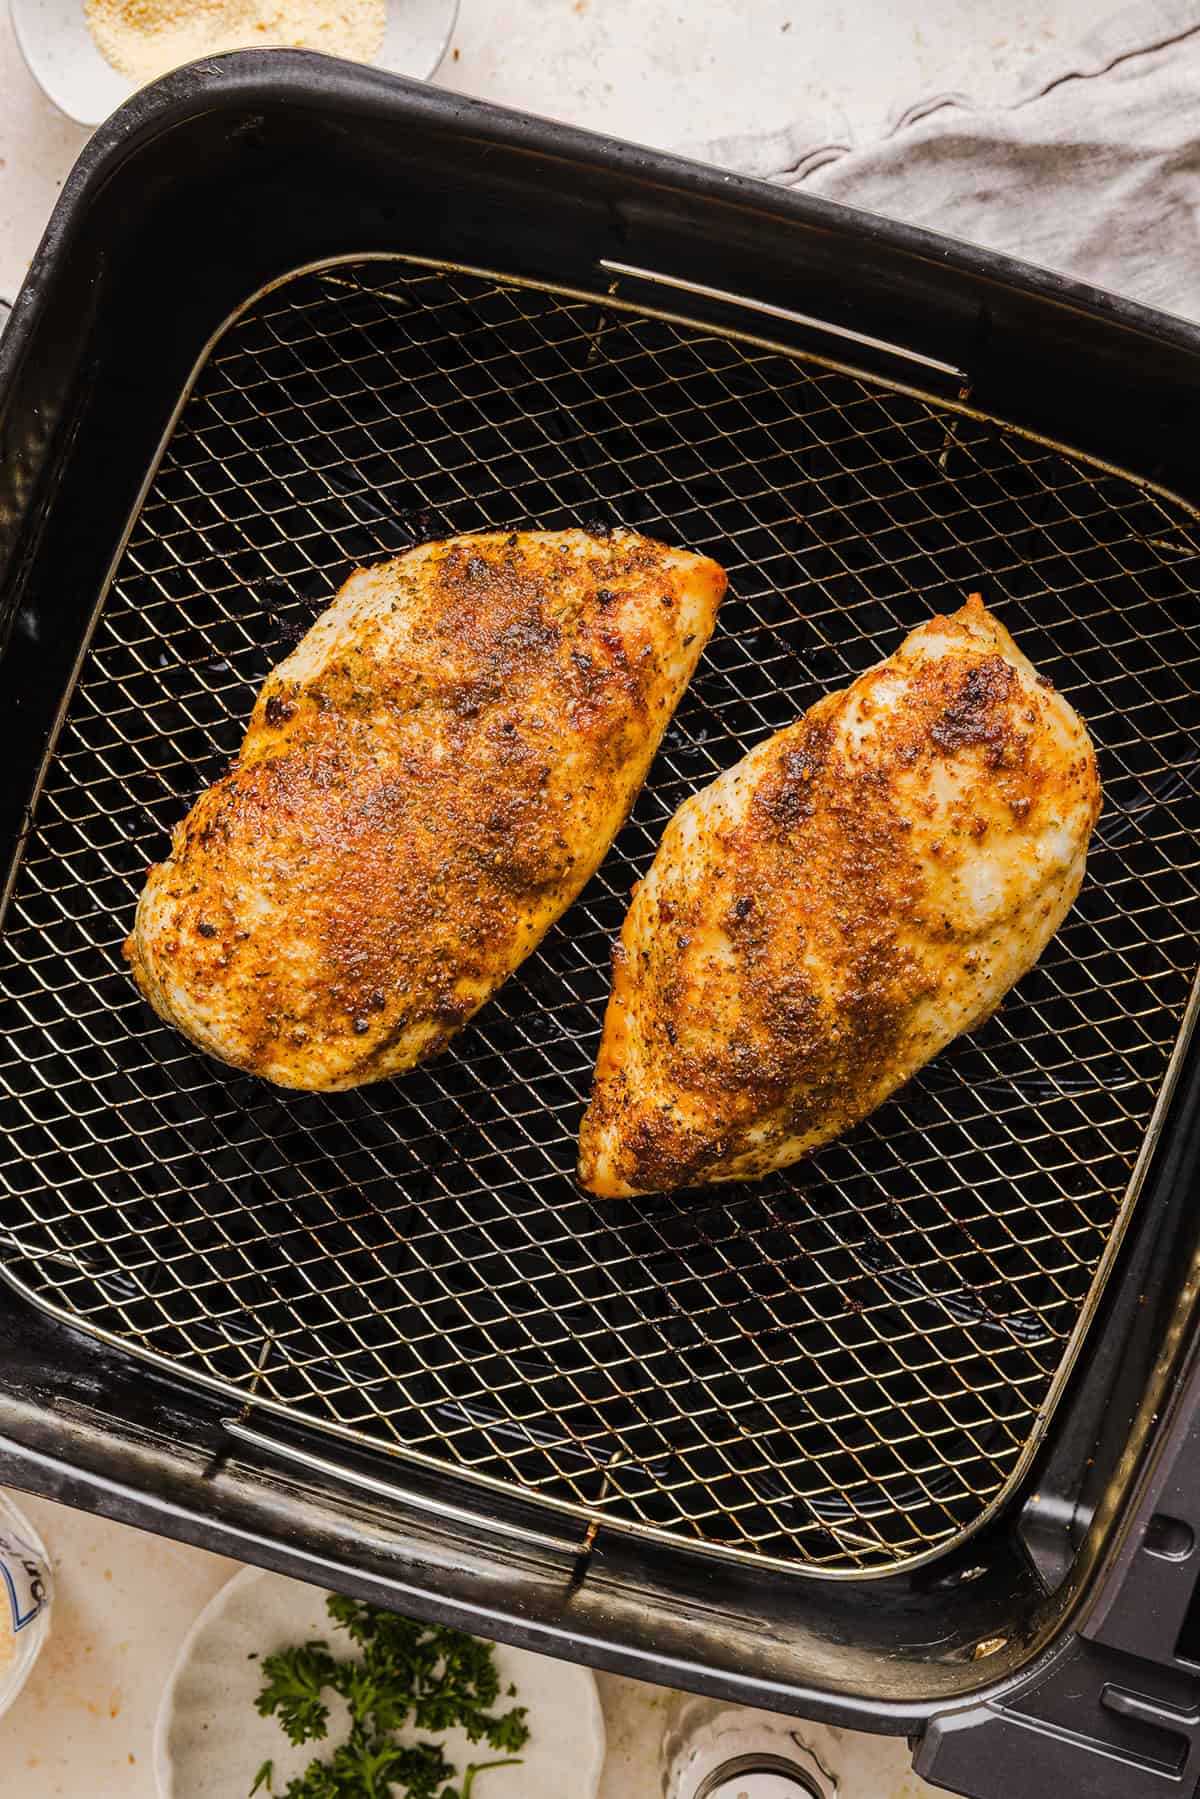
How to Make in the Air Fryer
You can easily make this hot honey glazed salmon in the air fryer by setting it to 400 degrees for 7 to 10 minutes, until salmon is opaque and flakes easily with a fork. Top with any remaining sauce and serve with rice and veggies for a complete meal!
Tips for Making the Best Salmon
- Pat the salmon dry – drying the surface of the fresh salmon helps the seasoning stick and prevents excess moisture from diluting the sauce.
- Use even-sized filets – similar thickness ensures that the salmon cooks evenly. If one piece is thinner, just make sure to check it early.
- Bake at high heat – cooking the salmon at 400 degrees F is ideal as it cooks the salmon quickly without drying it out.
- Don’t overcook – this tends to be the biggest mistake people make. Salmon continues to cook slightly after it comes out of the oven so remove it when it is just barely opaque in the center for the most tender texture.
- For crisper topping – pop the broiler on and broil the salmon for a few minutes right at the end to give the salmon more color and a crisper topping.
- Let the salmon rest – allowing the moist salmon to rest briefly keeps it juicy and flavorful.
How to Serve
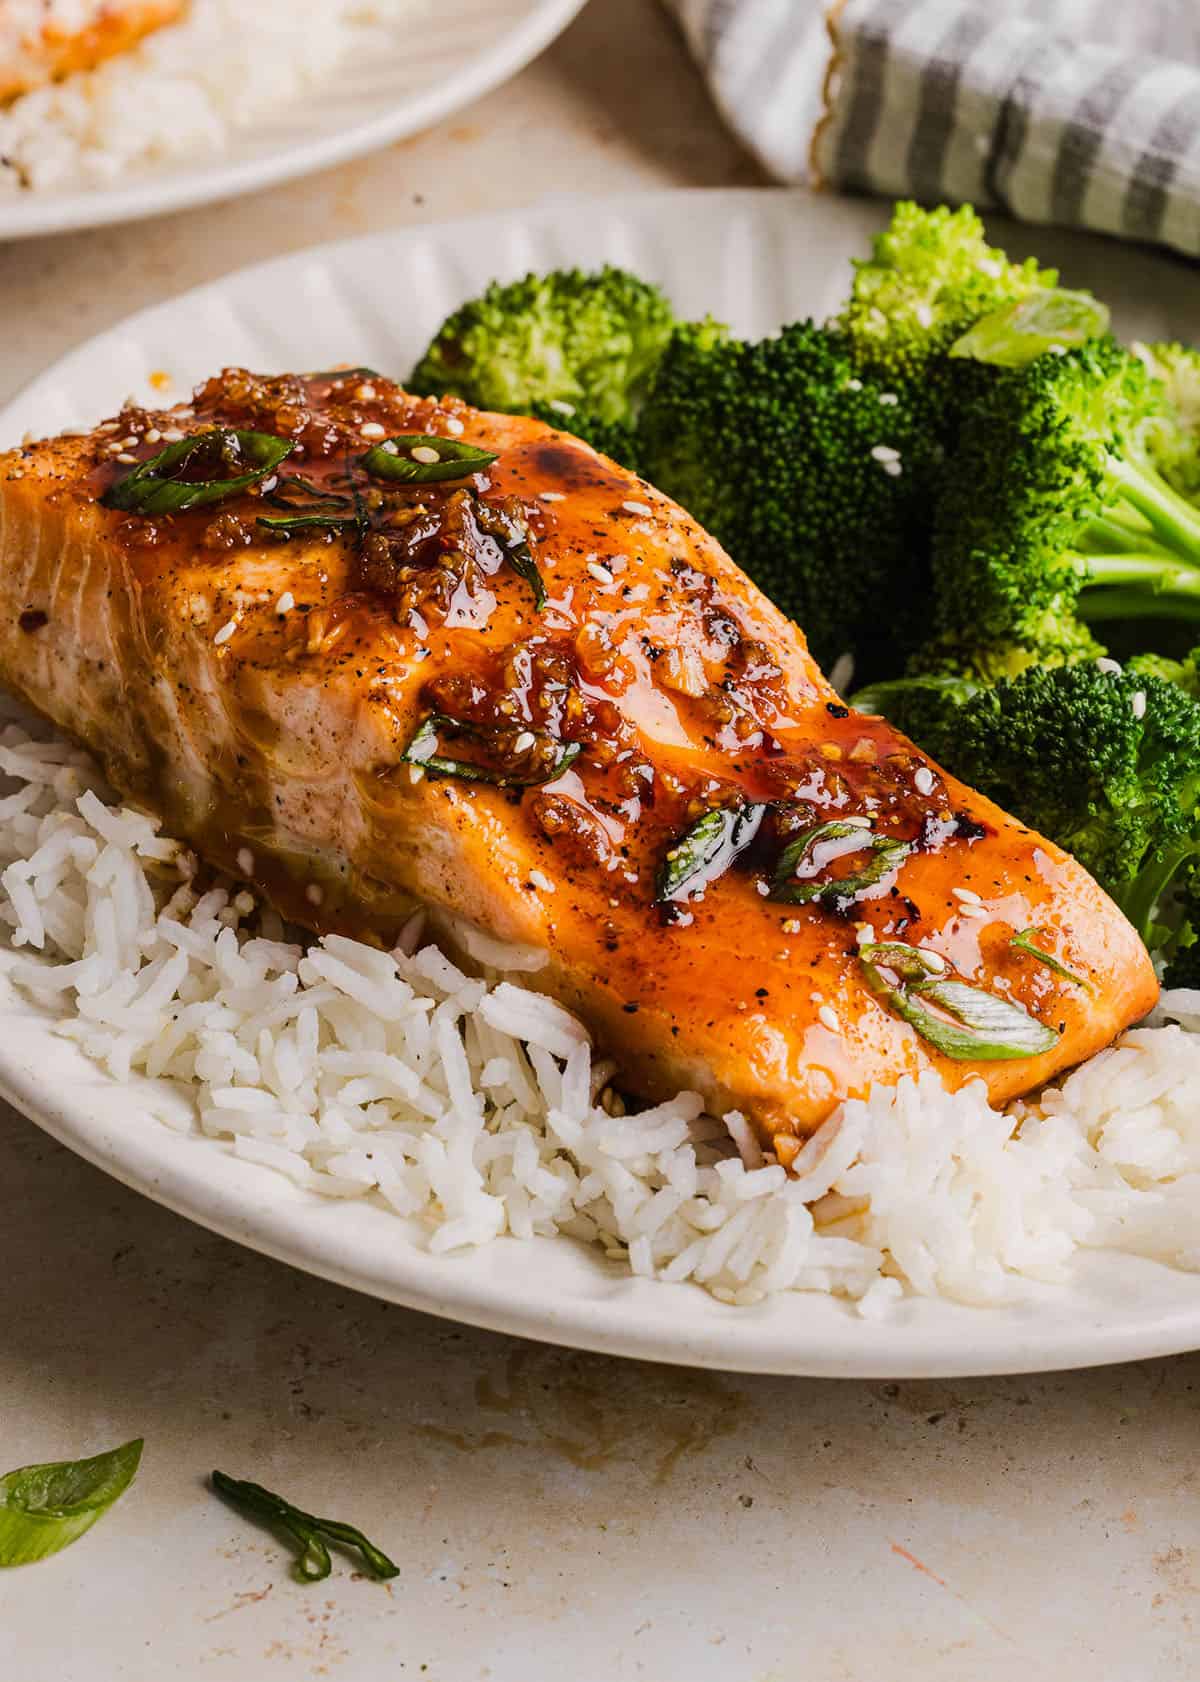
- Over rice or grains – this hot honey salmon is perfect served over a fluffy bed of rice or grains that soak up all that delicious glaze. Try brown rice, white rice, coconut rice, cauliflower rice or quinoa.
- Make a salmon bowl – make vibrant salmon bowls loaded with all the fresh toppings! Some great options include shredded carrots, cucumber slices, edamame, avocado and green onions. Don’t forget the lemon slices with a squeeze of lemon juice.
- Pair with veggies – this sweet and spicy glaze goes great over roasted vegetables. Some delicious options include roasted brussels sprouts, garlicky green beans, over top of mashed cauliflower, broccoli, bok choy, or these simple sautéed vegetables.
- Over mashed potatoes – serve over top of my healthy mashed potatoes for a filling, delicious meal.
- With a fresh salad – for a lighter option, this salmon makes a great protein over your favorite salad with this simple lemon vinaigrette.
- Build salmon tacos – flake the cooked salmon and tuck it into warm tortillas with all your favorite toppings. The sweet heat of the salmon works great with the bright, crunchy taco toppings.
Pin this now to find it later
Follow on Instagram
Prepping and Storage
Leftover salmon can be stored in a sealed, airtight container for up to 3 days in the refrigerator. To reheat, you can either warm in the oven at 300 degrees F for 8 to 10 minutes or reheat in the microwave until warmed through. This leftover salmon would also taste great cold over a salad!
Favorite Salmon Recipes
- Garlic Butter Baked Salmon
- Hummus Crusted Salmon
- Sheet Pan Maple Dijon Glazed Salmon
- Chili Lime Salmon with Mango Salsa
- Ginger Basil Salmon in Foil
- Chimichurri Baked Salmon
Hope you all enjoy this Hot Honey Salmon recipe! If you love this simple recipe as much as we do, please leave a  star rating below and don’t forget to tag me on Instagram using the hashtag #eatyourselfskinny!

Hot Honey Glazed Salmon
#wprm-recipe-user-rating-0 .wprm-rating-star.wprm-rating-star-full svg * { fill: #343434; }#wprm-recipe-user-rating-0 .wprm-rating-star.wprm-rating-star-33 svg * { fill: url(#wprm-recipe-user-rating-0-33); }#wprm-recipe-user-rating-0 .wprm-rating-star.wprm-rating-star-50 svg * { fill: url(#wprm-recipe-user-rating-0-50); }#wprm-recipe-user-rating-0 .wprm-rating-star.wprm-rating-star-66 svg * { fill: url(#wprm-recipe-user-rating-0-66); }linearGradient#wprm-recipe-user-rating-0-33 stop { stop-color: #343434; }linearGradient#wprm-recipe-user-rating-0-50 stop { stop-color: #343434; }linearGradient#wprm-recipe-user-rating-0-66 stop { stop-color: #343434; }
Ingredients
- 4 (6 oz) salmon fillets
- 1 Tbsp olive oil
- 1/2 tsp salt
- 1/2 tsp black pepper
- 1/2 tsp paprika
- 1/4 tsp chili powder
- Garnish with sliced green onions and sesame seeds
For the Sauce:
- 1/3 cup honey
- 3 Tbsp low sodium soy sauce
- 1 Tbsp apple cider vinegar
- 4 cloves garlic minced
- 1/2 tsp red pepper flakes
Instructions
-
Preheat oven to 400 degrees F and let salmon come to room temperature. Pat dry with paper towels and arrange salmon fillets skin side down on a baking sheet lined with parchment paper or aluminum foil sprayed with nonstick spray.
-
Brush the fillets with olive oil and evenly season with salt, pepper, paprika and chili powder. Set aside.
-
In a small saucepan, combine honey, soy sauce, vinegar, garlic and red pepper flakes. Bring a boil, then turn the heat down to medium low and simmer for about 2 to 3 minutes, stirring often, until sauce has thickened.
-
Top the salmon with half of the glaze, reserving the rest for later.
-
Bake for 12 to 15 minutes, adding more glaze on top of the salmon halfway through. You'll know the salmon is cooked when it is opaque and flakes easily with a fork.
-
Remove from oven and top with any remaining glaze right before serving. Top with green onions and sesame seeds, if desired. Enjoy!
Nutrition
The post Hot Honey Glazed Salmon appeared first on Eat Yourself Skinny.