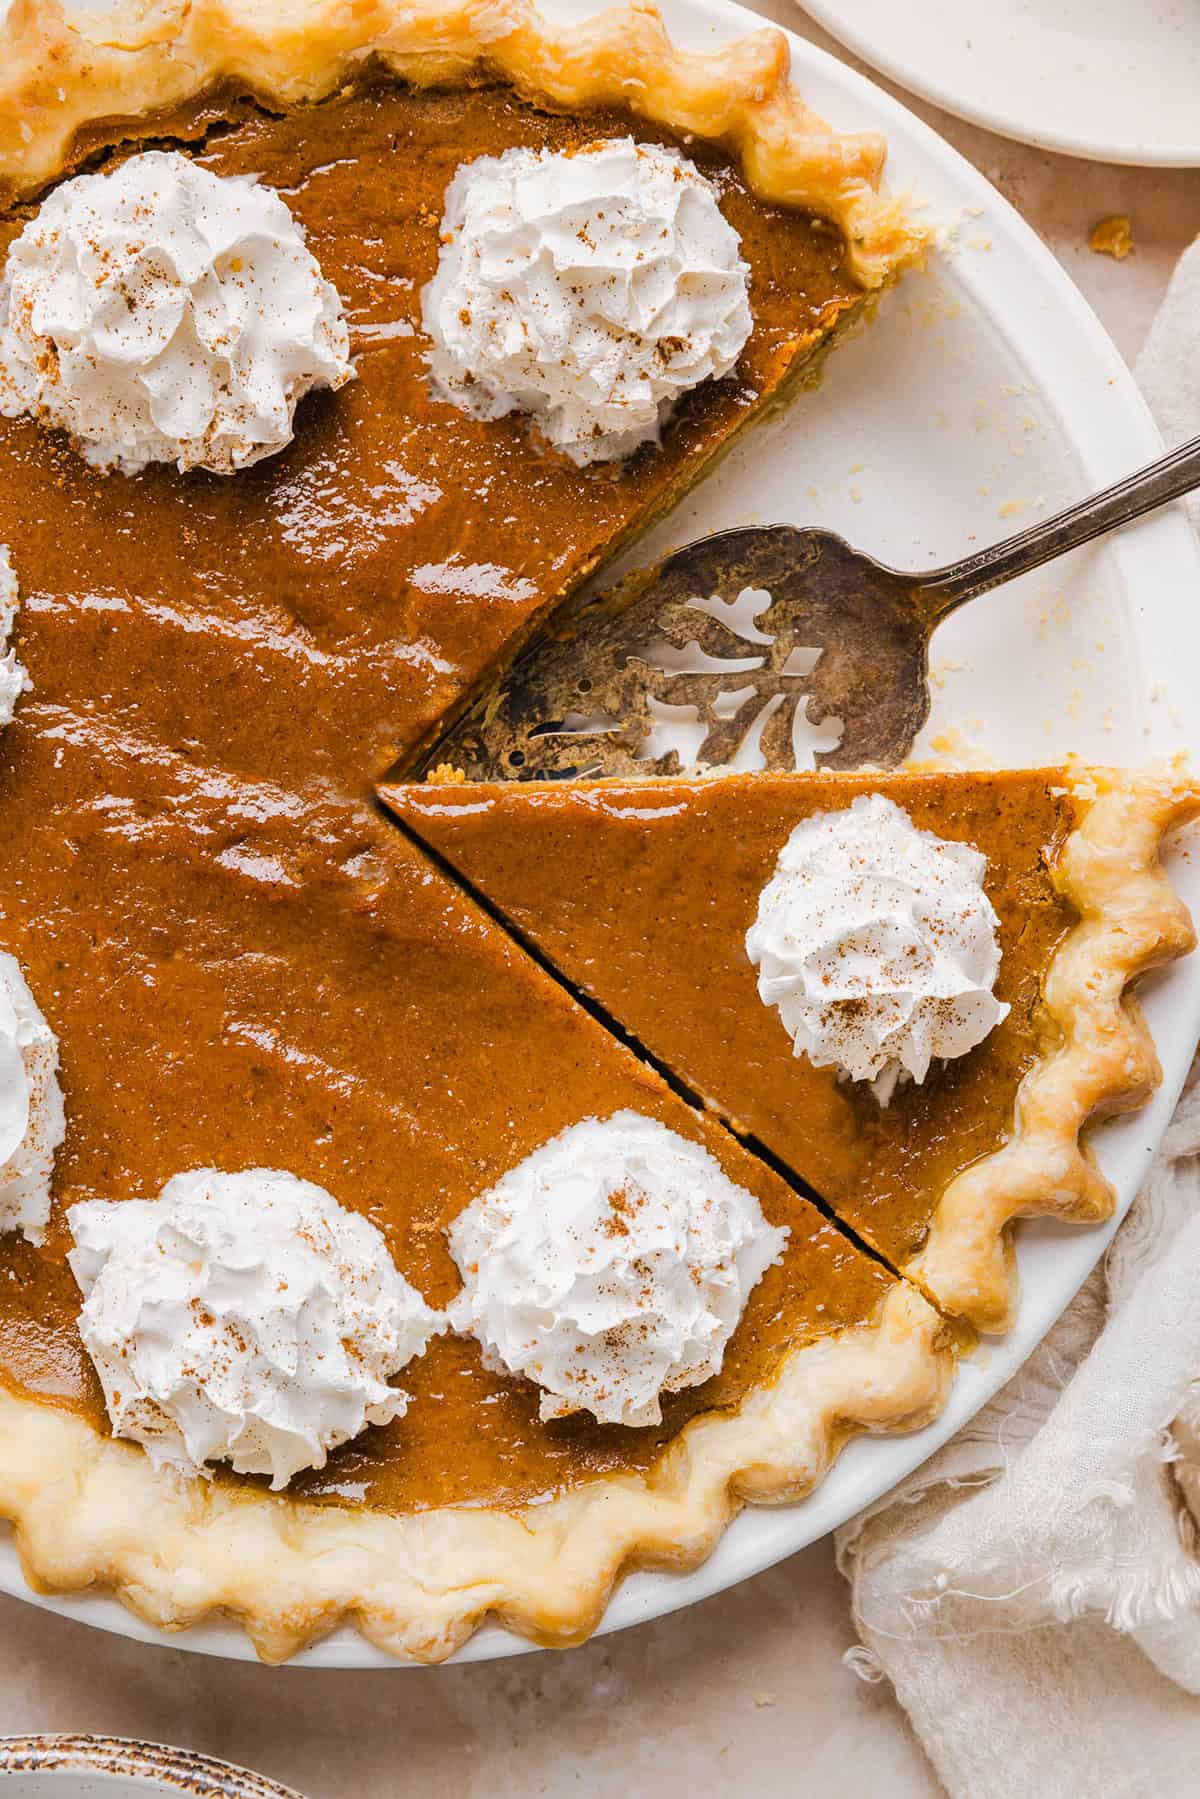
This creamy and delicious Healthy Pumpkin Pie makes the perfect holiday dessert! So easy to make, naturally sweetened with maple syrup and tastes great topped with whipped cream or vanilla ice cream!
Please enable JavaScript in your browser to complete this form.
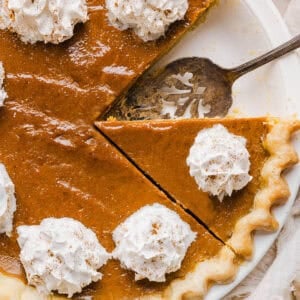
There is nothing better than indulging in a slice of creamy pumpkin pie after a filling Thanksgiving meal! This Healthy Pumpkin Pie made from scratch checks all the boxes and is SO easy to make. Warm, cozy and the best part is you don’t need loads of sugar or heavy cream to make this taste like traditional pumpkin pie. Whether you’re hosting Thanksgiving this holiday season, bringing a dish to a fall gathering or simply craving something sweet, this pumpkin pie recipe is for you!
Why You’ll Love This
- Naturally sweetened – this healthy pie is made with zero refined sugar and sweetened with a combination of maple syrup, coconut sugar and warm spices.
- Easy to make – this pumpkin pie easily comes together in minutes with just a few simple pantry staples whipped together in one bowl. Feel free to use store-bought pie crust to make this even easier!
- Prep ahead of time – the best part of this recipe is that pumpkin pie actually gets better as it rests. The flavors deepen and the texture becomes even silkier making it the perfect stress-free holiday dessert you can make ahead of time.
- Perfect holiday dessert – always a crowdpleaser and a delicious addition to your Thanksgiving menu without all the guilt. Your guests will thank you!
Ingredient’s You’ll Need
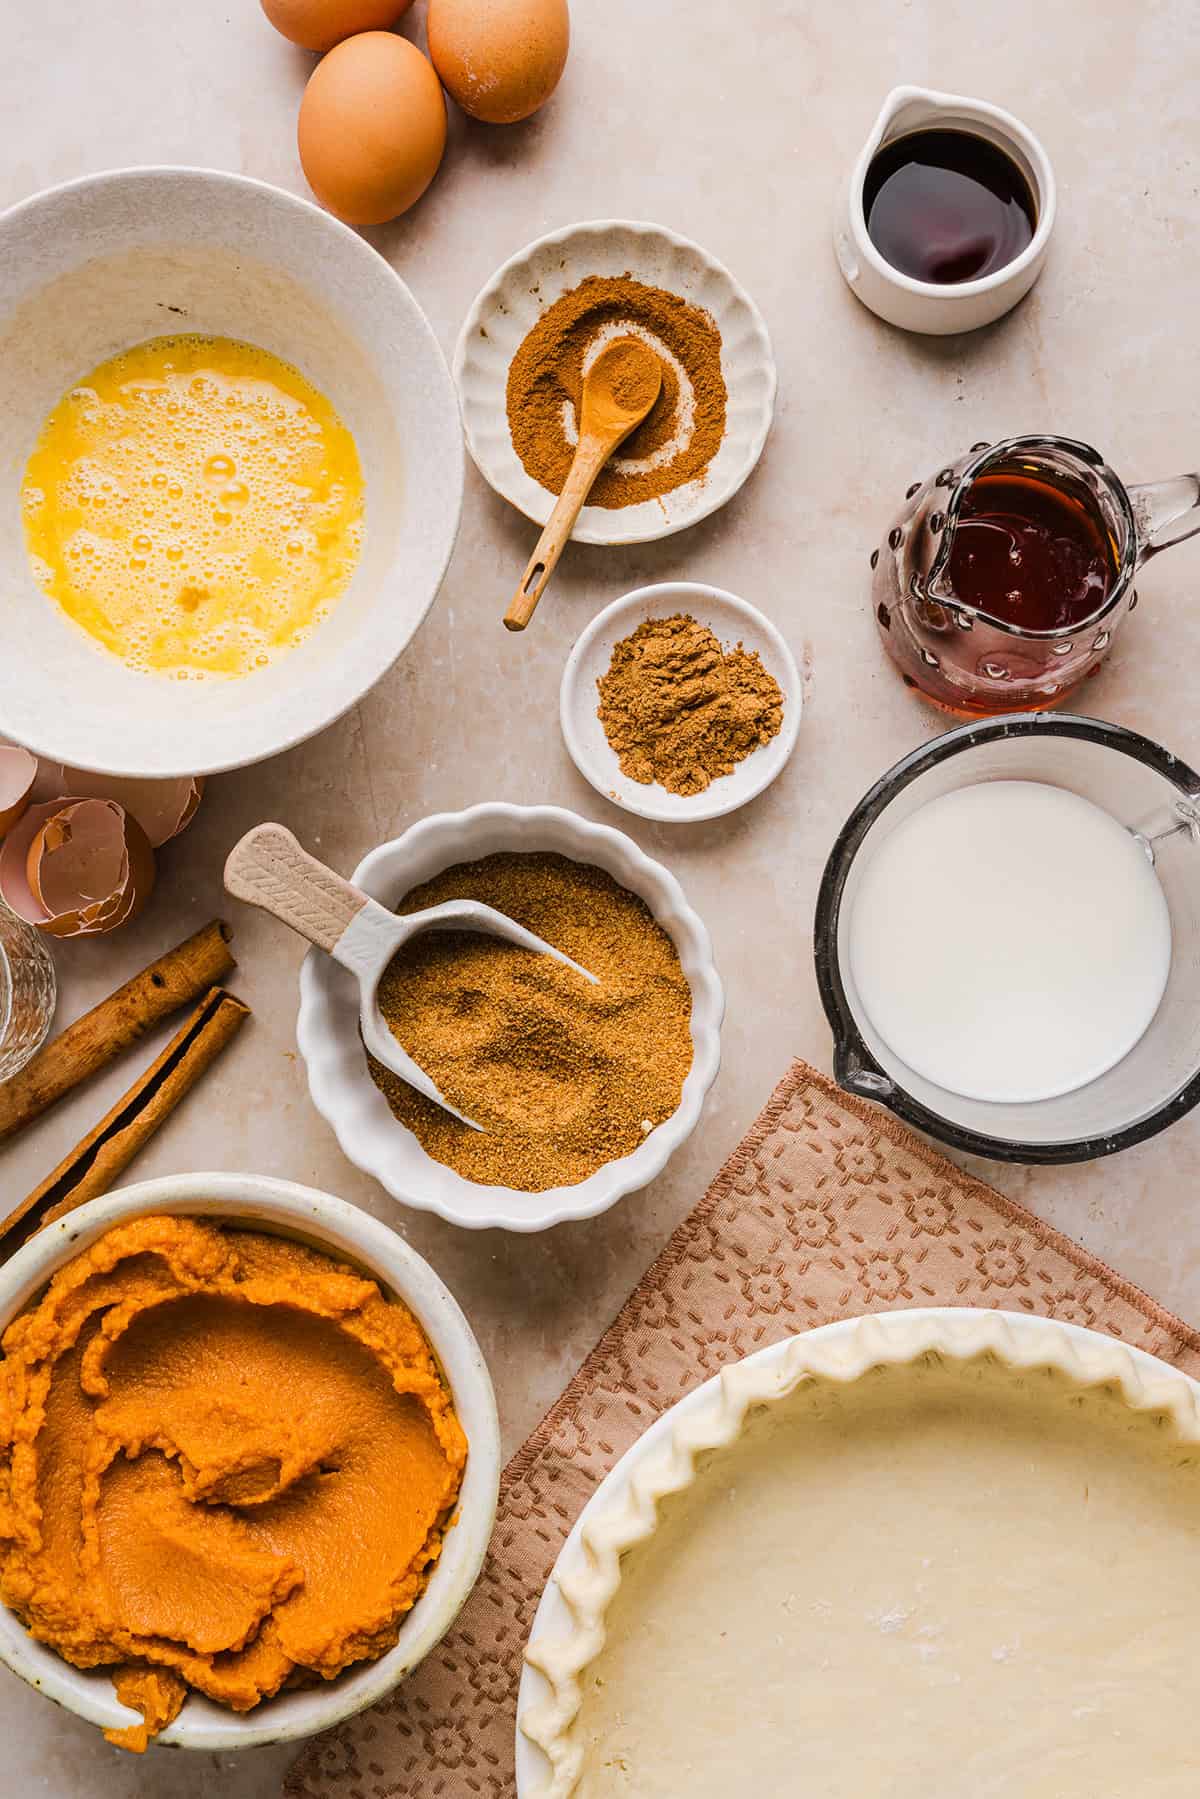
- pumpkin puree – you’ll need canned pumpkin purée for this, just make sure you use 100% pure pumpkin and not pumpkin pie filling as that is loaded with tons of sugar.
- eggs – these give the pumpkin pie that perfect custard texture while binding everything together.
- milk – I used unsweetened almond milk to keep this dairy-free, but feel free to use whatever milk you have on hand in the fridge. You could also use coconut cream which would taste amazing.
- sweeteners – we are using a combination of pure maple syrup and coconut sugar in place of brown sugar to sweeten this pumpkin pie without using refined sugar.
- vanilla extract – adds a little boost of flavor and balances out the spices.
- warm spices – a combination of pumpkin pie spice and cinnamon to make this the coziest pumpkin pie!
- pie crust – you can either use a store-bought pie crust or feel free to make your own. You can also use a gluten-free pie crust or dairy-free pie crust, if needed.
How to Make Healthy Pumpkin Pie
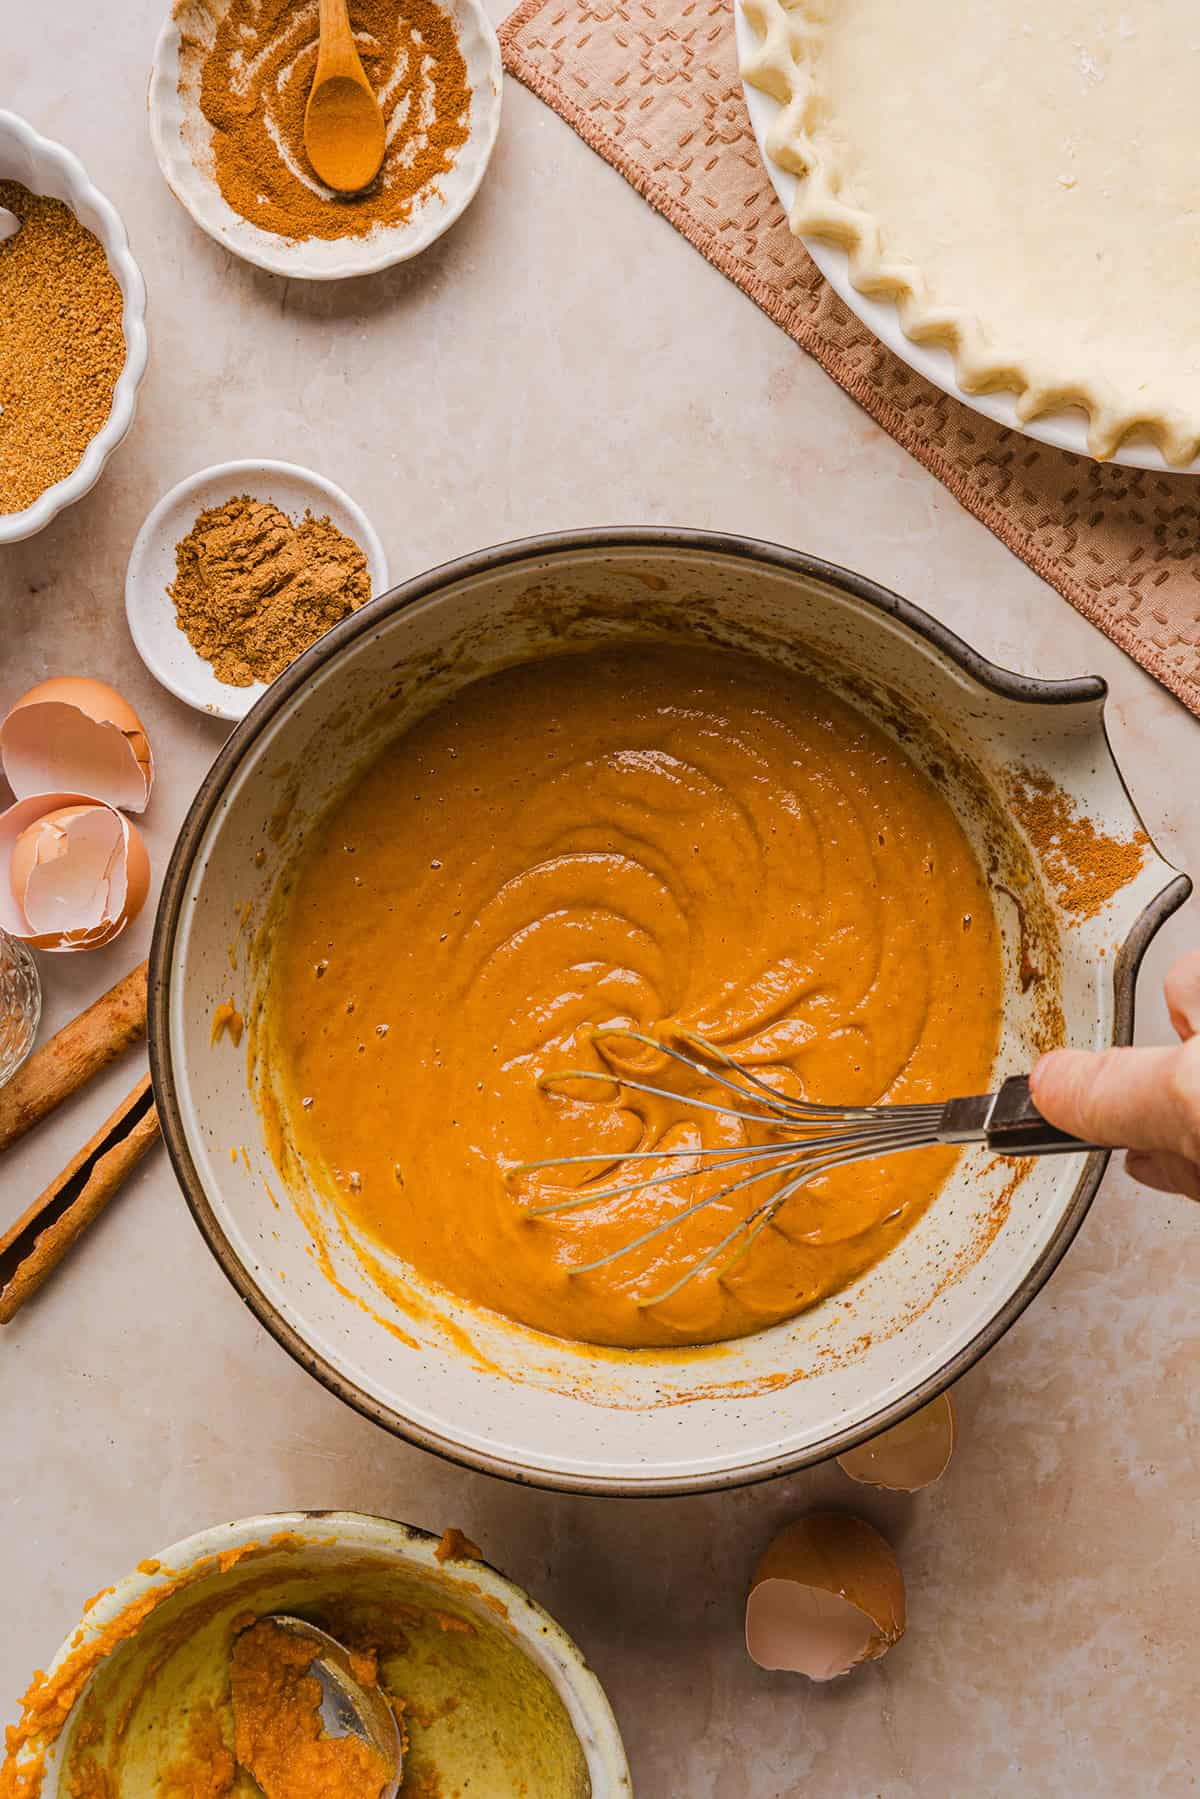
- Make the filling. In a large mixing bowl, whisk together the pumpkin puree, eggs, milk, maple syrup, coconut sugar, vanilla, spices and salt until smooth.
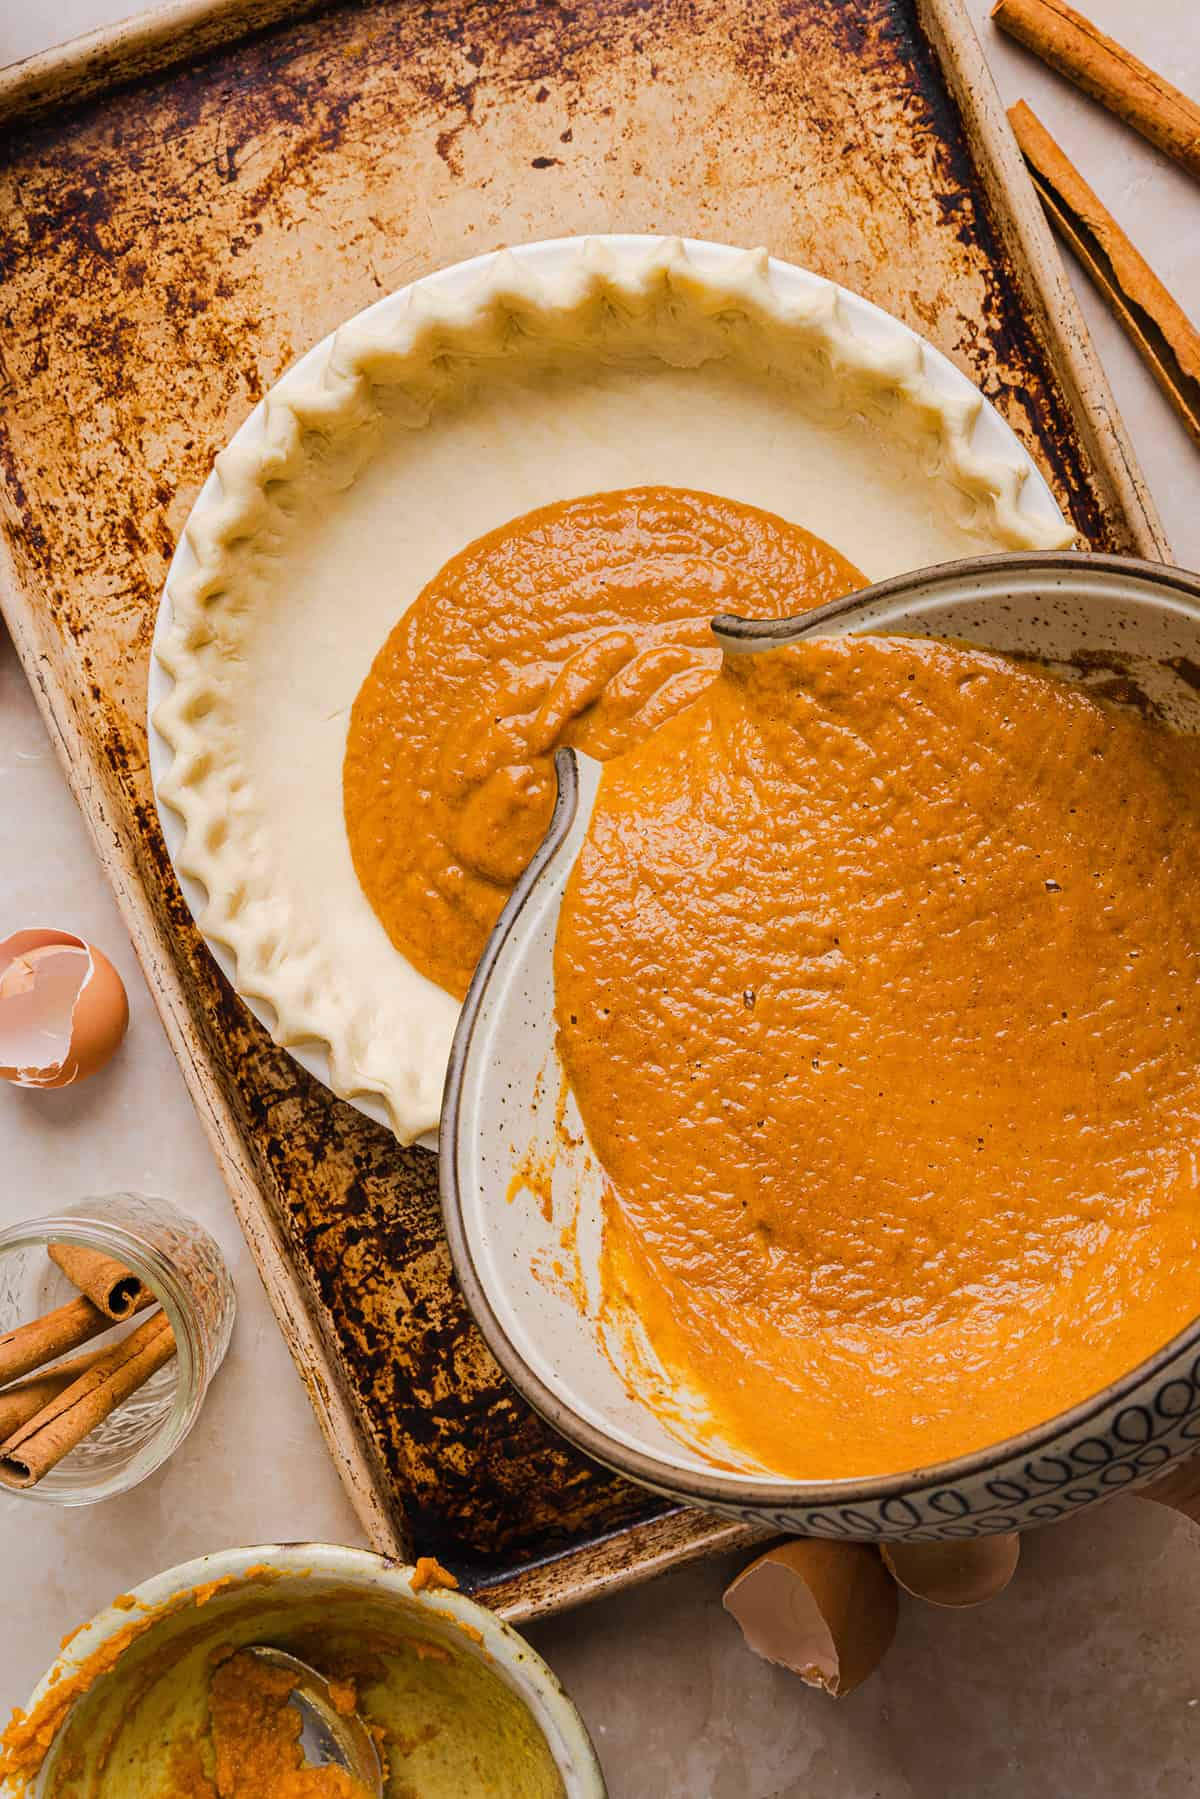
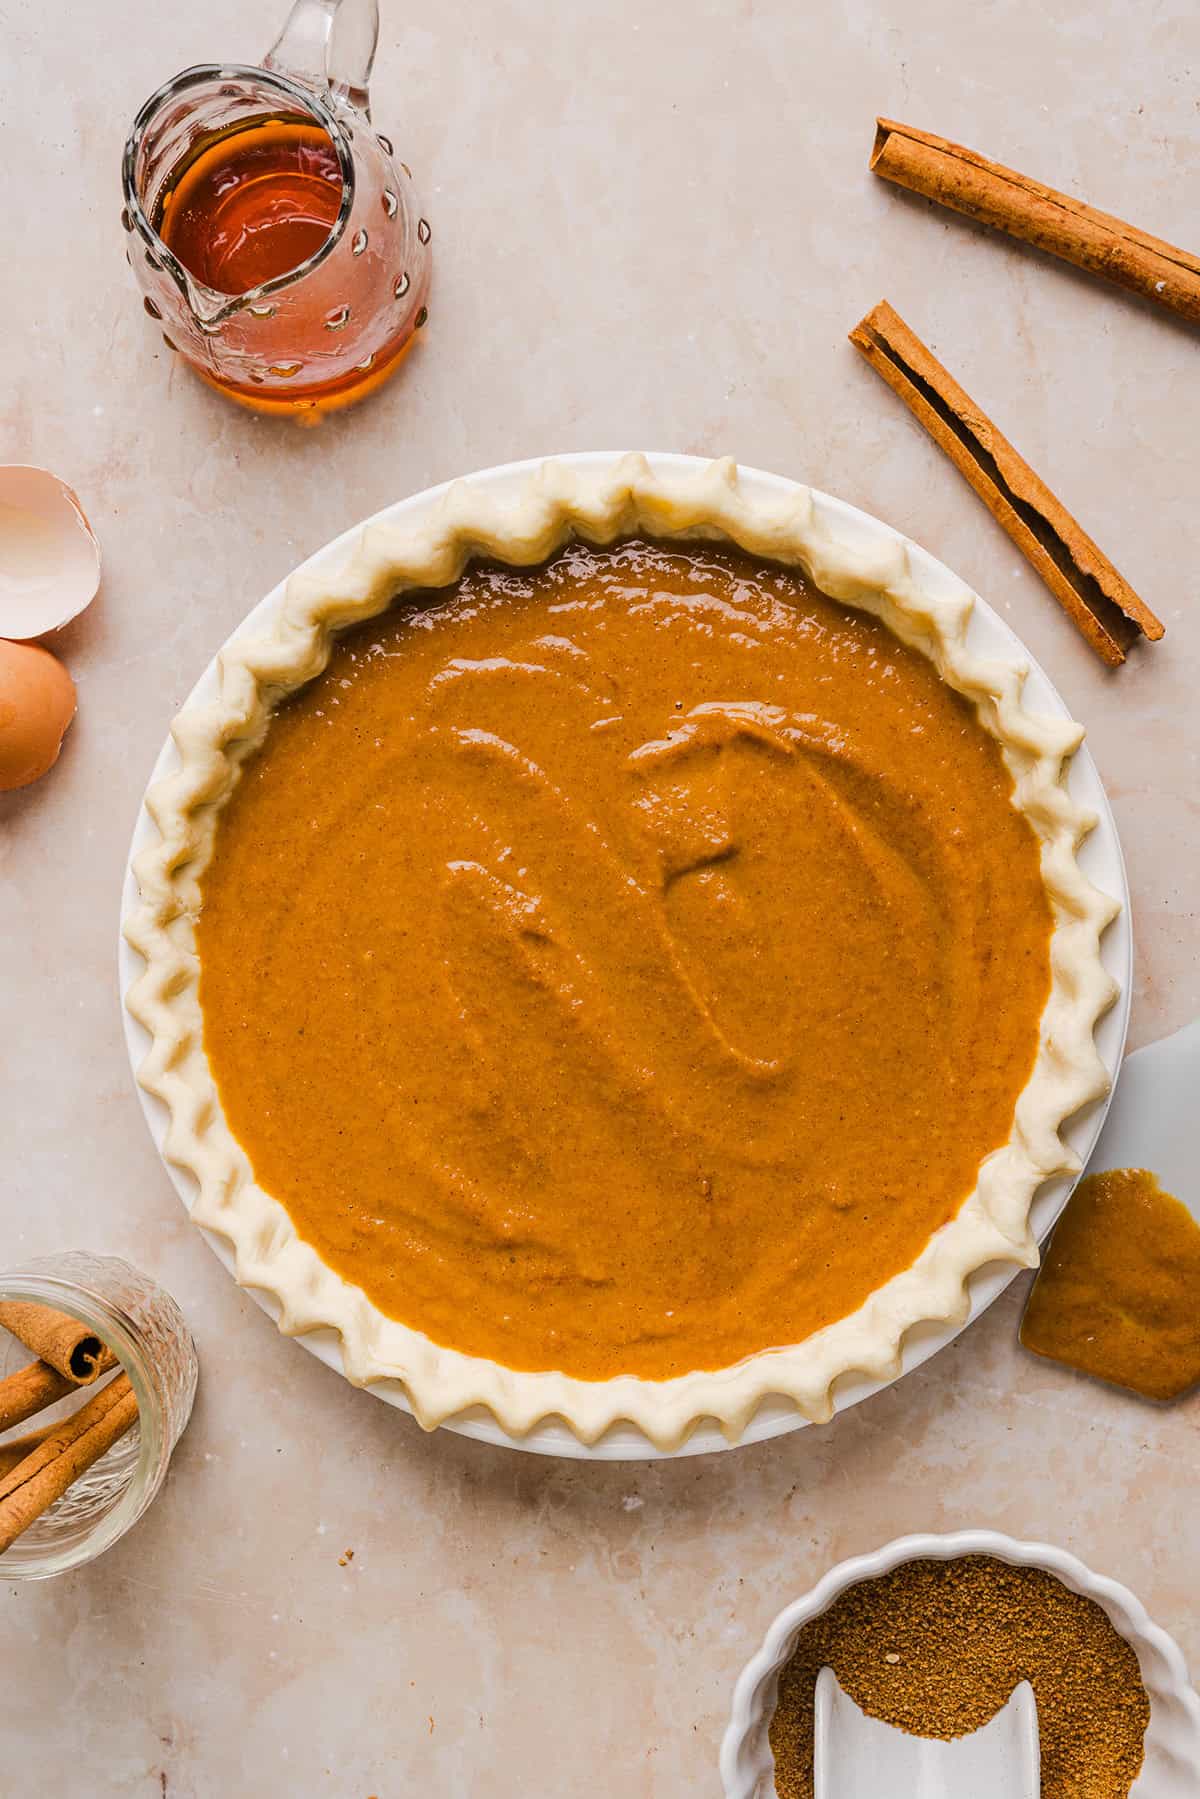
- Pour into the pie crust. Place the pie crust on a sheet pan and pour the pumpkin pie filling into the pie shell.
- Bake. Place the pumpkin pie into your preheated oven at 350 degrees and bake for 50 to 60 minutes, until the pie is set and edges are firm.
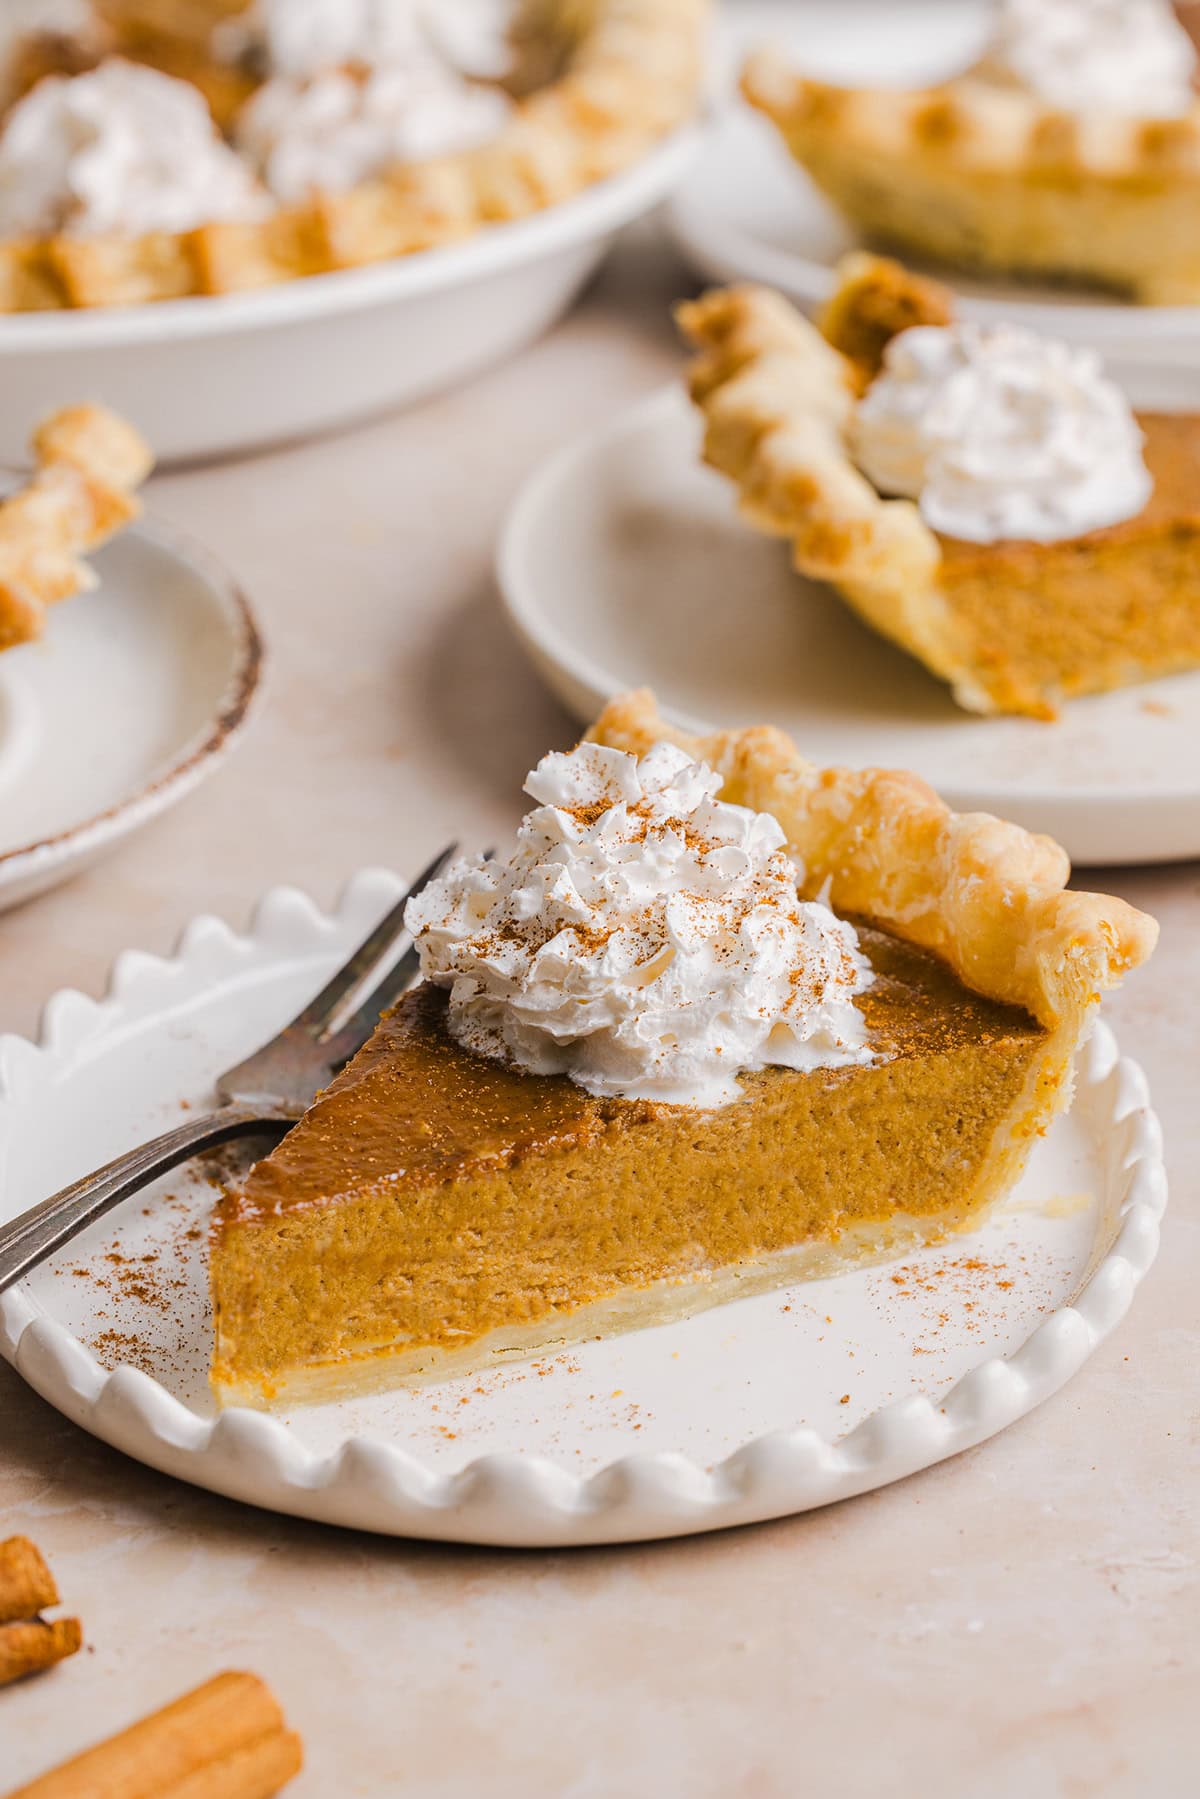
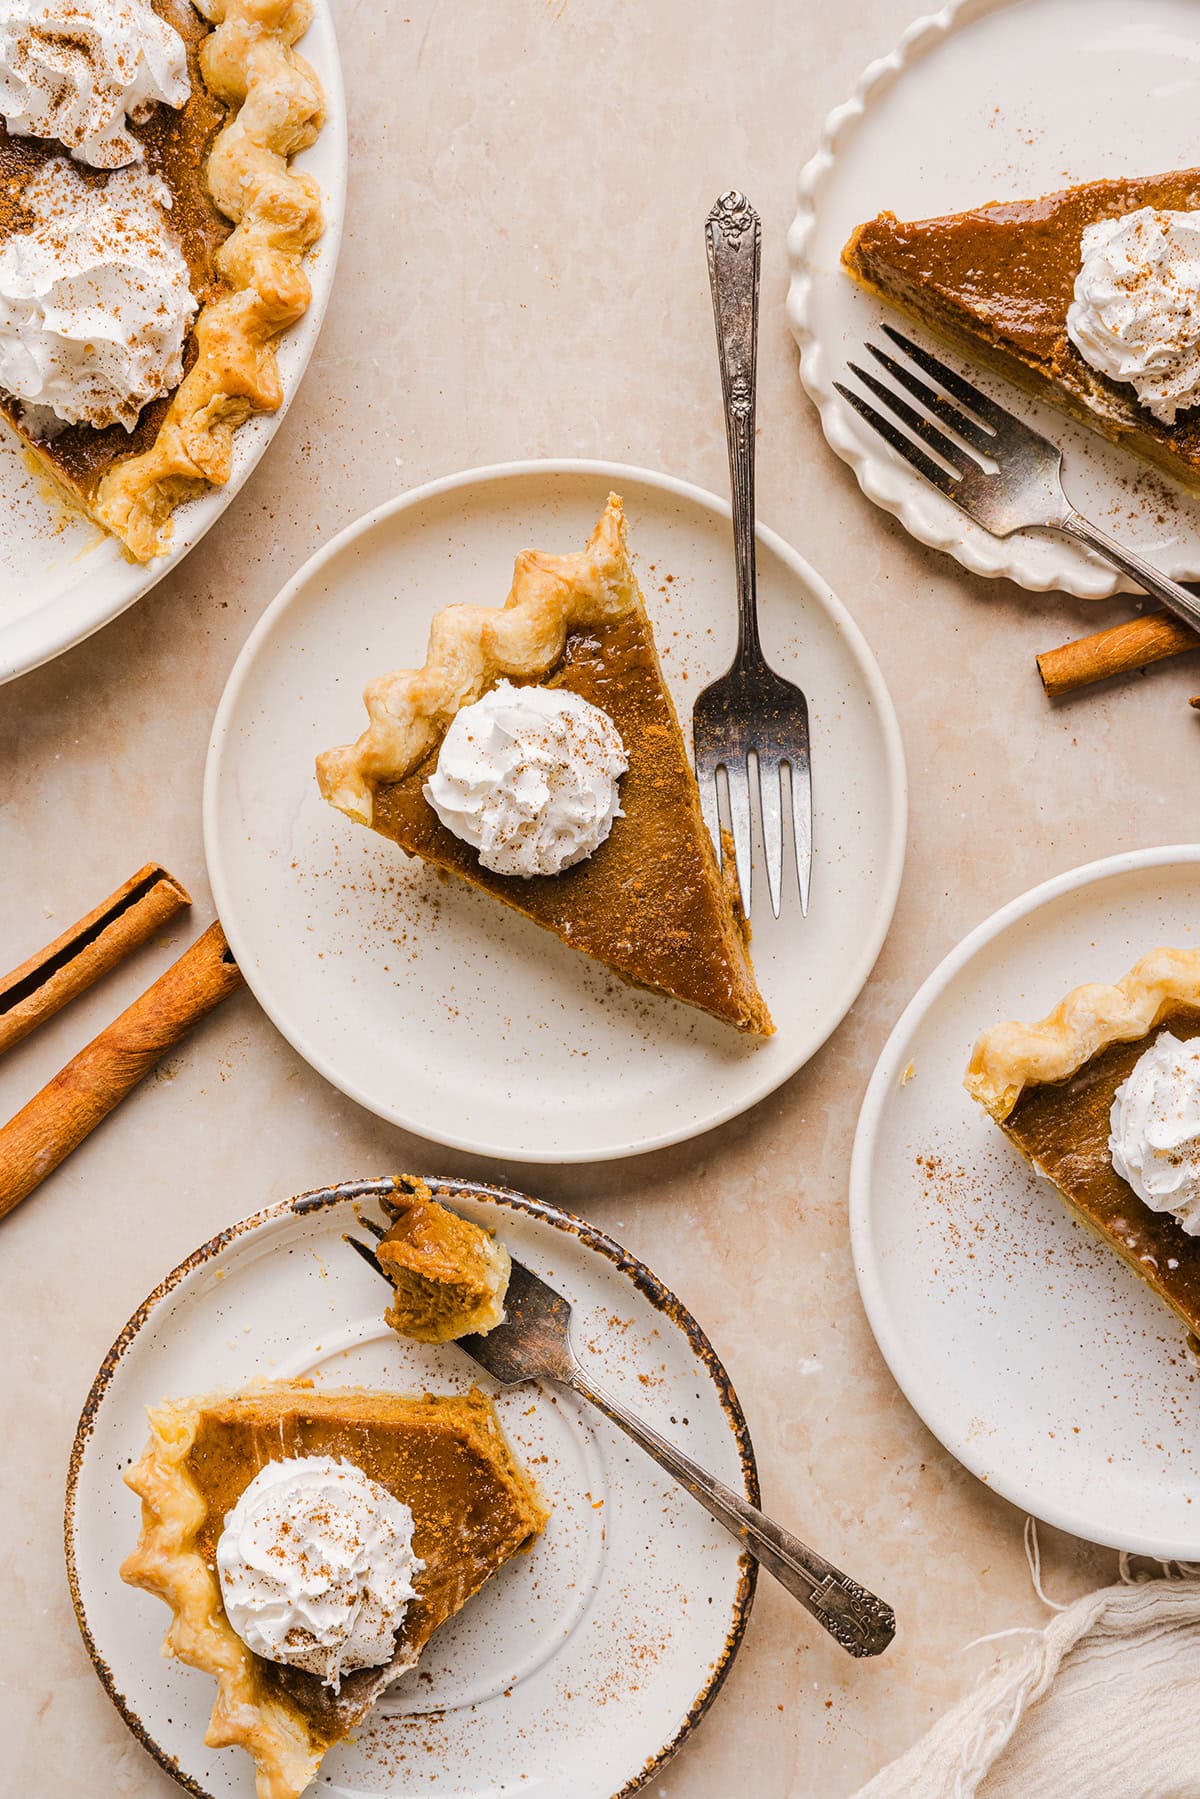
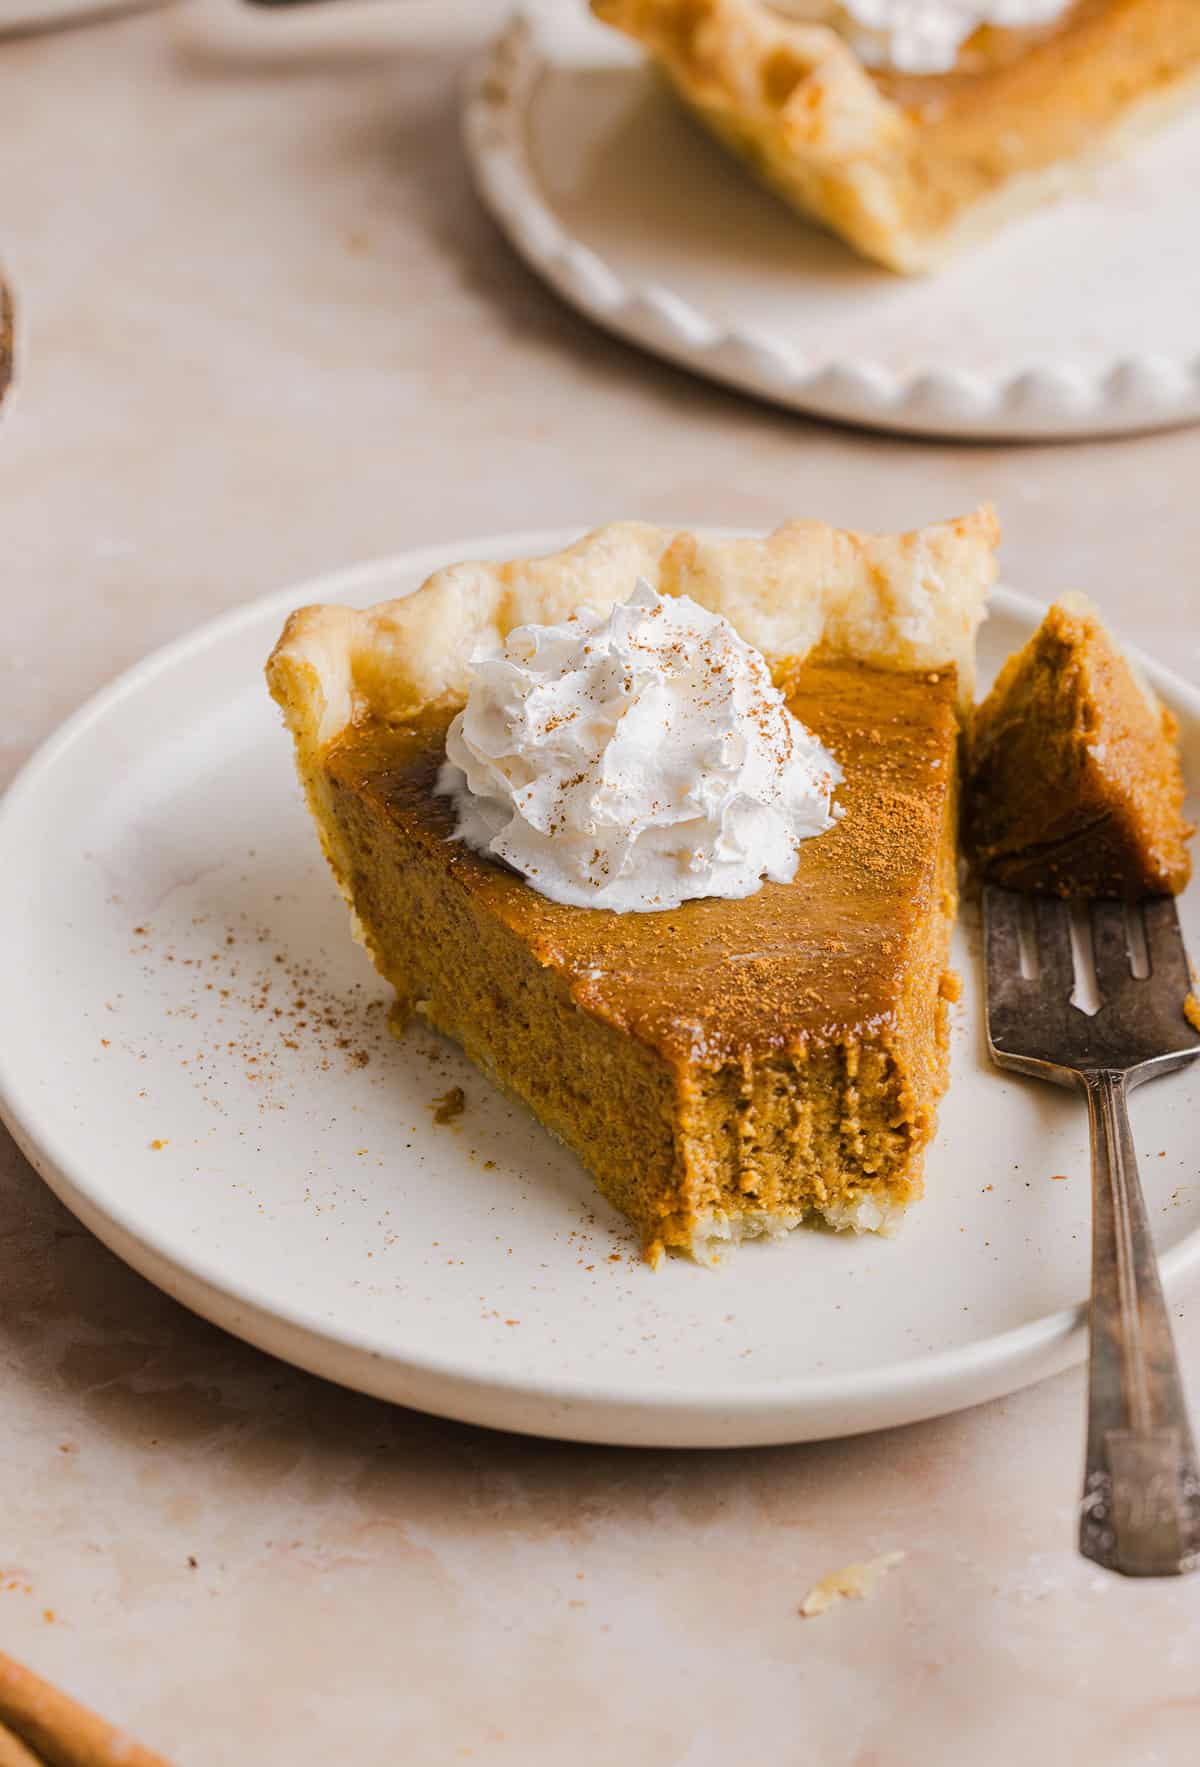
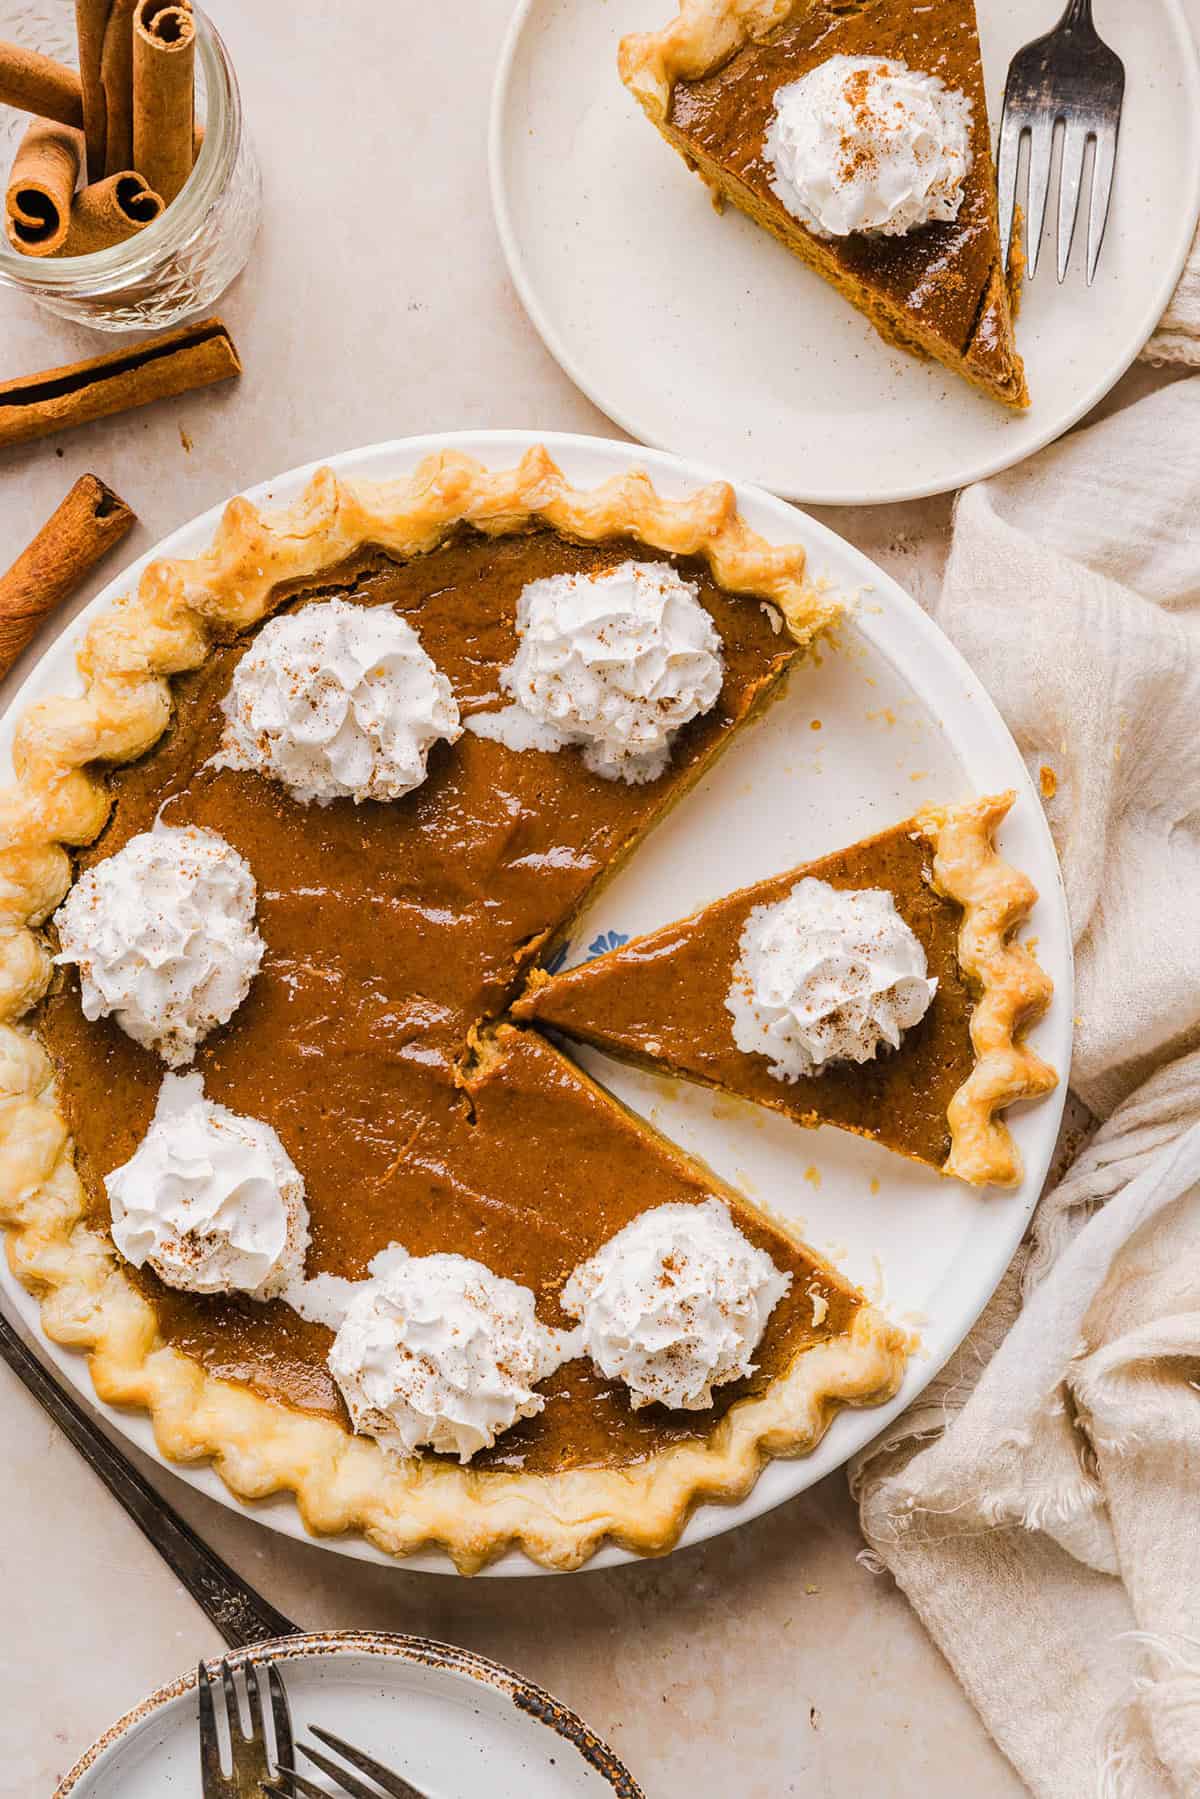
- Let cool. Remove from the oven and let the pumpkin pie cool completely before slicing, about 2 to 3 hours. Top with whipped cream or store in the fridge until ready to serve.
How to Serve
- A dollop of whipped cream or coconut cream
- Toasted pecans or walnuts on top
- A drizzle of warm maple syrup
- Sprinkle of cinnamon or pumpkin pie spice
- A scoop of vanilla ice cream
Tips for Making the Best Pumpkin Pie
- Use 100% pumpkin puree – make sure you use pure pumpkin puree and not pumpkin pie filling to keep the recipe lower in sugar.
- Don’t overmix – gently whisk the filling just until everything is combined. Overmixing incorporates too much air and can cause cracking.
- Bake until just set – your pumpkin pie is perfectly baked when the outer 2 inches are set, but the center gently wobbles like jello. The pie will continue to bake as it cools!
- Cover the crust as needed – if you notice the crust starts to brown while the pie is still baking, cover the edges with aluminum foil or a pie shield.
- Cool at room temp – rapid temperature changes can cause cracking so make sure to let the pie cool completely at room temperature before storing in the fridge.
- Chill before slicing – custard pies need time to set completely so I recommend chilling for at least 2 to 4 hours (or overnight) for the cleanest slices. The flavors also deepen and become richer by the next day!
Variations
- Pie crust – save time and use store-bought pie crust or feel free to make your own! This would also taste great with a graham cracker pie crust.
- Sugar – this recipe calls for a variation of maple syrup for that warm, rich sweetness and coconut sugar to avoid using refined sugars, but feel free to use honey, granulated sugar or brown sugar.
- Spices – if you don’t have pumpkin pie spice, you can make your own using 2 teaspoons cinnamon, 1/2 teaspoon ground nutmeg, 1/2 teaspoon ground ginger and a pinch of cloves or allspice.
- Dairy-free – you can easily make this pumpkin pie dairy-free by using almond milk, oat milk, coconut milk or coconut cream for the filling.
- Gluten-free – use your favorite store-bought gluten free pie crust or make your own using oat flour or 1-to-1 gluten-free flour blend.
How to Make Ahead
Pumpkin pie is one of the best make-ahead desserts because the flavor actually gets better as it rests! Whether preparing for a holiday gathering or planning ahead for busy weeks, here are some tips on how to prep, store and freeze your pumpkin pie.
- Prepare the filling in advance – you can mix the entire pumpkin pie filling 1 to 2 days ahead of time and store it in a sealed, airtight container in the fridge. Before baking, simply whisk it again to re-incorporate the spices and pour into the crust.
- Make the crust ahead of time – if you aren’t using store-bought crust, you can make fully bake your crust 1 to 2 days ahead of time and just keep it wrapped at room temperature until ready to fill.
- Baking the pie ahead of time – pumpkin pie actually sets better after it chills overnight, making it an ideal dessert to bake 24 hours before serving. Just make sure the pie has cooled completely before covering with foil or plastic wrap and storing in the fridge.
Storing Pumpkin Pie
To Store: Once cooled, pumpkin pie will last in your refrigerator covered with plastic wrap for 3-4 days. You can serve the leftover pie cold, at room temperature or feel free to warm it up in the microwave for 10 to 15 seconds. If the crust softens a bit, you can crisp individual slices in the oven at 325 degrees F for about 5 minutes.
To Freeze: You can either wrap the whole pie tightly with plastic wrap along with a layer of foil or you can freeze individual slices for grab-and-go convenience! Pumpkin pie will last up to 2 months in the freezer. When ready to enjoy, let the pie thaw overnight in the fridge before serving.
Pin this now to find it later
Follow on Instagram
More Pumpkin Recipes
- Healthier Pumpkin Bars
- Whole Wheat Pumpkin Muffins
- Healthy Pumpkin Dip
- Gluten-Free Pumpkin Spice Donuts
- Almond Flour Pumpkin Bread
- Fluffy Pumpkin Pancakes
- Pumpkin Spice Mug Cake
Hope you all enjoy this Healthy Pumpkin Pie recipe! If you love this as much as we do, please leave me  below and don’t forget to tag me on Instagram using the hashtag #eatyourselfskinny!
Healthy Pumpkin Pie
#wprm-recipe-user-rating-0 .wprm-rating-star.wprm-rating-star-full svg * { fill: #343434; }#wprm-recipe-user-rating-0 .wprm-rating-star.wprm-rating-star-33 svg * { fill: url(#wprm-recipe-user-rating-0-33); }#wprm-recipe-user-rating-0 .wprm-rating-star.wprm-rating-star-50 svg * { fill: url(#wprm-recipe-user-rating-0-50); }#wprm-recipe-user-rating-0 .wprm-rating-star.wprm-rating-star-66 svg * { fill: url(#wprm-recipe-user-rating-0-66); }linearGradient#wprm-recipe-user-rating-0-33 stop { stop-color: #343434; }linearGradient#wprm-recipe-user-rating-0-50 stop { stop-color: #343434; }linearGradient#wprm-recipe-user-rating-0-66 stop { stop-color: #343434; }
Ingredients
- 1 (15 oz) can pumpkin puree
- 3 eggs whisked
- 1/2 cup milk
- 1/3 cup maple syrup
- 1/4 cup coconut sugar
- 1 tsp vanilla extract
- 2 tsp pumpkin pie spice
- 1 tsp cinnamon
- 1/4 tsp salt
- 1 (9-inch) unbaked pie crust
- Top with whipped cream (optional)
Instructions
-
Preheat oven to 350 degrees F.
-
In a large bowl, whisk together the pumpkin puree, eggs, milk, maple syrup, coconut sugar, vanilla, spices and salt until all combined.
-
Place the pie crust on a sheet pan and pour the pumpkin pie filling into the pie shell.
-
Bake in the oven for 50 to 60 minutes, until pie is set and edges are firm.
-
Remove from the oven and let the pie cool completely before slicing, about 2 to 3 hours. Top with whipped cream or store in the fridge until ready to serve.
Nutrition
The post Healthy Pumpkin Pie appeared first on Eat Yourself Skinny.