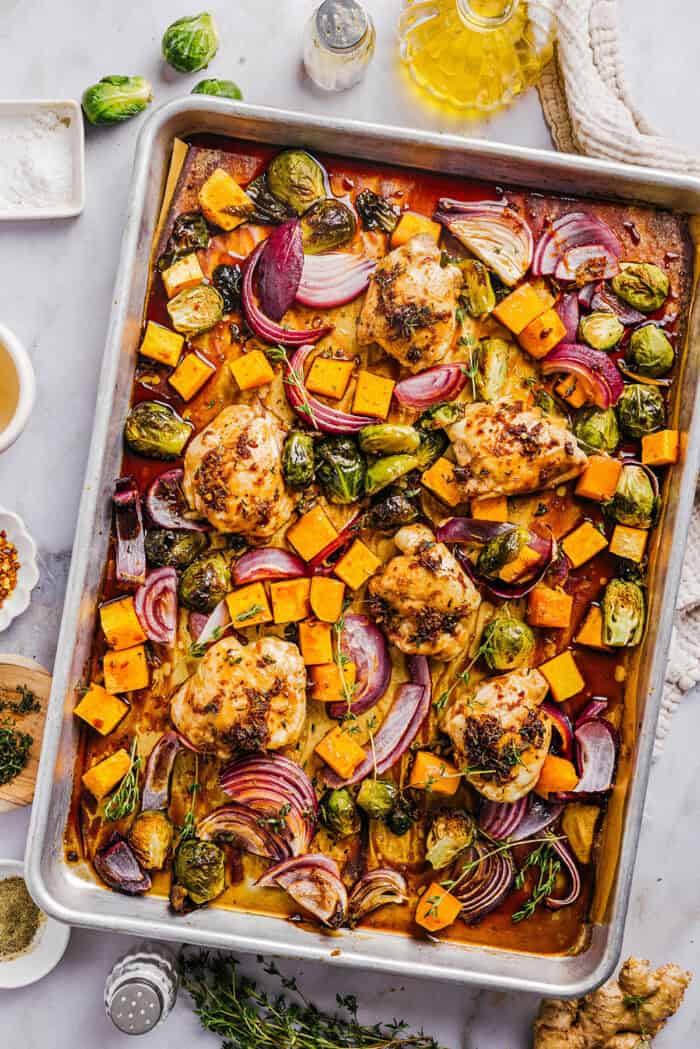
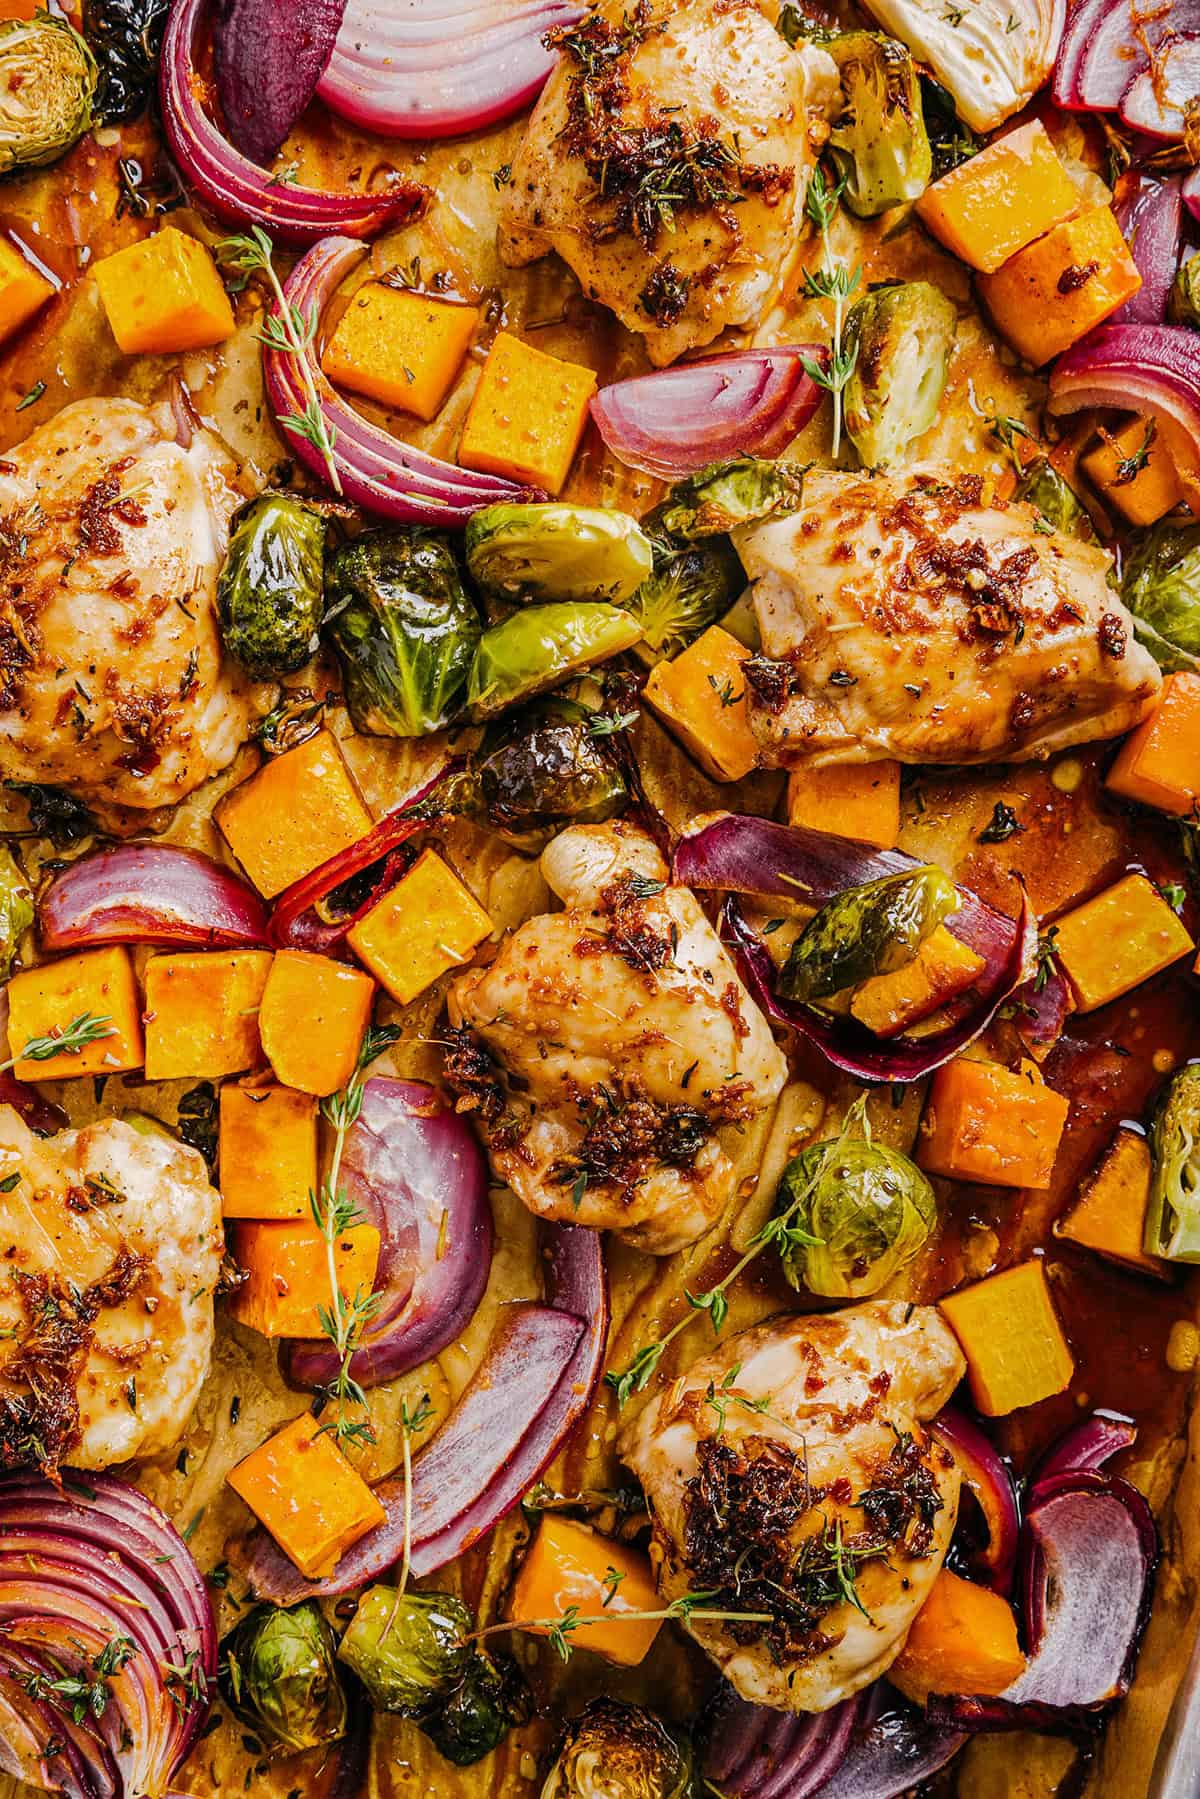
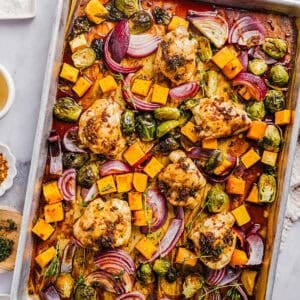
This Sheet Pan Maple Glazed Chicken with Vegetables is healthy, delicious and easily made all on one pan in just 30 minutes! The most flavorful weeknight dinner that is perfect for your fall meal prep!
Please enable JavaScript in your browser to complete this form.
You guys it really doesn’t get much easier than this! I have shared several sheet pan recipes before, but they really are my favorite way of cooking dinner. The perfect meal loaded with all your favorite fall flavors and baked all on one pan! Easy to clean up and super convenient for the whole family, especially for those busy nights. This maple glazed chicken with veggies is super flavorful and the crisp, tender veggies make you question if you’re even eating healthy, they are just THAT good. This sheet pan meal makes about 4 large servings or 6 smaller ones so plan to have some delicious leftovers the next day too!
Why You’ll Love This
- Easy to make – everything cooks all on one sheet pan in just 30 minutes making clean-up a breeze!
- Healthy and flavorful – you get lean protein, fiber-packed veggies and a flavorful glaze all in one meal.
- Customizable – use whatever vegetables you have on hand which is perfect for cleaning out the fridge.
- Great for meal prep – leftovers reheat really well making it perfect for meal prepping lunches for the week.
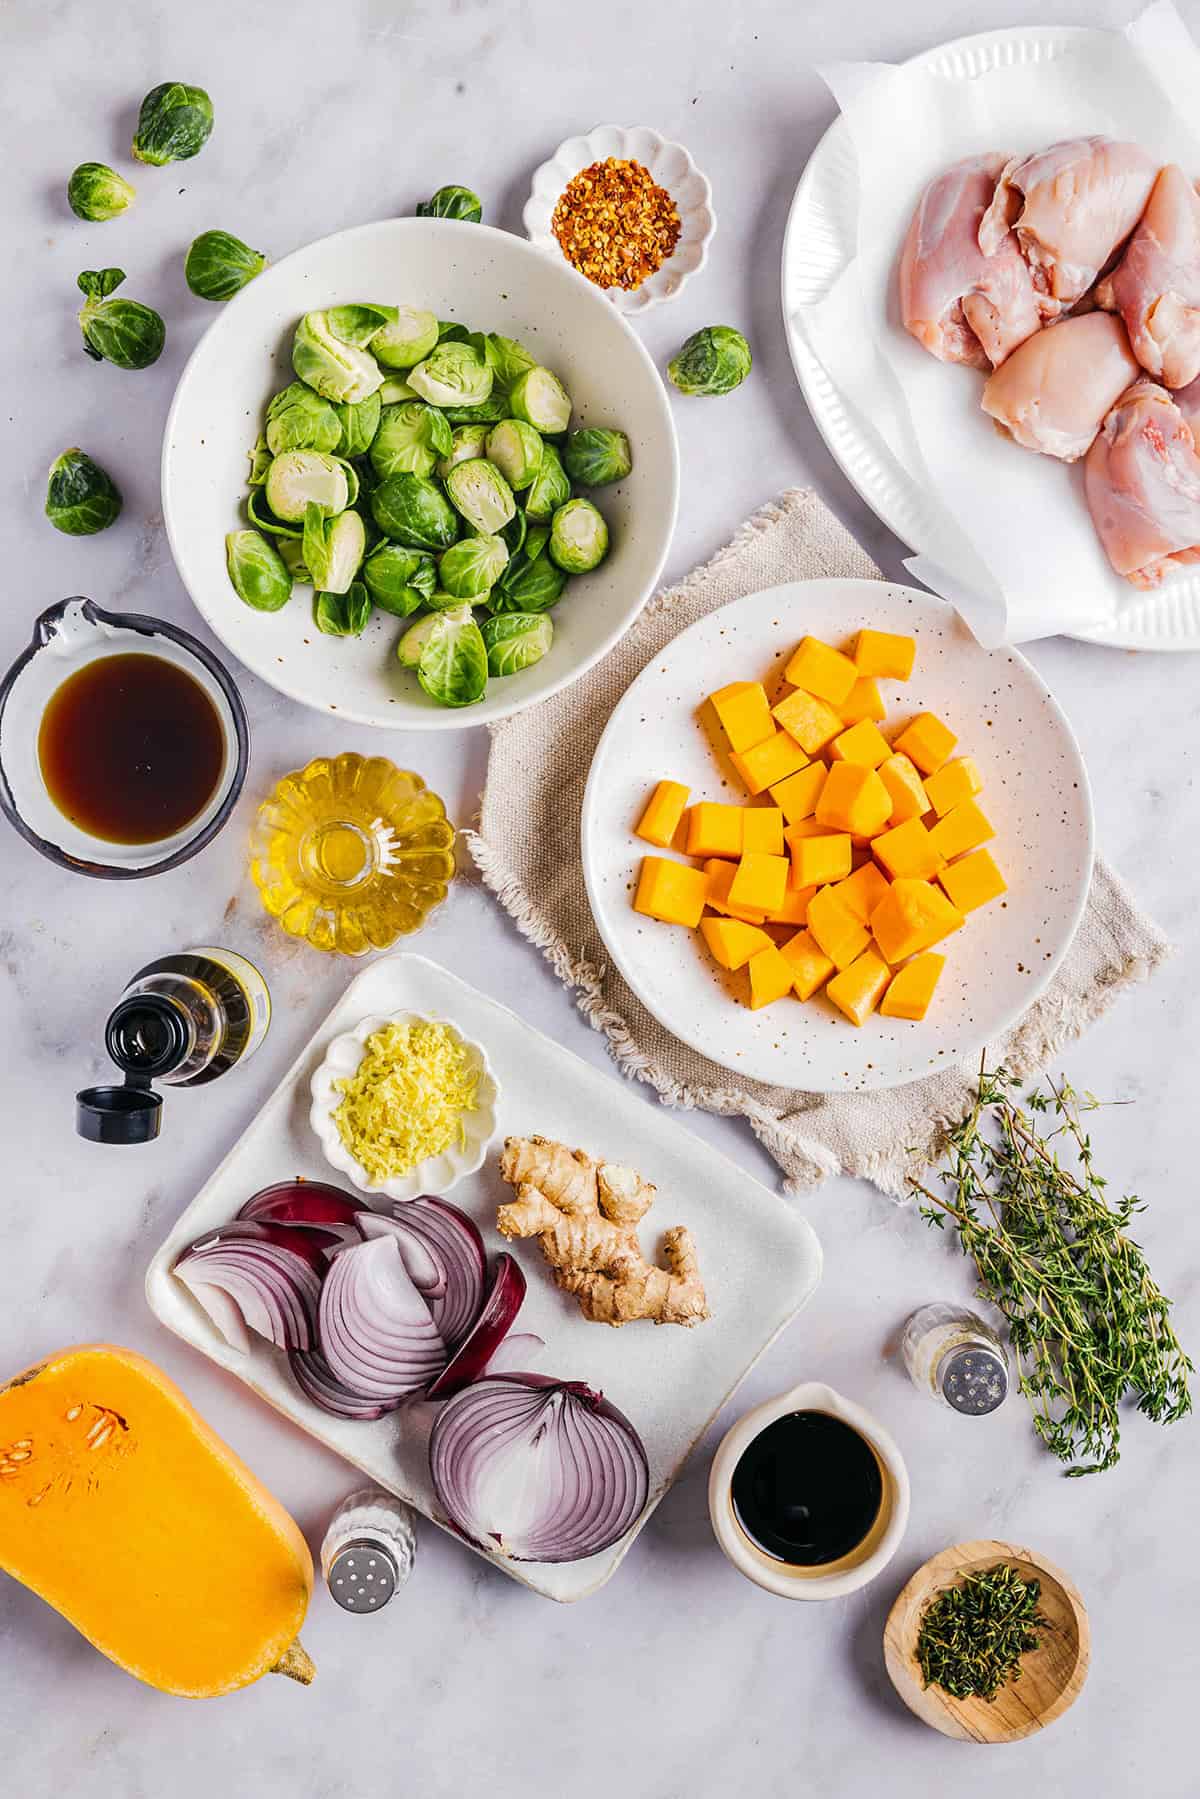
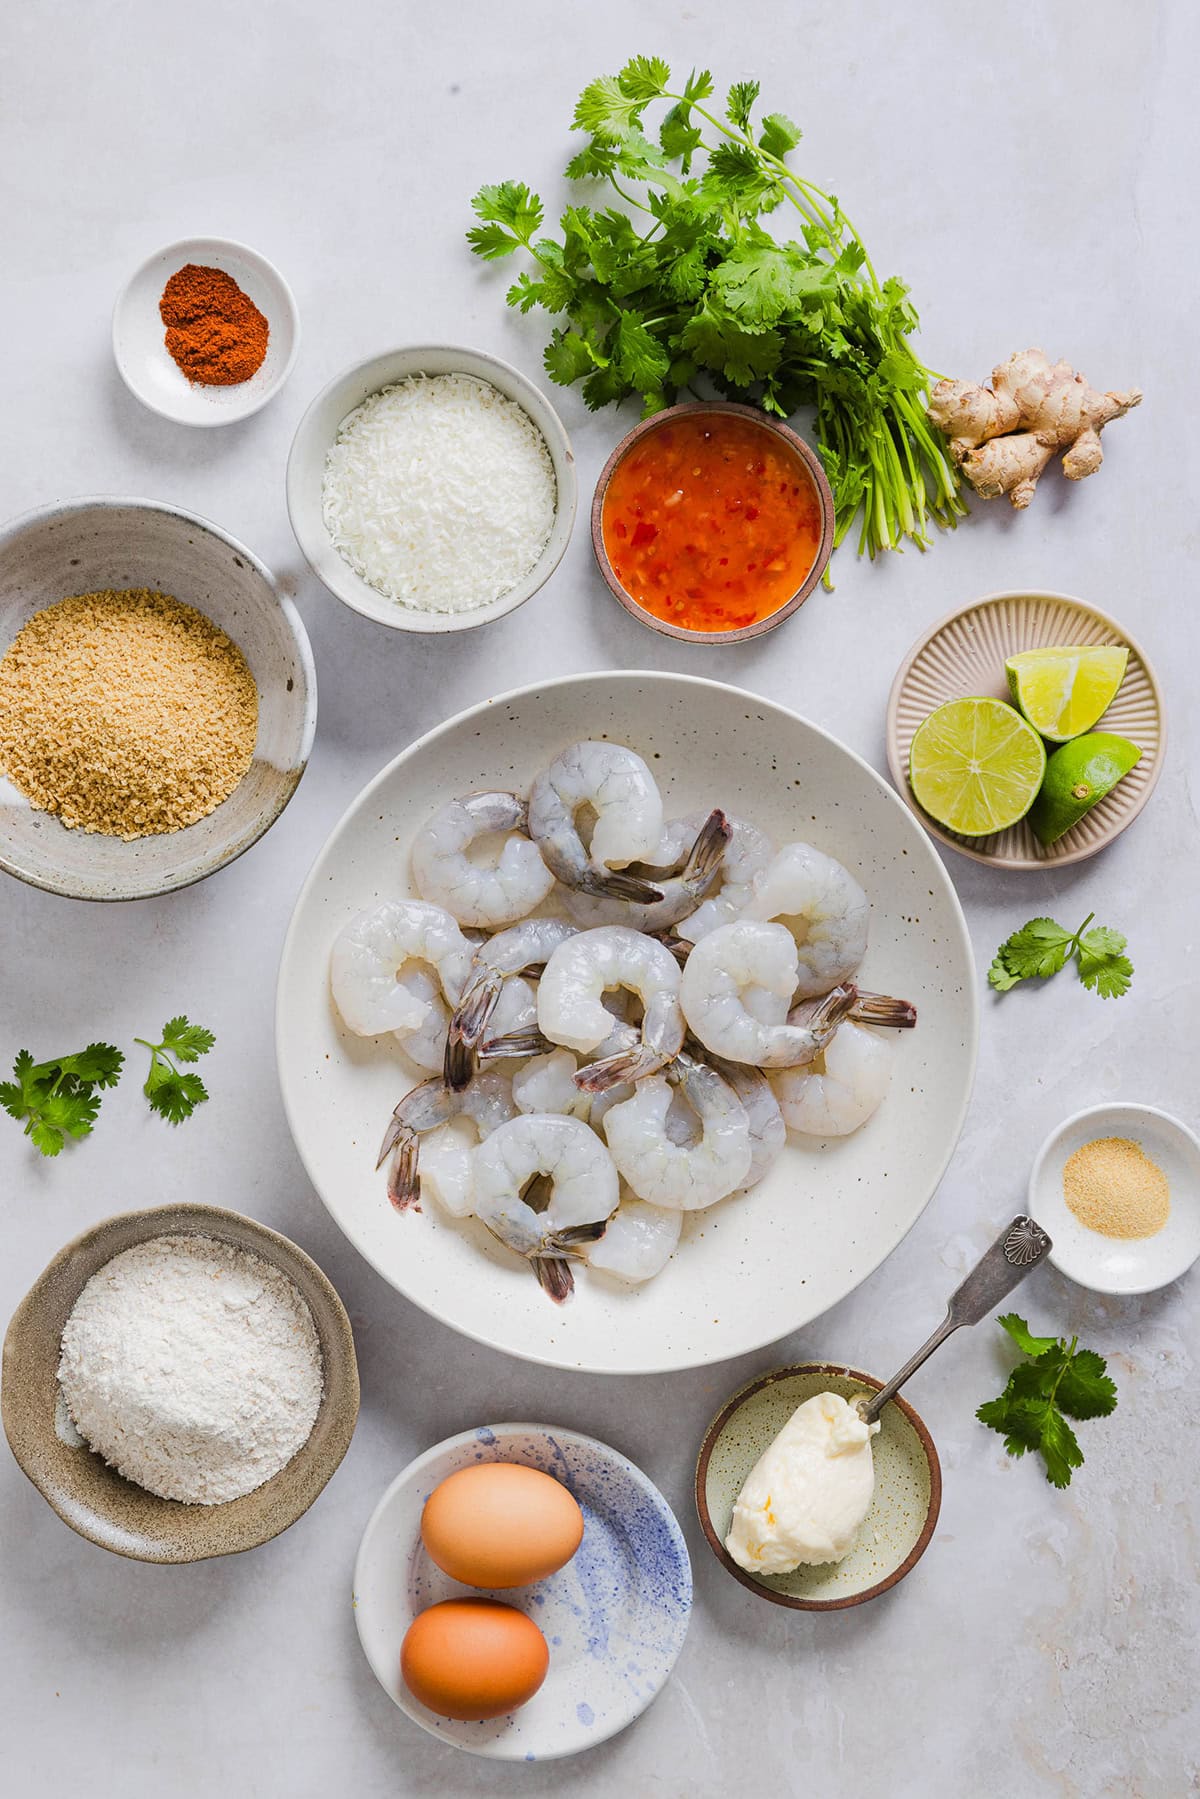
Ingredients You’ll Need
- chicken – this recipe calls for 2 pounds boneless chicken thighs (bone-in works too), but you could also use boneless skinless chicken breasts if you prefer.
- veggies – I used a combination of butternut squash, brussels sprouts and red onion
- olive oil – this helps infuse the flavors into the chicken and veggies while preventing everything from sticking to the pan. I like to use a good olive oil that doesn’t have to be expensive, just make sure it’s cold-pressed and organic for the most flavor.
- soy sauce – I always use low-sodium soy sauce as I find that regular soy sauce can make dishes too salty. You could also swap the soy sauce with tamari or coconut aminos to make this gluten-free.
- maple syrup – adds sweetness without using any refined sugar, but you could also use honey or other natural sweetener.
- sesame oil – brings all these delicious flavors together!
- ginger – fresh ginger is definitely best in this dish, but if all you have is ground ginger you can use.
- thyme – fresh thyme really adds such a fresh taste to this meal, but you could use dried thyme, dried rosemary or even dried oregano as well.
- red pepper flakes – this is optional, but adds a nice kick of spice to this meal.
- salt + pepper – needed to season the chicken and vegetables while adding flavor.
How to Make Maple Glazed Chicken and Veggies
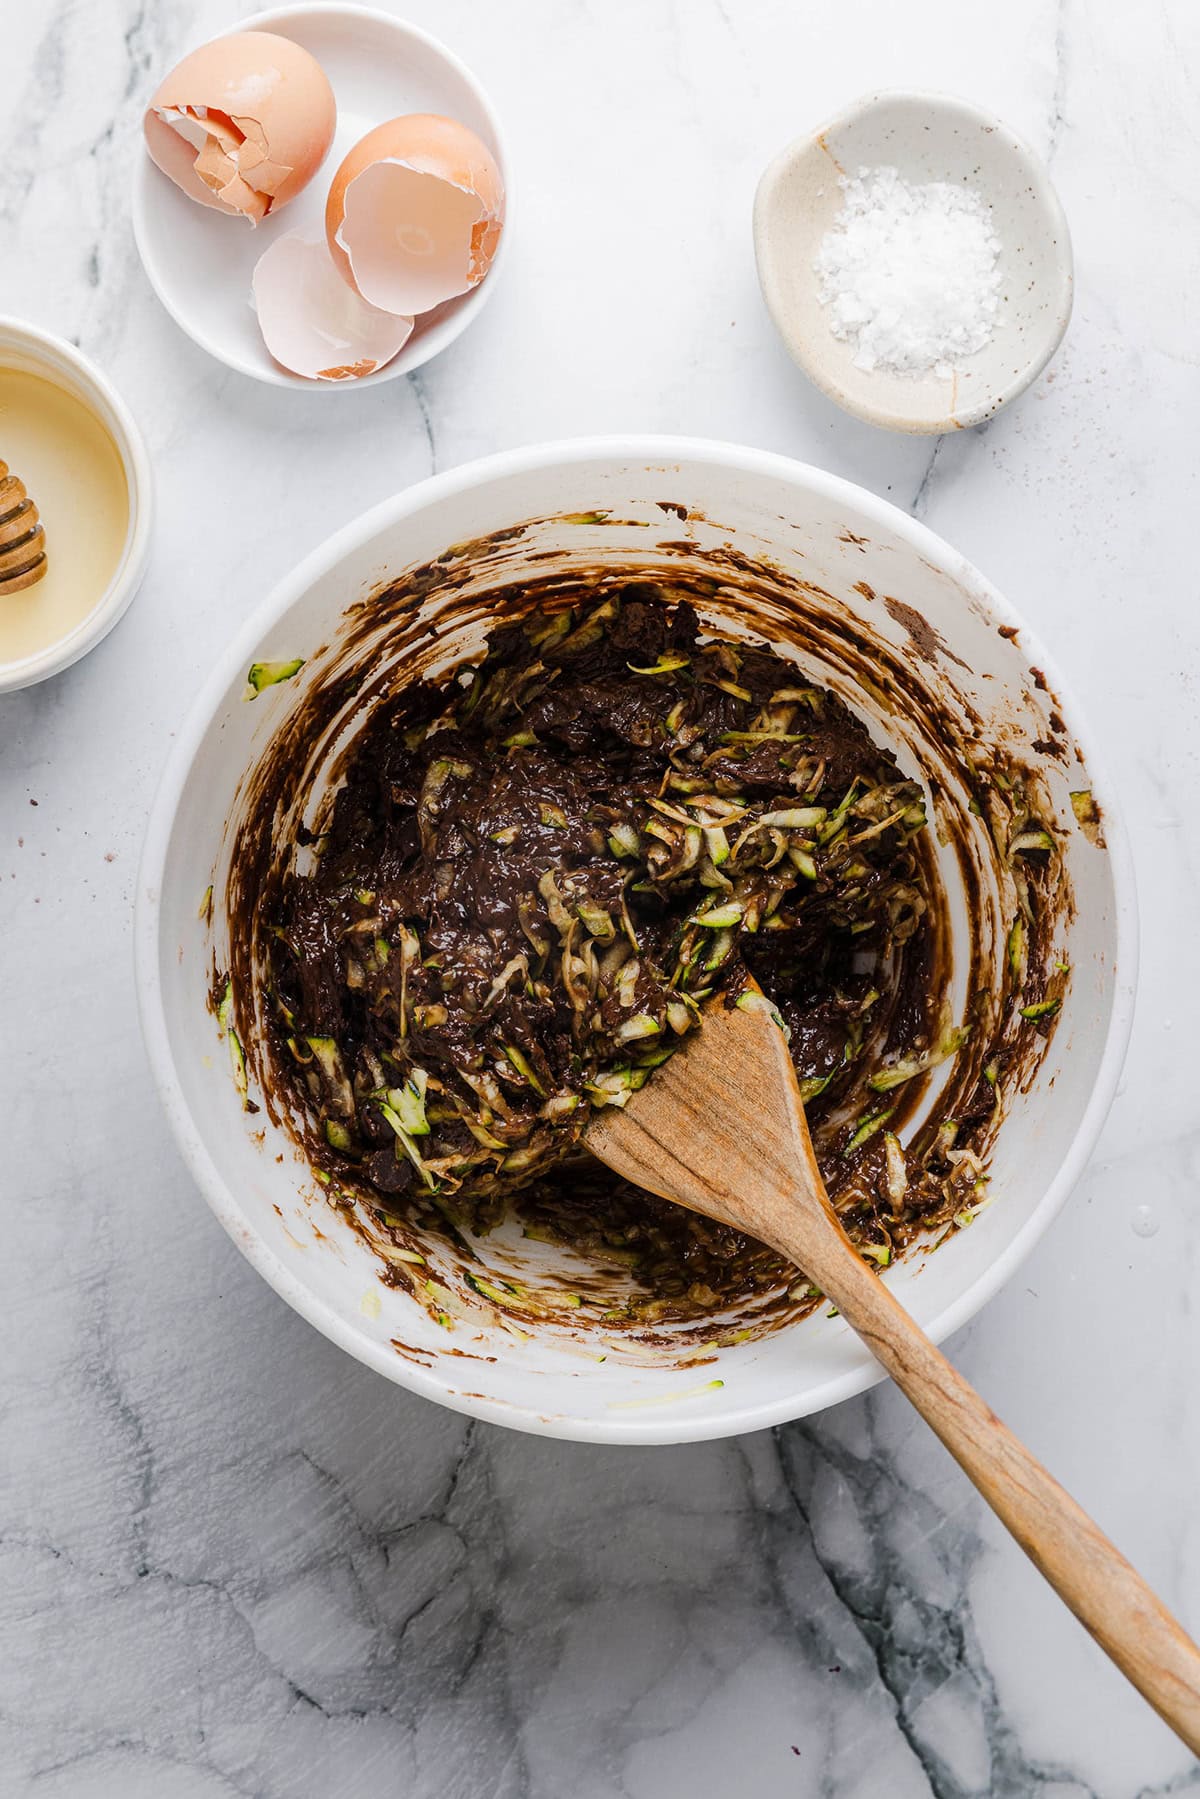
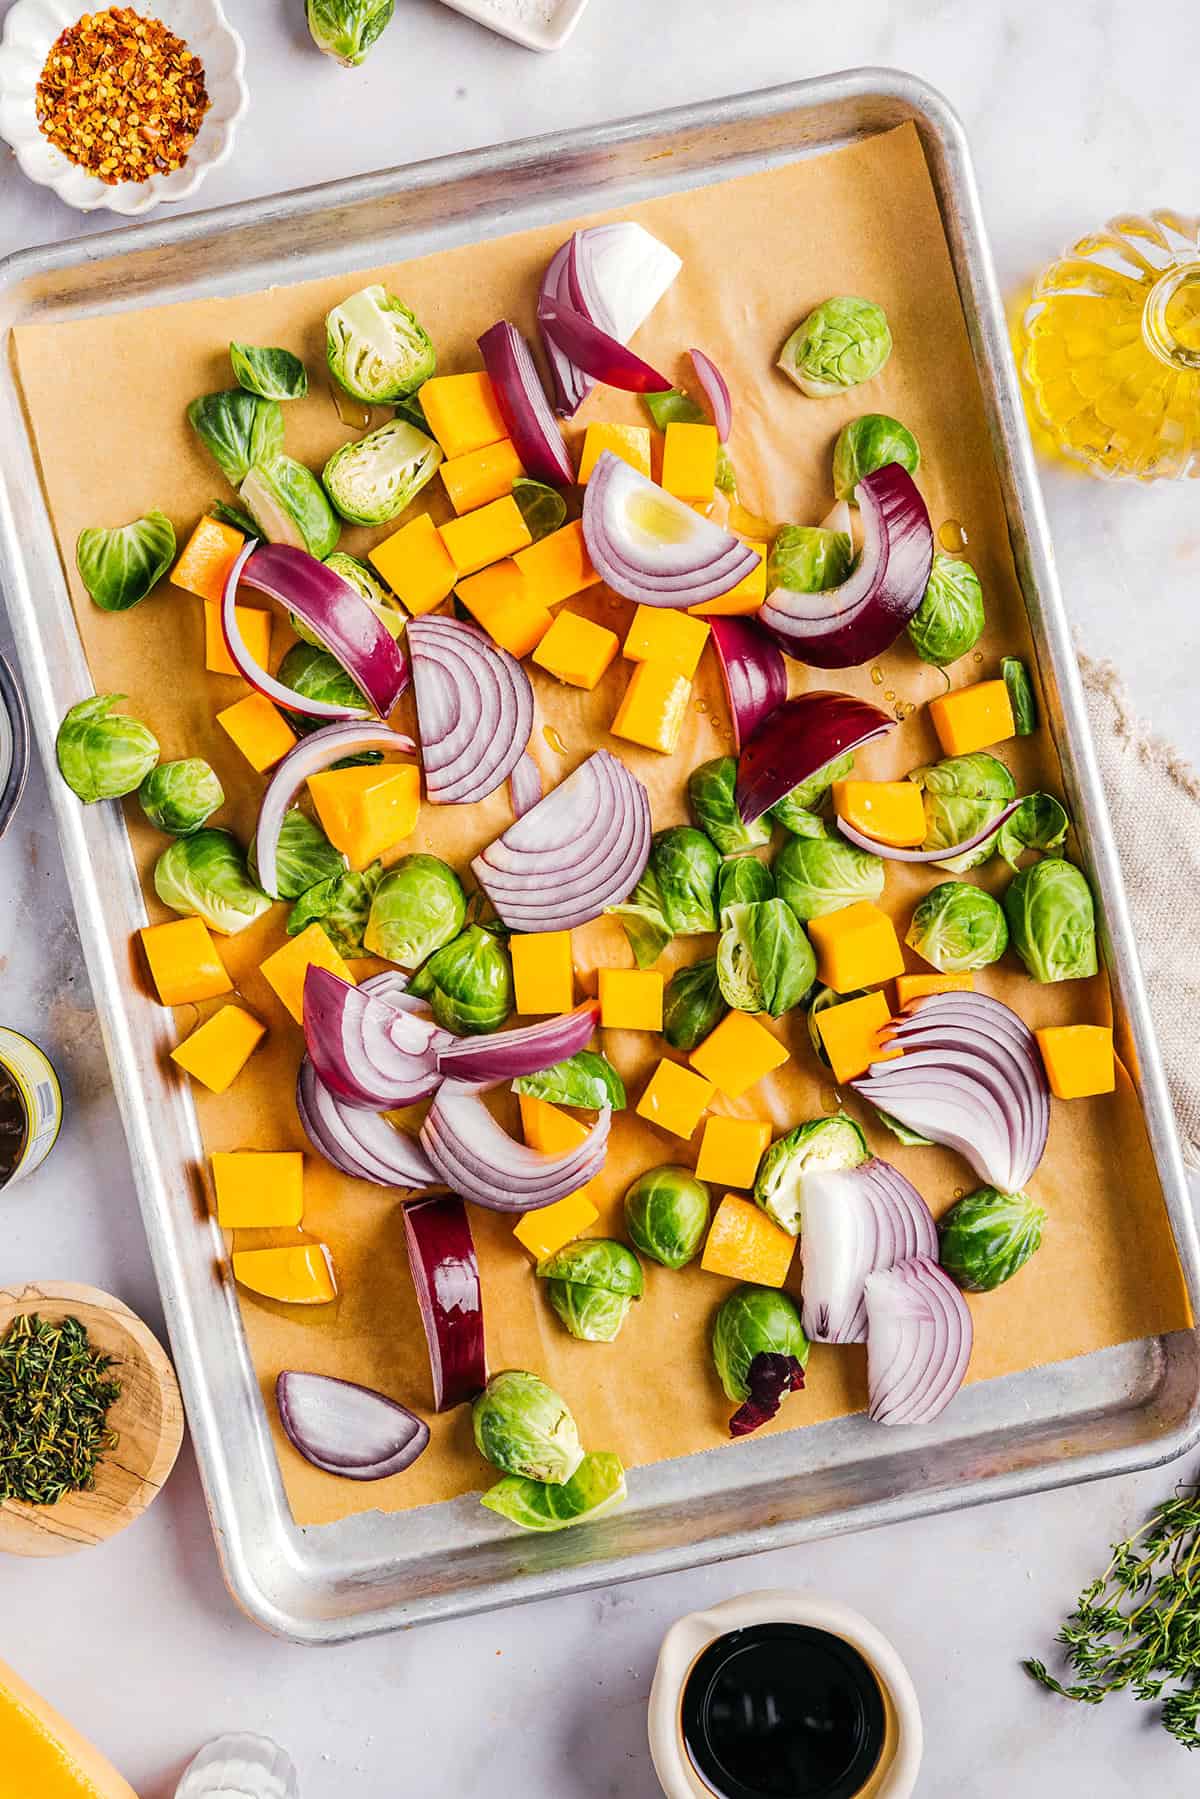
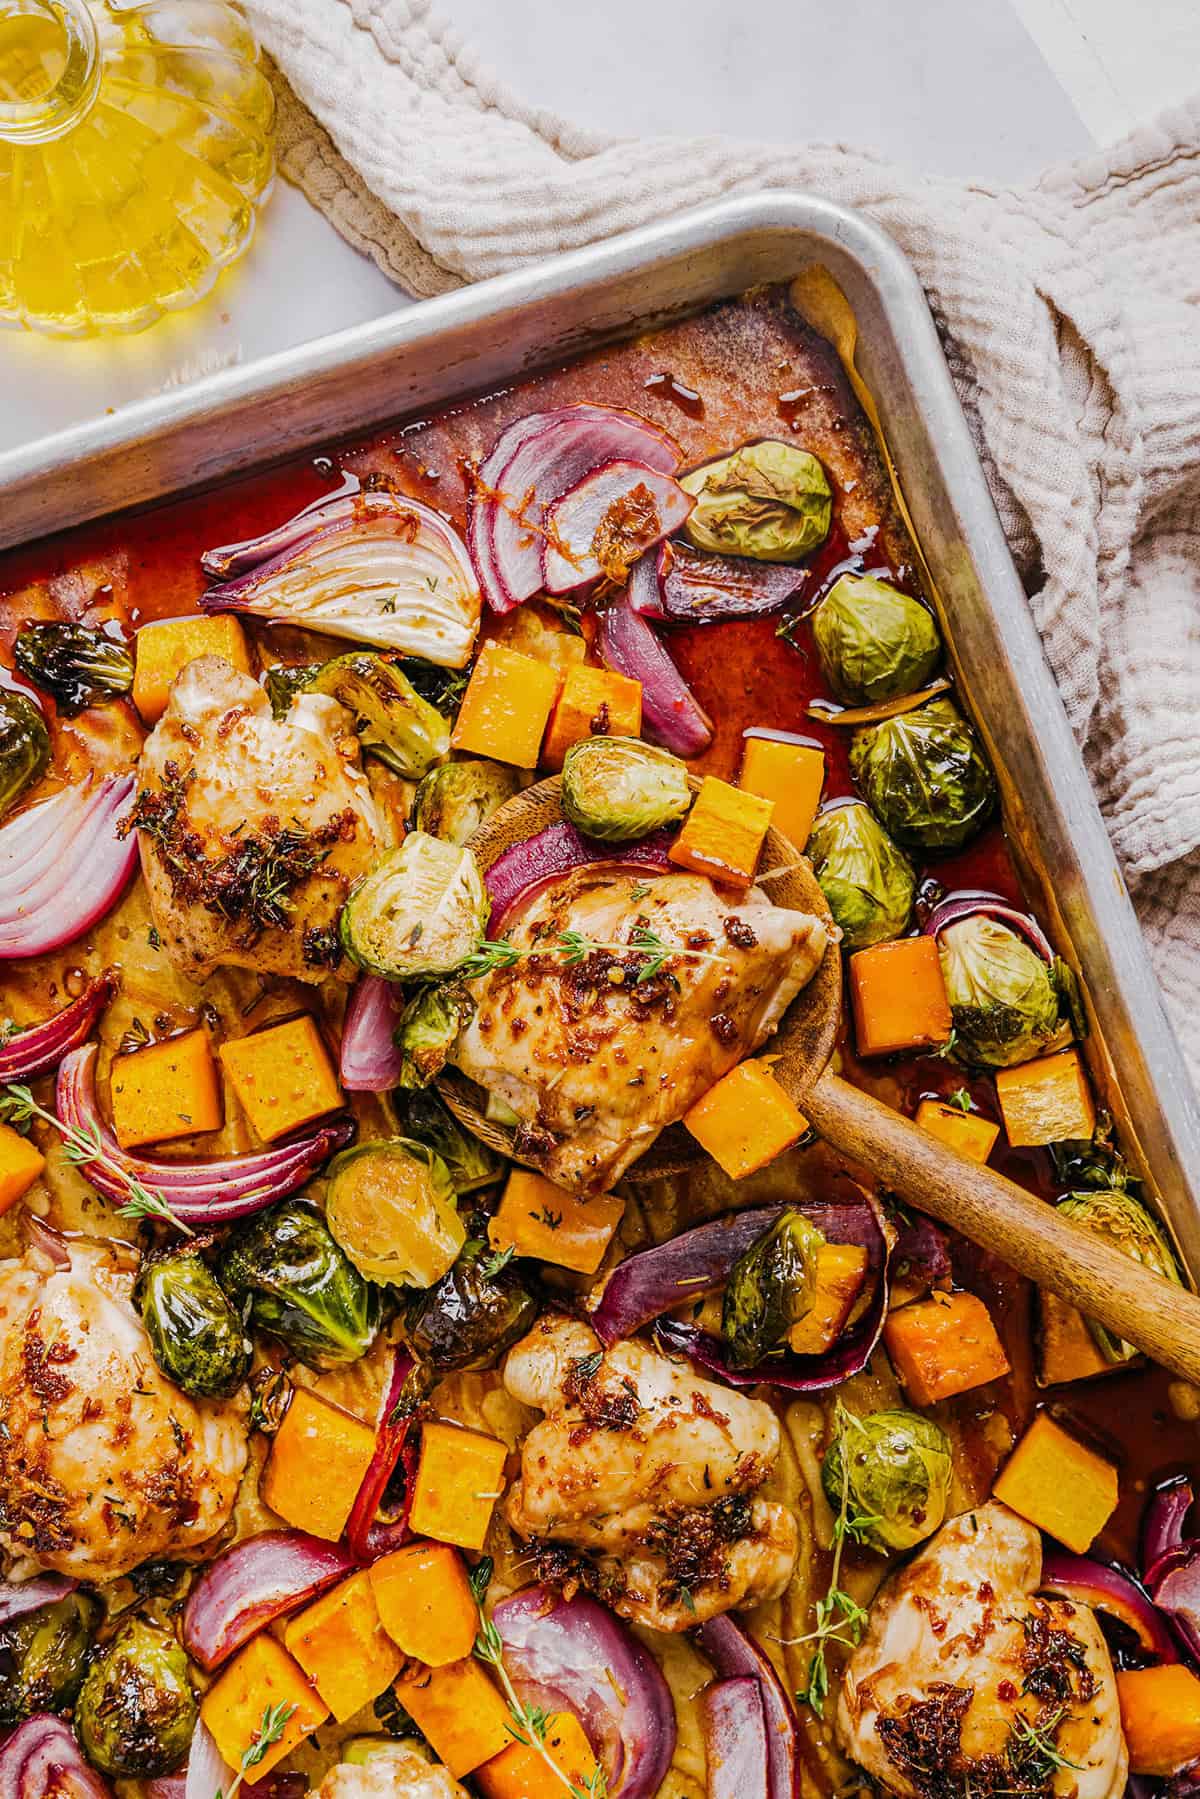
- Prepare veggies. Line a large baking sheet with parchment paper or spray with nonstick cooking spray. Add cubed butternut squash, brussel sprouts and red onion in a single layer and toss with olive oil, mixing well.
- Add chicken. Place the chicken thighs on top of the vegetables skin-side up and season everything with salt and black pepper.
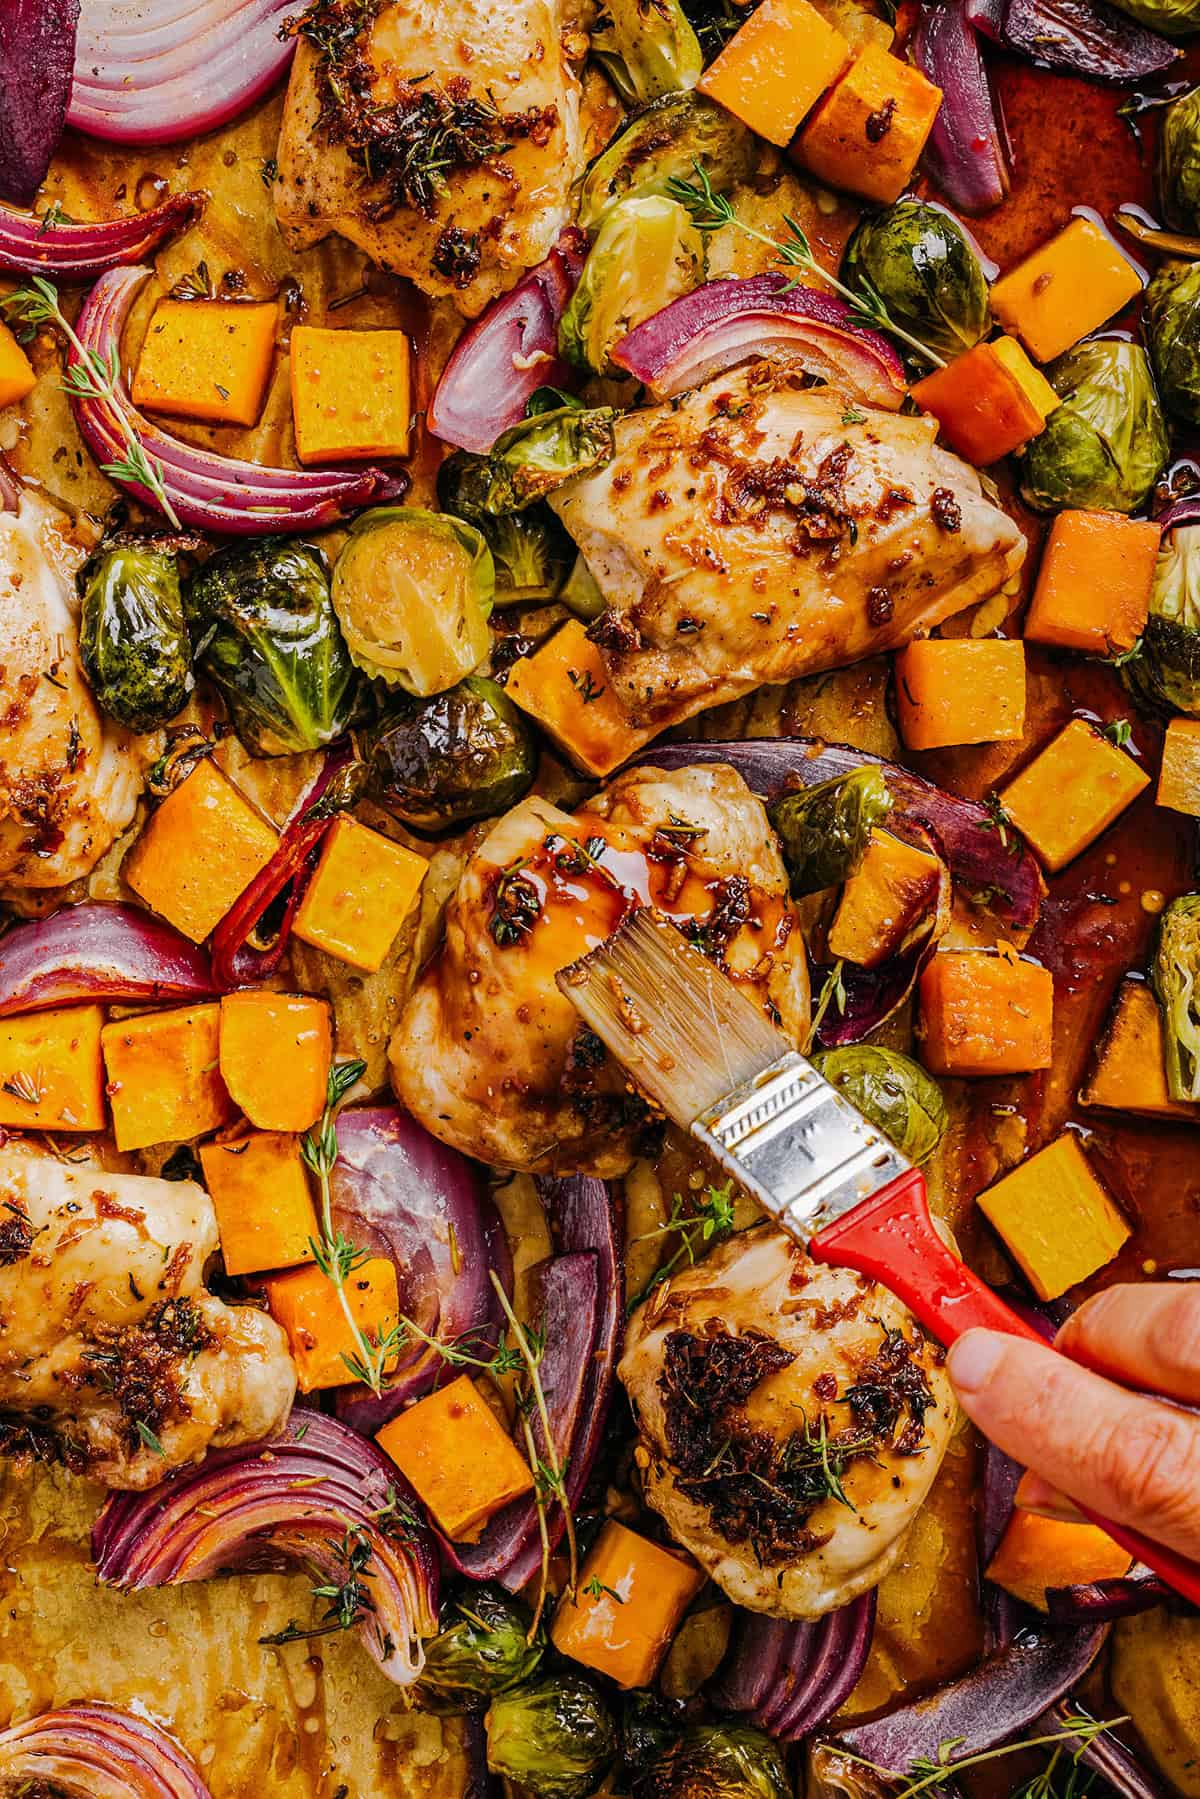
- Make the sauce. In a small bowl, whisk together the soy sauce, pure maple syrup, sesame oil, grated ginger, red pepper flakes, fresh thyme, kosher salt and pepper. Brush the sauce generously over each chicken thigh, reserving the rest of the sauce for later.
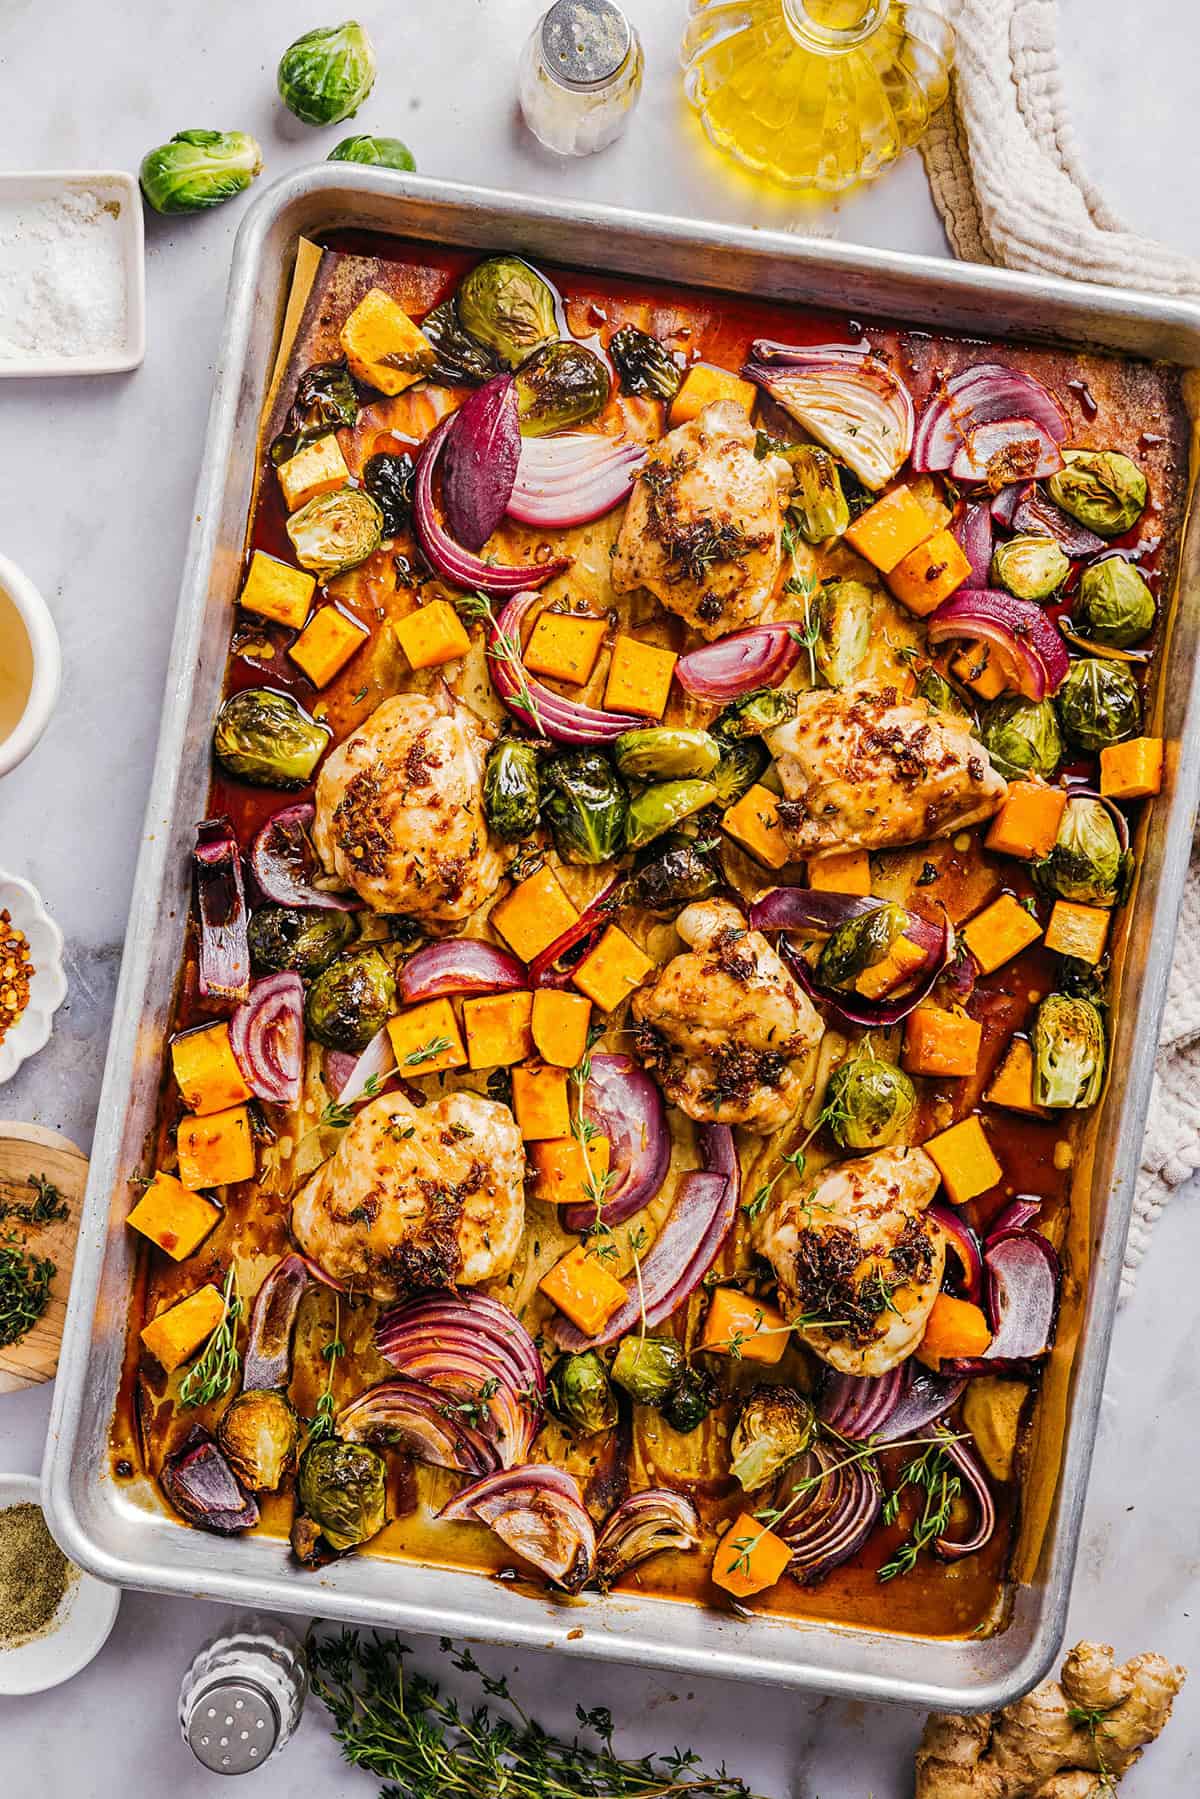
- Bake in the oven. Place the sheet pan in the preheated oven at 425 degrees F for 25 to 30 minutes, or until juices have run clear and the vegetables are nice and tender. Brush the reserved maple sauce over top of the chicken and veggies, sprinkle with extra thyme and enjoy!
If you prefer crispier vegetables and some nice browning on the chicken, I highly recommend popping the broiler on in the last few minutes of cooking!
Why I Love Sheet Pan Meals
Sheet pan dinners are also really convenient for meal prep! Not only are they a total timesaver (AND lifesaver I should add), but you can customize these meals any way you like. Minimal cleanup, less pans used and always delicious flavor! Ultimate comfort food that is healthy.
Sheet Pans I Love to Use
Also, I get a lot of questions about what pans I use for my sheet meals and I have found these pans to be fantastic! They are nice and big with extra thickness for durability as well as deep so they can hold a lot of stuff. I also think the price point is super reasonable as well for this quality!
Tips for Success
- Cut veggies evenly – this ensures that all the vegetables roast at the same speed and cook evenly.
- For juicy chicken – I recommend using chicken thighs instead of chicken breast for juicy chicken.
- Line with parchment paper – for easy clean-up I highly recommend lining your rimmed baking sheet with parchment paper or foil.
- Don’t overcrowd the pan – spread everything out on the single sheet pan for better caramelization. Feel free to use two sheet pans, if necessary.
- Flip veggies halfway through – this ensures even cooking and caramelization of the vegetables.
- Double the glaze – if you like a little extra sauce to drizzle over the veggies or want to marinate the chicken for even more flavor.
- To thicken the sauce – if you like the glaze a bit thicker, feel free to mix in a teaspoon of cornstarch or arrowroot powder to the sauce mixture.
- Check for doneness – you’ll know the chicken is cooked through when the internal temperature of the chicken reads 165 degrees F on a meat thermometer.
- Make it seasonal – swap in zucchini, asparagus or bell peppers in the summer or root vegetables like parsnips and turnips in the winter.
Other Variations
- Protein – we are using boneless chicken thighs in this recipe, but feel free to use boneless chicken breasts or bone-in chicken thighs if you prefer. You could also swap out the chicken for salmon, shrimp, chicken sauce or other protein choice. Just make sure to adjust the cooking time as-needed.
- Vegetables – you can easily swap out the butternut squash and brussels sprouts for other veggies such as green beans, sweet potatoes, broccoli florets, cauliflower, carrots, shallots or bell peppers.
- Other additions – since this is a seasonal recipe, feel free to add in chopped apples or pears for a sweet and savory combo. You could also throw in some toasted pecans, walnuts, crumbled bacon or dried cranberries.
- Sauce – feel free to adjust the sauce to your liking such as adding fresh garlic (or garlic powder), a little dijon mustard for a different taste and switching up the fresh thyme with some rosemary or even fresh basil.
- Make it a stir fry – you could easily make this recipe into a simple stir fry using chopped chicken breasts instead of thighs along with a variety of veggies.
Pin this now to find it later
Follow on Instagram
Prepping and Storage
To Store: Leftovers will last for 3 to 4 days stored in a sealed, airtight container in the refrigerator. You can easily reheat leftovers on a sheet pan in the oven at 350 degrees for 10 to 12 minutes or right in the microwave.
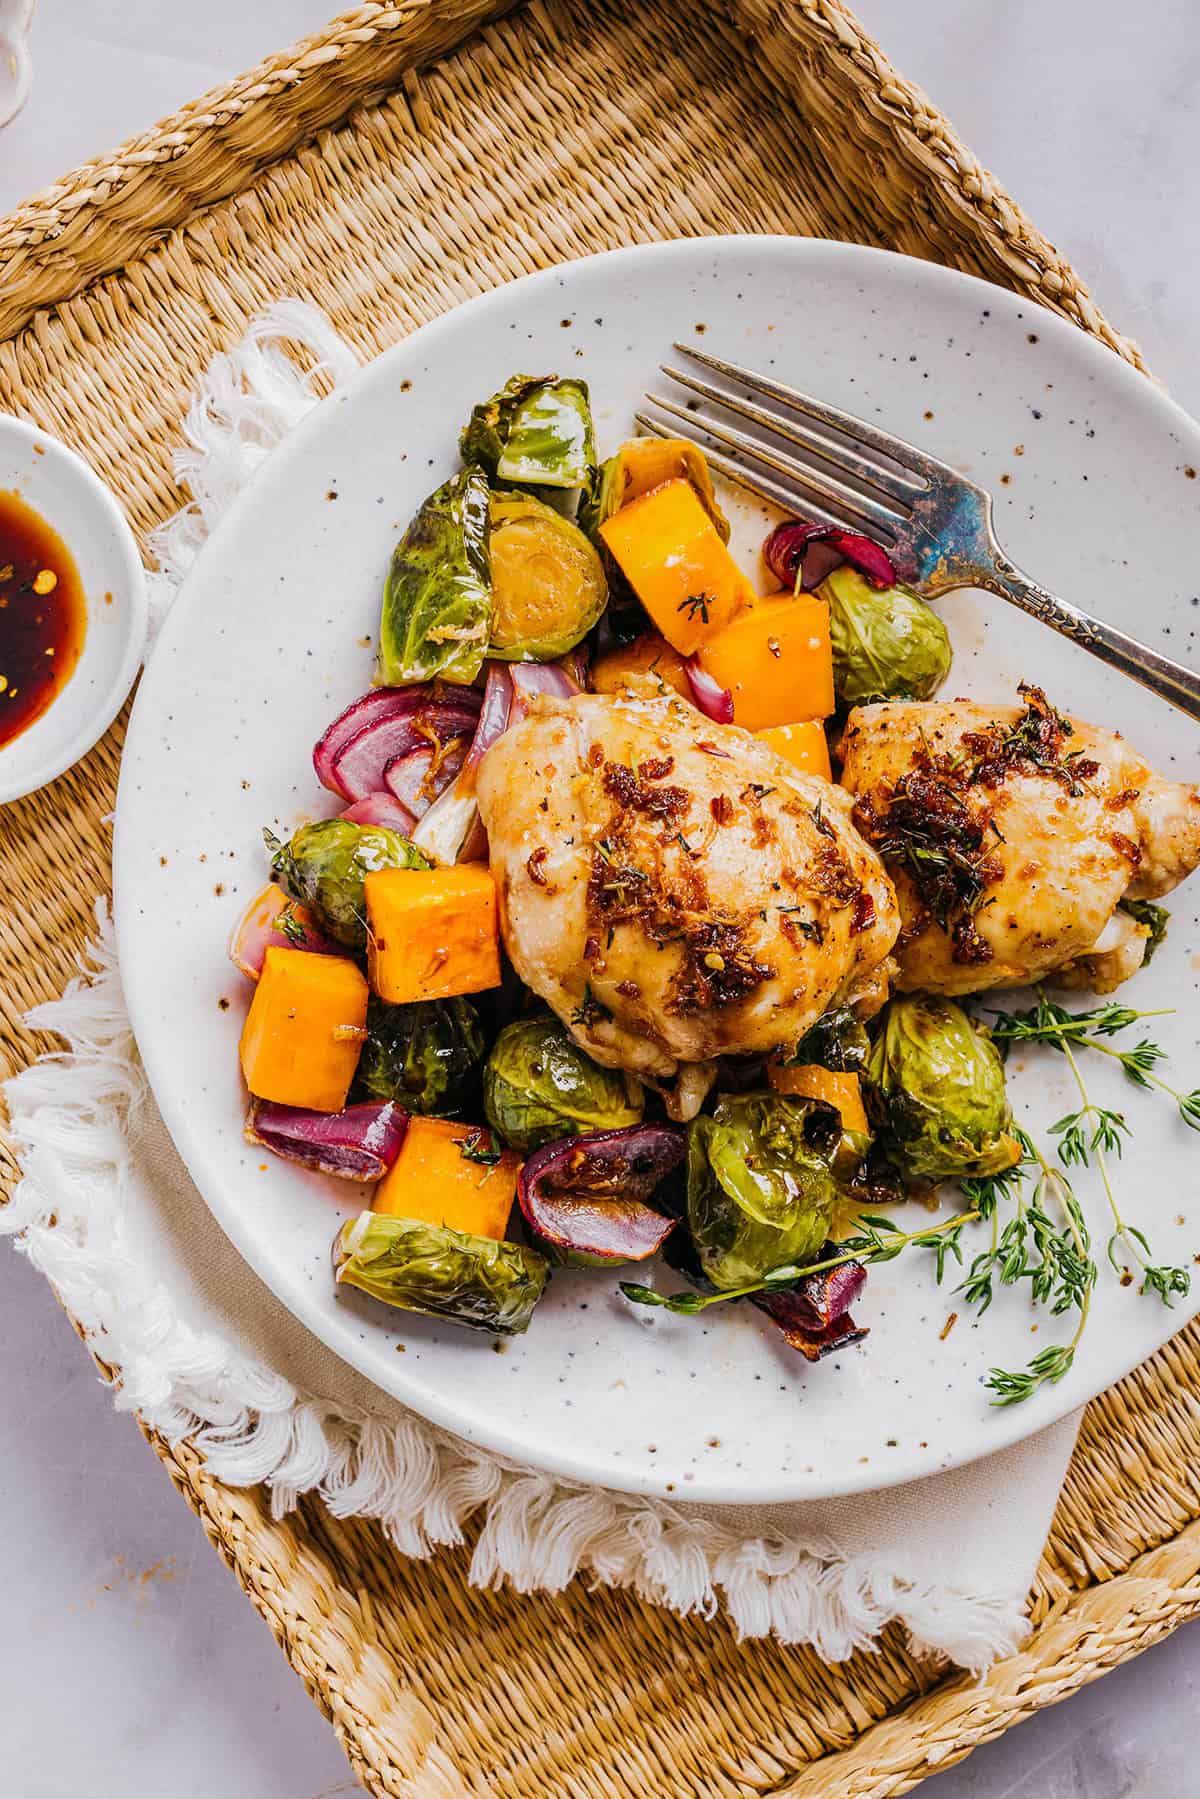
To Meal Prep: Portion the chicken and veggies into several containers with brown rice or quinoa for ready-to-go lunches or dinners. We love this with a side salad as well for a complete meal!
More Sheet Pan Meals
- Sheet Pan Sesame Chicken and Veggies
- Sheet Pan Honey Balsamic Chicken & Veggies
- Sheet Pan Ginger Soy Glazed Salmon
- Sheet Pan Lemon Rosemary Chicken & Potatoes
- Sheet Pan Chicken Fajitas
More Chicken Recipes
- mmm
Hope you all enjoy this Ginger Maple Chicken and Veggies! If you love this as much as we do, please leave a  star rating below and don’t forget to tag me on Instagram using the hashtag #eatyourselfskinny! I love seeing all your delicious recreations!
Sheet Pan Maple Glazed Chicken with Vegetables
#wprm-recipe-user-rating-0 .wprm-rating-star.wprm-rating-star-full svg * { fill: #343434; }#wprm-recipe-user-rating-0 .wprm-rating-star.wprm-rating-star-33 svg * { fill: url(#wprm-recipe-user-rating-0-33); }#wprm-recipe-user-rating-0 .wprm-rating-star.wprm-rating-star-50 svg * { fill: url(#wprm-recipe-user-rating-0-50); }#wprm-recipe-user-rating-0 .wprm-rating-star.wprm-rating-star-66 svg * { fill: url(#wprm-recipe-user-rating-0-66); }linearGradient#wprm-recipe-user-rating-0-33 stop { stop-color: #343434; }linearGradient#wprm-recipe-user-rating-0-50 stop { stop-color: #343434; }linearGradient#wprm-recipe-user-rating-0-66 stop { stop-color: #343434; }
Ingredients
- 6 boneless skinless chicken thighs
- 2 cups butternut squash cubed
- 2 cups brussels sprouts trimmed and halved lengthwise
- 1/2 large red onion sliced
- 1 Tbsp olive oil
- Salt and pepper to taste
For the sauce:
- 3 Tbsp lower-sodium soy sauce or tamari if gluten-free
- 1/3 cup pure maple syrup
- 1 tsp sesame oil
- 2 Tbsp grated ginger
- 1/4 tsp red pepper flakes
- 1 tsp fresh thyme
Instructions
-
Preheat oven to 425 degrees F.
-
Add the squash, brussels sprouts and onion to a large sheet pan and toss with olive oil, mixing well.
-
Then place the chicken thighs on top of the veggies and season chicken and veggies with salt and pepper.
-
To make the sauce, whisk together all ingredients and brush sauce generously over each chicken thigh, reserving the rest for later.
-
Bake chicken and veggies for 25 to 30 minutes, or until the juices have run clear and veggies are nice and tender. Feel free to turn the broiler on for a few minutes if you like your veggies crispier!
-
Brush reserved marinade over top of the chicken and veggies, serve and enjoy!
Nutrition
The post Sheet Pan Maple Glazed Chicken with Vegetables appeared first on Eat Yourself Skinny.